How to Seal a Wood Dining Table and Make It Last


Updated September 29, 2025
Have a dining table you love and want to protect it as best you can? Sealing your wood dining table with a clear protective layer is the way to go! When we moved from Omaha to St. Louis, we left our old dining table behind. It was scratched, chipped, and definitely showing its age. We replaced it with this brand-new table that I absolutely love. It’s clean, classic, and extends to fit a crowd, which is perfect because we love to host.
To help this one stay looking new for as long as possible, I decided to seal our wood dining table with a protective topcoat. It’s an easy DIY project that only takes a few minutes and adds a layer of protection against all the chaos that comes with real life – kids, crafts, spills, and lots of family dinners.
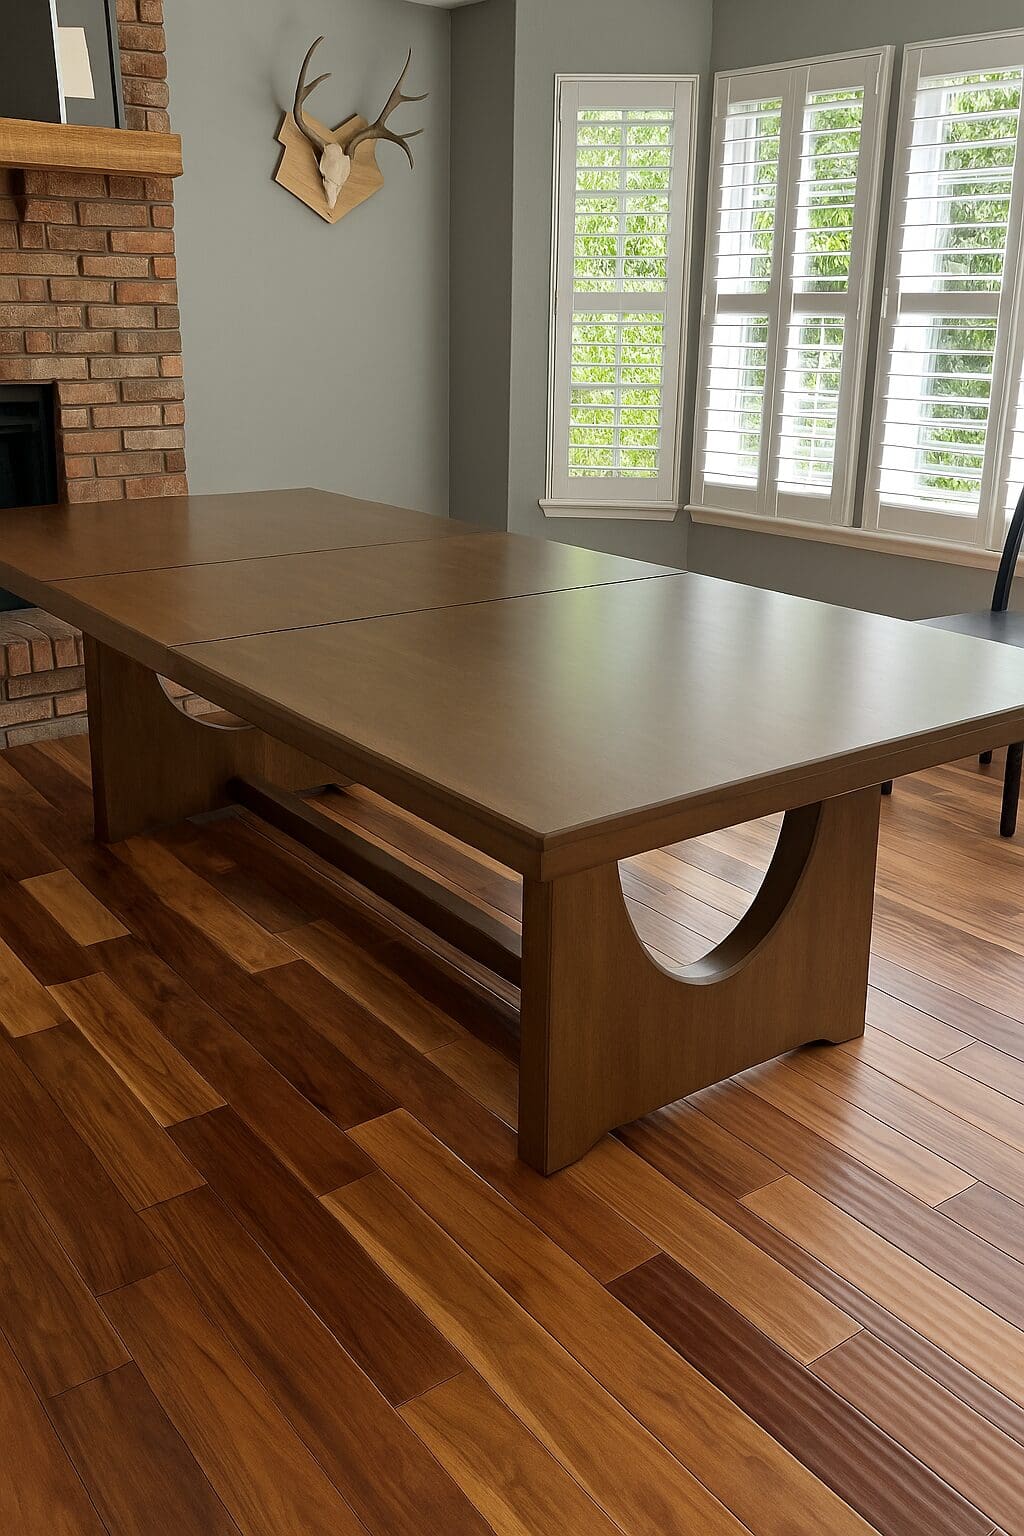
Table of Contents
Supplies You’ll Need to Seal a Wood Dining Table
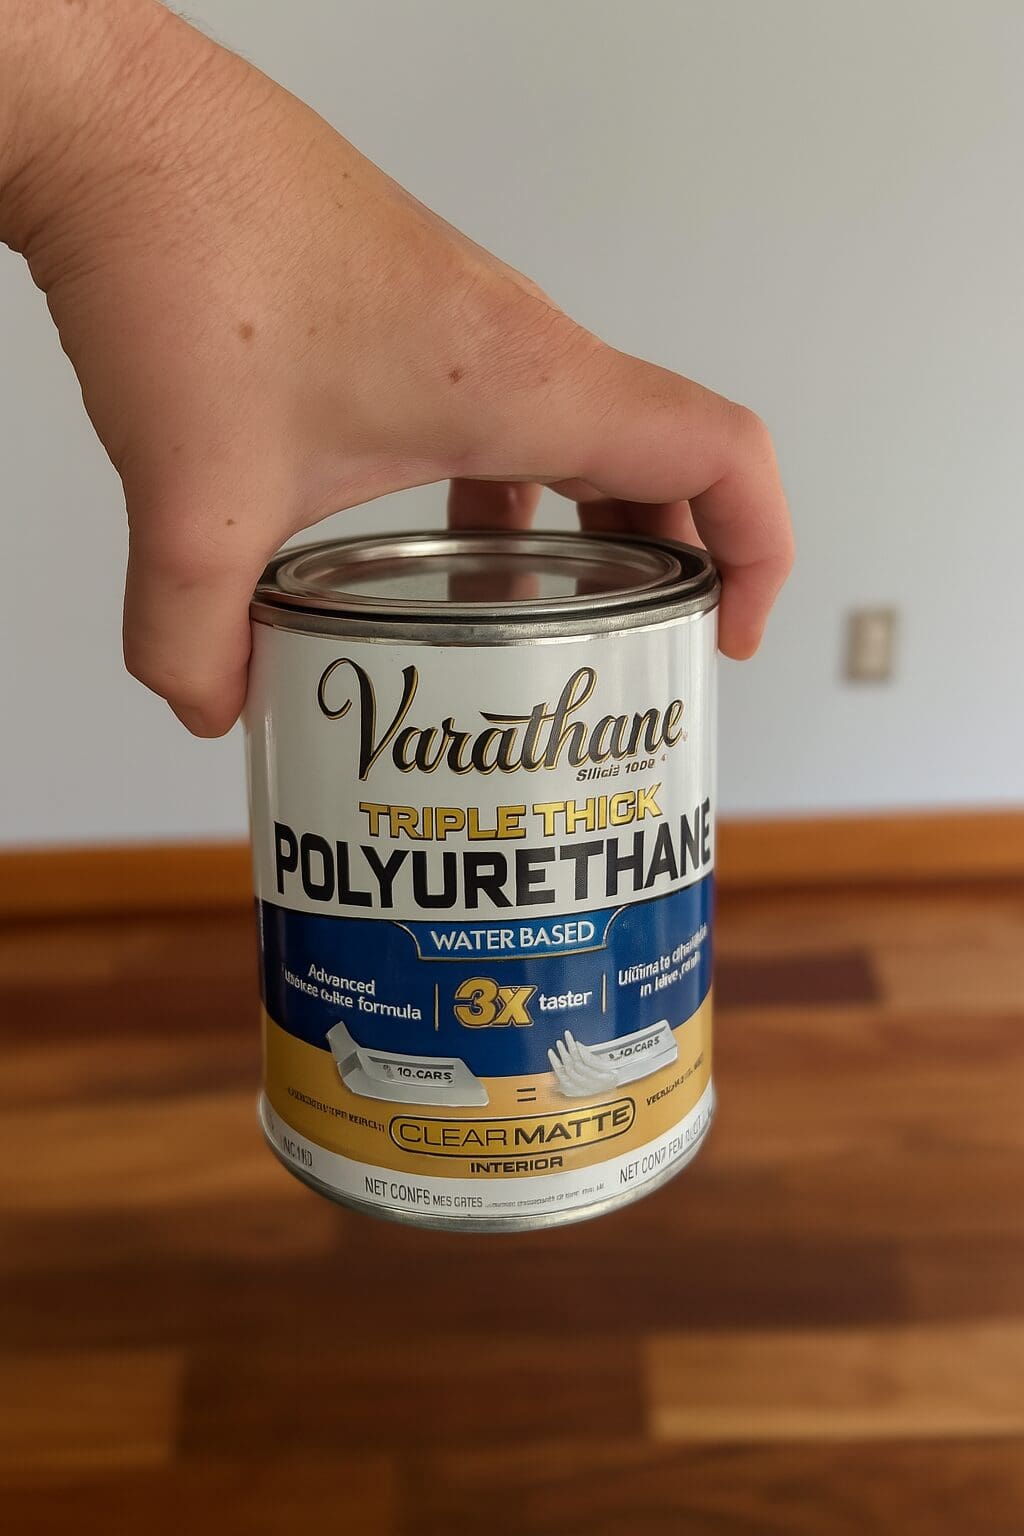
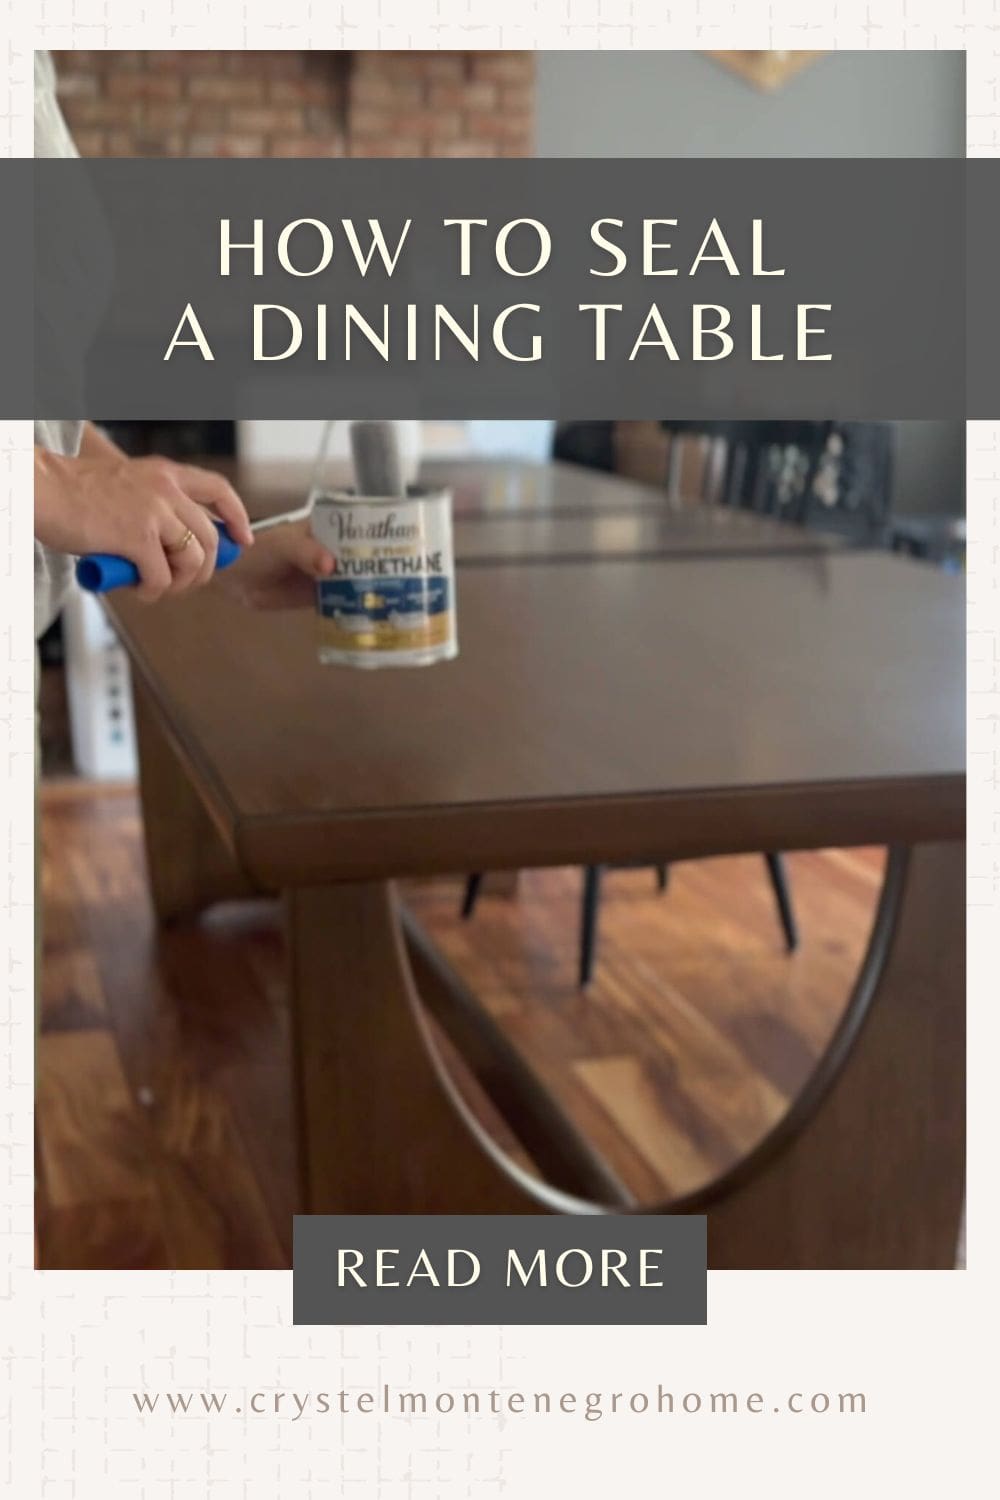
- Varathane Triple Thick Polyurethane
- Small foam roller
- Optional: Drop cloth or towel to protect your floors
You can grab all of this online and have it delivered right to your door – no need for a trip to the hardware store. Once you have your sealer and roller, you’re ready to go!
Step-by-Step: How to Seal a Wood Dining Table
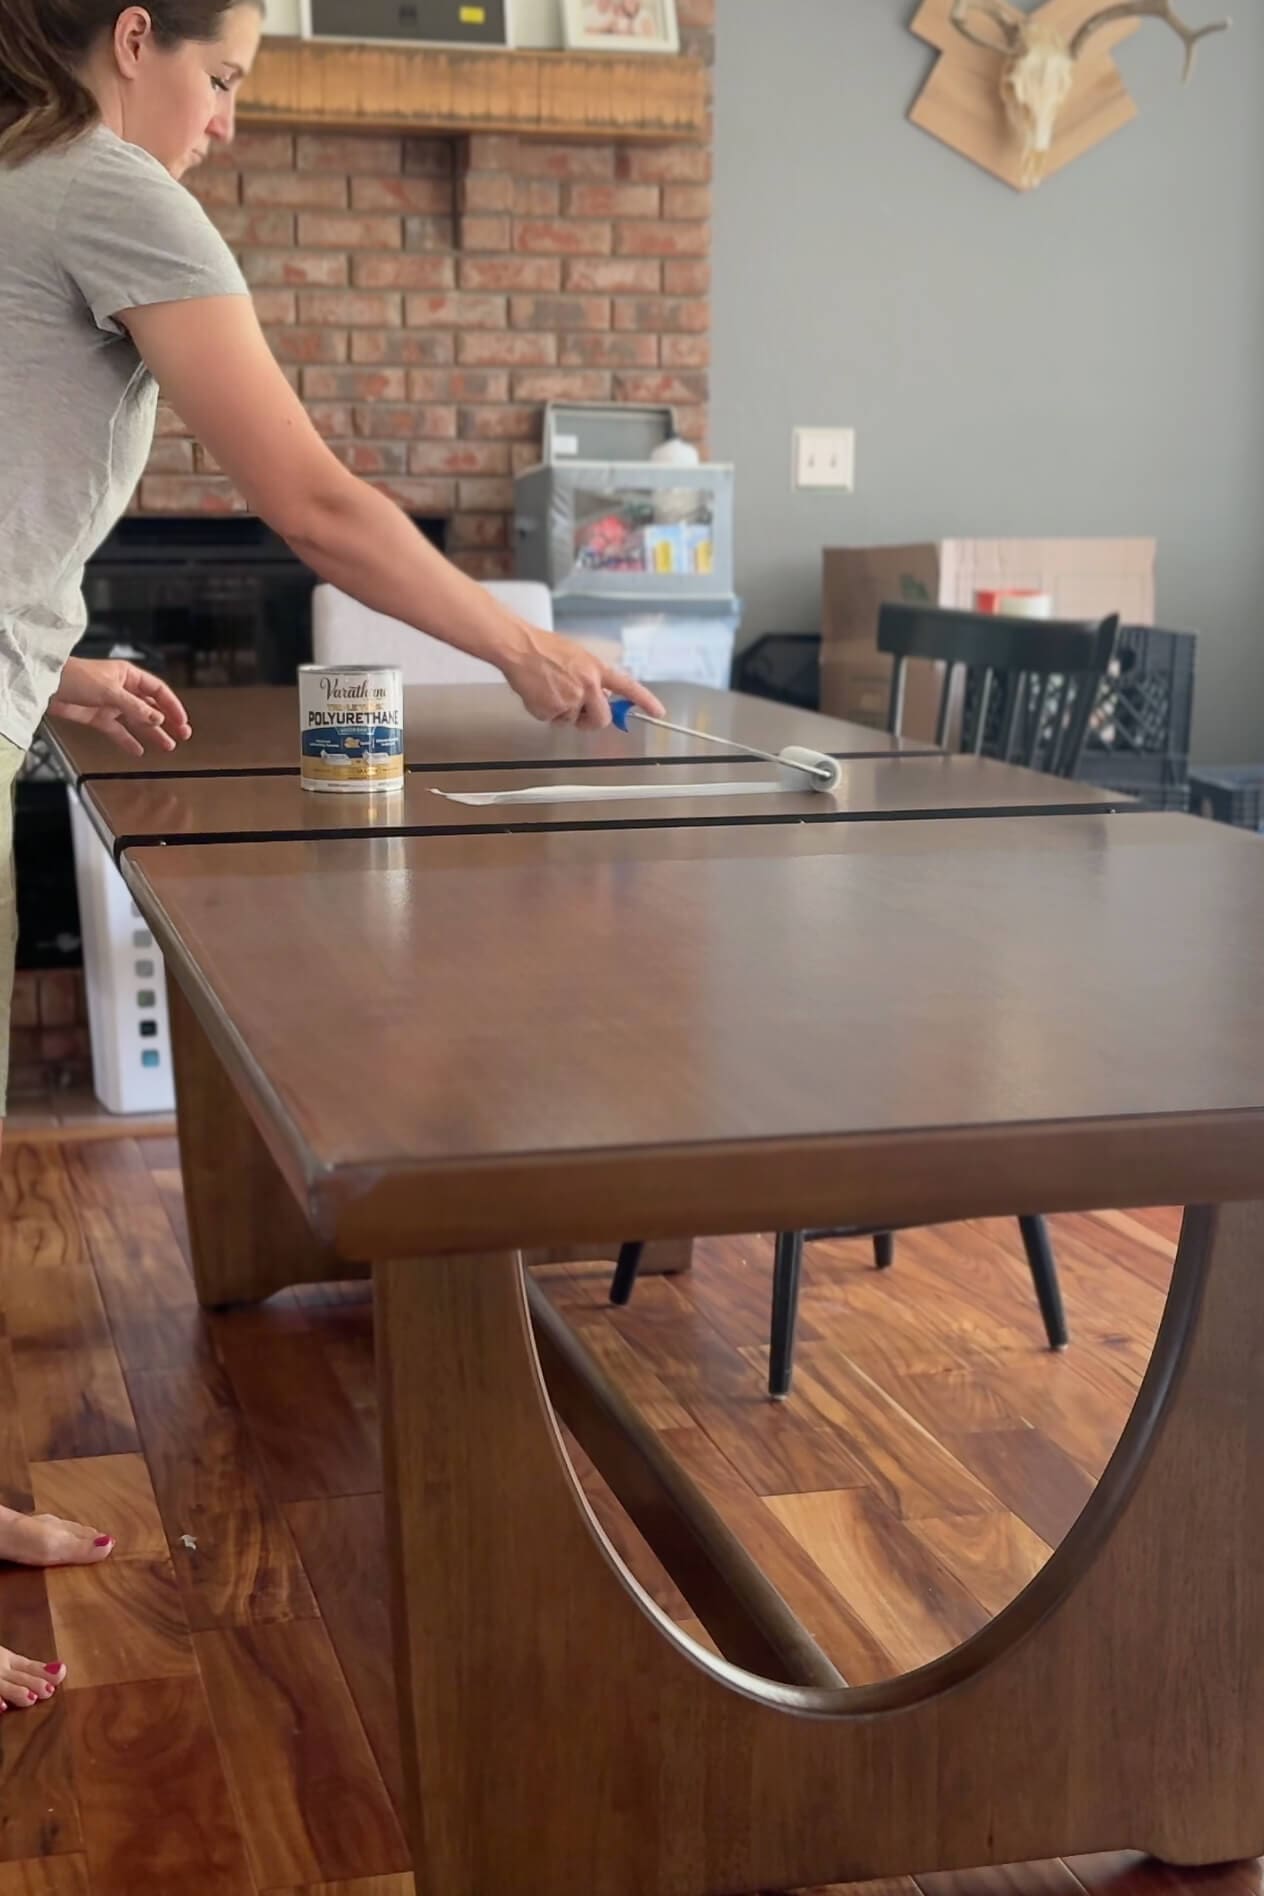
Step 1: Pull Apart Leaf Sections (If You Have Them)
If your table extends with leaves, go ahead and pull those sections apart before you start. You want to avoid any drips running into the seams where the table joins together.
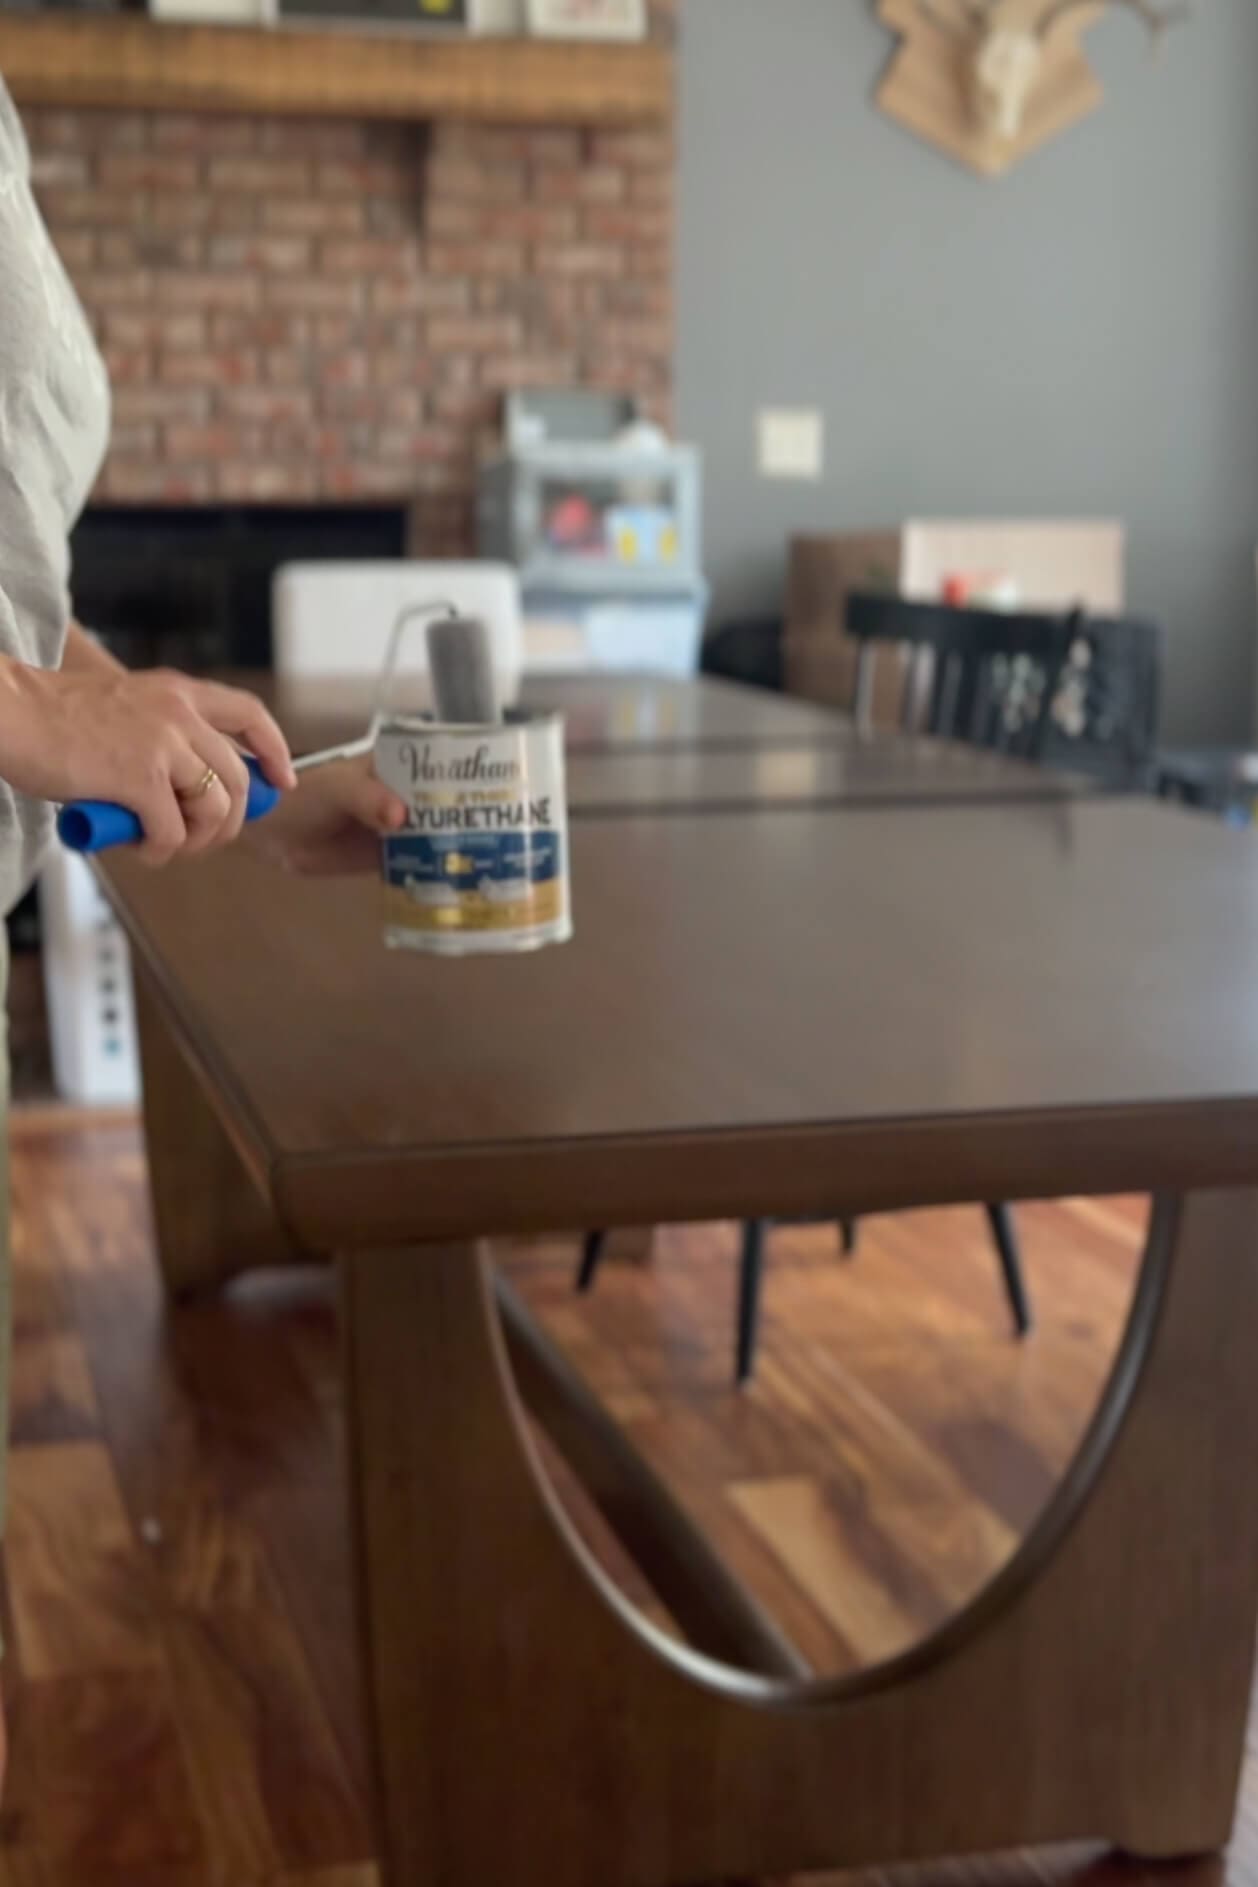
Step 2: Roll On the Polyurethane Sealer
I like to skip the paint tray and dip my foam roller right into the can of polyurethane. Less mess, less cleanup. Then just roll the polyurethane sealer right onto the wood dining tabletop.
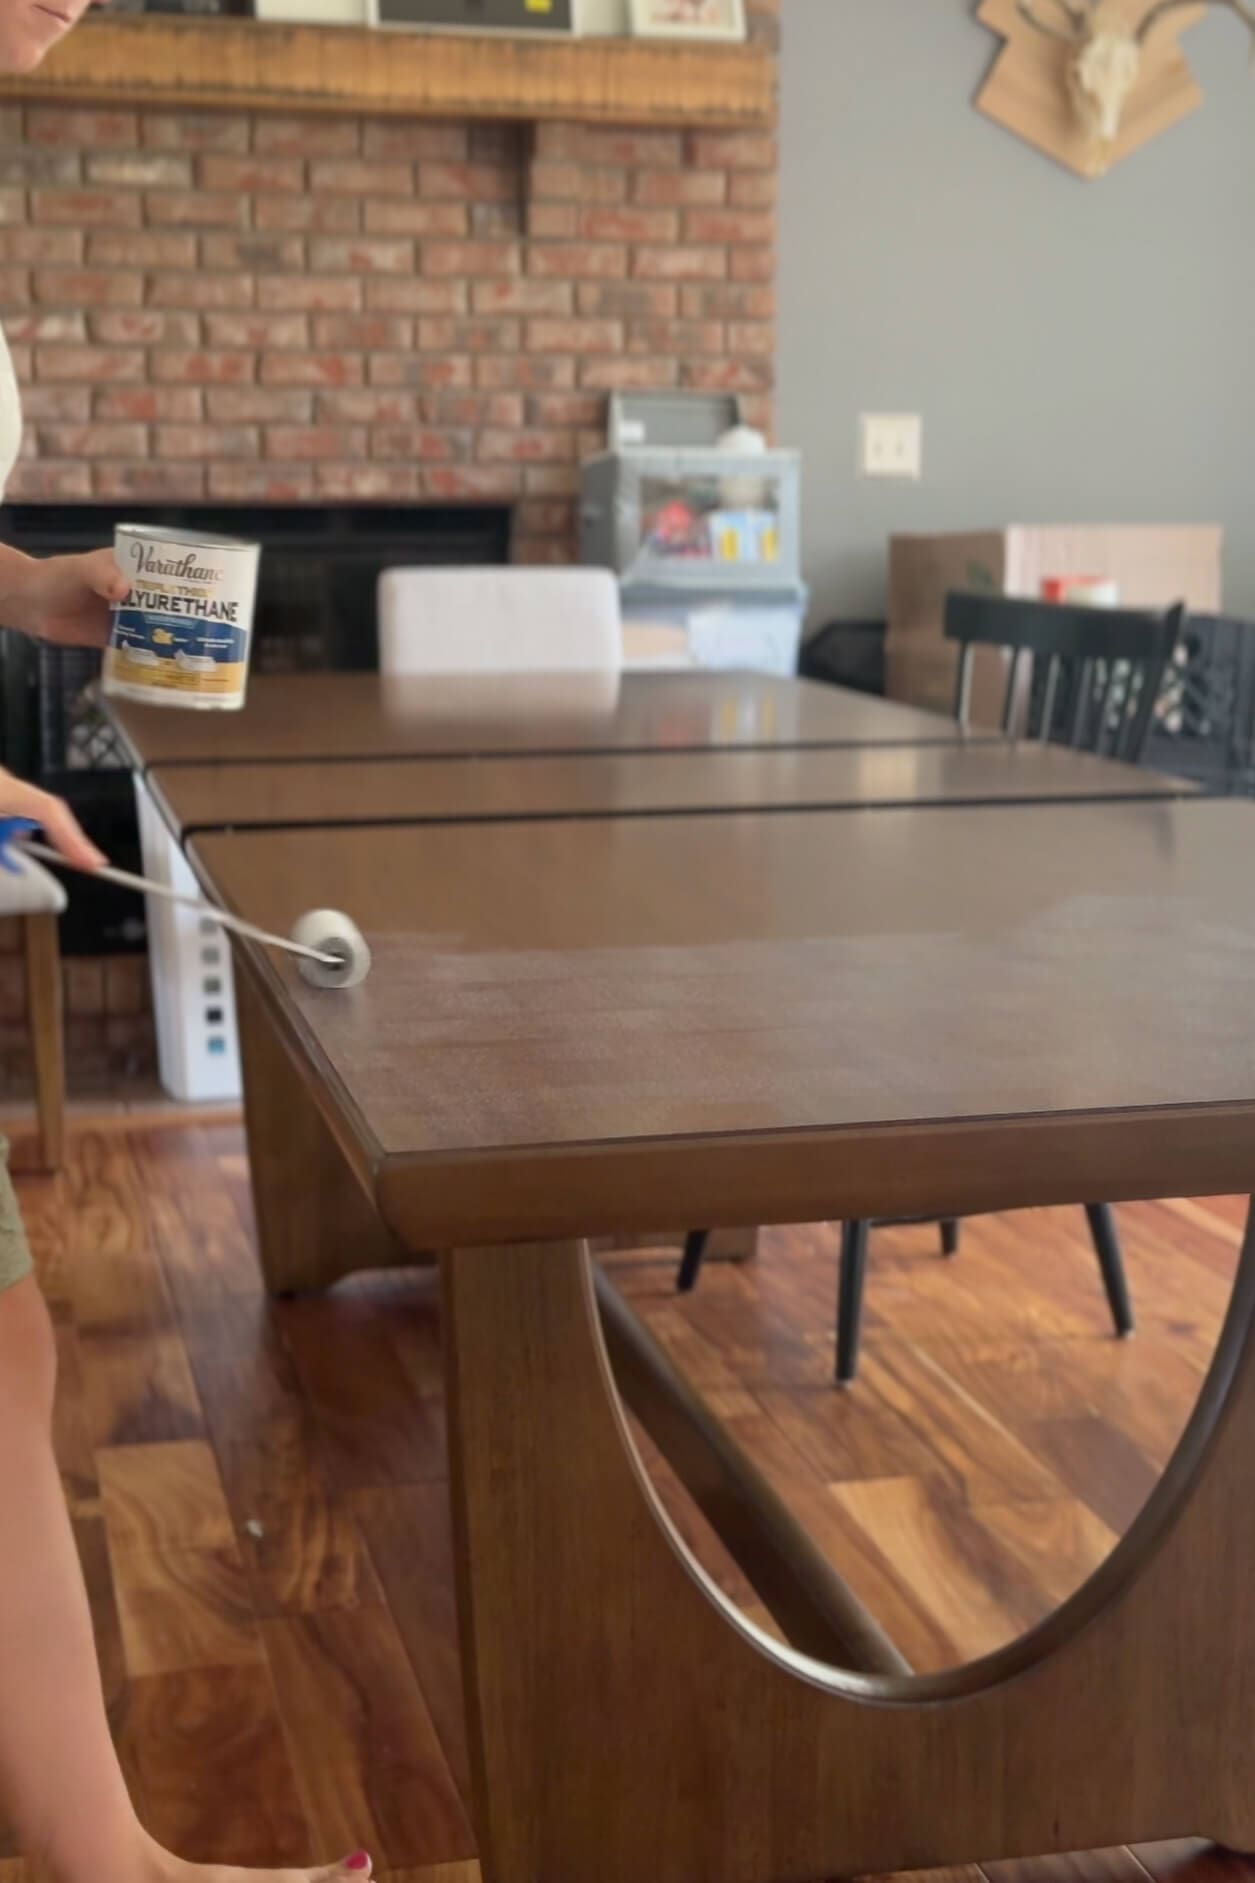
Step 3: Apply Even Coats Across the Entire Surface
As you work your way down the table, the sections you roll will look cloudy at first – totally normal! This sealer dries nice and clear, so don’t panic. Just focus on applying a smooth, even coat of the sealer across the surface of your wood dining table.
One important tip: always work wet to wet. That means you don’t want one section to dry before rolling on the next. Overlapping slightly on each pass will help blend everything and avoid visible lines.
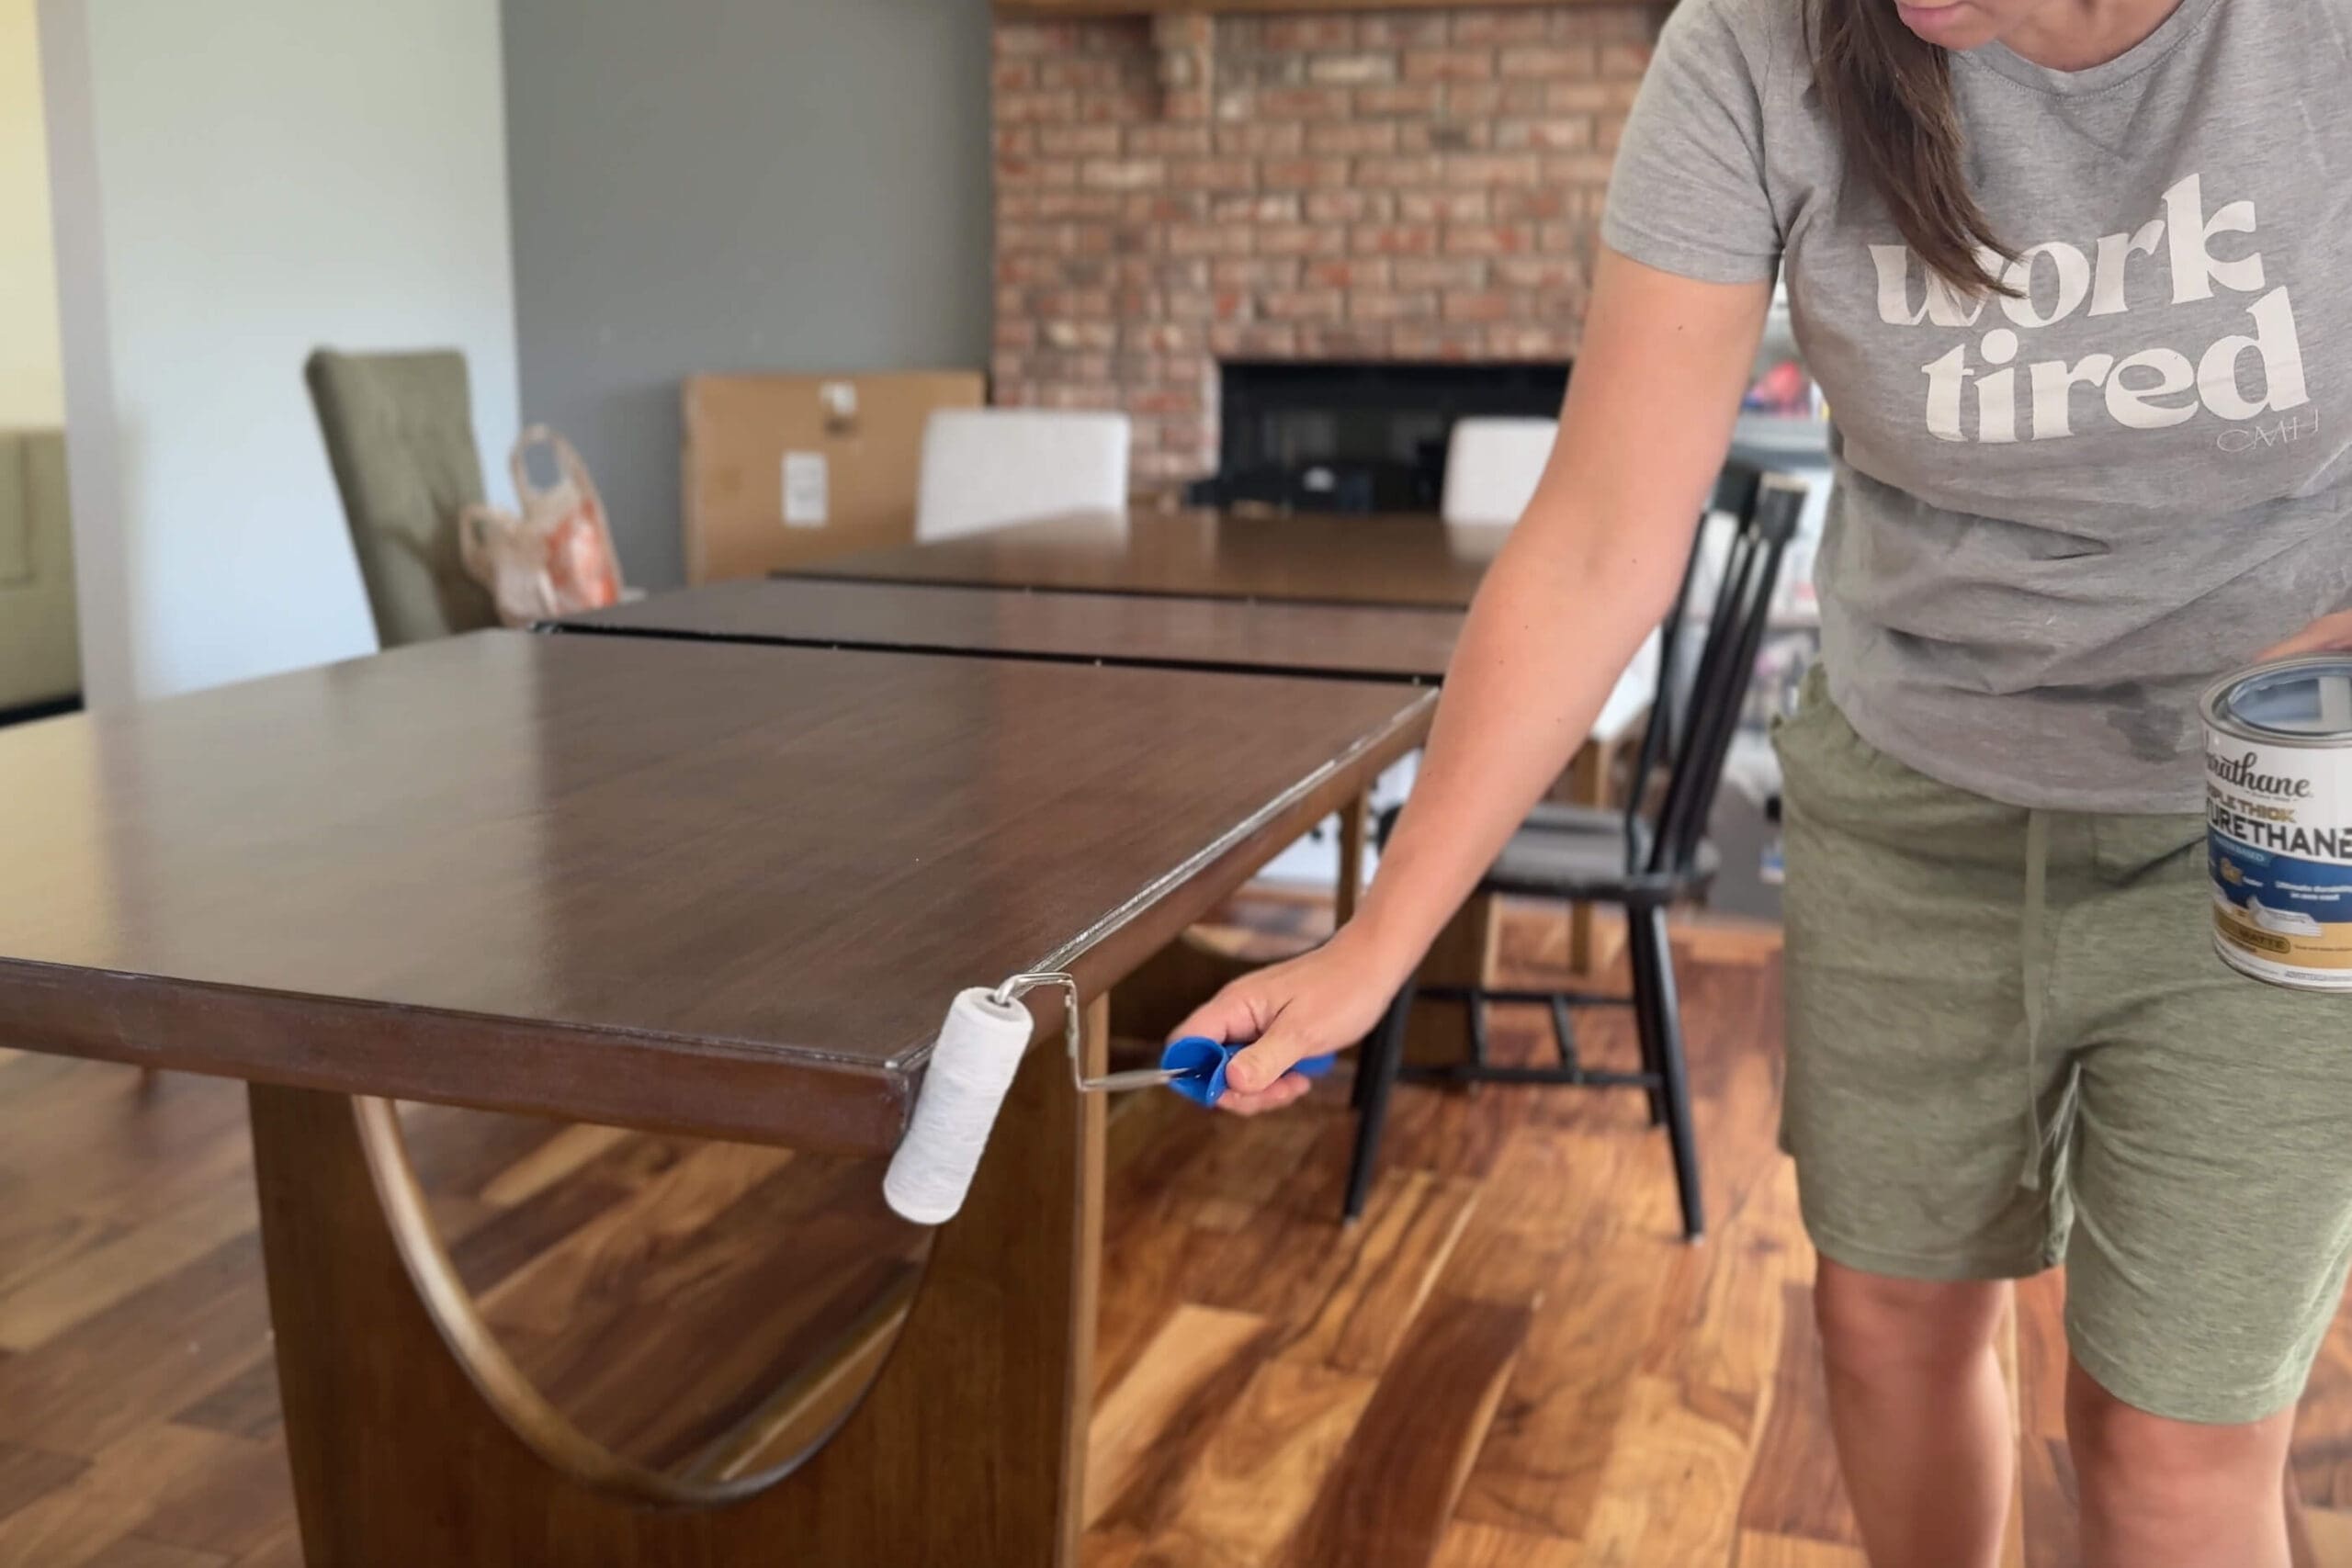
Step 4: Don’t Forget to Seal the Edges of Your Wood Dining Table
The edges seem to take more abuse than any other part, so don’t forget to seal the edges of your wood dining table with a quick roll or swipe from a foam brush. It’s a small step that adds extra protection from everyday wear and tear and helps the finish look smooth and consistent all the way around.
Step 5: Let It Dry and Cure
Once the table is coated, let it dry completely. The cloudiness disappears as it cures, and you’ll be left with a subtle matte finish that feels smooth to the touch. It honestly looks just like the original finish – but now with a built-in shield to handle day-to-day life in the Montenegro home.

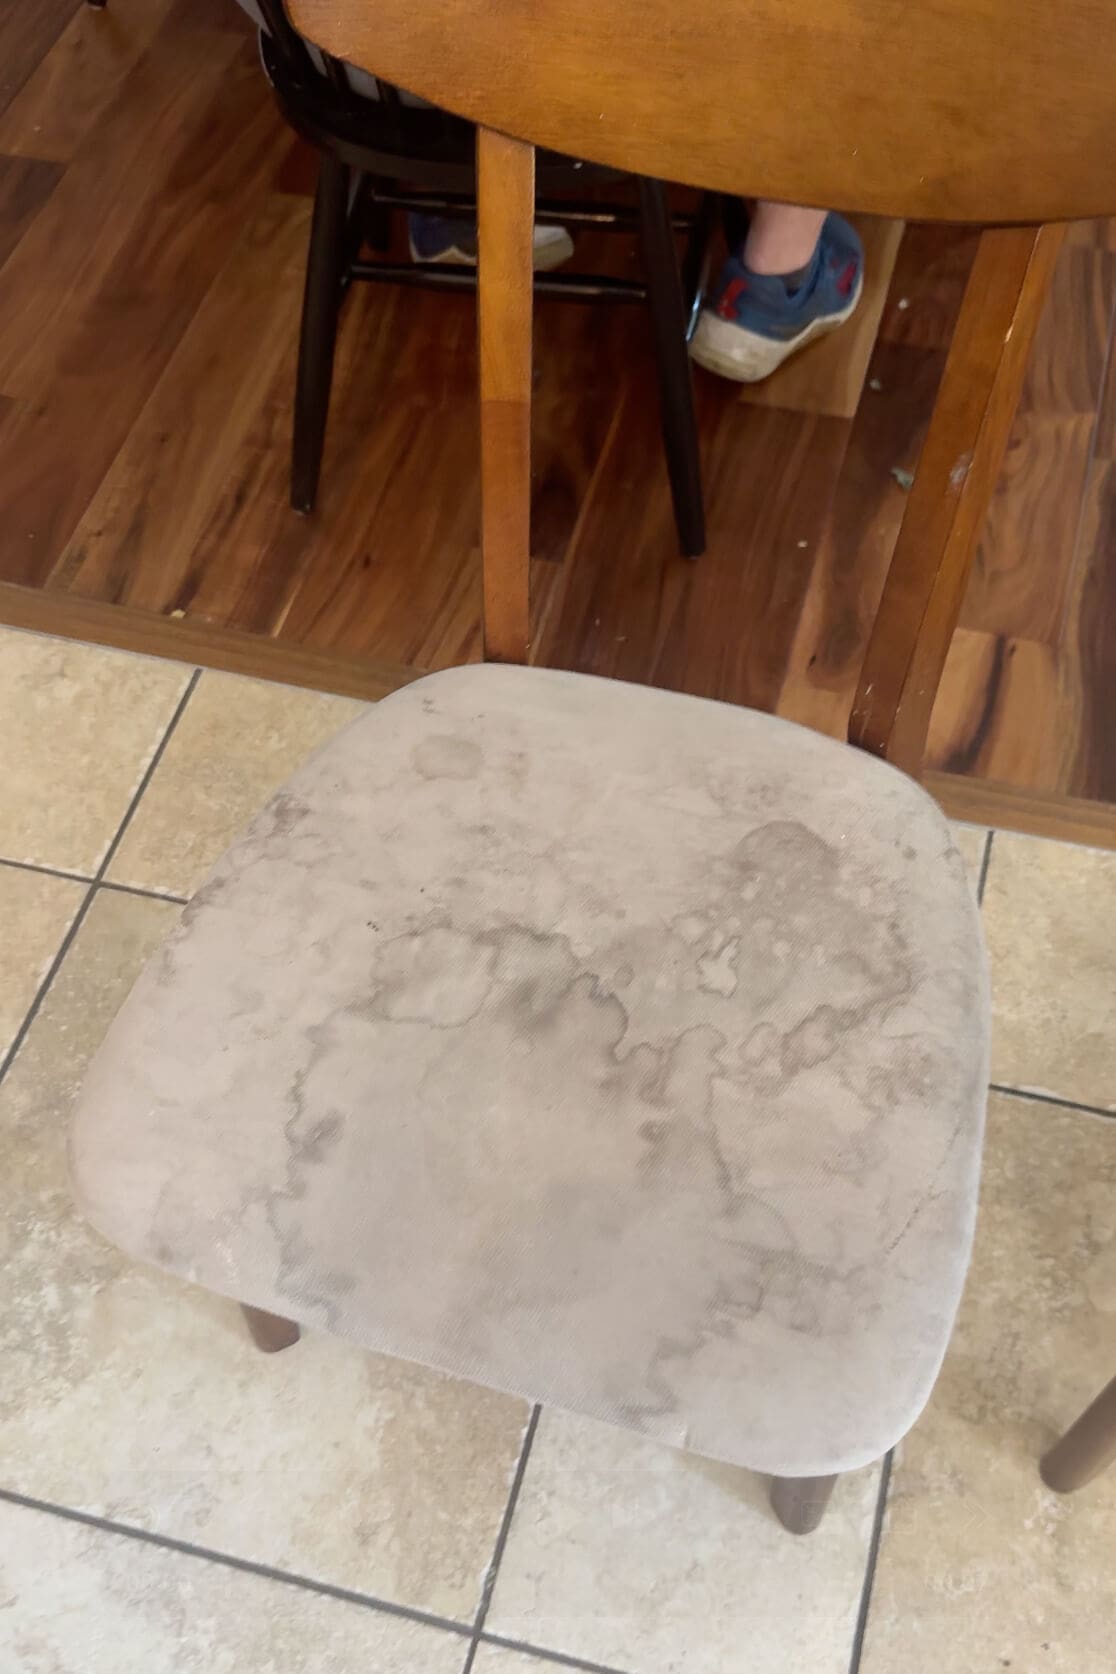
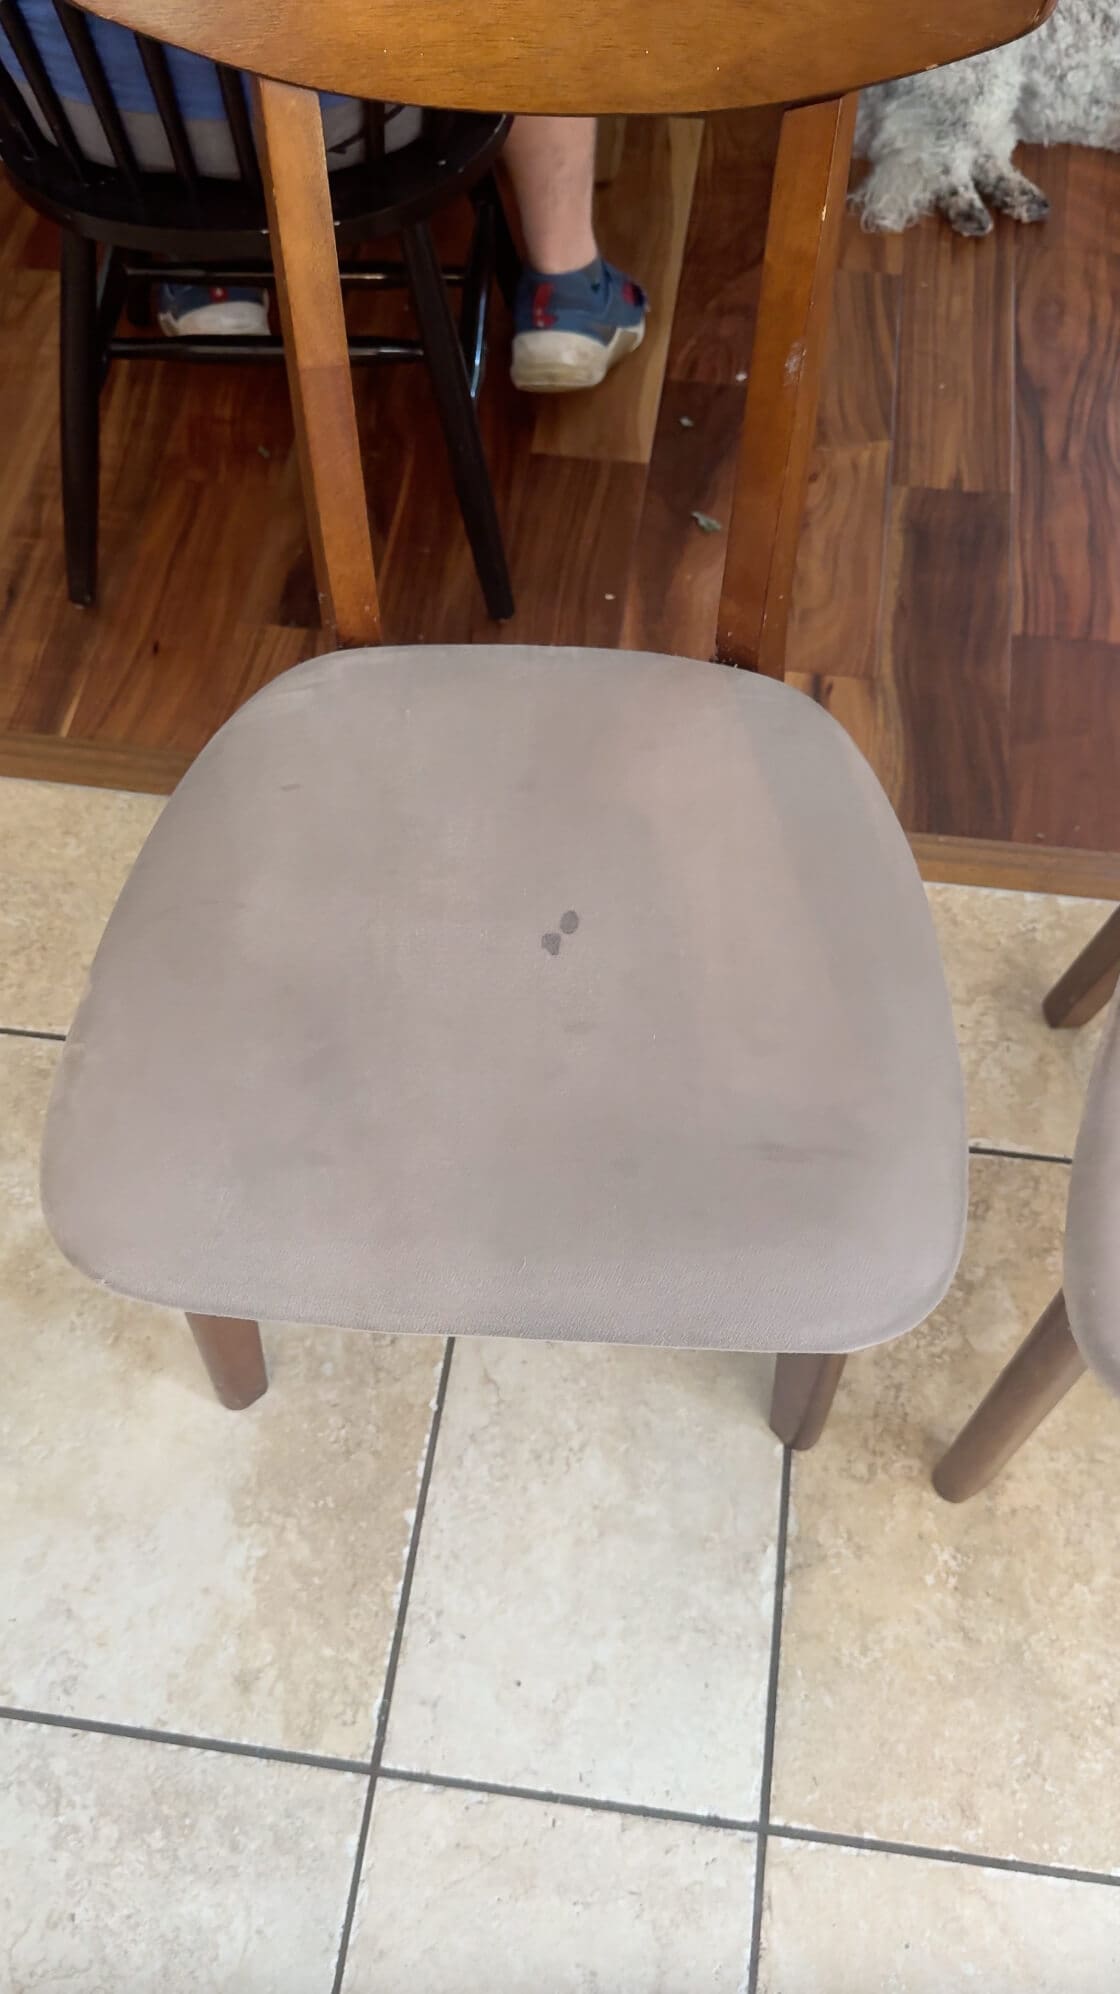
Related Post: How to Clean Fabric Dining Chairs
If you’re sealing your dining table to keep it looking nice, there’s a good chance your dining chairs could use a little love too – especially if you’ve got kids. Mine are constantly wiping hands, dropping food, or somehow managing to get syrup on everything. If you can relate, check out my post How to Clean Fabric Dining Chairs for all the tips I use to keep ours looking fresh.
📌Save This Project for Later
FAQ: Sealing a Wood Dining Table
I used Varathane Triple Thick Polyurethane in a matte finish. It’s water-based (so low odor), dries quickly, and provides excellent protection with fewer coats.
You can, but a foam roller helps apply a more even coat with fewer brush strokes. I found the roller made the whole process faster and smoother.
It dries to the touch in under an hour, but allow at least 24 hours before placing anything on the surface to let it fully cure.
Nope! The matte finish doesn’t add shine or yellowing. It keeps the wood looking natural while protecting the surface from water, heat, and wear.
