I’m a stay-at-home mom turned home design and DIY expert. I've discovered the thrill of creating a beautiful, functional home, and I'm here to inspire and teach you to do the same
Looking for the best homemade chicken stock recipe? This easy, step-by-step guide will show you how to make rich, golden chicken stock from scratch. Packed with nutrients and deep flavor, this stock is perfect for soups, stews, chilis, and more!
Once you try this healthy chicken stock, you’ll never go back to store-bought again. Let’s get started!
Why You’ll Love This Chicken Stock Recipe
✅ Super Flavorful – Made with chicken bones, garlic, and onions for a deep, rich taste. ✅ Healthy & Nutritious – Loaded with collagen and minerals that support gut health. ✅ Versatile – Use it in soups, sauces, rice, and even to cook veggies! ✅ Freezer-Friendly – Store it for months and have homemade stock ready anytime.
Watch My Step-by-Step Video Tutorial!
Prefer a video guide? Check out my step-by-step video tutorial on how to make this homemade chicken stock from scratch. I’ll walk you through each step to ensure you get a rich, golden, and flavorful stock every time! 👇
Ingredients for Homemade Chicken Stock
Chicken bones (backbones, wings, carcass, or a mix)
Chicken feet (adds extra collagen, optional)
Garlic (whole cloves, unpeeled)
Onions (quartered, unpeeled)
Water (enough to cover the bones)
Essential Equipment
You’ll need a few kitchen tools for the best results:
For this chicken stock, I’m using chicken backbones and chicken feet. I actually snag both from a local farm I found on Facebook Marketplace—pretty cool, right? You won’t always find stuff like backbones and feet at your regular grocery store, but I’ve lucked out with this local spot.
I toss the bones straight into my big stock pot (no need to even thaw them first)
Fill the pot with enough water to fully cover the bones.
Turn the stove to medium heat until it gets to a nice, gentle boil.
Why Skimming Is Important
As your chicken stock heats up, you’ll probably notice some grey foam bubbling to the surface. That’s called scum, and yeah, it looks kinda gross, but don’t worry—it’s totally harmless. You’ll just want to scoop it off with a fine mesh skimmer so your stock turns out nice and clear with that perfect golden color we’re aiming for.
Step 2: Add Flavor with Aromatics
While basic chicken stock only needs chicken and water, I love adding garlic and onions for extra depth of flavor.
Toss in unpeeled onions and garlic (no need to chop or peel!).
Stir everything together.
Lower the heat to medium-low, cover the pot, and let it simmer for 3-6 hours.
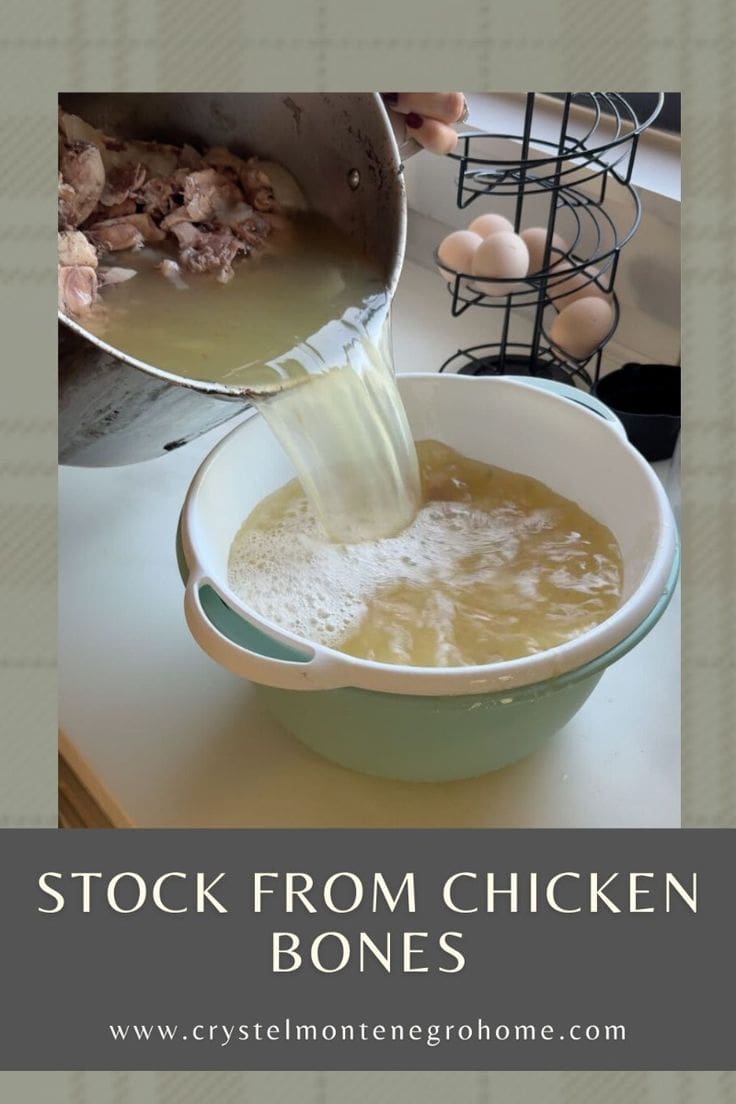
Step 3: Strain the Chicken Stock
Look at this beautiful golden elixir! This chicken stock looks perfect after just over 4 hours of simmering away on my stove. Now it’s time to strain it.
When it comes to the straining portion of this chicken stock recipe, I like to do it twice.
First, pour the stock through a large colander to remove big pieces like bones and garlic.
Next, strain it again through a fine mesh strainer to remove smaller bits.
I’m left with a perfectly clear, beautifully golden chicken stock.
Step 4: Refrigerate & Remove the Fat
The next step for this chicken stock recipe, just pop the stock in the fridge for a few hours. If you’re not in a rush, you can even leave it in there overnight.
Once the stock cools down, you’ll notice a layer of fat that hardens on top. Just scoop it off and scrape it away.
Underneath that fat layer, you’ll find a gelatinous, goopy chicken stock—that’s exactly what we’re going for! All that collagen from the bones is super good for you, and a thick stock like this means we’ve made a really high-quality, nutritious batch.
The stock will thin out when it’s heated by adding it to soups, stews, etc. For this particular batch of chicken stock, I was making it to add to a pot of brisket chili. Yum!
Bonus: Try My Bone Broth Recipe!
When I make my Thanksgiving turkey, I always use the carcass to make bone broth! It’s similar to this chicken stock recipe but simmered longer for even more nutrients.
This homemade chicken stock is rich, golden, and packed with flavor and nutrients—thanks to slow-simmered bones, aromatics, and plenty of natural goodness. Perfect for soups, stews, and sipping on its own!
Ingredients
Chicken bones (backbones, wings, carcass, or a mix)
Chicken feet (adds extra collagen, optional)
Garlic (whole cloves, unpeeled)
Onions (quartered, unpeeled)
Water (enough to cover the bones)
Instructions
Toss the bones straight into a big stock pot — no need to thaw them first.
Fill the pot with enough water to fully cover the bones.
Turn the stove to medium heat and bring the water to a gentle boil.
As the water heats, grey foam (called scum) will rise to the surface. Skim it off using a fine mesh skimmer to help your stock stay clear and golden.
Add your aromatics: toss in unpeeled onions and garlic — no need to peel or chop!
Stir everything together, then lower the heat to medium-low. Cover the pot and let it simmer for 3–6 hours.
When the stock is done, strain it through a large colander to remove the bigger pieces (like bones and garlic).
Strain it again using a fine mesh strainer to catch any smaller bits.
Transfer the strained stock to the fridge for a few hours (or overnight if you’ve got the time).
Once it’s fully chilled, scrape the hardened fat layer off the top.
Underneath that layer, you’ll find thick, gelatinous stock — full of collagen and nutrients! Don’t worry, it will thin out beautifully when heated in soups or stews.
Notes
You’ll need a few kitchen tools for the best results: