How to Level Ground for Garden Beds (Easy DIY Method)


Published April 3, 2026
Wanting to put in a garden this year? First things first — you need to level a section of your yard. If you’re wondering how to level ground for raised garden beds, I’m going to walk you through exactly how we did it from start to finish.
The area we picked for our garden had a lot of low spots, which would’ve caused drainage issues and made our raised beds sit unevenly. And if you’ve ever tried building on uneven ground… you know that’s a headache waiting to happen.
So before we could get to the fun part of planting, we had to start with the not-so-glamorous part… learning how to level ground for raised garden beds. I’m walking you through exactly what worked for us (including a few unexpected tricks along the way).
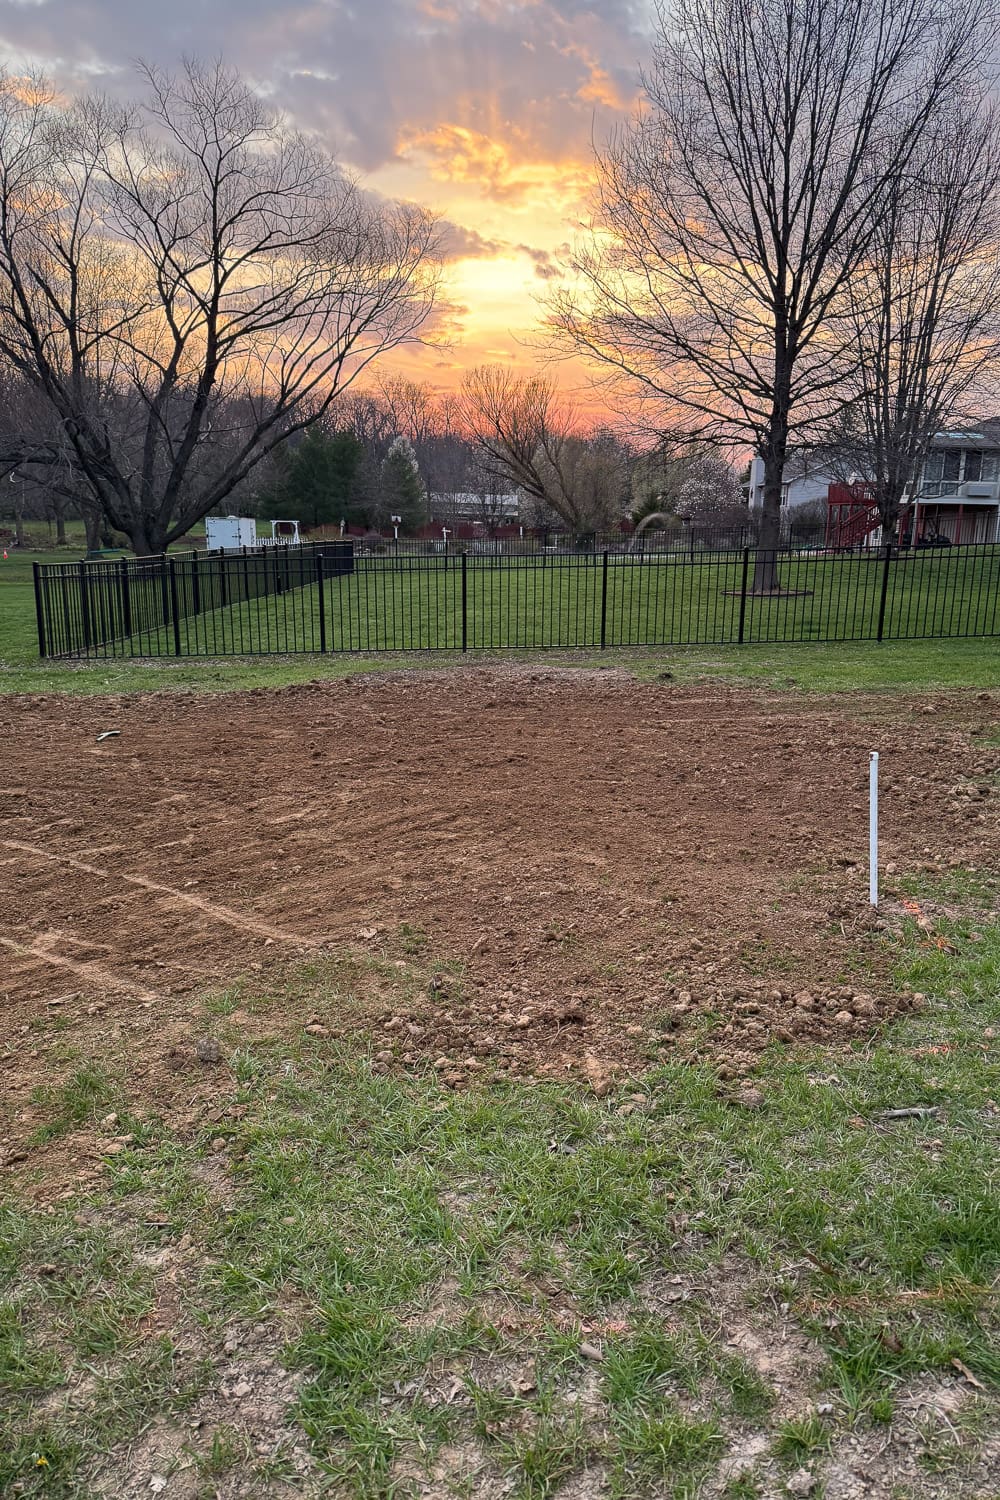
Table of Contents
- Why You Need to Level Ground for Raised Garden Beds
- Step 1: Bring in Fill Dirt to Fix Low Areas
- Step 2: Break Up the Soil
- Step 3: Start Rough Leveling
- Step 4: Use What You Have to Smooth It Out
- Step 5: Compact the Soil
- Step 6: Fill Low Spots and Repeat
- Step 7: Final Check and Done!
- What Worked to Level the Ground
- Final Thoughts on How to Level the Ground for Raised Garden Beds
- 📌 Save This for Later: How to Level Ground for Raised Garden Beds
- FAQ: How to Level Ground for Raised Garden Beds
Why You Need to Level Ground for Raised Garden Beds
Before jumping into how to level ground for raised garden beds, it’s important to understand why this step matters.
If your ground isn’t level, it can cause problems like:
- Poor drainage
Water will pool in low spots, leaving some plants overwatered while others dry out - Crooked or uneven garden beds
Even a slight slope can make your beds look off and sit unevenly - Shifting over time
Soil can settle after watering or rain, causing your beds to move or sink - More work later on
Skipping this step now usually means fixing problems later
Taking the time to properly level your ground gives you a solid, stable base and makes the rest of your garden project so much easier.
Step 1: Bring in Fill Dirt to Fix Low Areas
The first thing you’ll realize when figuring out how to level ground for raised garden beds is that you’re probably going to need extra dirt. Since our garden area sat pretty low, we had to build it up before we could even start leveling. Thankfully, we had just dug a hole for our in-ground trampoline, so we were able to repurpose that dirt. Honestly, the timing couldn’t have worked out better.
If your yard isn’t level, chances are you’ll need to add fill dirt before anything else.
Step 2: Break Up the Soil
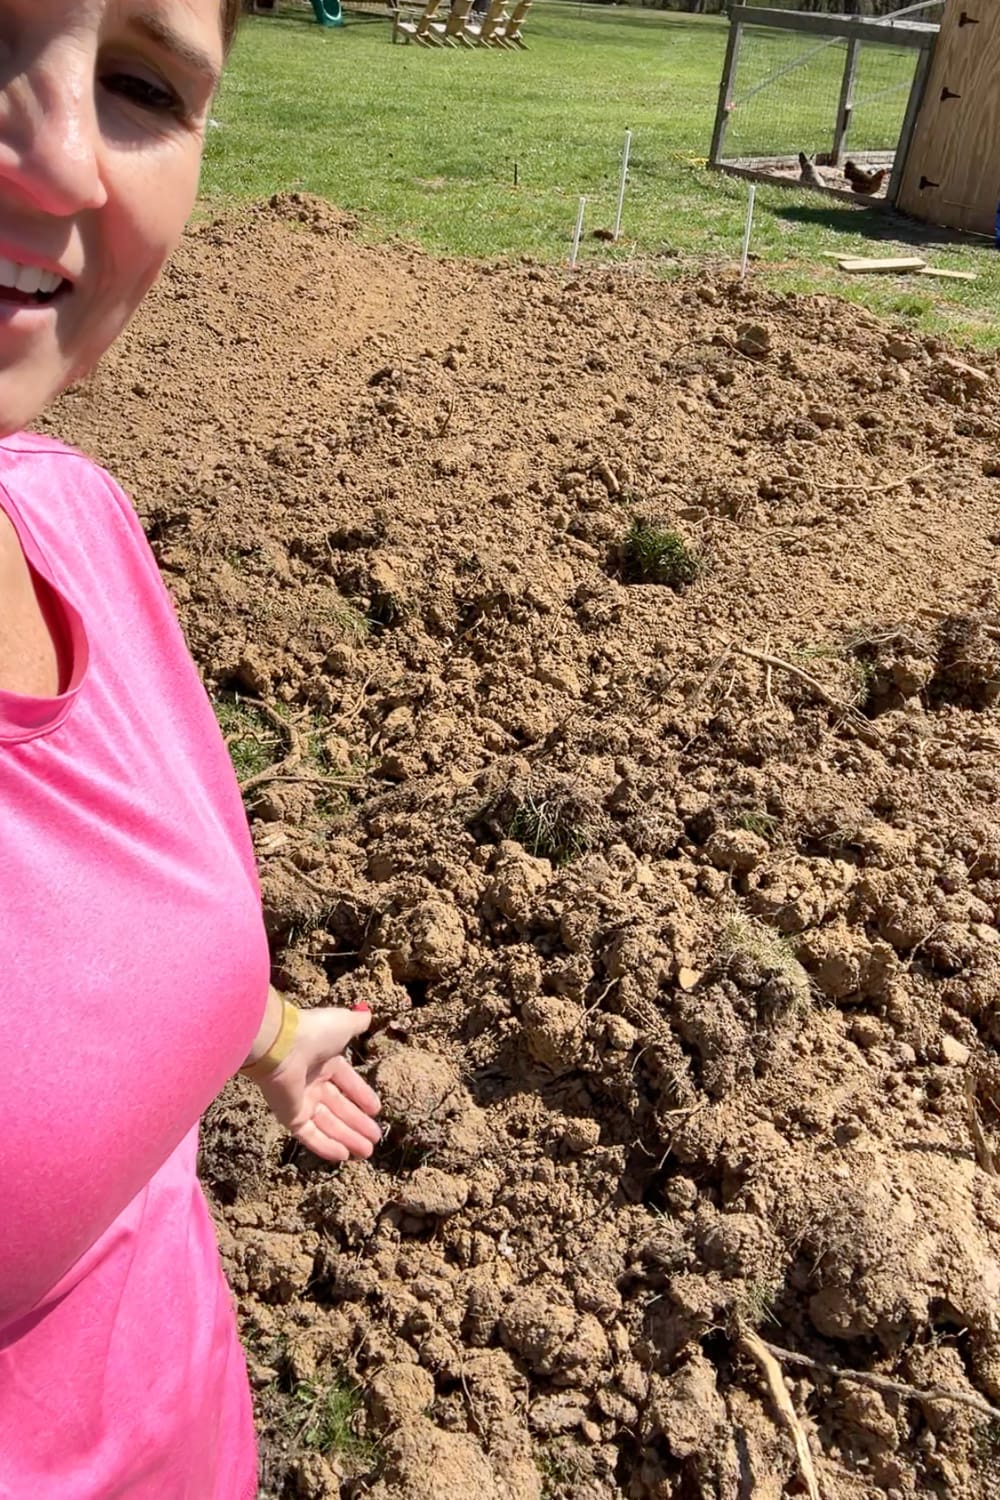
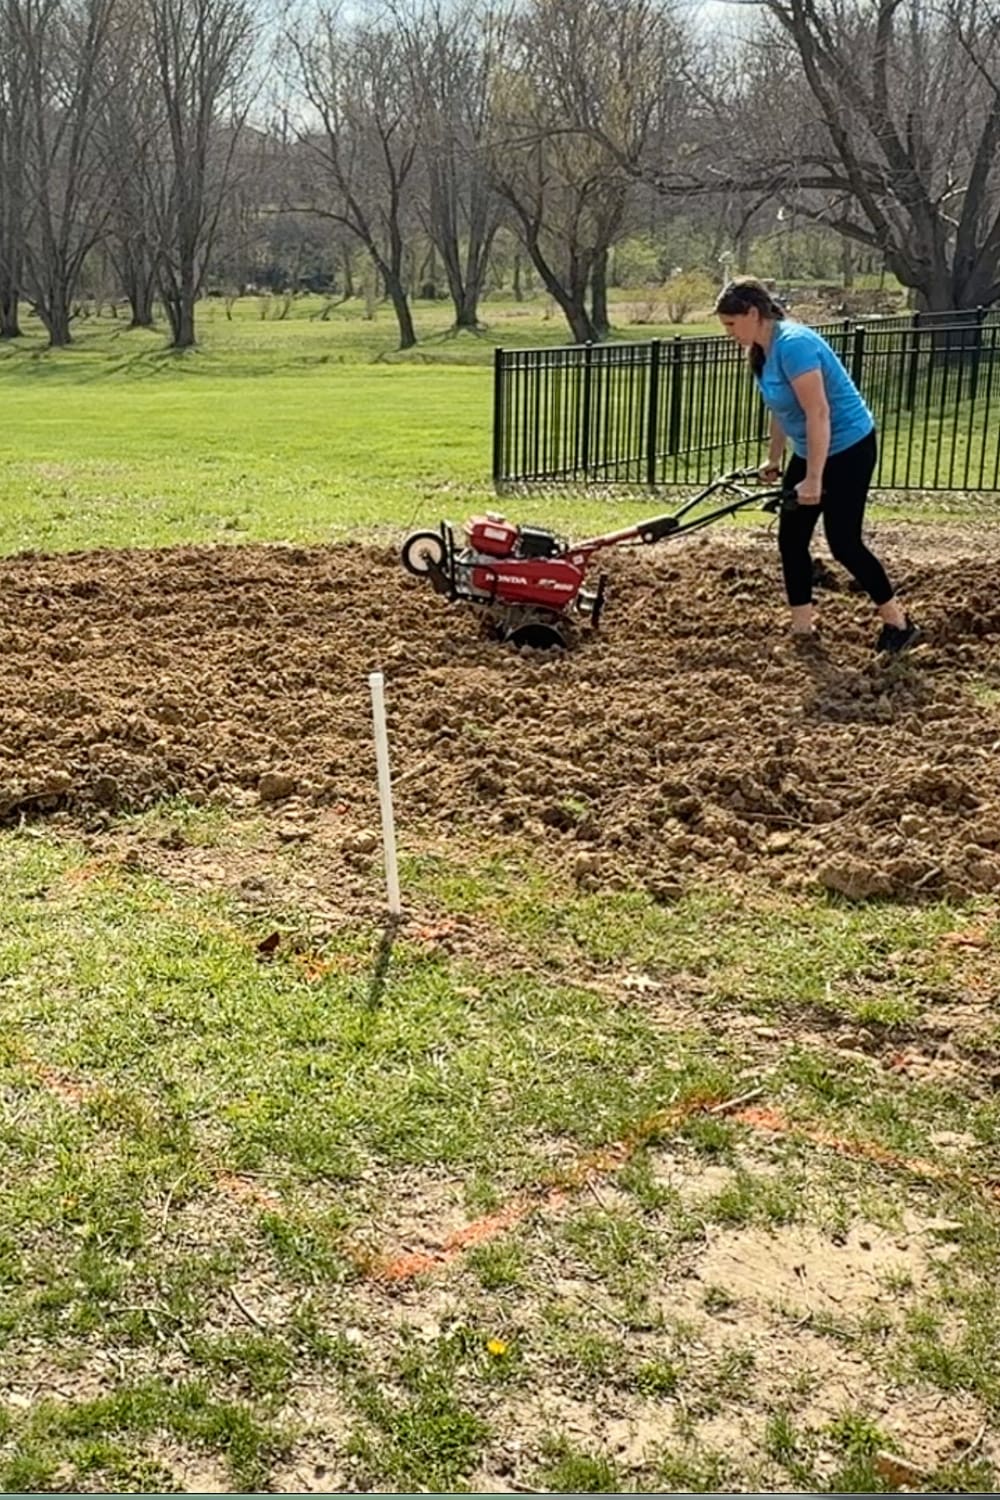
Once we had enough dirt in place, the next step to leveling the ground for raised garden beds was to break everything up so we could actually work with it.
Our soil here is heavy on the clay, so we rented a heavy-duty rototiller and put it to work. We used it to loosen the soil, mix everything together, and make it easier to move around.
Step 3: Start Rough Leveling
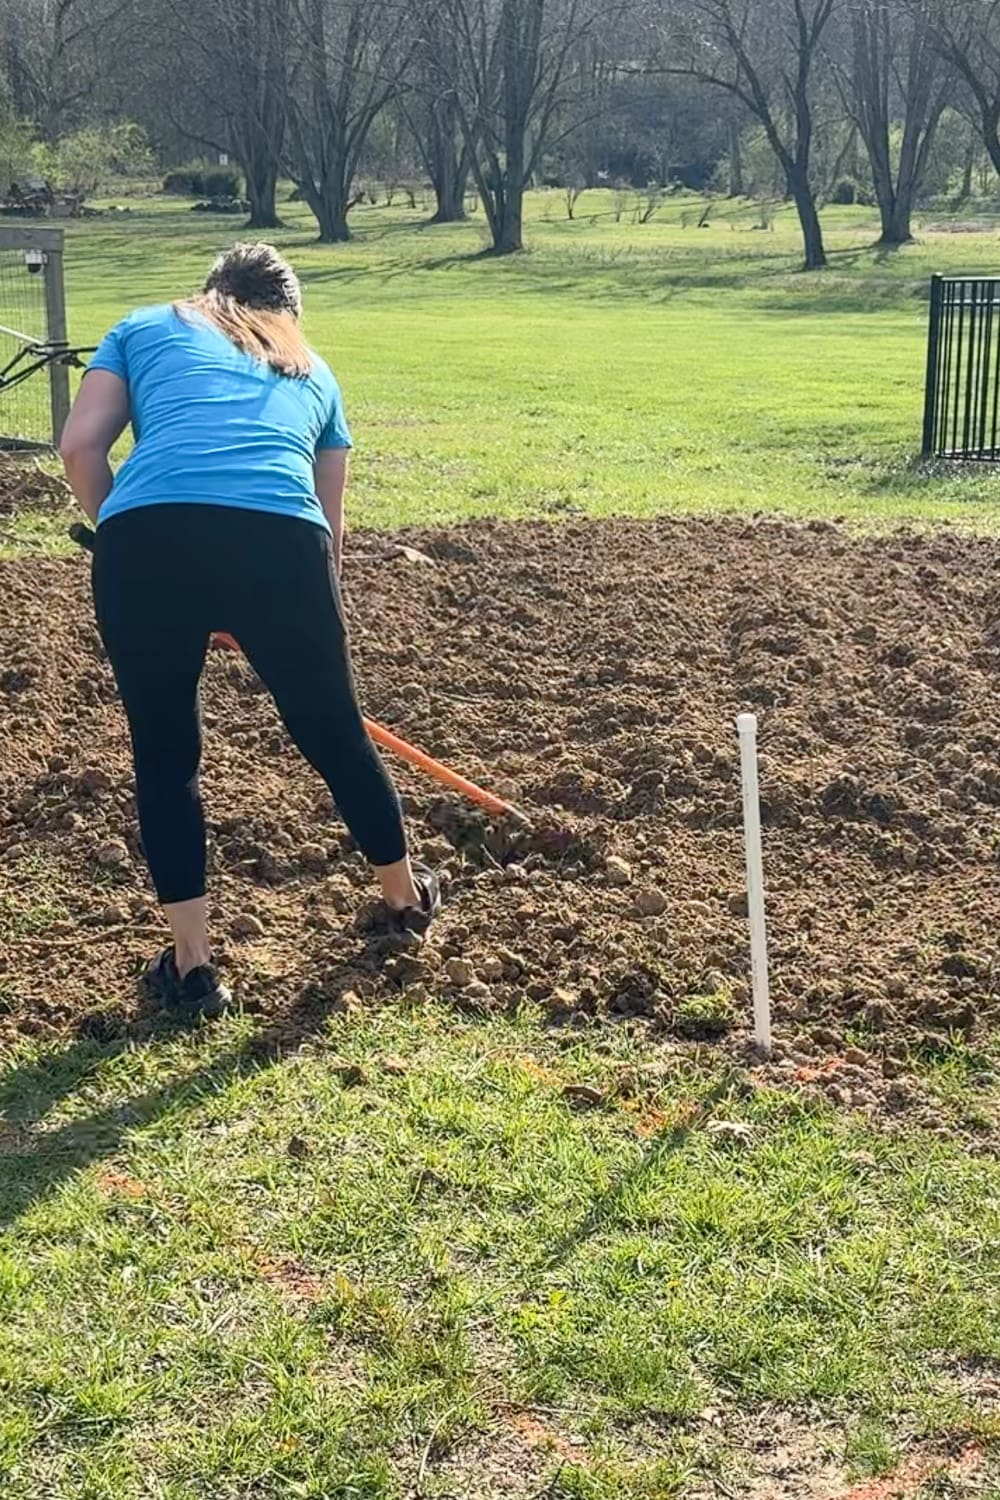
We used a rake to pull dirt into low spots and knock down the higher areas. At this point, you’re basically eyeballing it and working section by section. Use a shovel to scoop out any rocks or roots that will get in the way.
If you’re learning how to level ground for raised garden beds, this is where you want to slow down a little. The better job you do here, the easier the rest of the process will be.
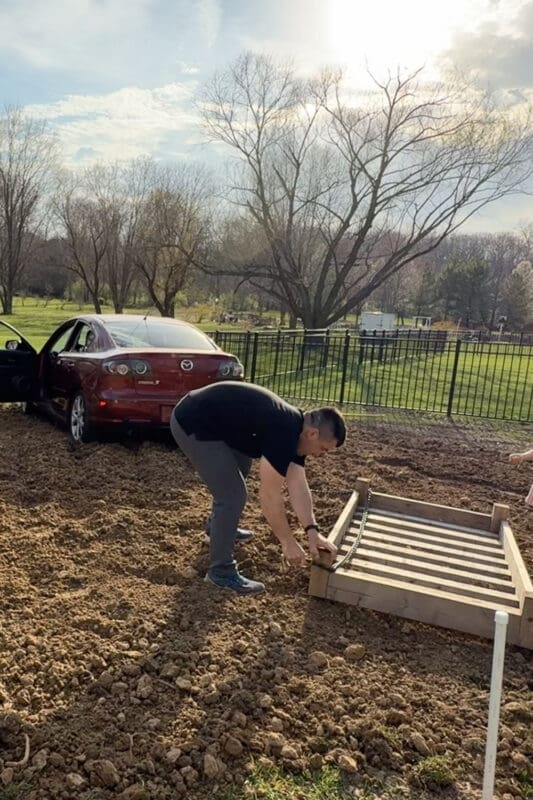
Step 4: Use What You Have to Smooth It Out
Okay… this part makes me laugh because we definitely got creative here 😅
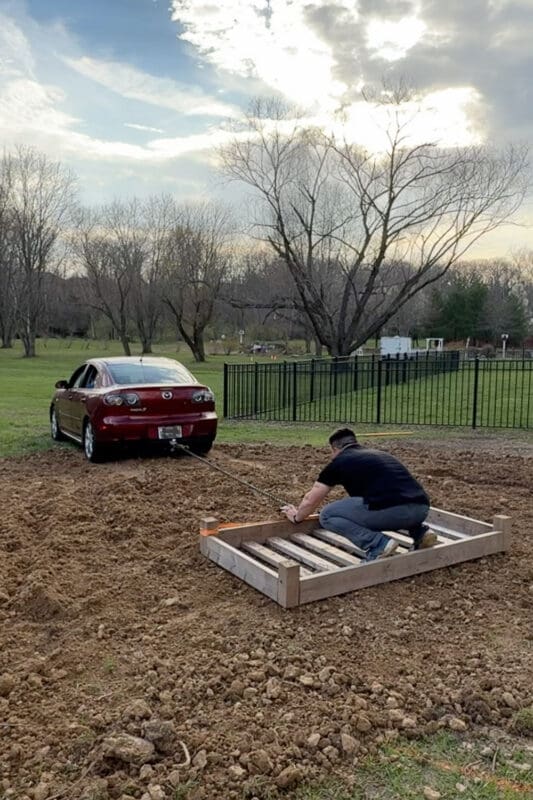
We’d done a pretty good job spreading the dirt around with a rake, but we wanted to smooth it out more evenly across the garden. So we chained an old bed frame to the back of the car and dragged it across the dirt while my husband weighed it down. It actually worked pretty well, but it didn’t quite give us the results we were hoping for.
Then we switched to using the metal gate from our trailer, chained it to the back of the car, and dragged it across the area. SO much better.
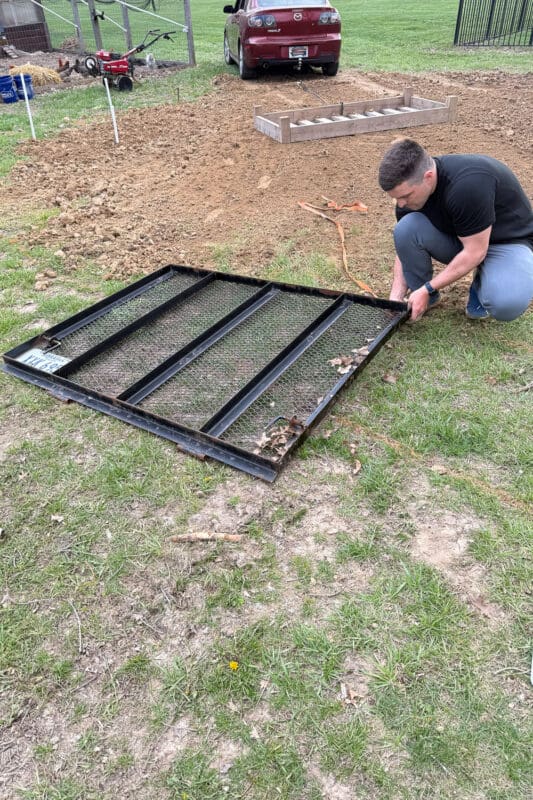
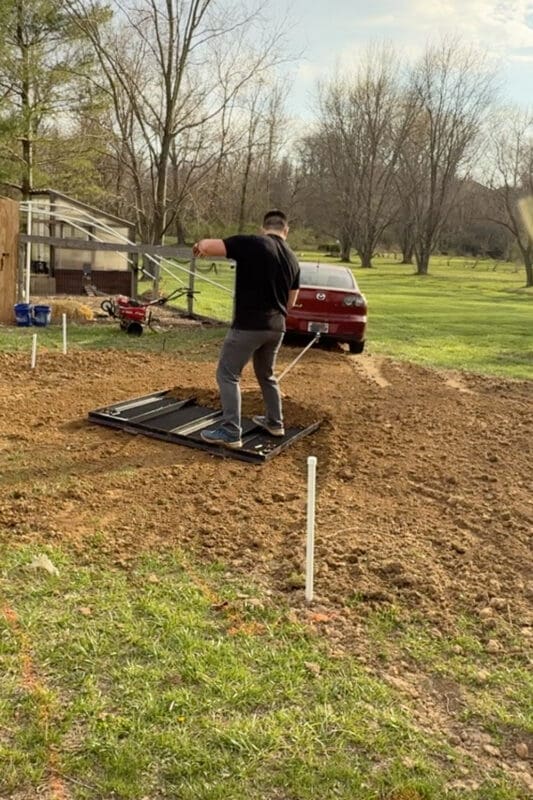
It basically acted like a giant leveling tool and smoothed everything out way more evenly.
If you’re trying to figure out how to level ground for raised garden beds without renting equipment, don’t overthink it. Look around and use what you have
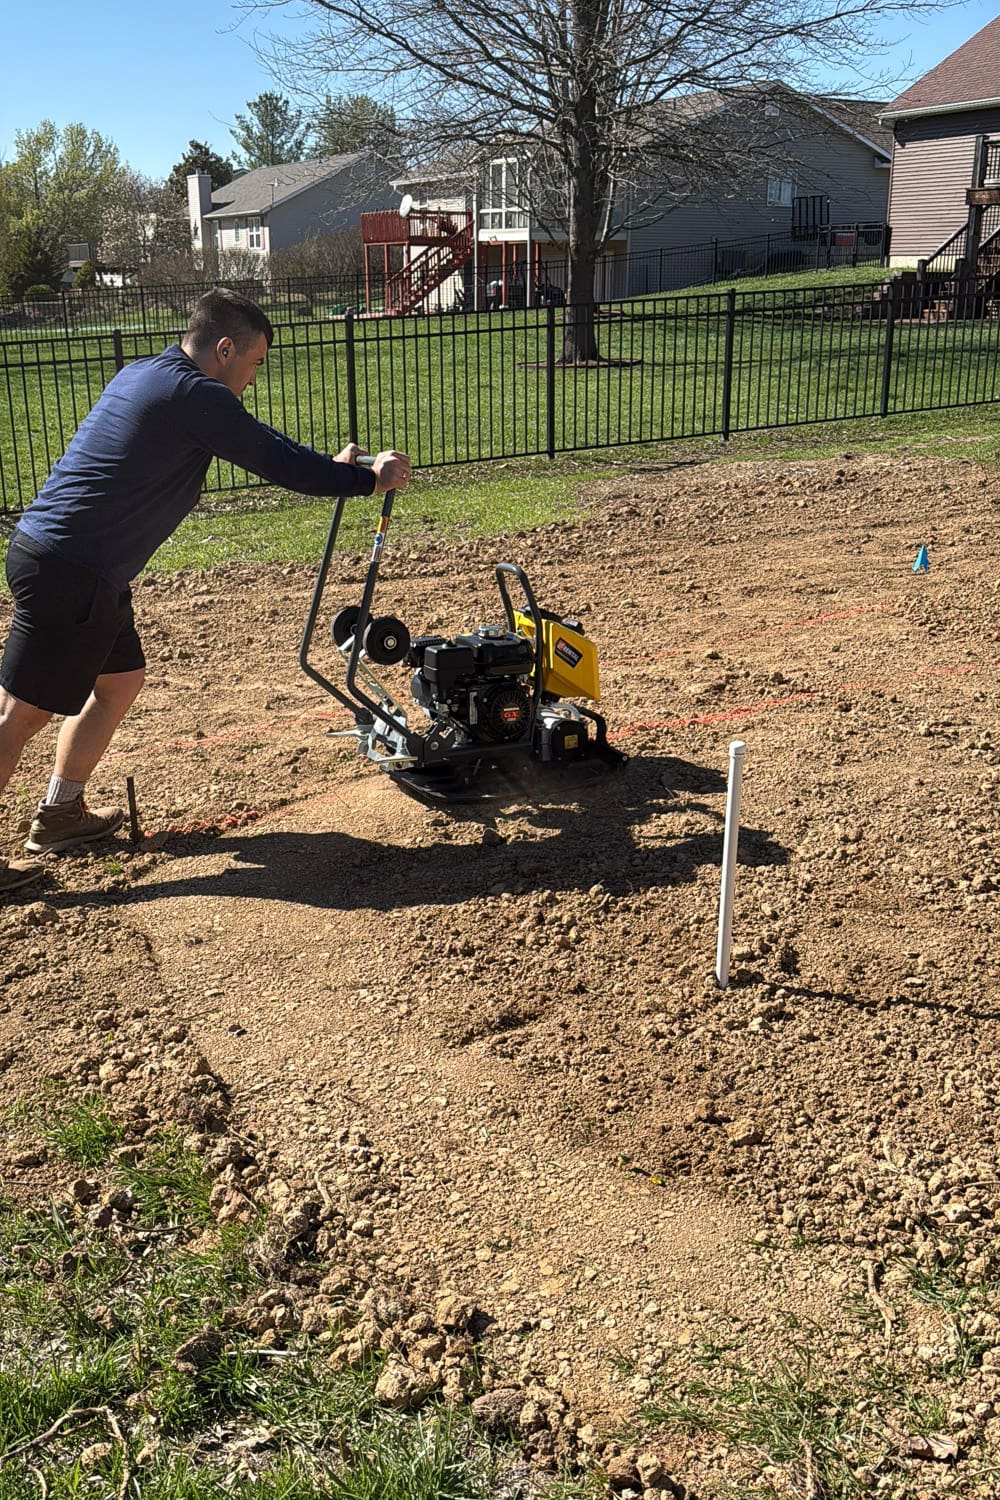
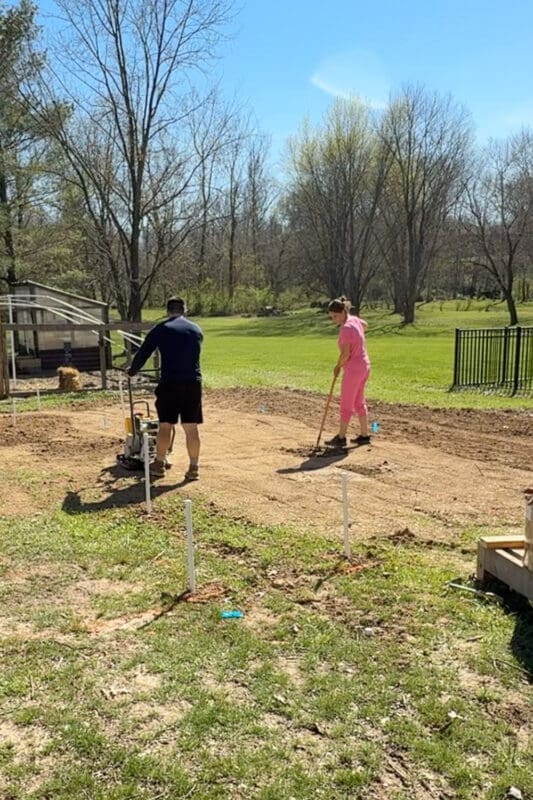
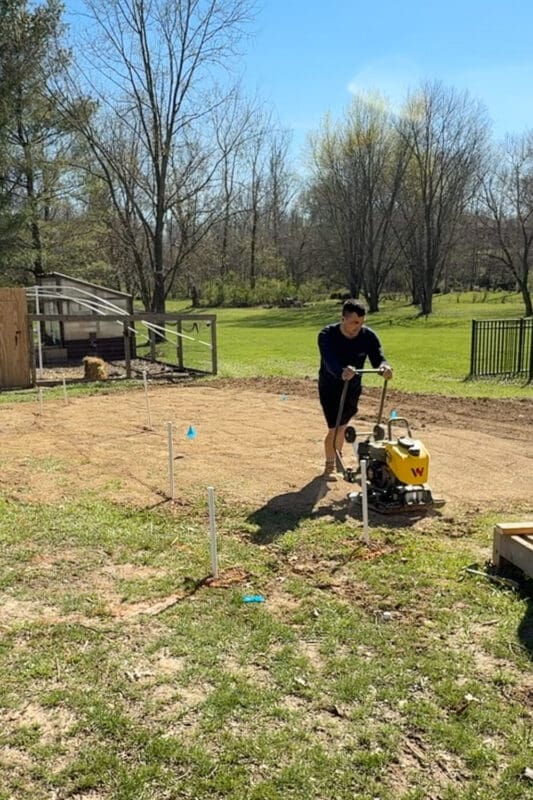
Step 5: Compact the Soil
Once everything looked level, we moved on to compacting. This step is essential when it comes to having level ground for raised garden beds.
We rented a plate compactor to pack everything down and create a solid base. This helps prevent the ground from settling later, which can undo all your hard work.
Step 6: Fill Low Spots and Repeat
After compacting a section, you’ll probably notice that your ground is still not quite perfectly level. It’s ok. This step is where it all comes together.
As the compactor did its job, we found a few spots that were still low. So I:
- added more dirt
- raked it out
- compacted again
And then… did it again.
If there’s one thing to know about how to level ground for raised garden beds, it’s that it’s a process. You’ll likely have to repeat some of these steps a few times to get it just right.
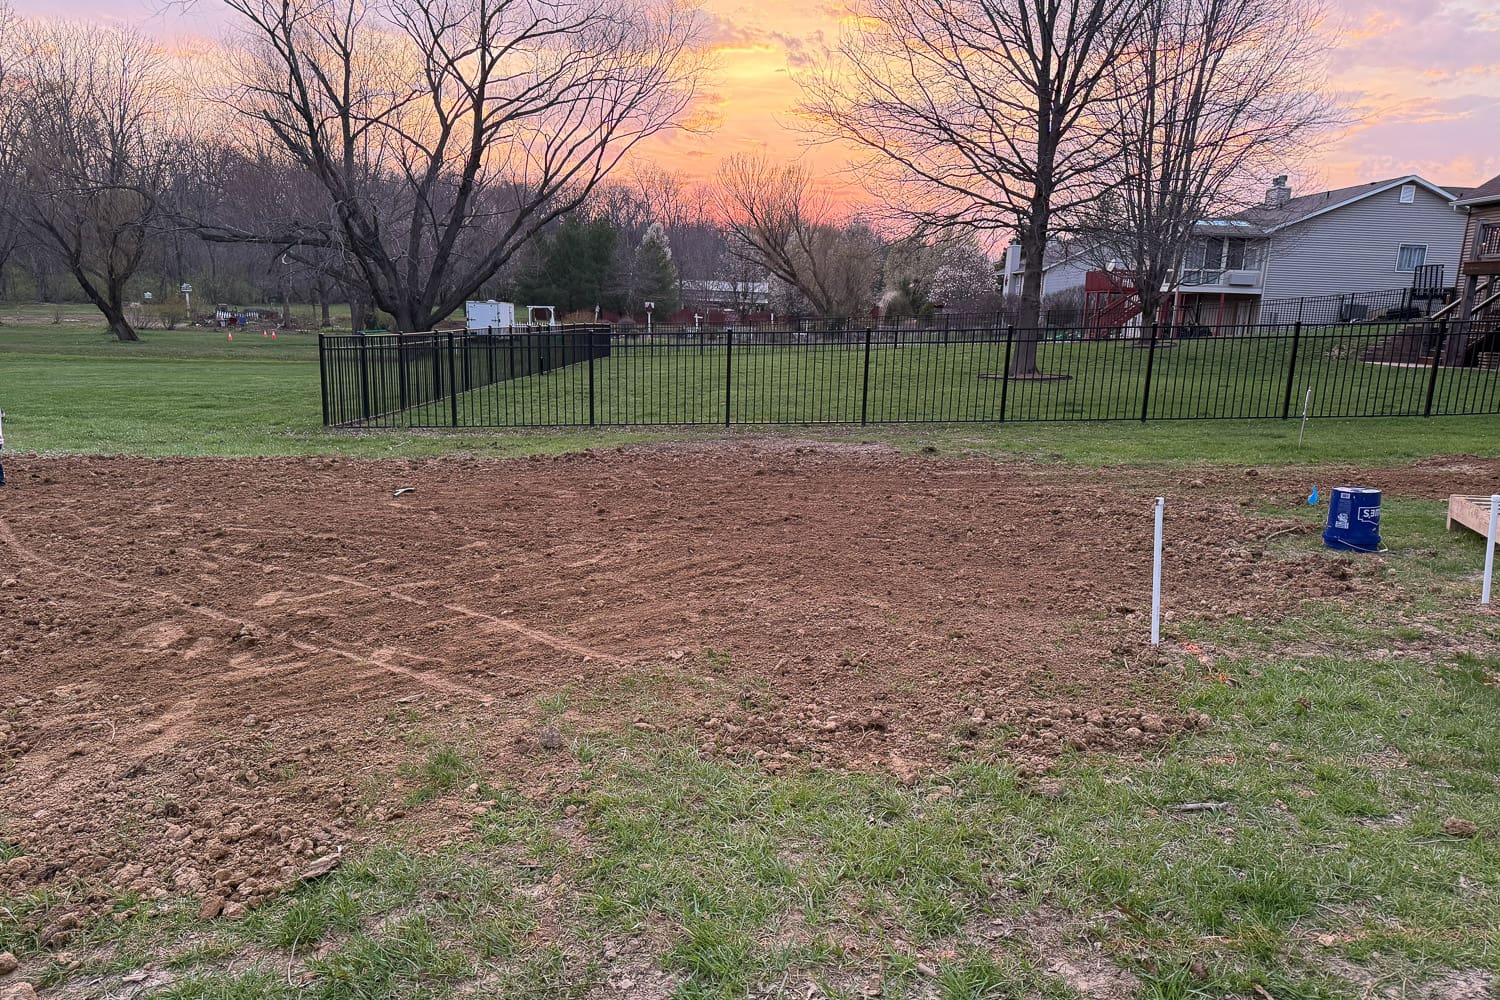
Step 7: Final Check and Done!
Once everything was filled, smoothed, and compacted, we stepped back and checked the whole area.
By the end, we had a level, solid base ready for our raised garden beds.
What Worked to Level the Ground
Thinking of what you really need to know when learning how to level ground for raised garden beds, here’s what I’d tell you:
What worked really well:
- Using dirt we already had
- The trailer gate trick (seriously… do this)
- Taking the time to compact and re-level
Final Thoughts on How to Level the Ground for Raised Garden Beds
Learning how to level ground for raised garden beds might not be the most exciting part of starting a garden, but it’s one of the most important.
Taking the time to do this right means your beds will sit evenly, drain properly, and look so much better in the end.
📌 Save This for Later: How to Level Ground for Raised Garden Beds
Want to come back to this project when you’re ready to start your garden?
Be sure to pin this post so you have an easy step-by-step guide on how to level ground for raised garden beds right when you need it.
FAQ: How to Level Ground for Raised Garden Beds
To level ground for raised garden beds, start by adding fill dirt to low areas, then break up the soil using a rototiller. Use a rake to spread and smooth the dirt, and finish by compacting the soil. You may need to repeat the process of filling, raking, and compacting until the ground is fully level.
Common tools include a rake, shovel, and rototiller for moving and spreading dirt. A plate compactor is one of the best tools to finish the job because it packs the soil down and prevents future settling.
Fixing uneven ground involves filling low spots with dirt, spreading it evenly, and compacting the soil. This process may need to be repeated several times to get a smooth, level surface.
Leveling ground ensures your raised garden beds sit evenly, prevents drainage issues, and helps your garden look more finished. Skipping this step can lead to shifting beds and uneven water distribution.
