Easy Harry Potter Cake (Anyone Can Make This!)


Published March 28, 2026
If you’ve ever wanted to make a Harry Potter cake but felt intimidated… this is your sign to go for it.
Because I’m going to show you exactly how I made this birthday cake at home. I used a basic store-bought cake, simple supplies, and have zero fancy skills. And the best part? It looks like you spent hours on it… but it’s actually SO easy.
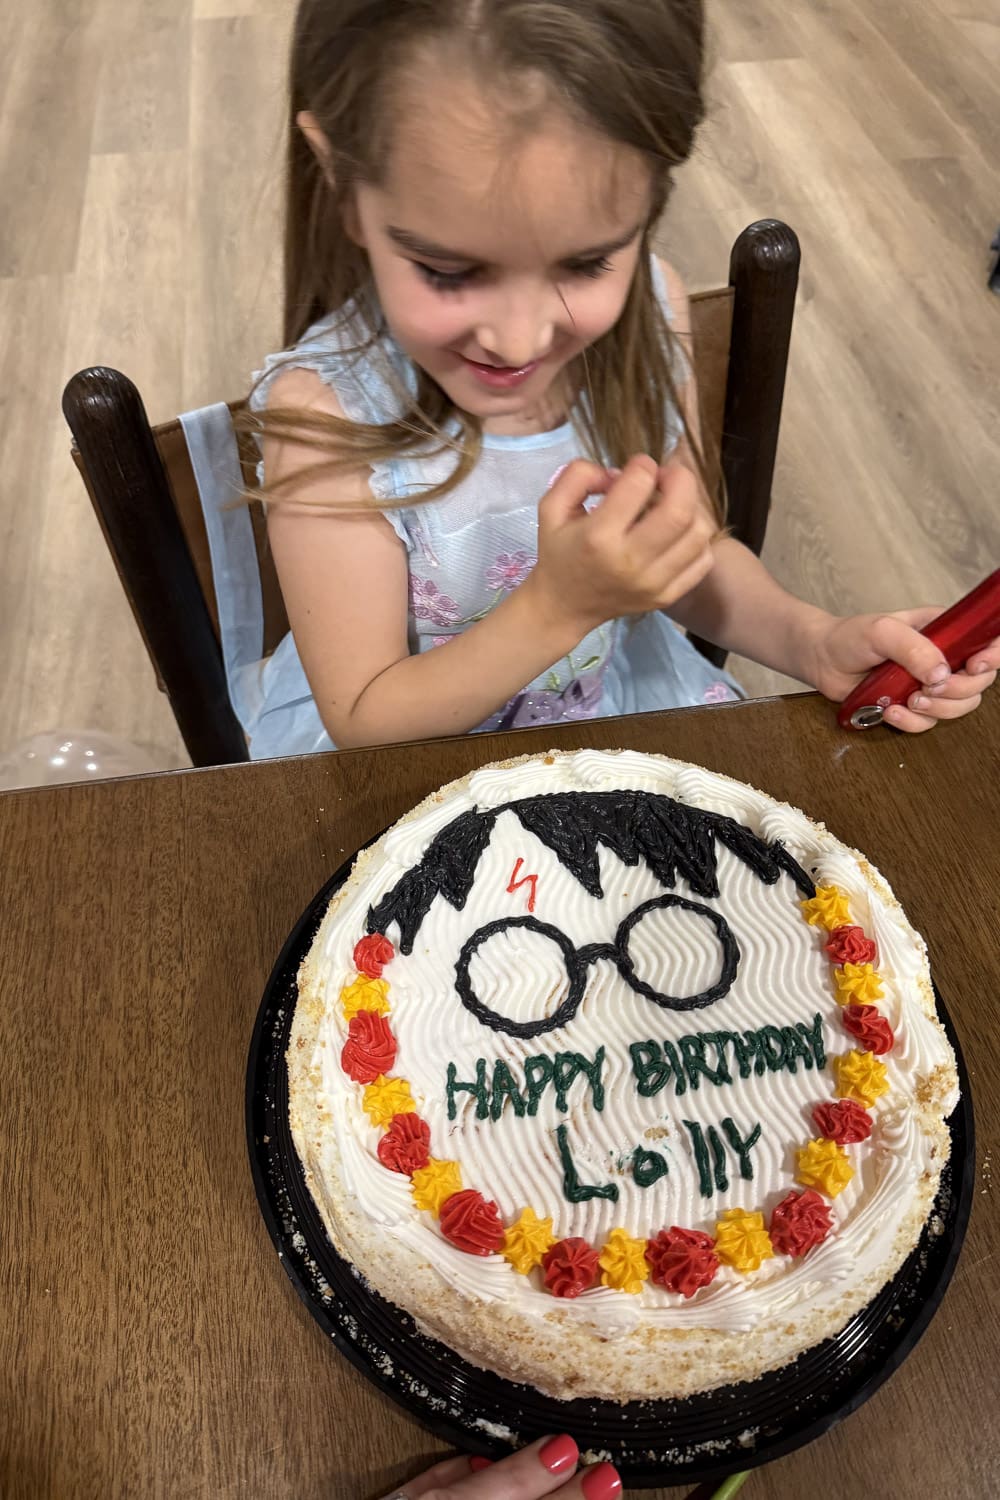
Table of Contents
- Why This Harry Potter Cake Is Perfect for Busy Moms
- What You Need to Make This Harry Potter Cake
- How to Make a Harry Potter Cake (Step-by-Step)
- Real Life Tip (Because We’re Not Perfectionists Here)
- The Final Harry Potter Cake Reveal
- Another Easy Harry Potter Cake Idea (We Did It Again!)
- Our Family’s Harry Potter Obsession
- 📌 Save This Easy Harry Potter Cake Idea for Later
- Harry Potter Cake FAQs
Why This Harry Potter Cake Is Perfect for Busy Moms
This easy Harry Potter cake…
- ✔️ Start with a store-bought cake
- ✔️ Use pre-made frosting or homemade buttercream
- ✔️ Focus on decorating (the fun part!)
This is the kind of birthday cake that looks impressive but doesn’t stress you out.
What You Need to Make This Harry Potter Cake
Here’s exactly what I used to make this Harry Potter cake, and how I kept it simple without sacrificing the look.
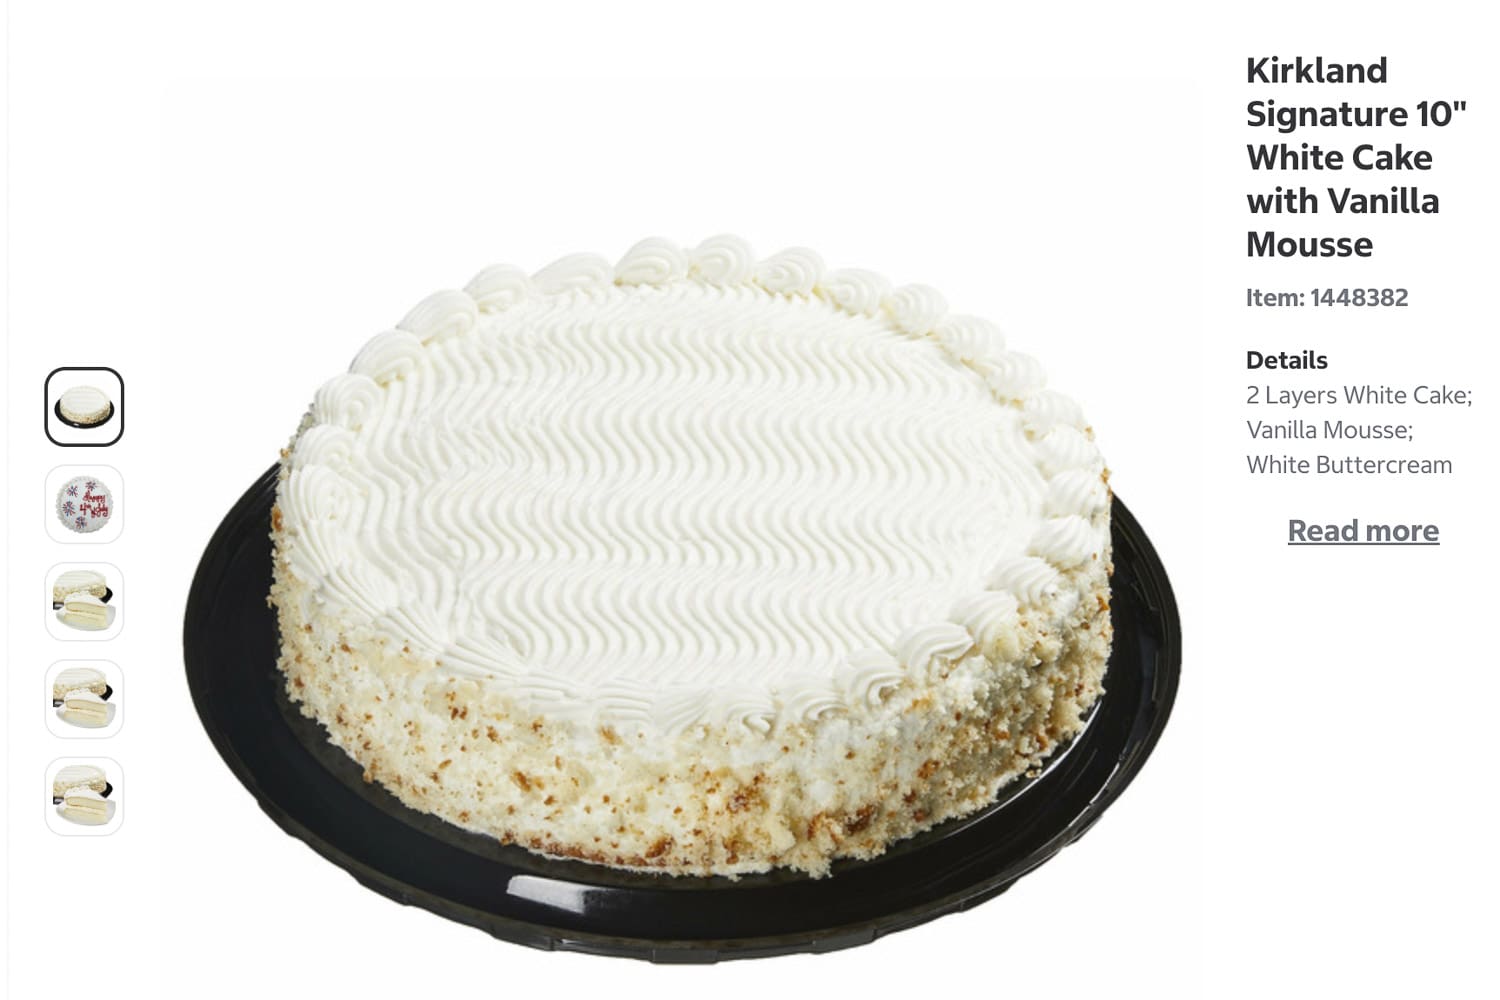
First—let’s talk about the base. I grabbed a plain white cake from Costco (their Kirkland cakes are SO good and save a ton of time). This gives you a perfect, smooth, and delicious starting point for your cake design without baking anything from scratch.
For the frosting, I made a simple buttercream at home, but you can absolutely use store-bought frosting if you want to make this even easier.
To get all the colors for this Harry Potter birthday cake, I used gel food coloring:
- Black (for the glasses and hair)
- Red (for the lightning bolt and border)
- Yellow (for the stars)
- Green (for writing)
You’ll also need:
- Piping bags (or ziplock bags work in a pinch)
- A few decorating tips (I used a small round tip and a star tip)
How to Make a Harry Potter Cake (Step-by-Step)
1. Start with a Plain Cake Base
Grab a plain white cake and leave the frosting as-is.
This gives you a blank canvas for your design.
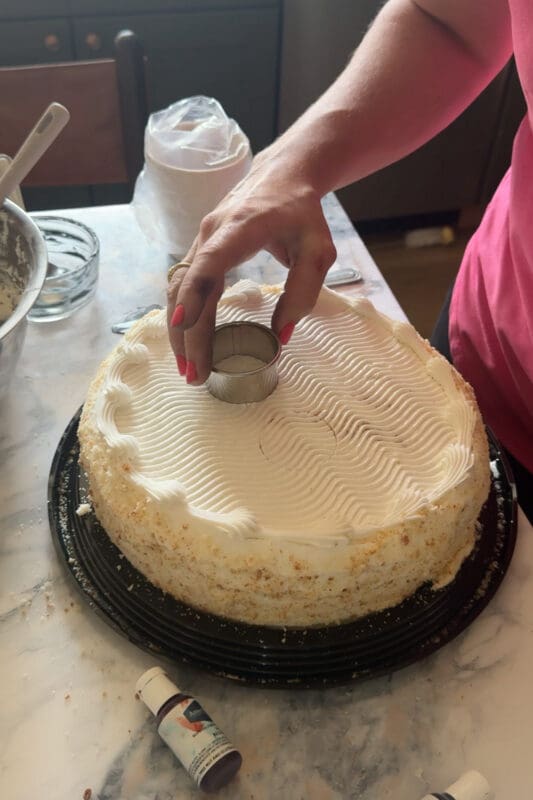
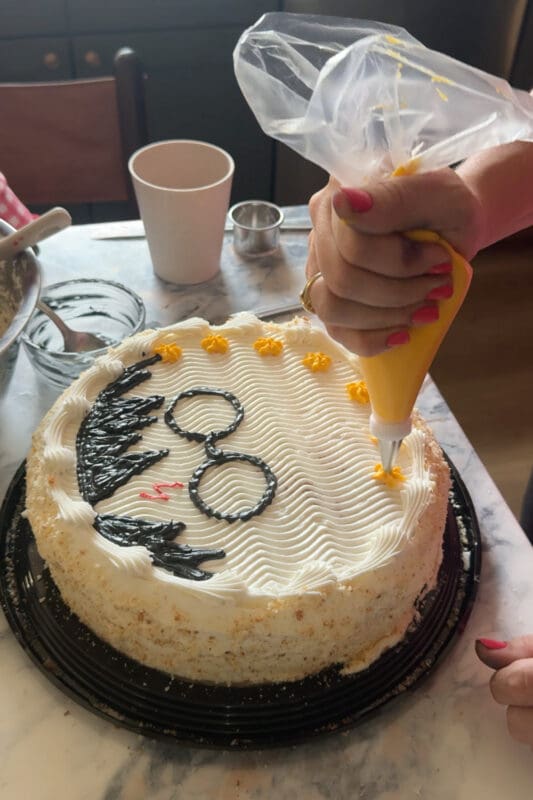
2. Outline the Glasses
Use a small round cutter or cup to lightly mark two circles on the cake.
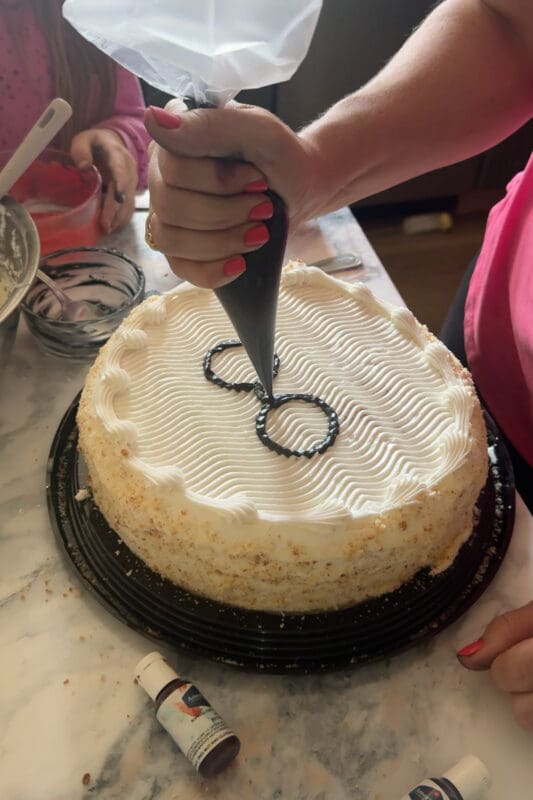
Then pipe over them with black frosting to create the iconic glasses.
This is what instantly makes it look like a Harry Potter cake.
3. Add the Hair
Using black frosting, pipe messy, zig-zag strokes across the top edge of the cake.
Don’t overthink it—the messier, the better!
This gives you that signature Harry Potter hair look.
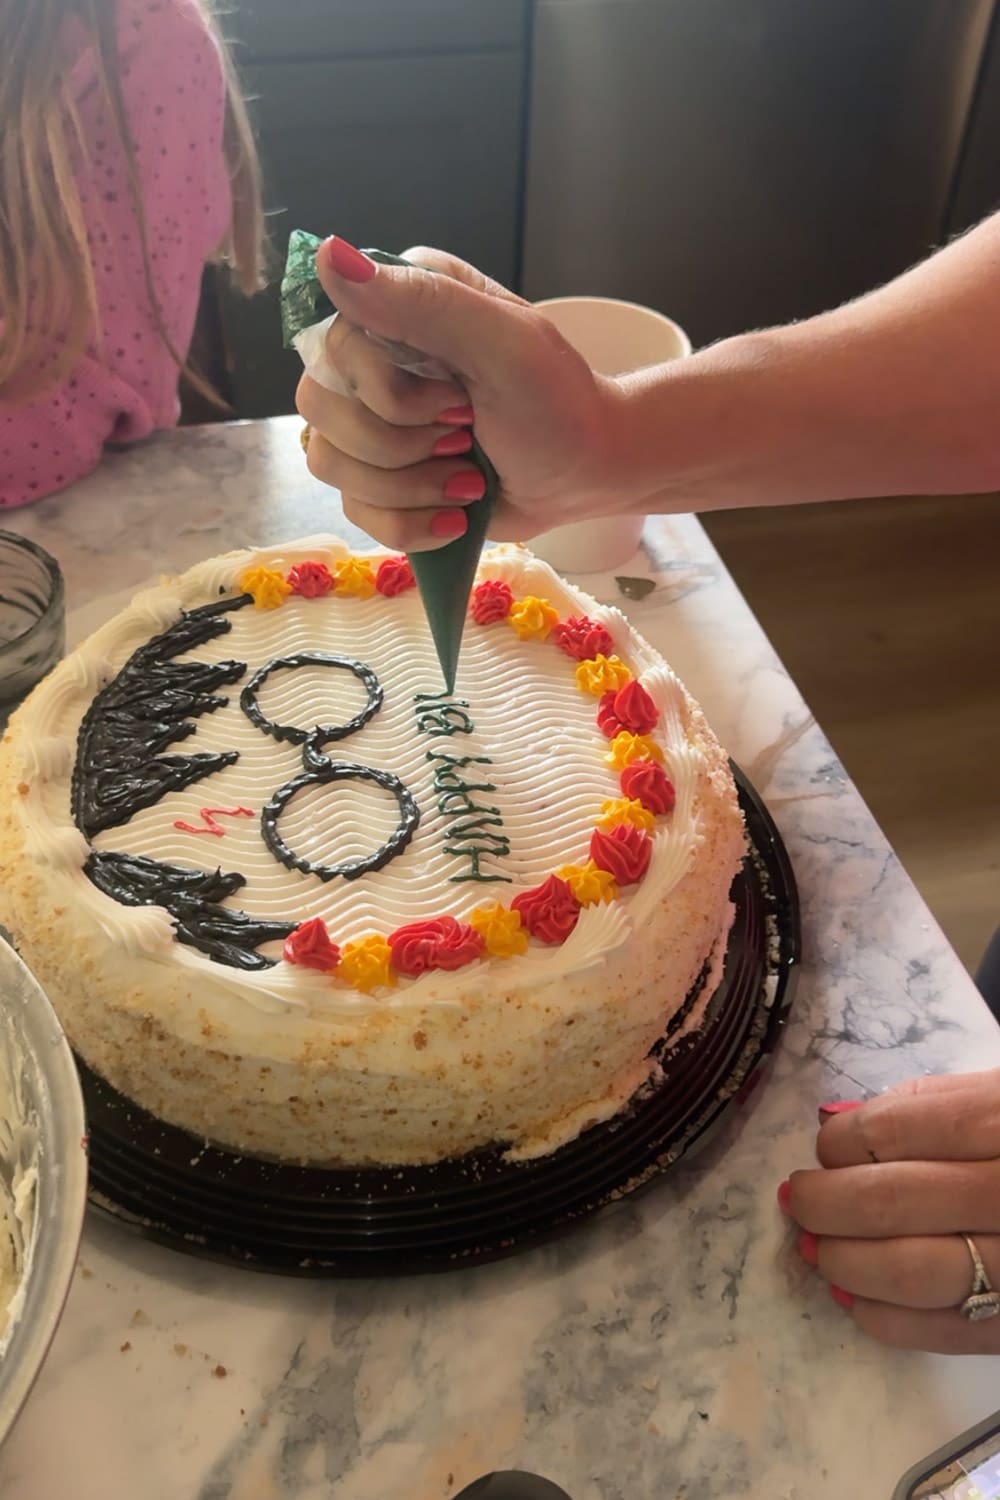
4. Pipe the Lightning Bolt
Add a small red lightning bolt between the glasses.
It’s a tiny detail, but it really brings your cake design to life.
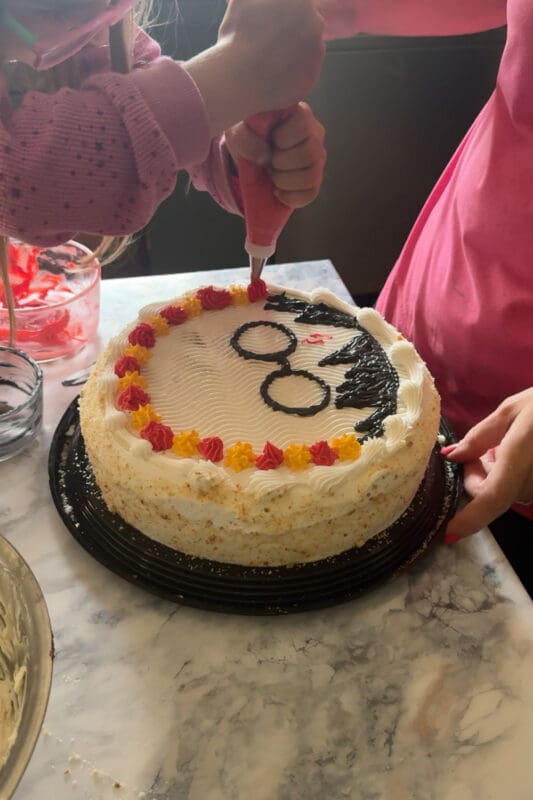
5. Add a Fun Border
Use the star tip to pipe yellow stars around the edge of the cake, then go back and add red stars in between.
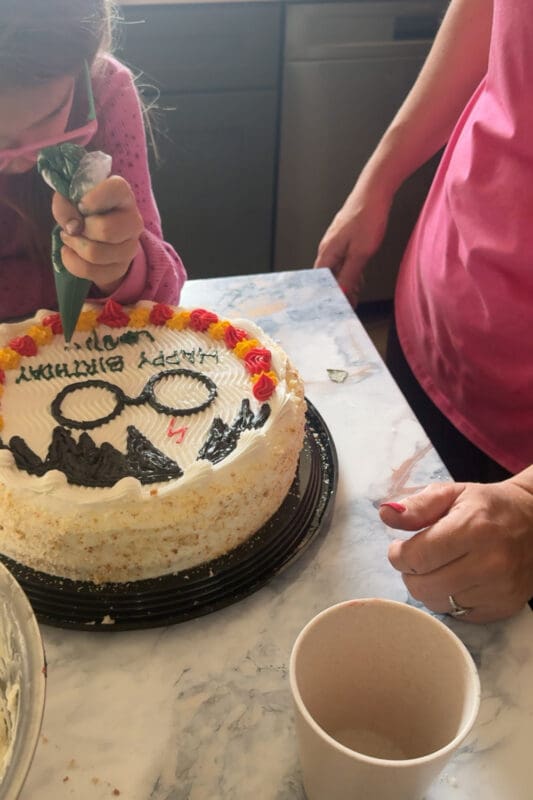
6. Write Your Message
Write “Happy Birthday” and the name. I chose green frosting, but almost any color will look good here. Don’t overthink getting the lettering perfect. Just go for it.
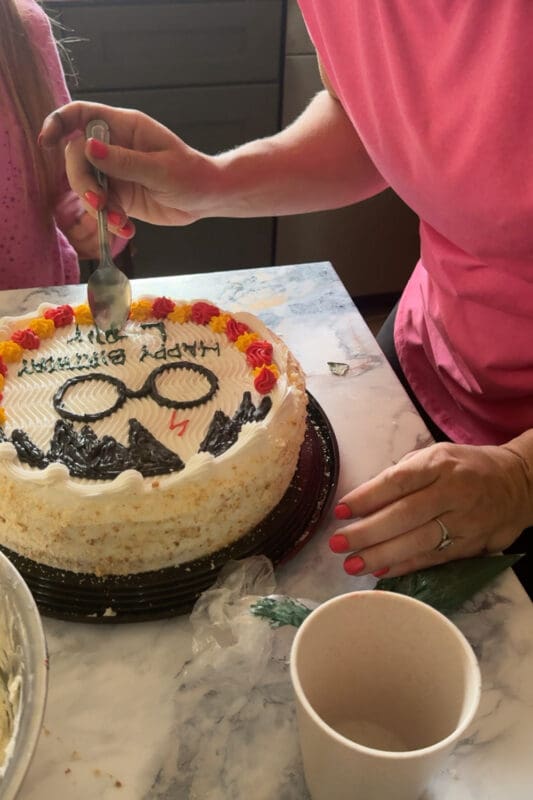
Don’t be afraid to let the kids help. This cake is so easy to do, an also easy to fix if mistakes are made.
if you mess up (because I definitely did 😅), just use a spoon or an offset icing spatula to gently remove any oopsies, smooth it out, and try again!
Real Life Tip (Because We’re Not Perfectionists Here)
Your lines don’t have to be perfect.
Your lettering doesn’t have to be perfect.
And your Harry Potter cake will STILL turn out adorable.
Honestly, the little imperfections are what make it feel homemade and special.
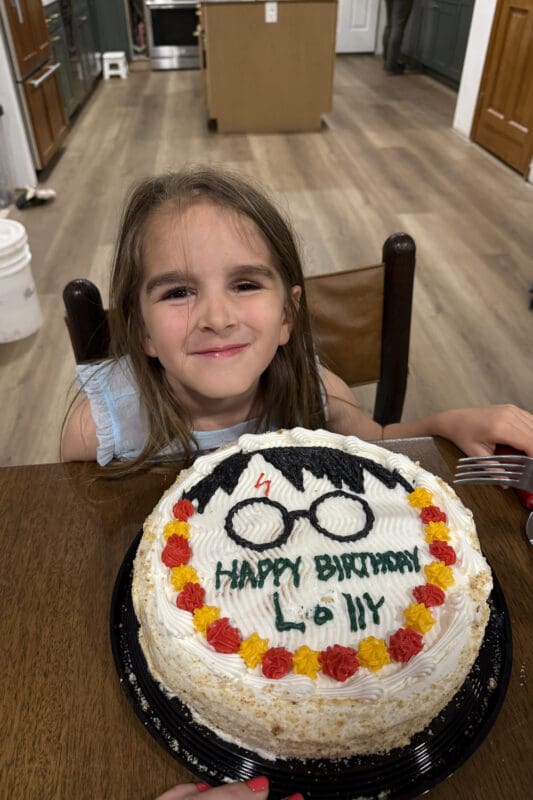
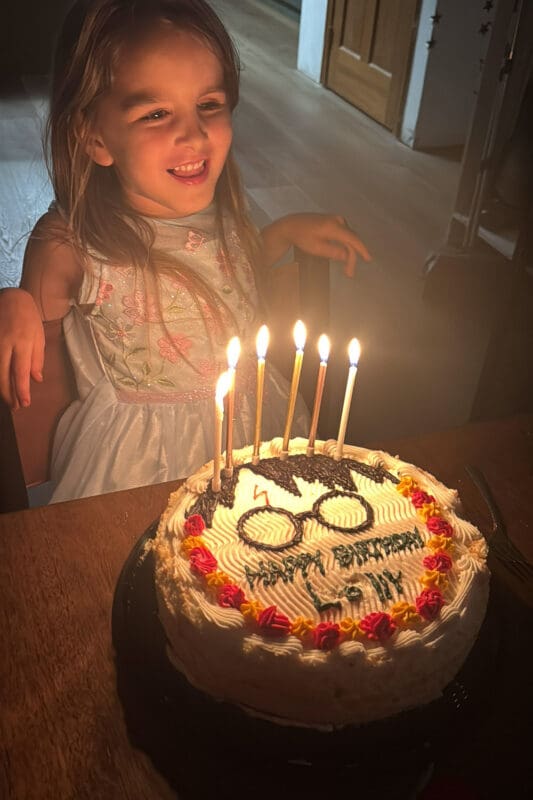
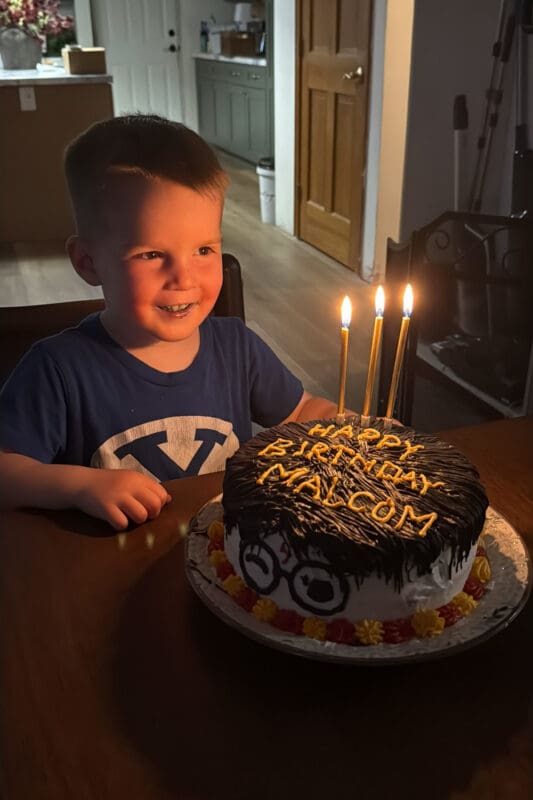
The Final Harry Potter Cake Reveal
Candles lit. Big smiles. Total win.
This is one of those cakes your kids will remember way more than a “perfect” bakery cake.
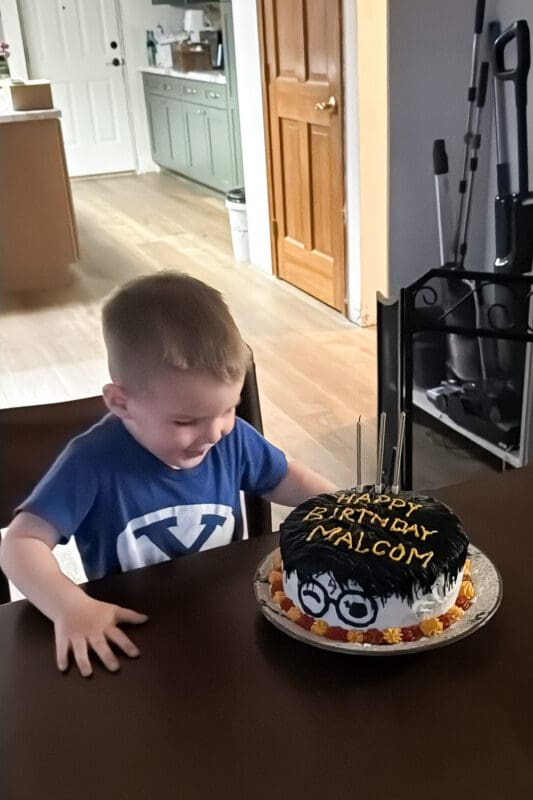
Another Easy Harry Potter Cake Idea (We Did It Again!)
A few days later, we had another birthday in the house… and of course, he also wanted a Harry Potter cake.
This time, I switched things up just a bit. Instead of keeping most of the design on top, I piped black frosting all across the top to create that messy Harry Potter hair look first. Then I added the glasses and lightning bolt to the front of the cake so they really stood out.
To finish it off, I added the same red and yellow border around the bottom edge, and piped the birthday message right on top.
Easy peasy… and just as cute.
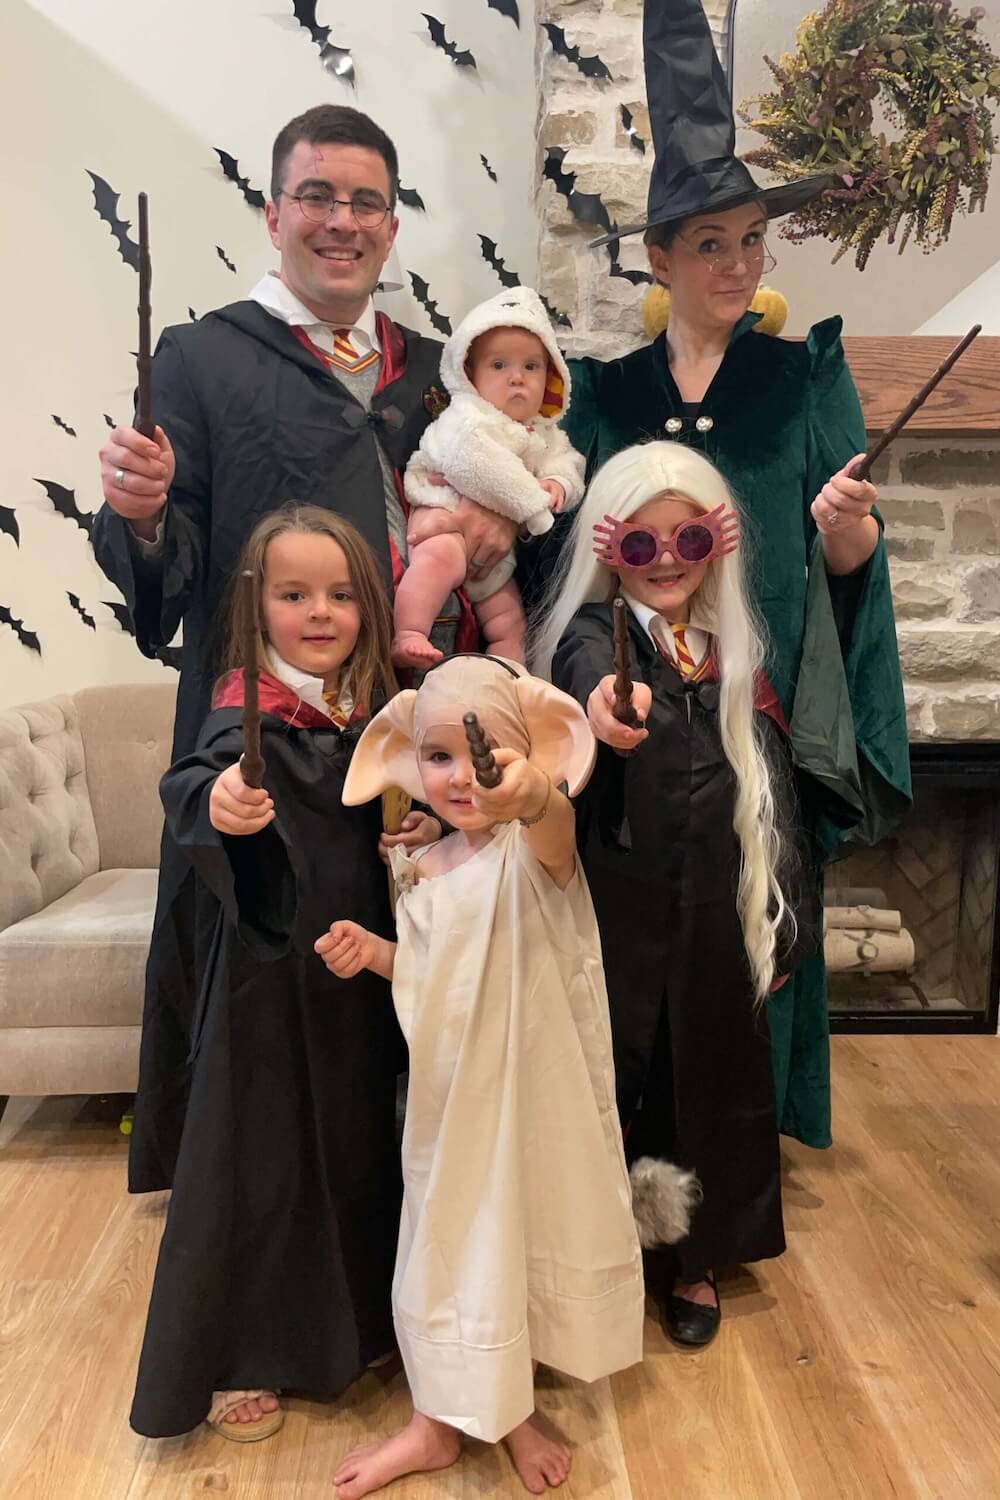
Our Family’s Harry Potter Obsession
If you can’t tell… we’re a Harry Potter family over here.
A few years ago, we went all in with a full themed Halloween costume as a family, and it’s still one of my favorites. You can see all the details here: Harry Potter Family Costumes for Halloween
📌 Save This Easy Harry Potter Cake Idea for Later
t’s simple, but it catches the eye when people are skimming—and it subtly reinforces the “save this” action without even saying it differently.
Harry Potter Cake FAQs
Yes! That’s exactly what I did.
I used a store-bought cake as the base, and it turned out amazing. It saves so much time and still looks completely homemade once you decorate it.
Buttercream works best because it’s easy to pipe and holds its shape.
I made my own buttercream for this Harry Potter birthday cake, but you can absolutely use store-bought frosting and just tint it with gel food coloring.
Use gel food coloring—not liquid.
Start with chocolate frosting or add a little cocoa powder first, then mix in black gel coloring. This helps you get a deeper black without using a ton of dye.
You can decorate your cake the day before and keep it covered in the fridge.
Just let it sit at room temperature for a bit before serving so the frosting softens up again.
