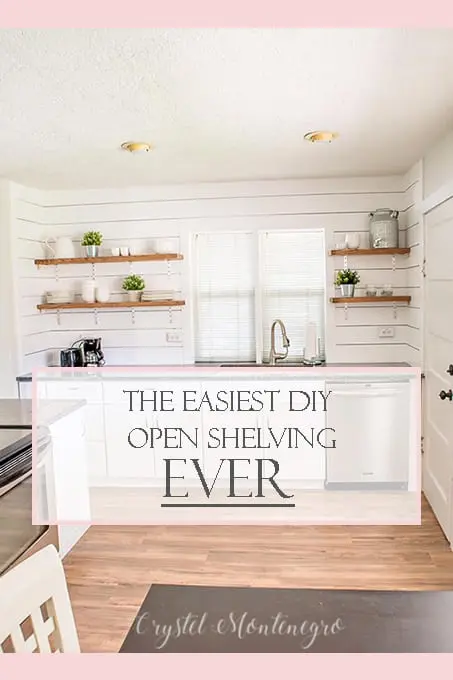
The Easiest Open Shelving Ever
Updated May 15, 2025
Alrighty everybody, I’m FINALLY getting around to sharing the finished kitchen in the vacation rental, particularly how we DIY’d the easiest open shelving EVER! I’m not sure why it took me so long to get around to posting about this… I think I just get so excited about my next new project that I don’t take the time to finish the last one! I’m the QUEEN of 95%. Don’t worry, I’ll get better.
In case you missed it, you can check out some of the other projects we did in the bathroom of this home like painting the shower, painting the floor, and building new shelving in the bathroom.
First, I gotta show you the before BEFORE pictures. You guys will not believe this.
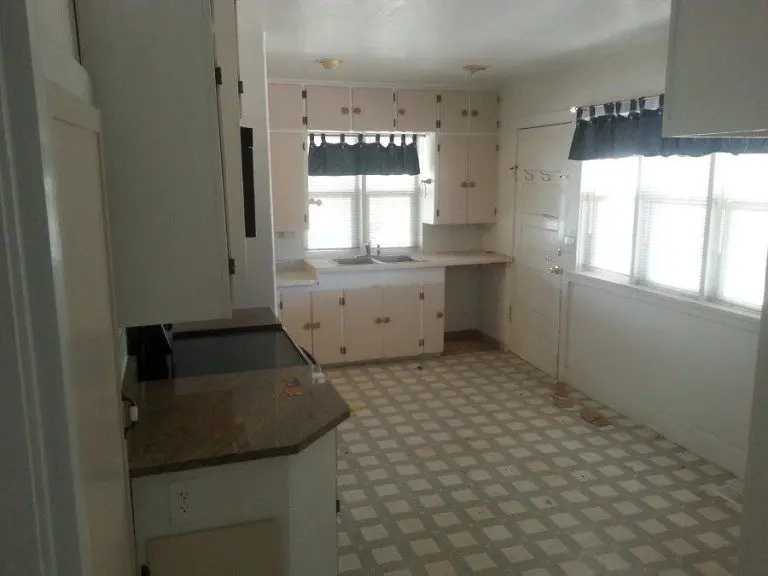
This is what it looked like when my brother and sister-in-law first purchased the house. From there, they sold it to my other brother who took out part of the wall that you see there on your left and put new granite and lower cabinets in. Below is what it looked like when my sister and I first got our hands on it.
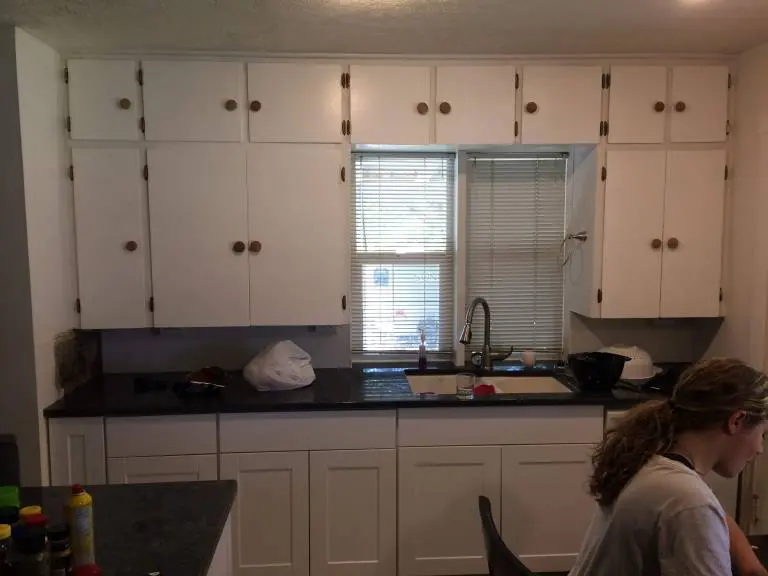
And here is what it looks like now.
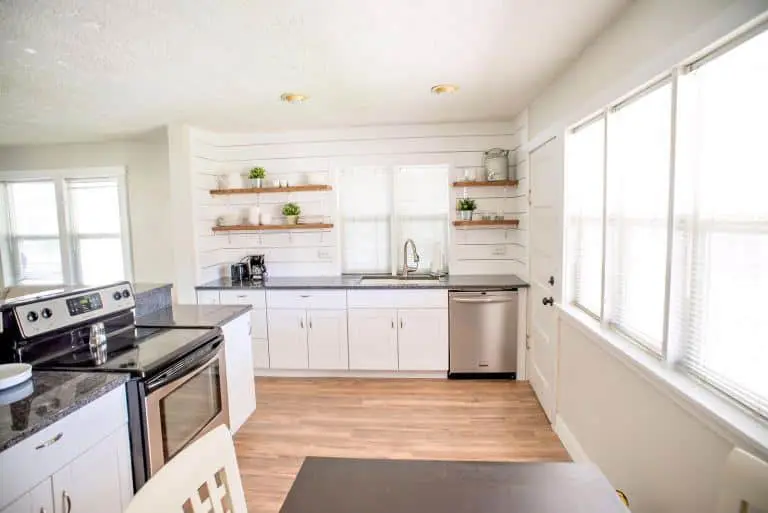
Ahhhh. Talk about a breath of fresh air. You can check out how we planked the walls behind the open shelving, and we also installed the flooring which I have yet to do a post on.
This is quite possibly the easiest open shelving there ever was. The materials you’ll need are as follows:
Materials
2×10 wood, stained to desired color
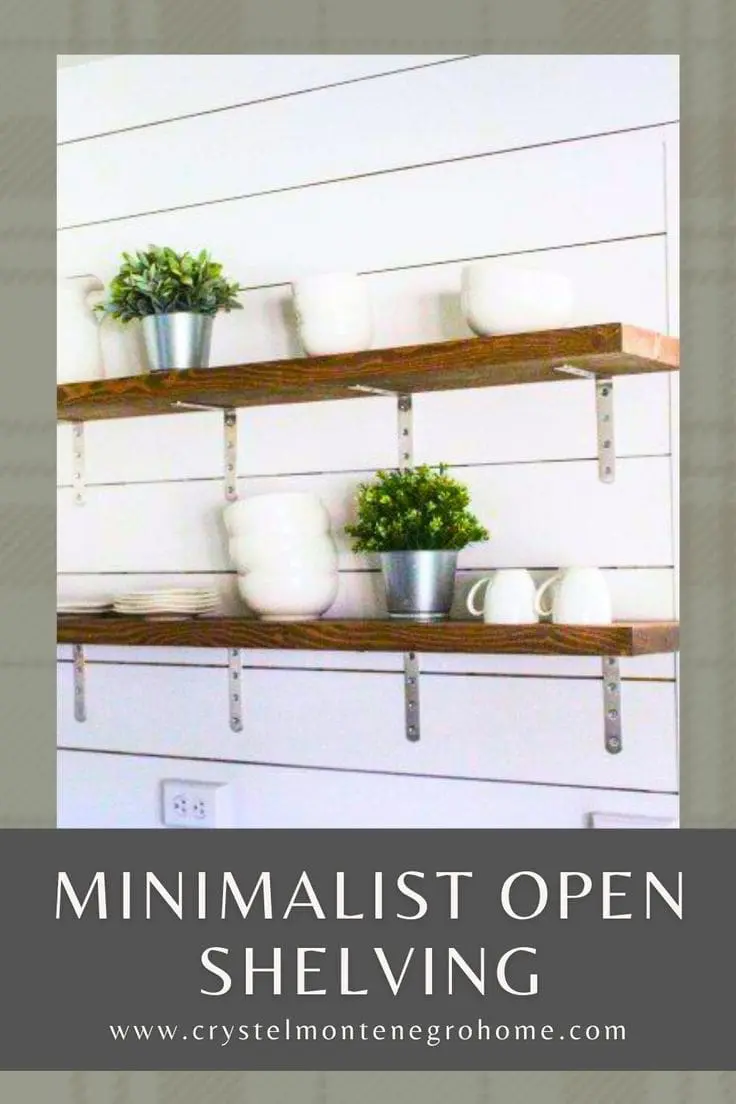
Shelf brackets (we used these ones but they were insufficient to hold the weight properly so I would probably go for more heavy duty ones instead)
Bam. Doesn’t get much more simple than that.
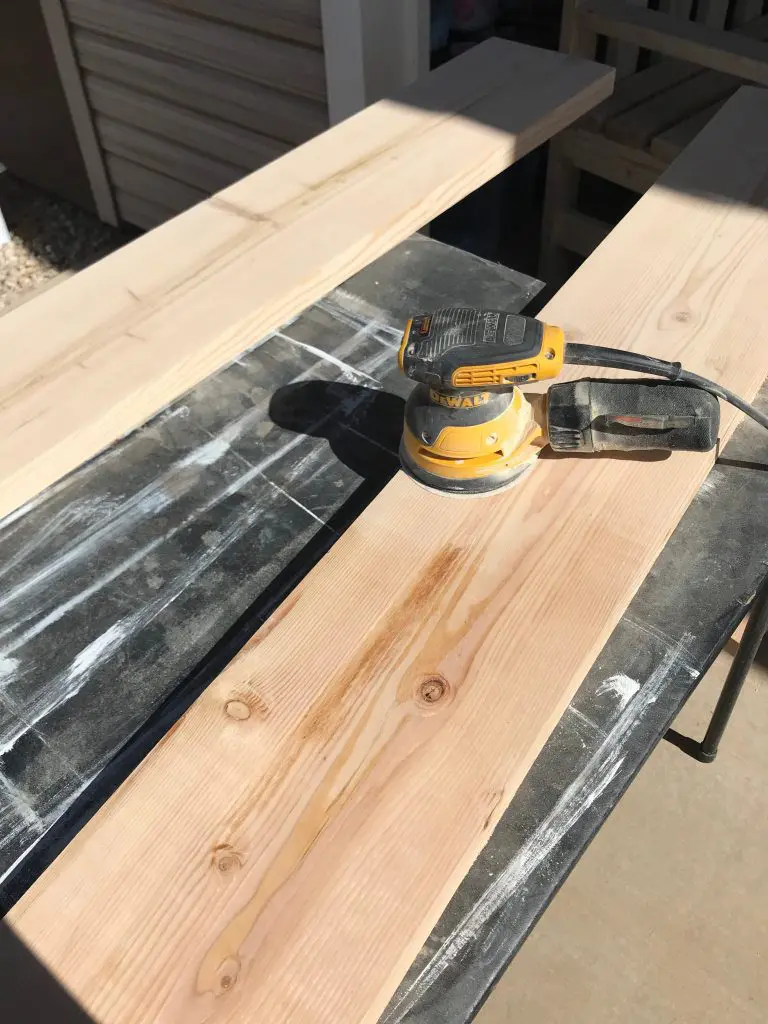
Staining wood is an art on its own. It seems like a simple thing, and it is, but if you’re going for that A+ job, it’ll take a few more steps. I began by sanding down my entire 2×10 with 80 grit sandpaper, then again with 150 grit sandpaper to really smooth it down. I then used my air compressor to blow off all the sawdust.
I didn’t get photos of the process, but especially if you’re using a standard cedar 2×10 you’ll want to go over the board with wood conditioner first. Assuming you’ve sanded it down really well, this will make sure your stain distributes evenly and doesn’t leave it looking blotchy.
Once you’ve got that on, it’s time to stain. I used Minwax Early American on these. Pretty simple, just wipe on, wipe off. I did the bulk of my staining before I cut the boards, just to make things a little easier. It’s easier to move and rotate one piece of wood than it is 4. I went back after I made the cuts and finished staining the cut ends.
Next, it’s time to install the shelves!
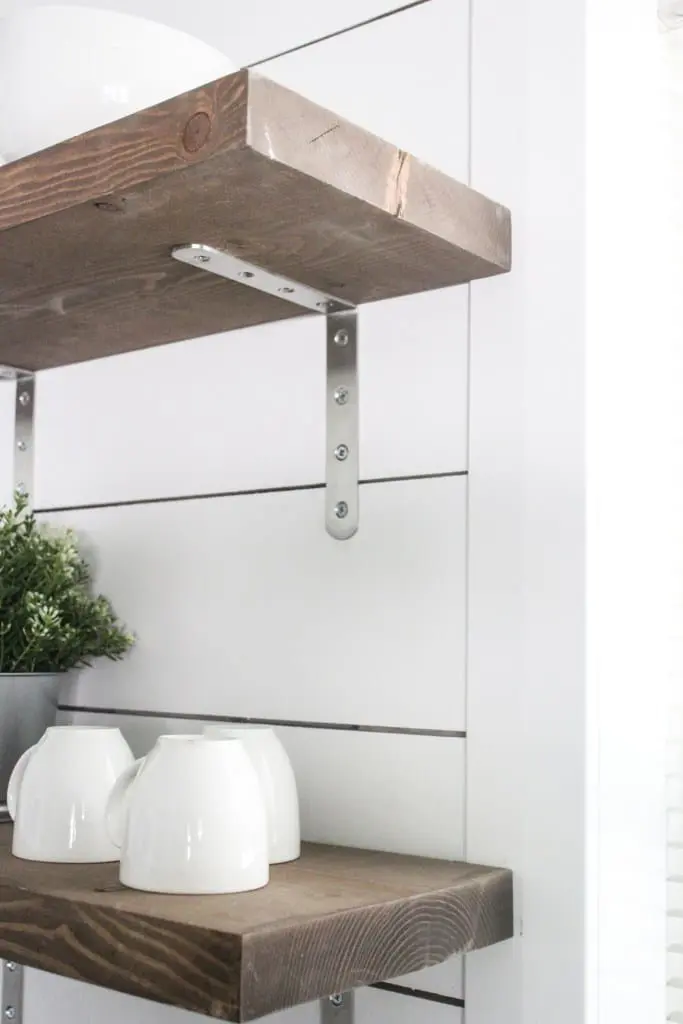
Just measure where you want the shelves to go, and make marks on the wall with a pencil. Be sure to use a level to make sure you don’t have one side lower than the other. Then, simply screw in your brackets. The ones we used were insufficient to support the weight of the shelves, so we ended up putting cleats on the corner where it meets the wall. Note to self: get stronger brackets next time.
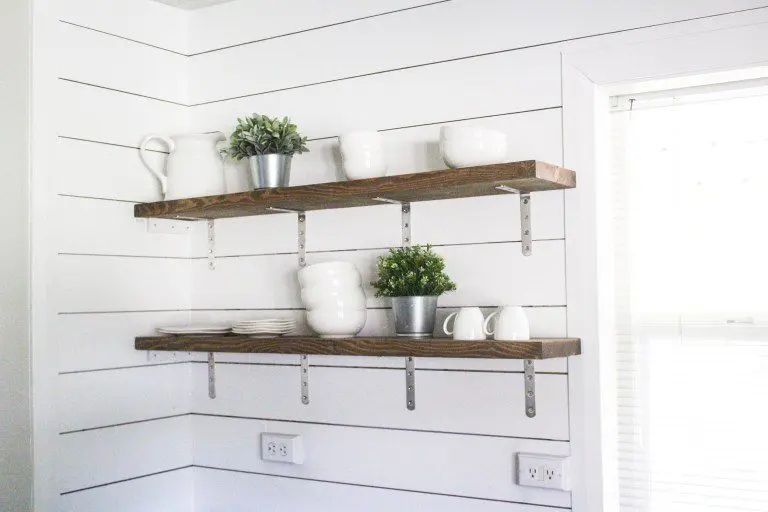
Last, but not least, decorate! My favorite part. I love the look these simple white dishes paired with the wood and the greenery give. So classic!
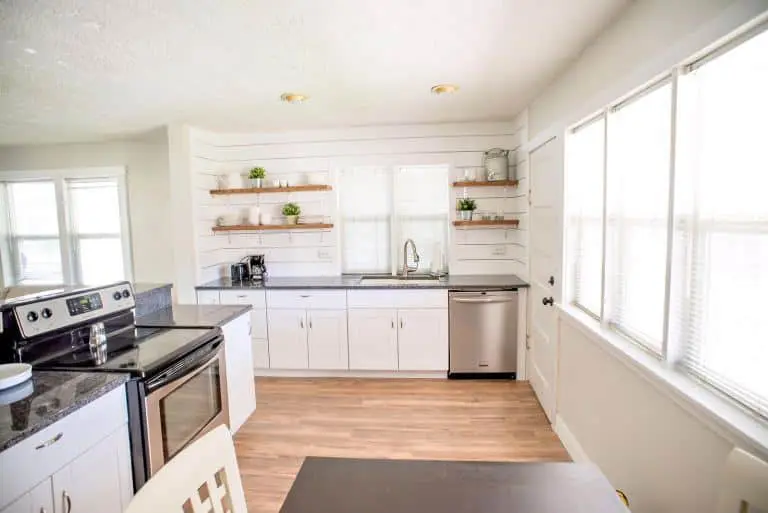
See?! Did I not tell you this was the easiest open shelving project ever? A project like this can easily be done in just a couple hours. I’d love to know if you try it! Wanna save this post for later? Just pin the image below!
XOXO,
Crystel
