DIY Stair Runner Installation
Updated March 4, 2025
I had no idea how easy this DIY stair runner installation would be. It was a quick afternoon project that required very few tools and added so much to my staircase in terms of style and comfort. Are you looking to do a DIY stair runner installation? Let me show you how easy it is!
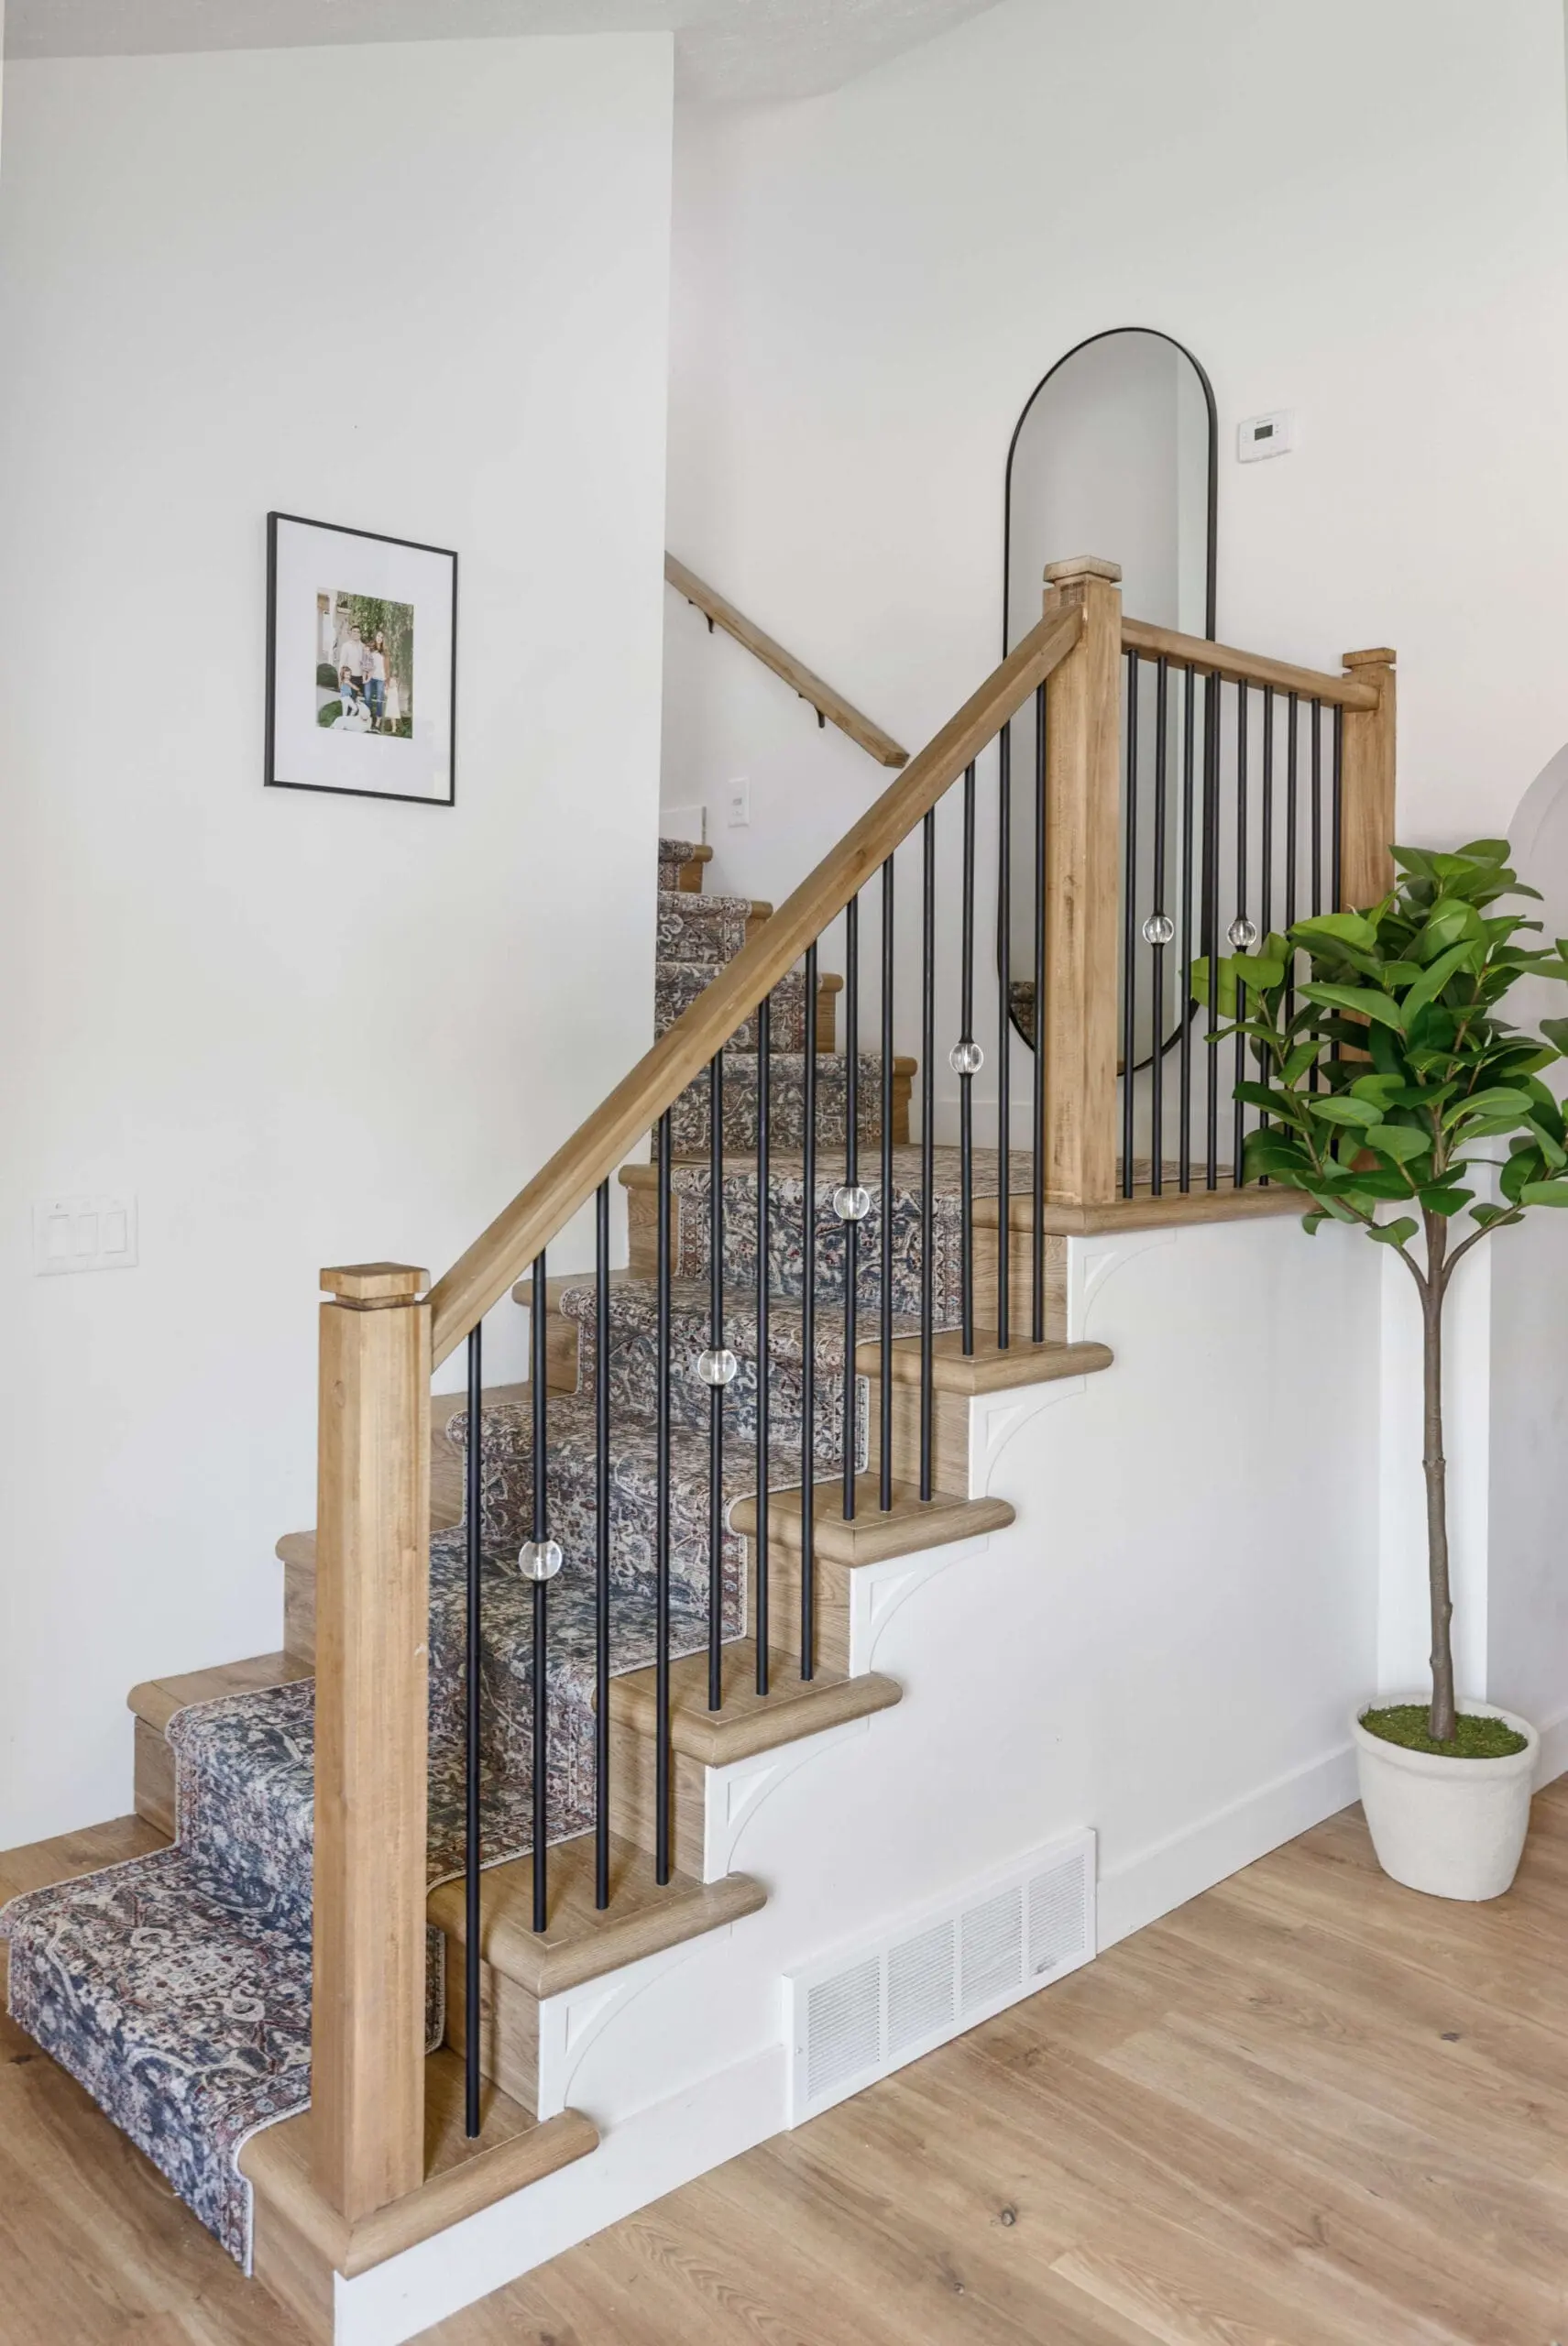
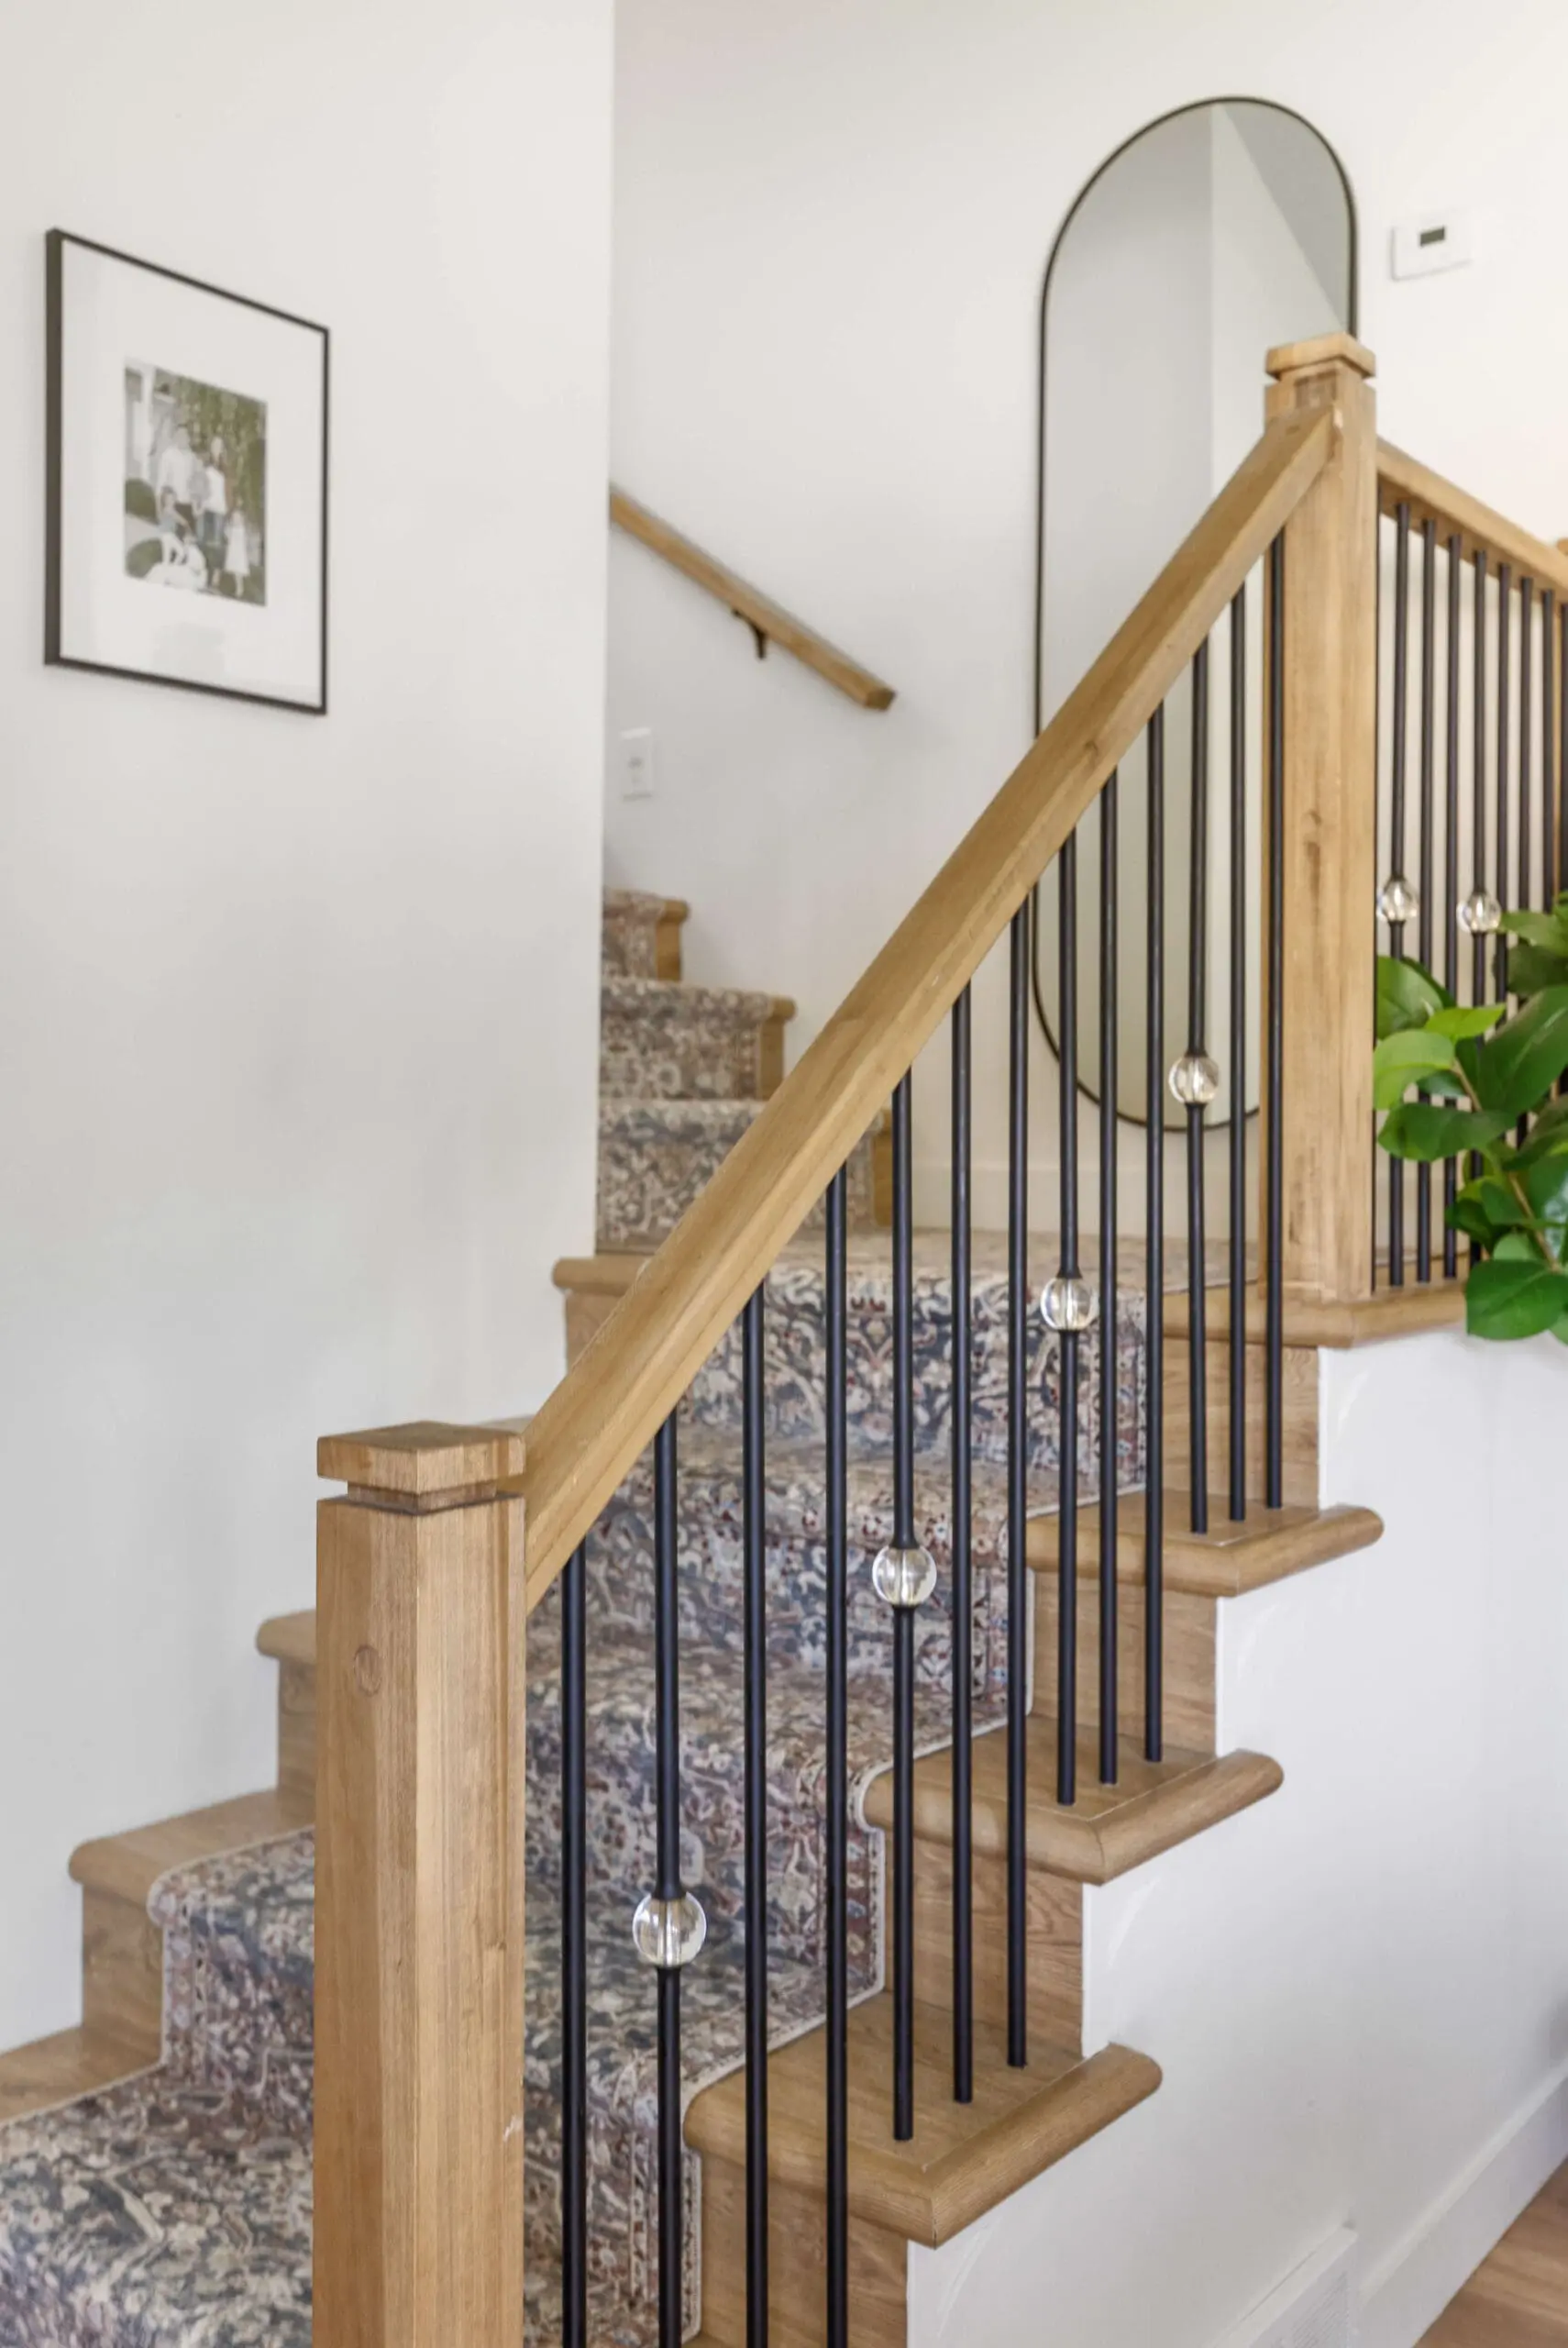
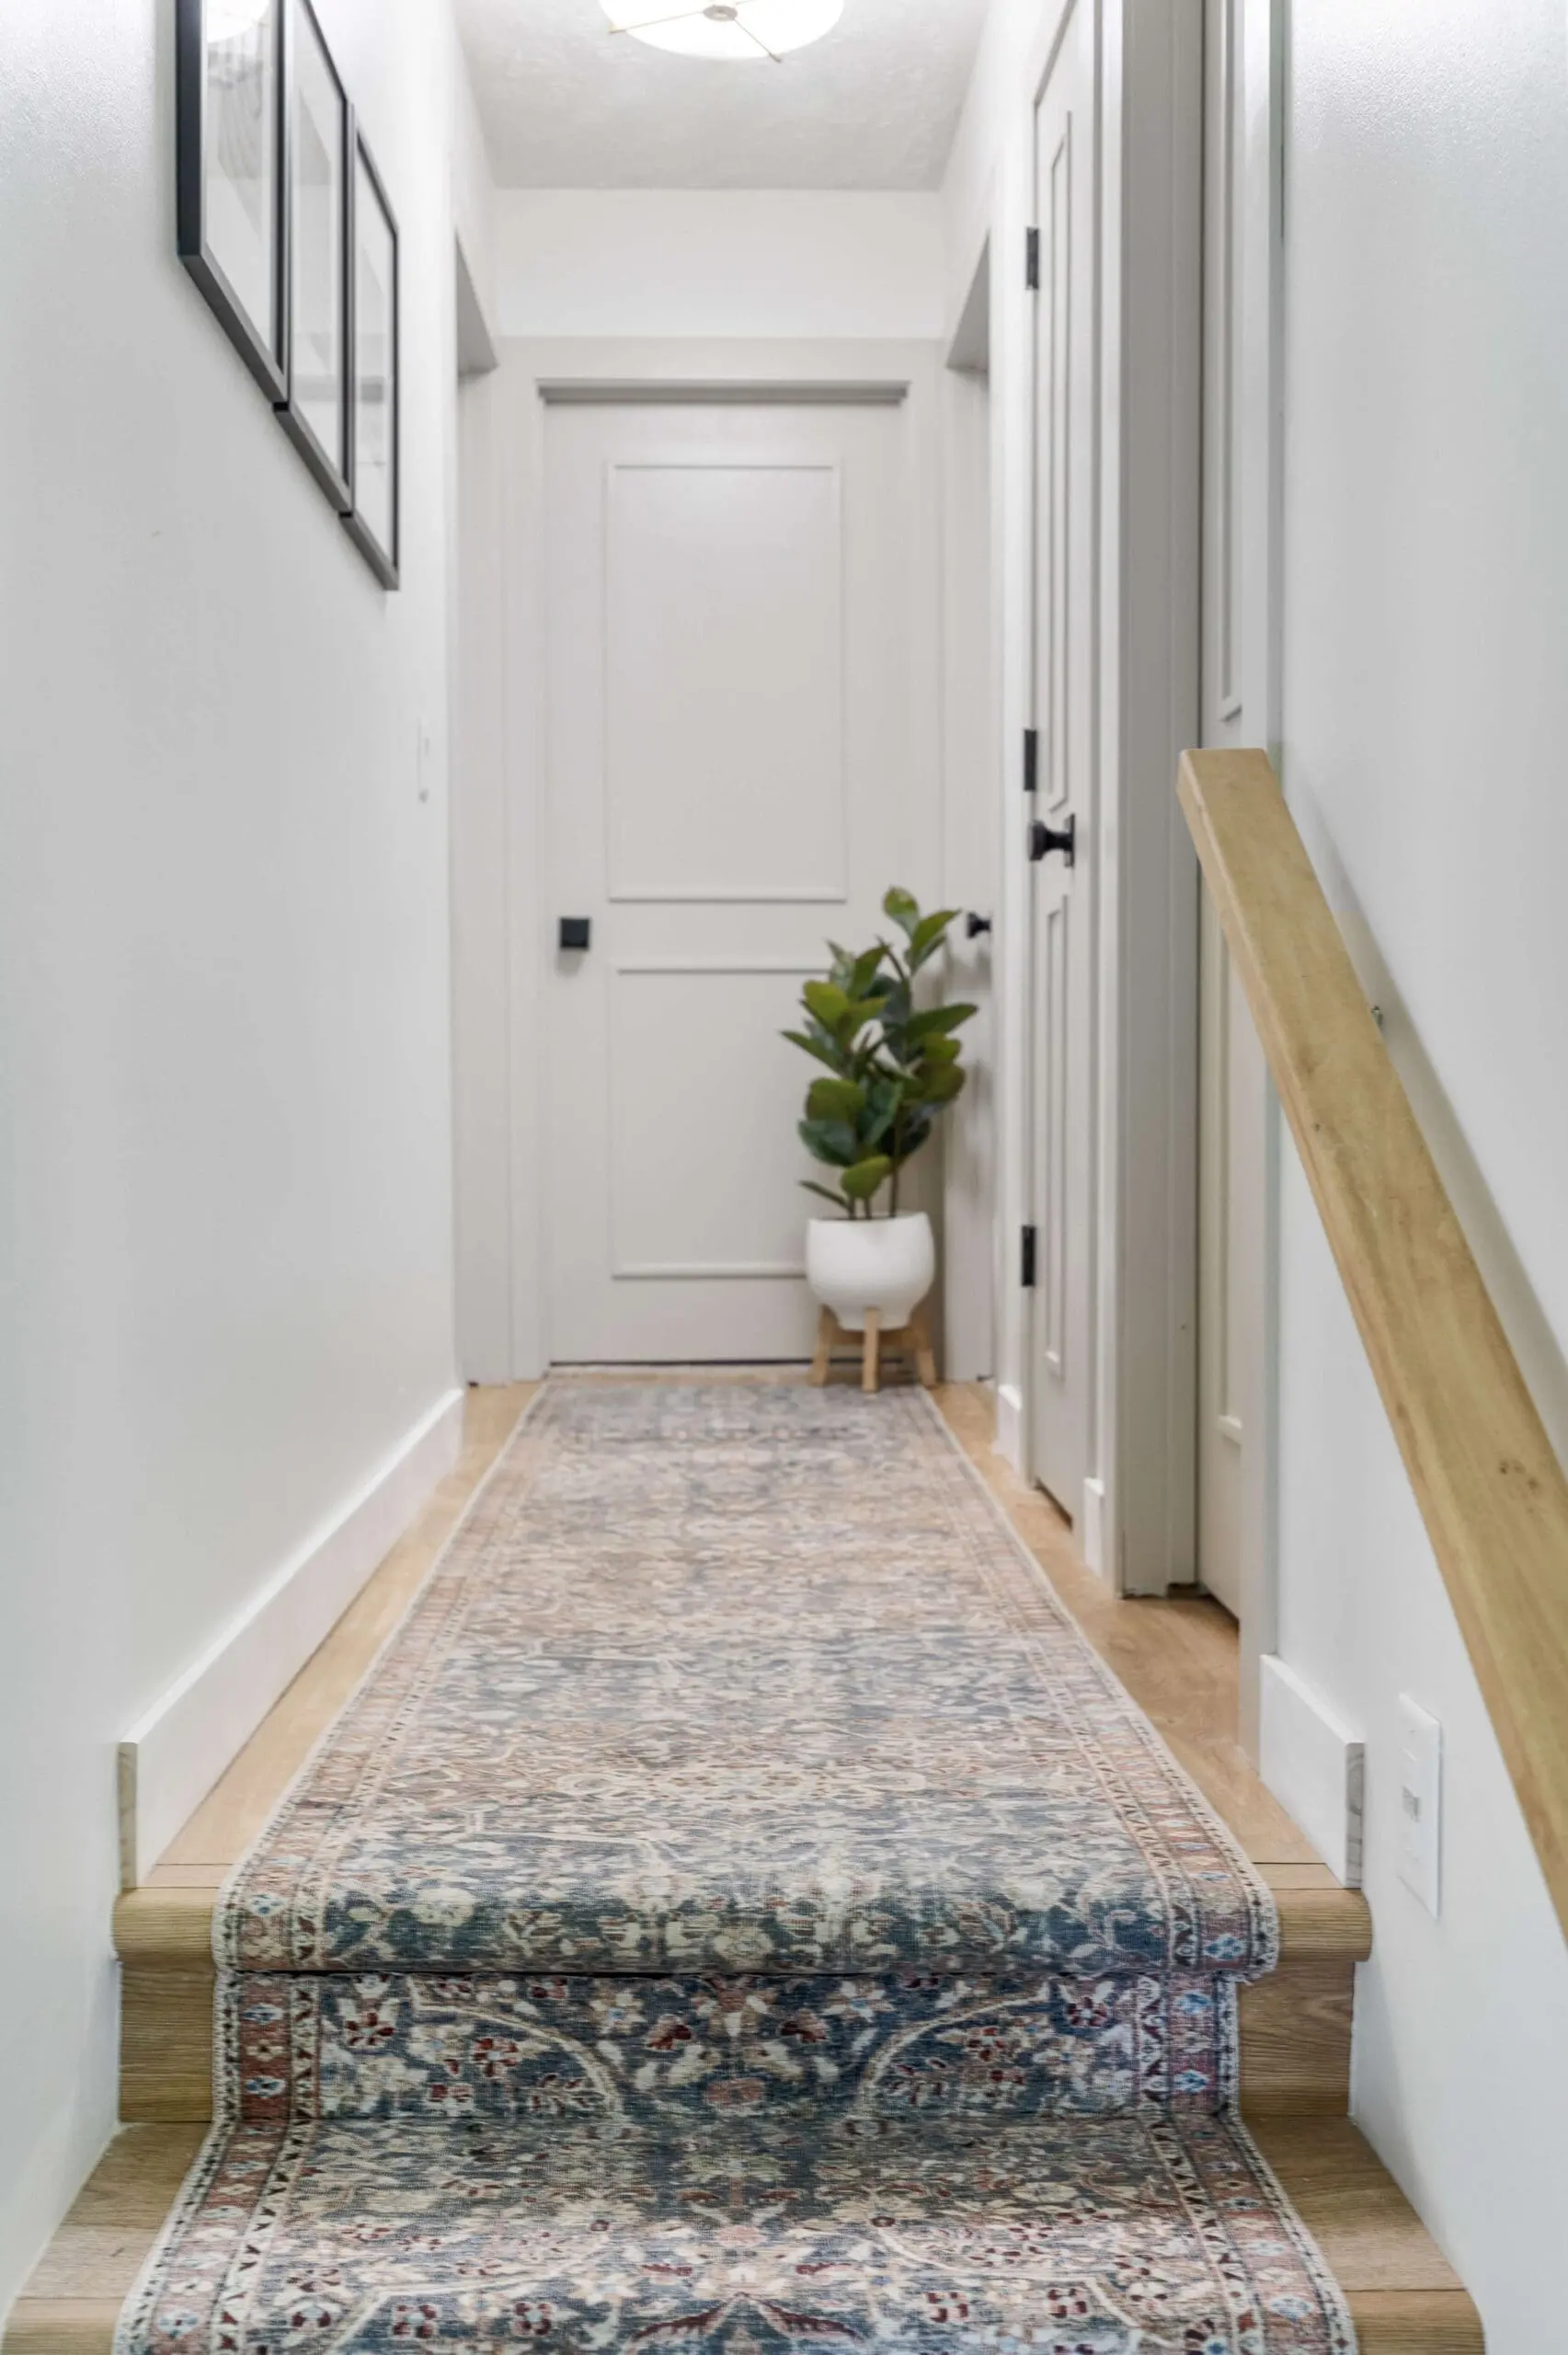
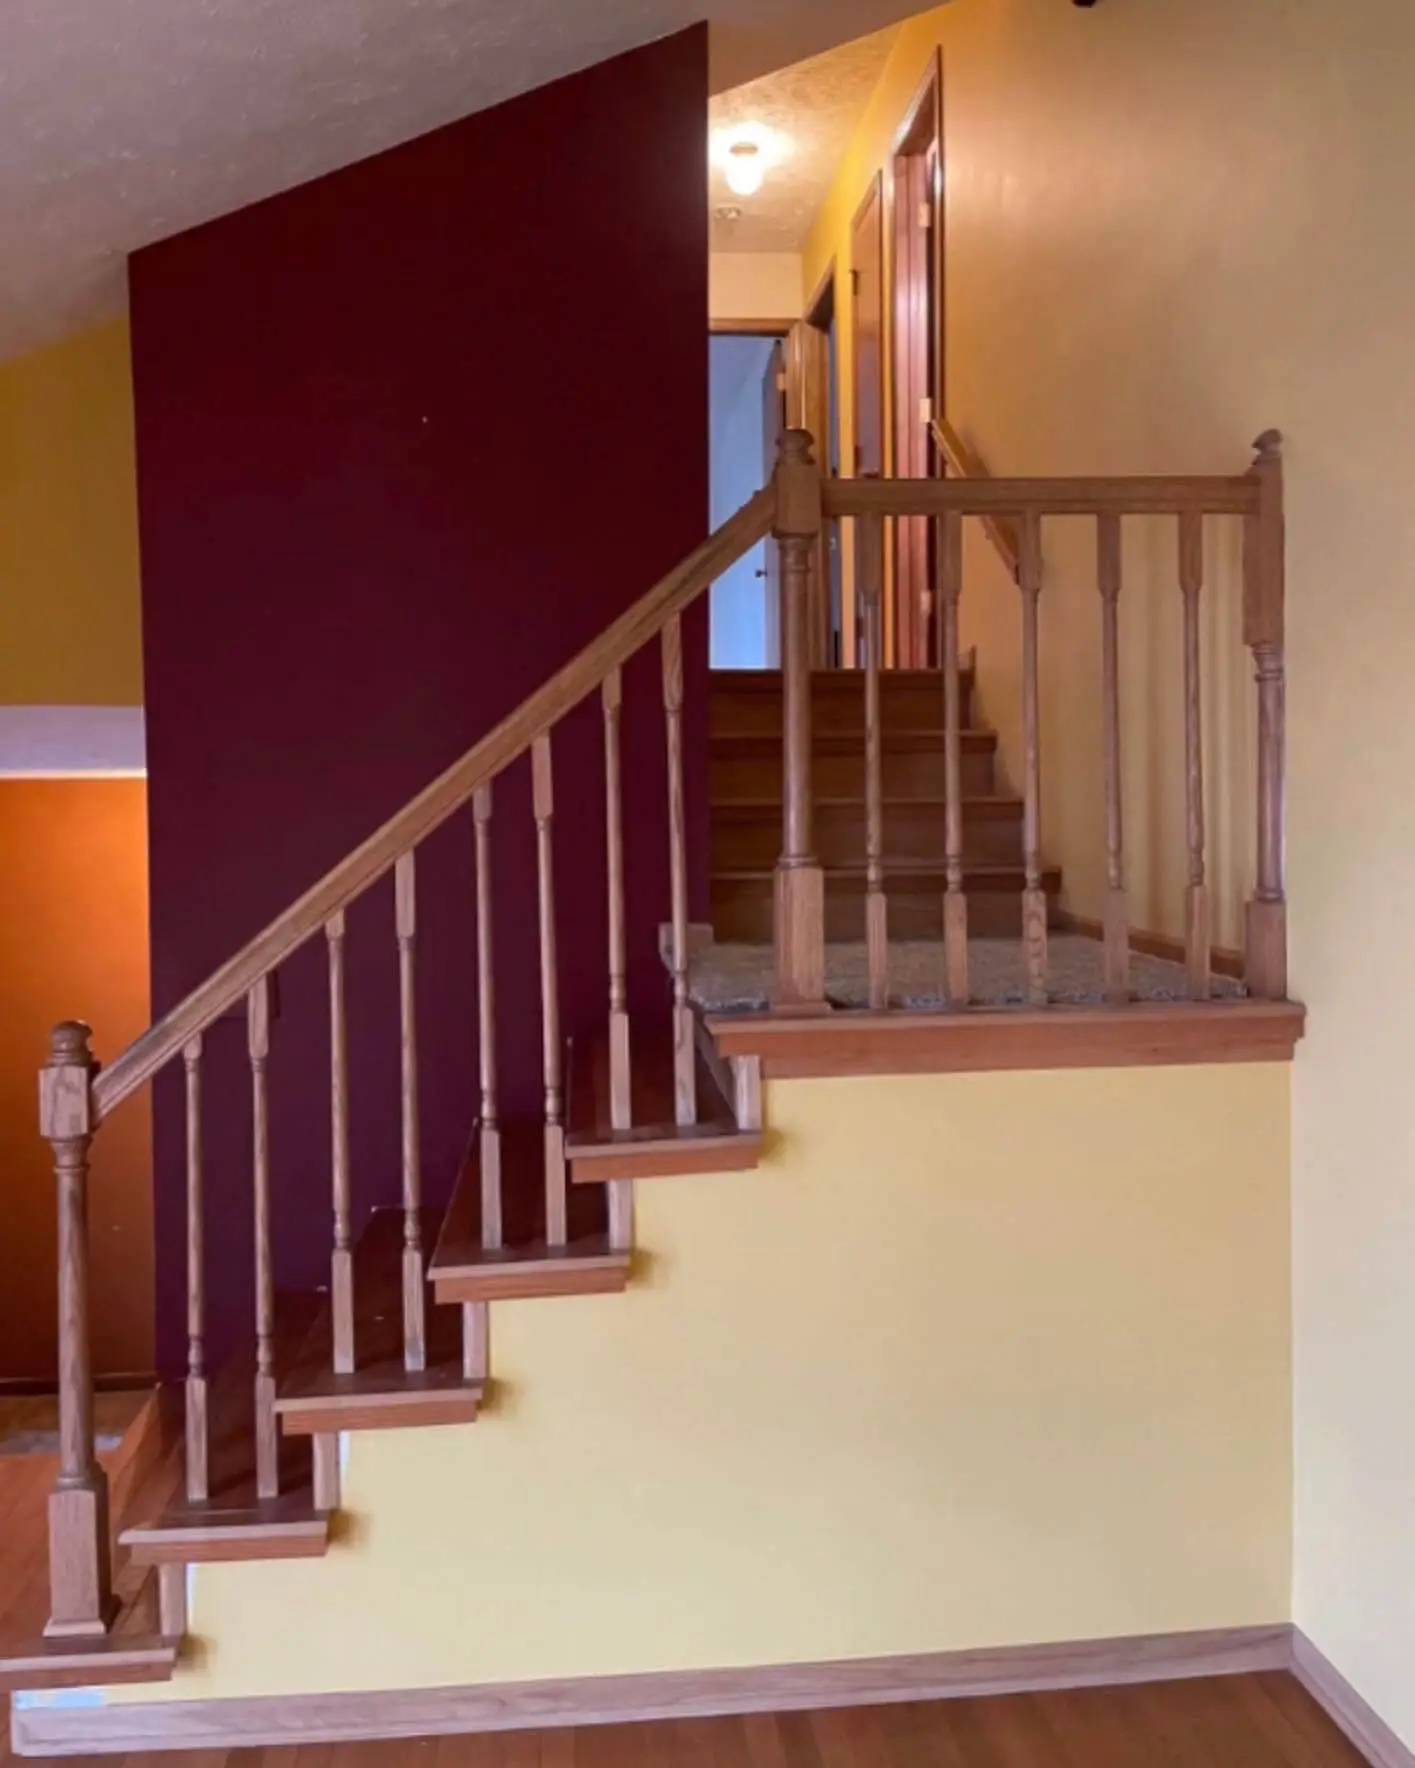
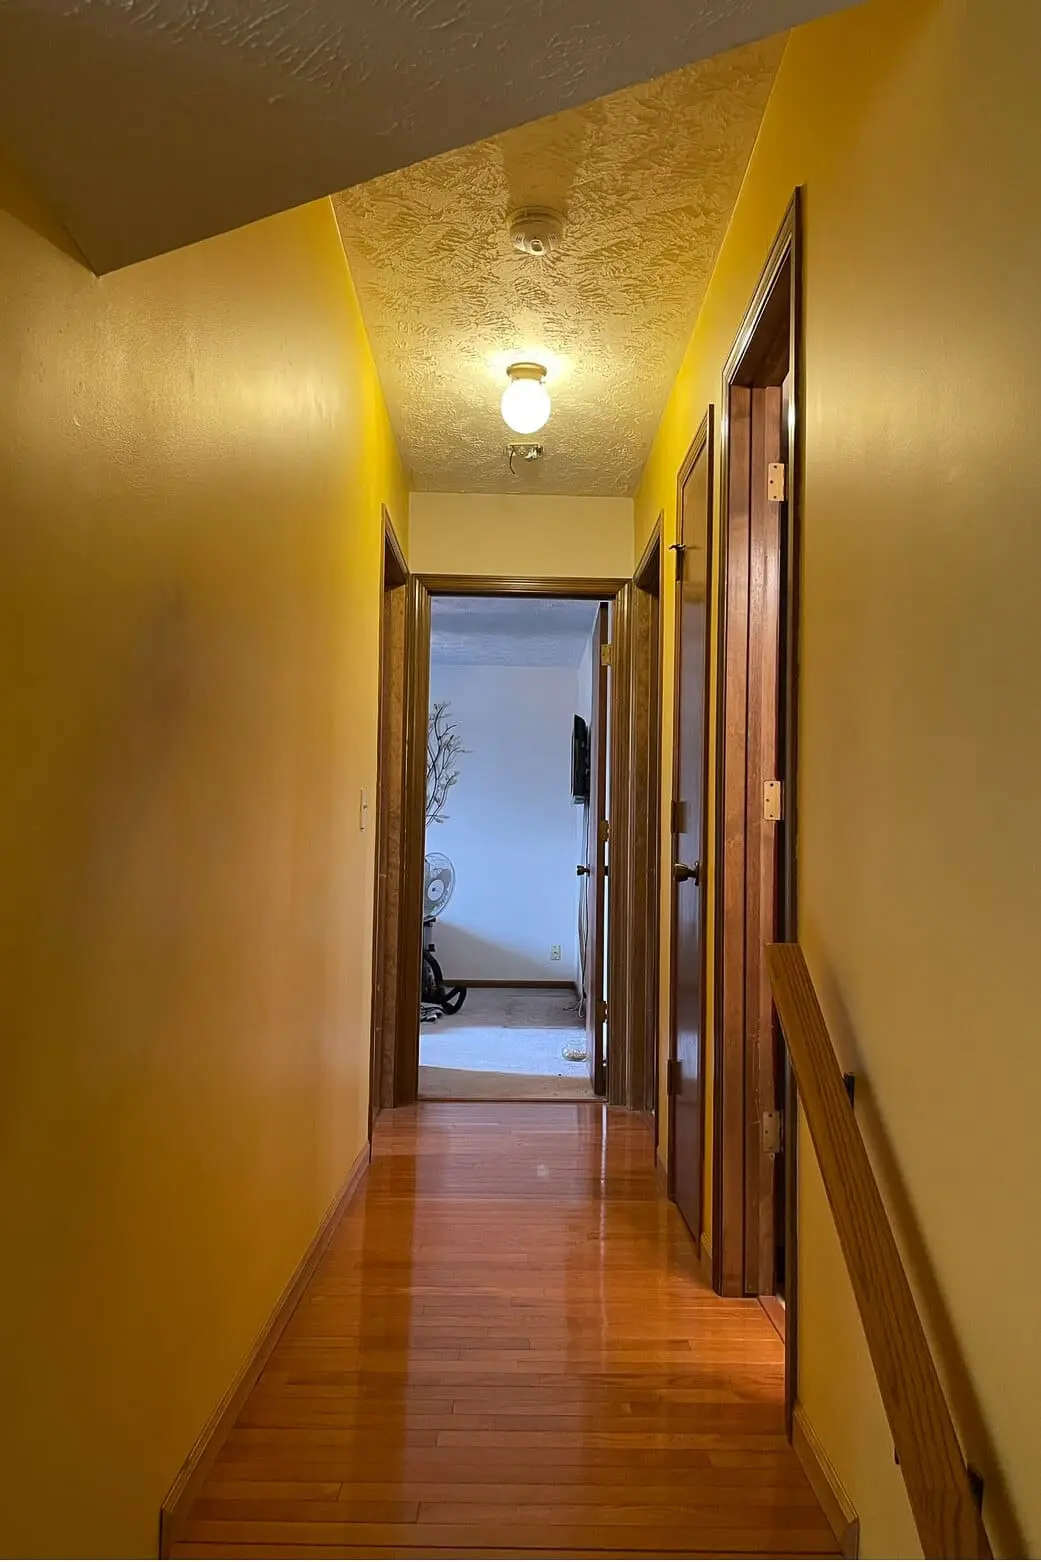
When we first moved into our home back in April of 2022 this is what the staircase and hall looked like. Dated… dark… lots of yellow paint everywhere. It was just really in need of some love and updating.
After completely redoing the stairs and painting them, they looked so much better. The space was airier and brighter, but it still needed something.
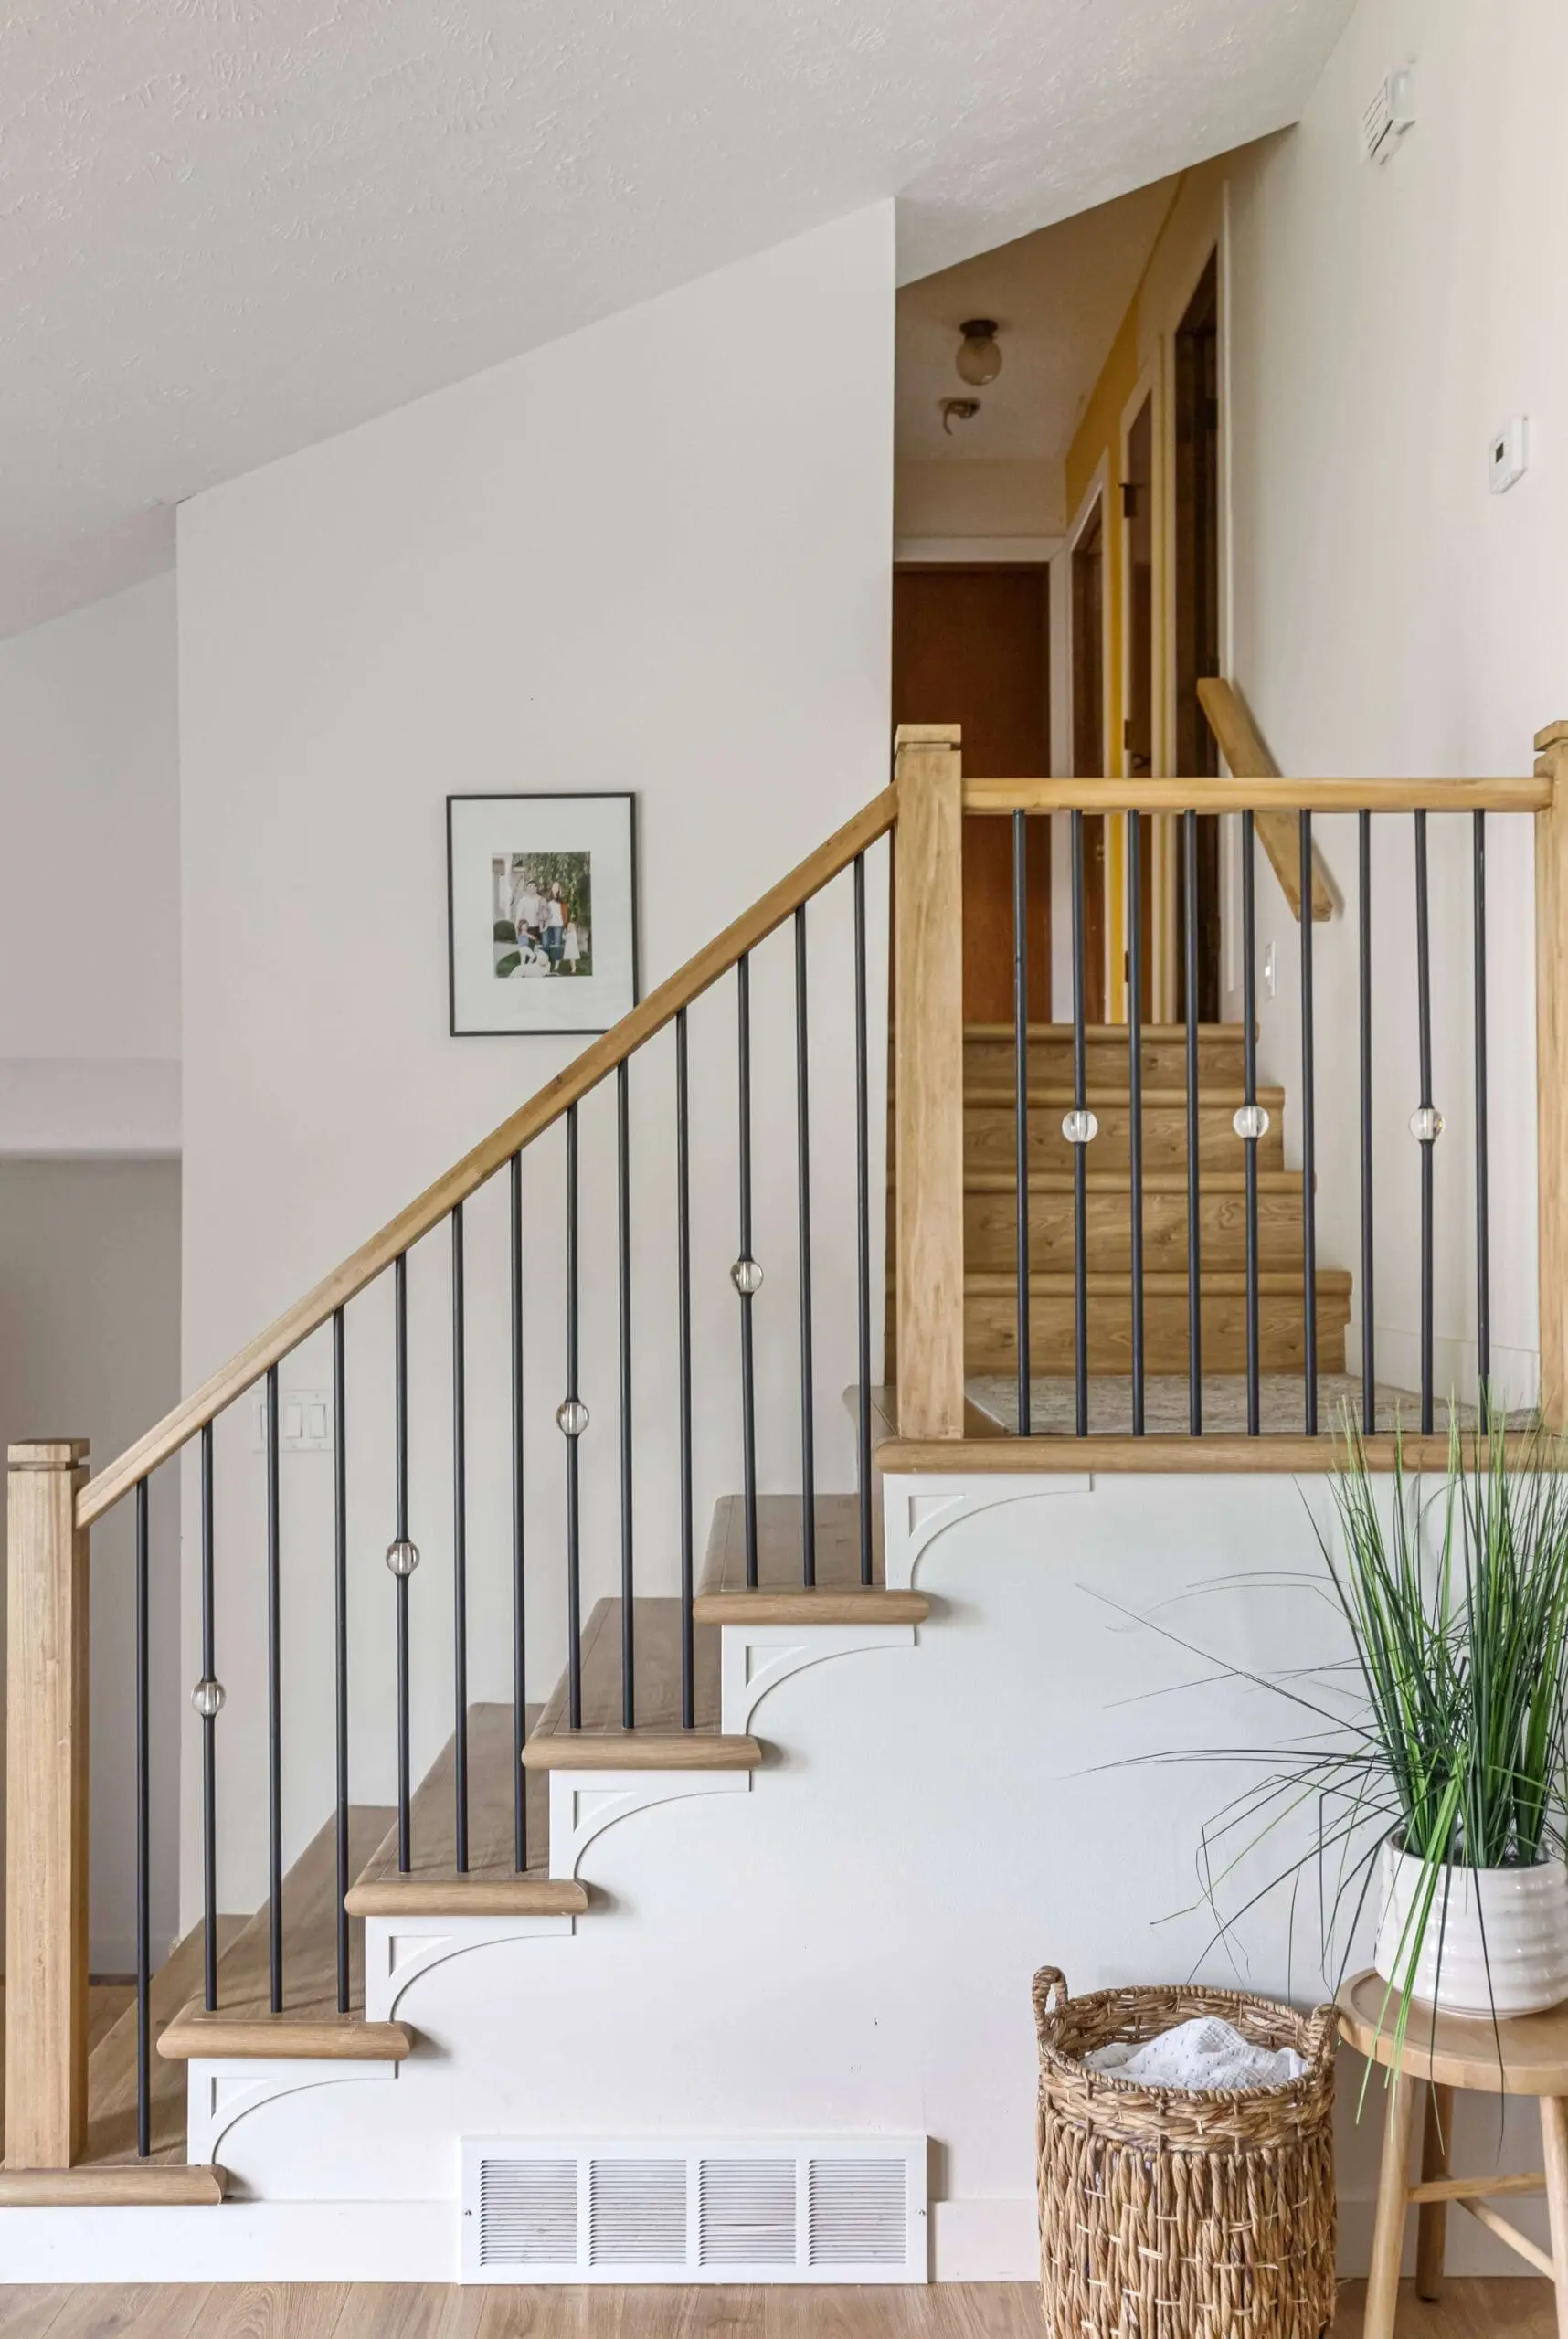
A runner! It was missing a runner. You don’t need a lot of time or materials for a DIY stair runner install, and the huge impact it has on your space is worth it!
Tools and Materials
- Runner rugs (I used three)
- Pneumatic stapler
- Carpet tape
- Clothes iron
- Scissors
- Utility knife
- Straight edge
- Marker
Installing a Runner in the Hall
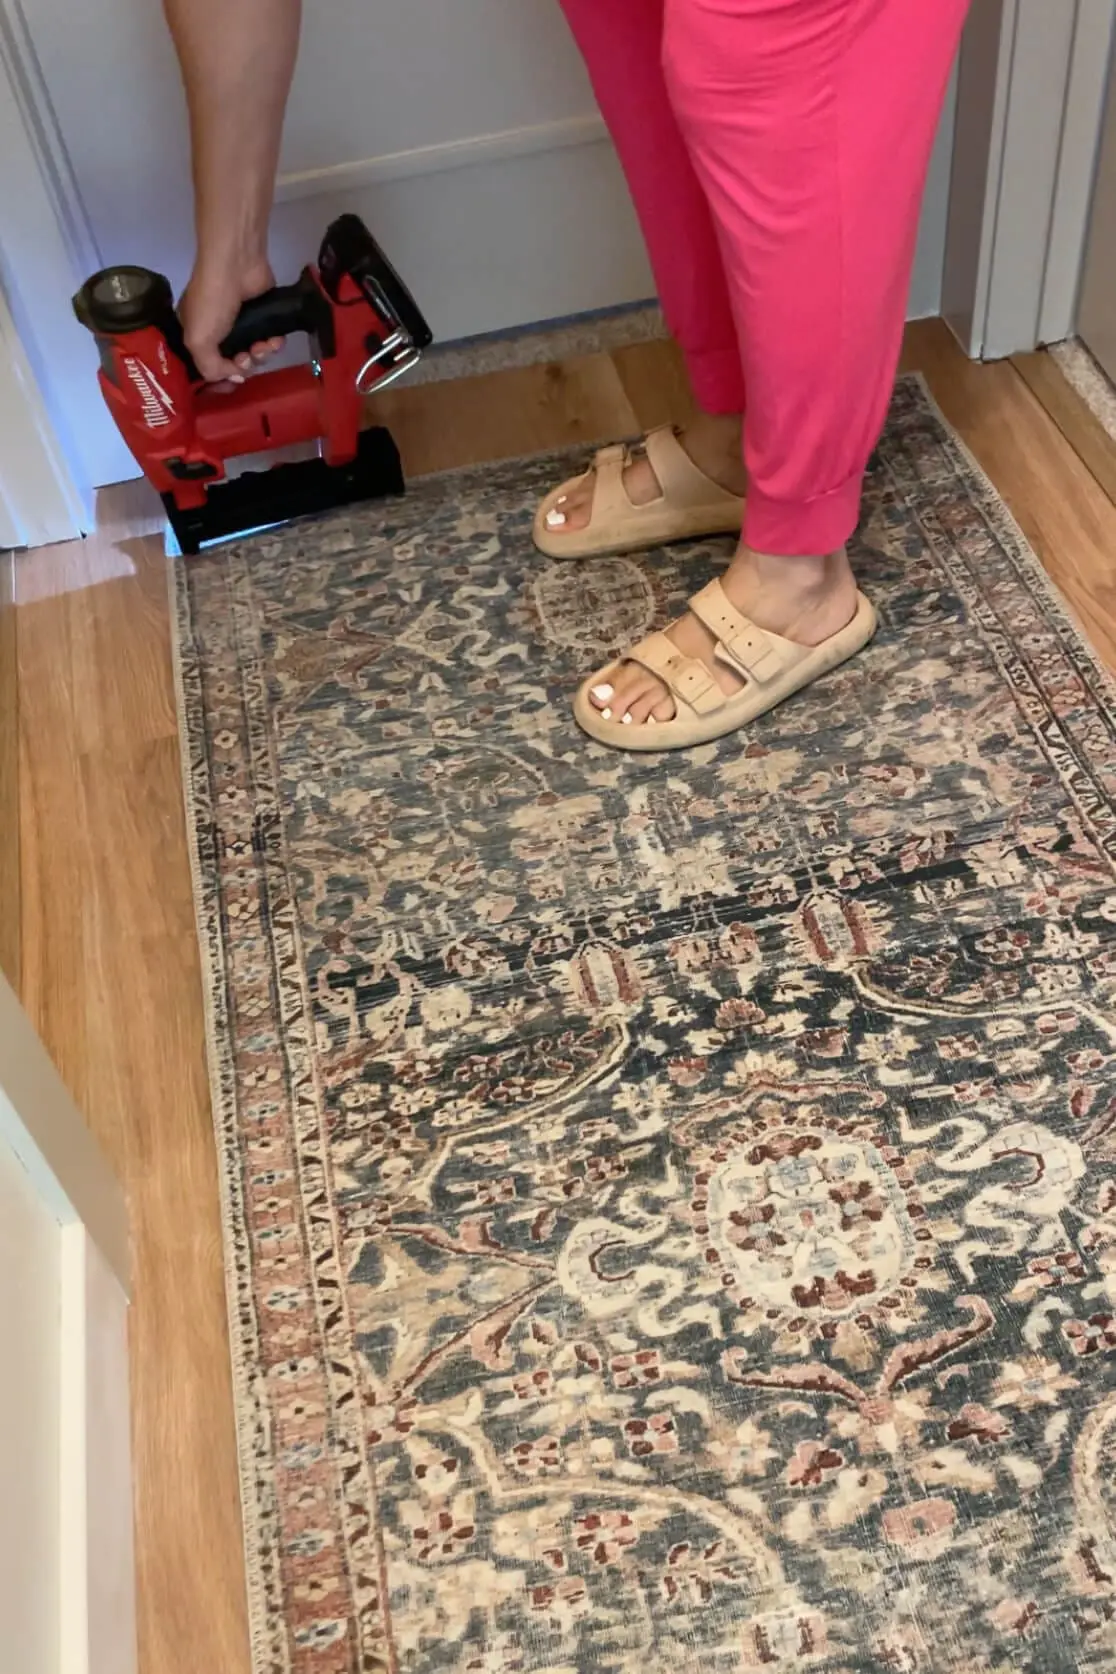
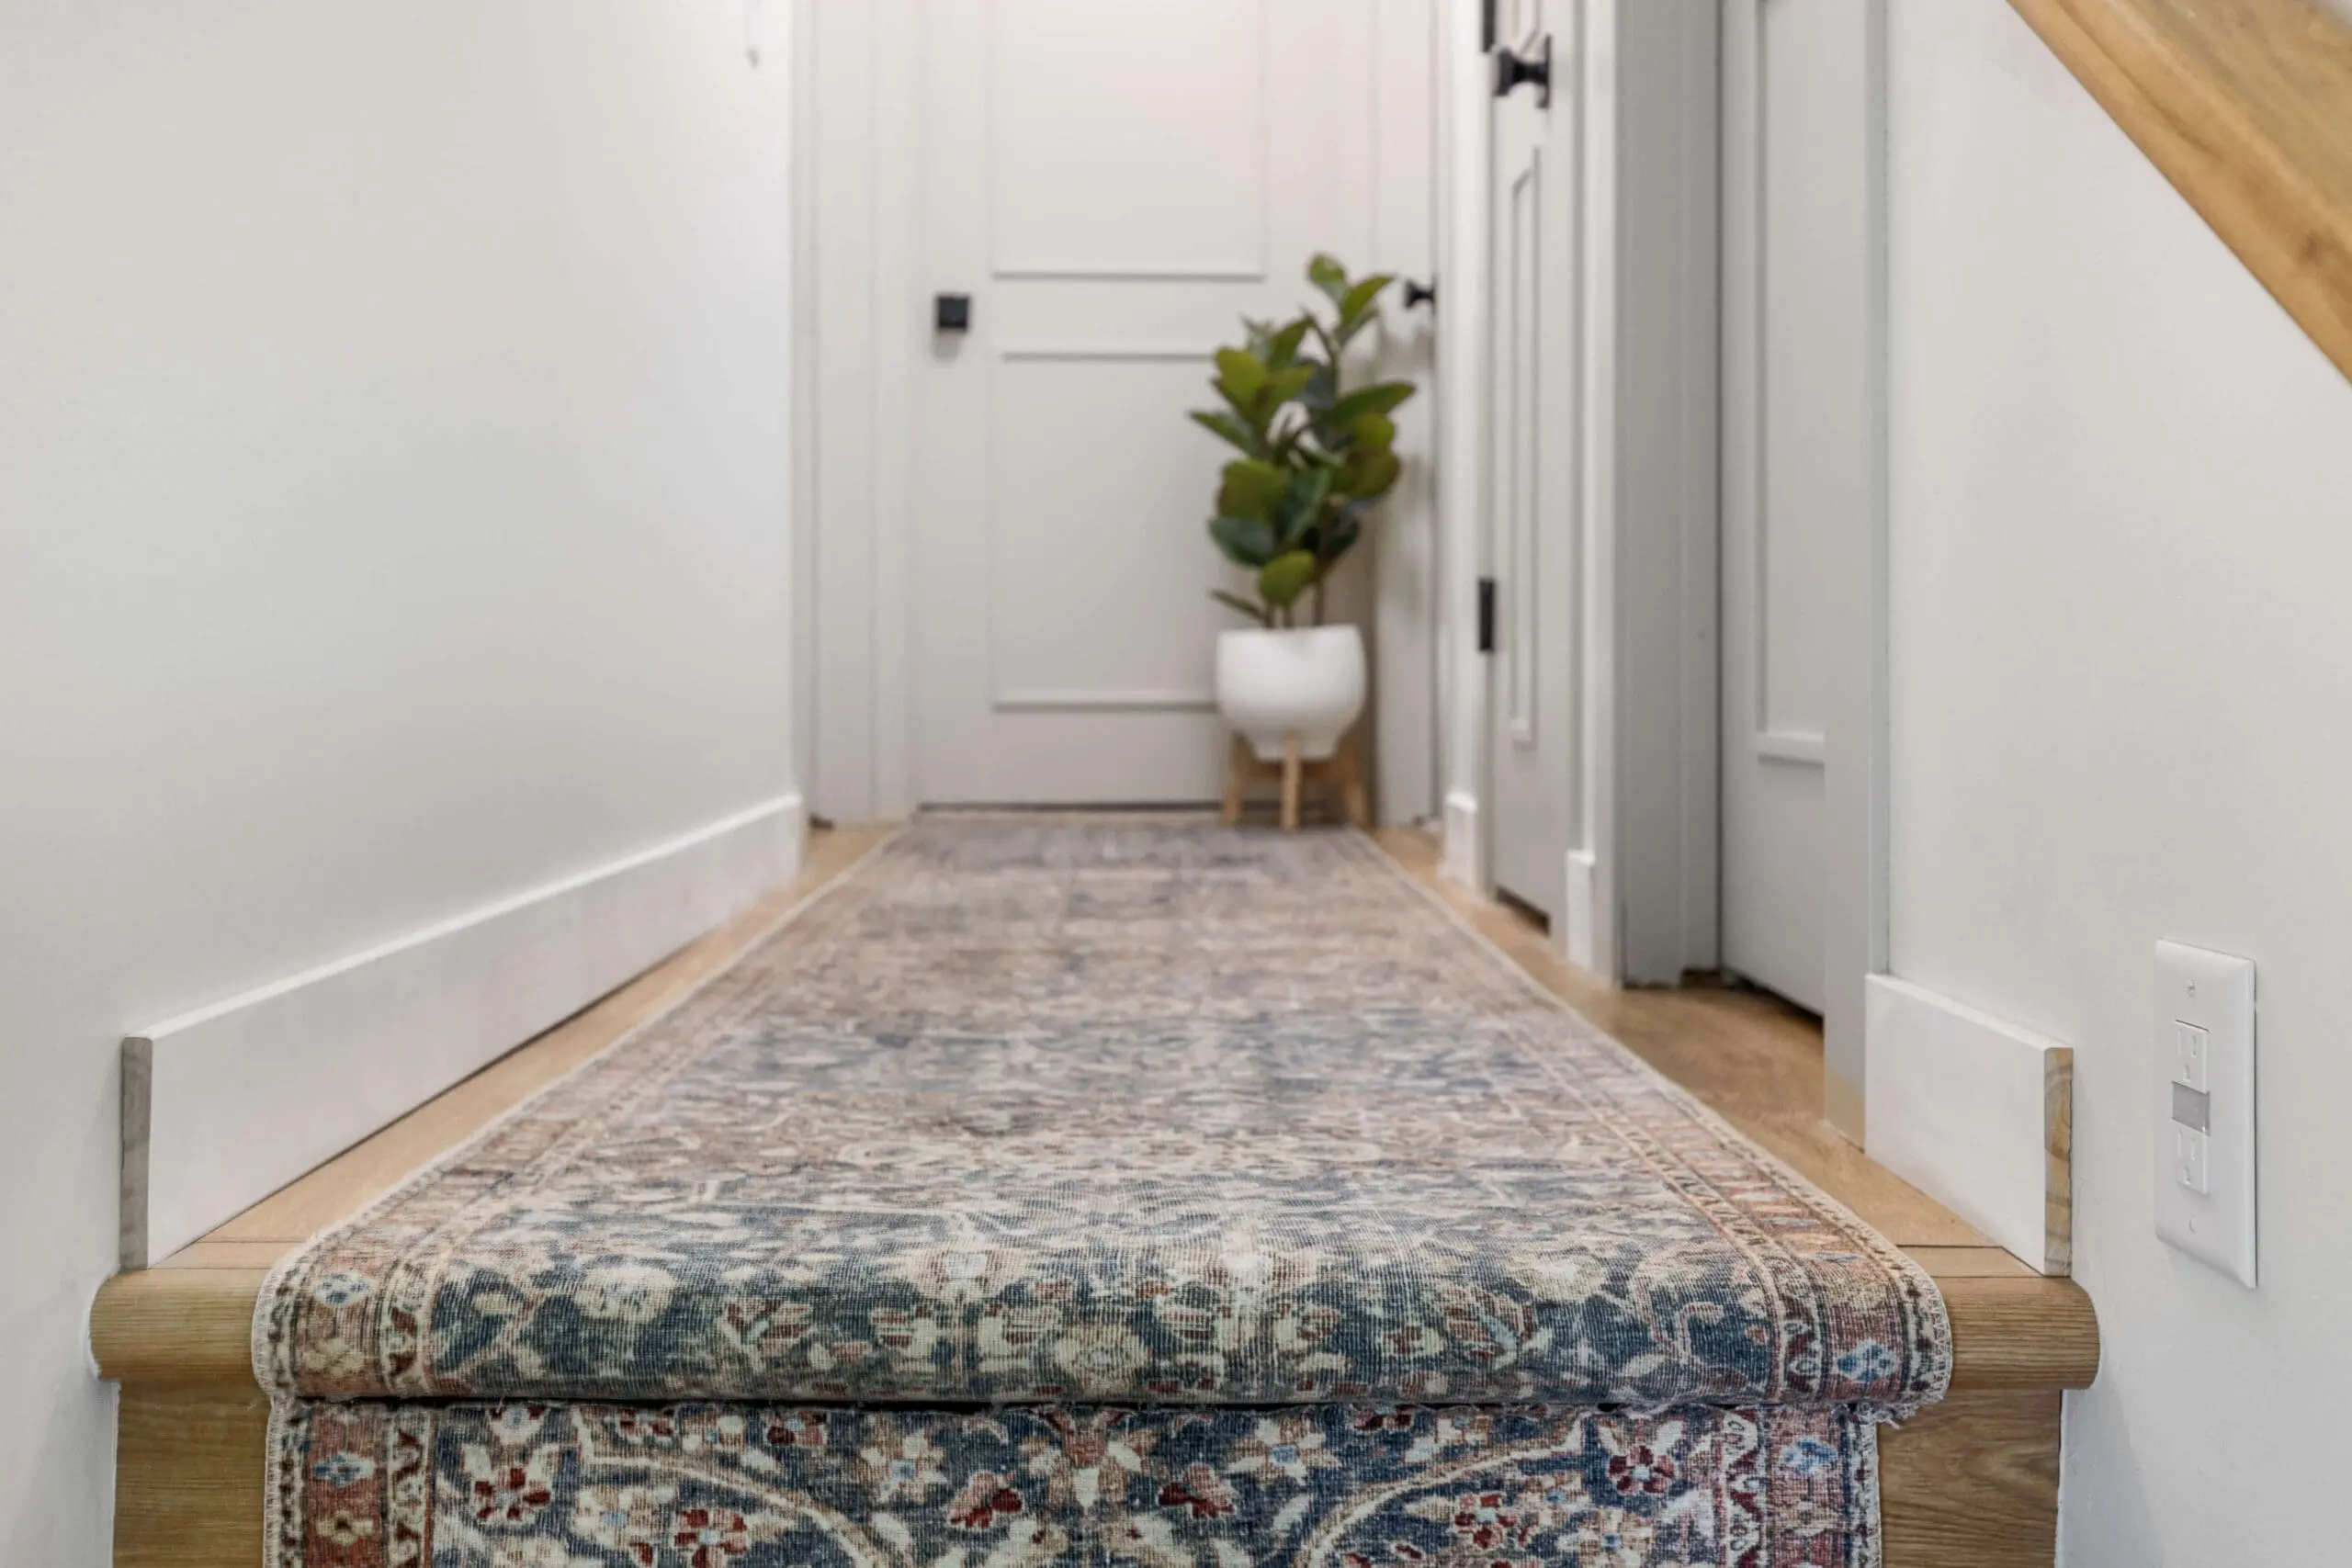
The top of my staircase turns into a hallway. Instead of stopping the runner at the top step, I decided to continue it along the hallway over our beautiful Duravana plank flooring. I laid out the runner, centering it in the hallway, and grabbed my staple gun to staple it straight to the floor. No going back now!
As I worked down the hall, I stapled every few inches. You want enough staples to hold the rug down, but not so many that you’ll regret it if you ever want to pull it up and replace it.
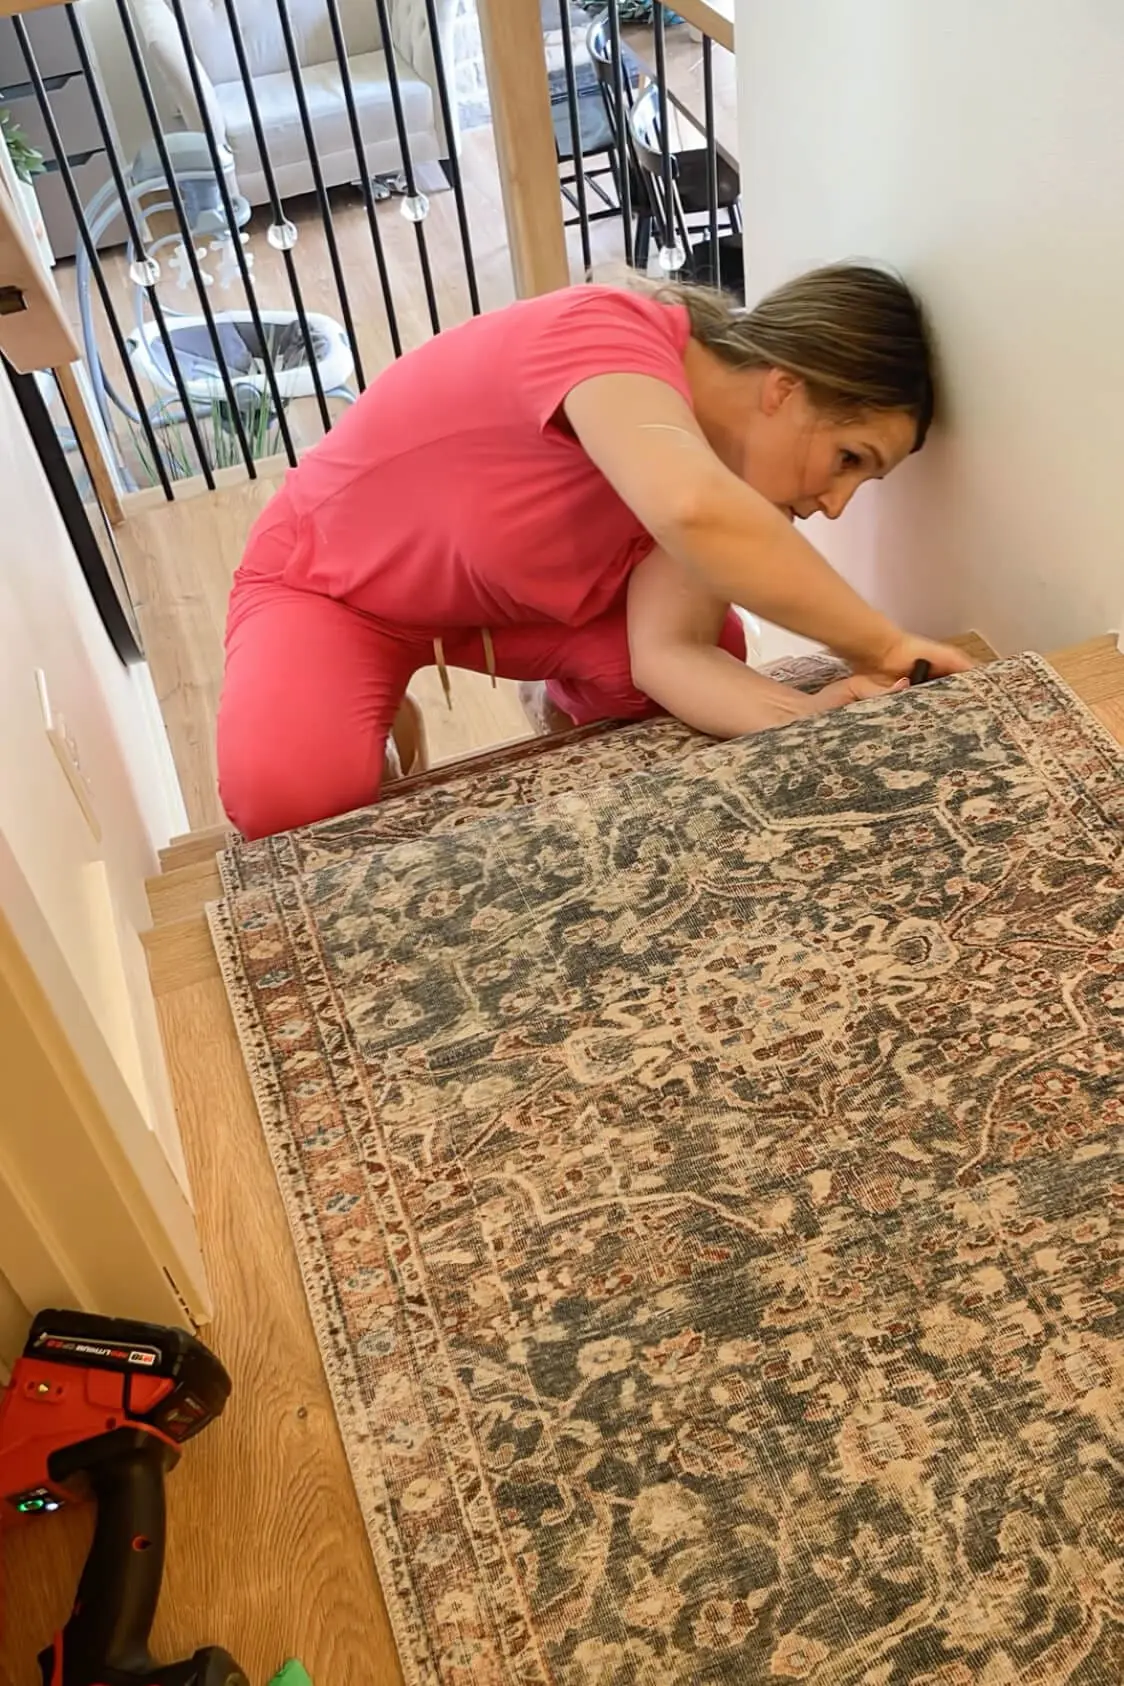
Since the runner didn’t reach the end of the landing, the best place to hide the seam was under a stair tread. I pulled the runner down, marked where I needed to cut, then pulled it back up into the hall to make the cut more easily.
A T-Square is made for drywall, but I use it for many other projects. It’s the perfect straight edge for making a cut like this. I lined up the shorter side of the “T” with the runner’s edge and the longer side with my mark. I scored the rug with a utility knife, finishing the cut with scissors.
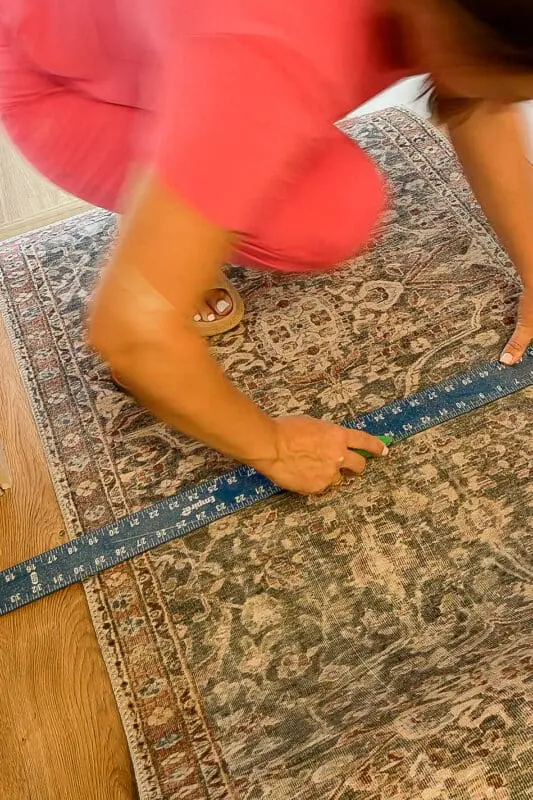
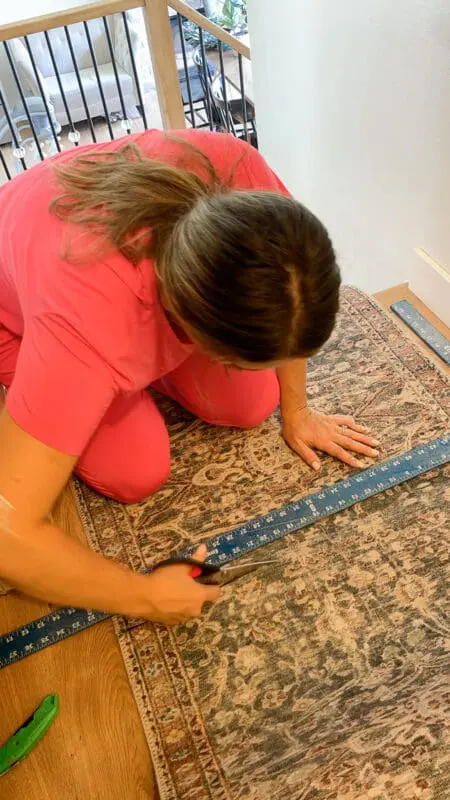
After stapling the runner under the stair tread, the hallway to the top step was done. If I were doing this project again in the future, I would do this seam a little differently, which I’ll explain later.
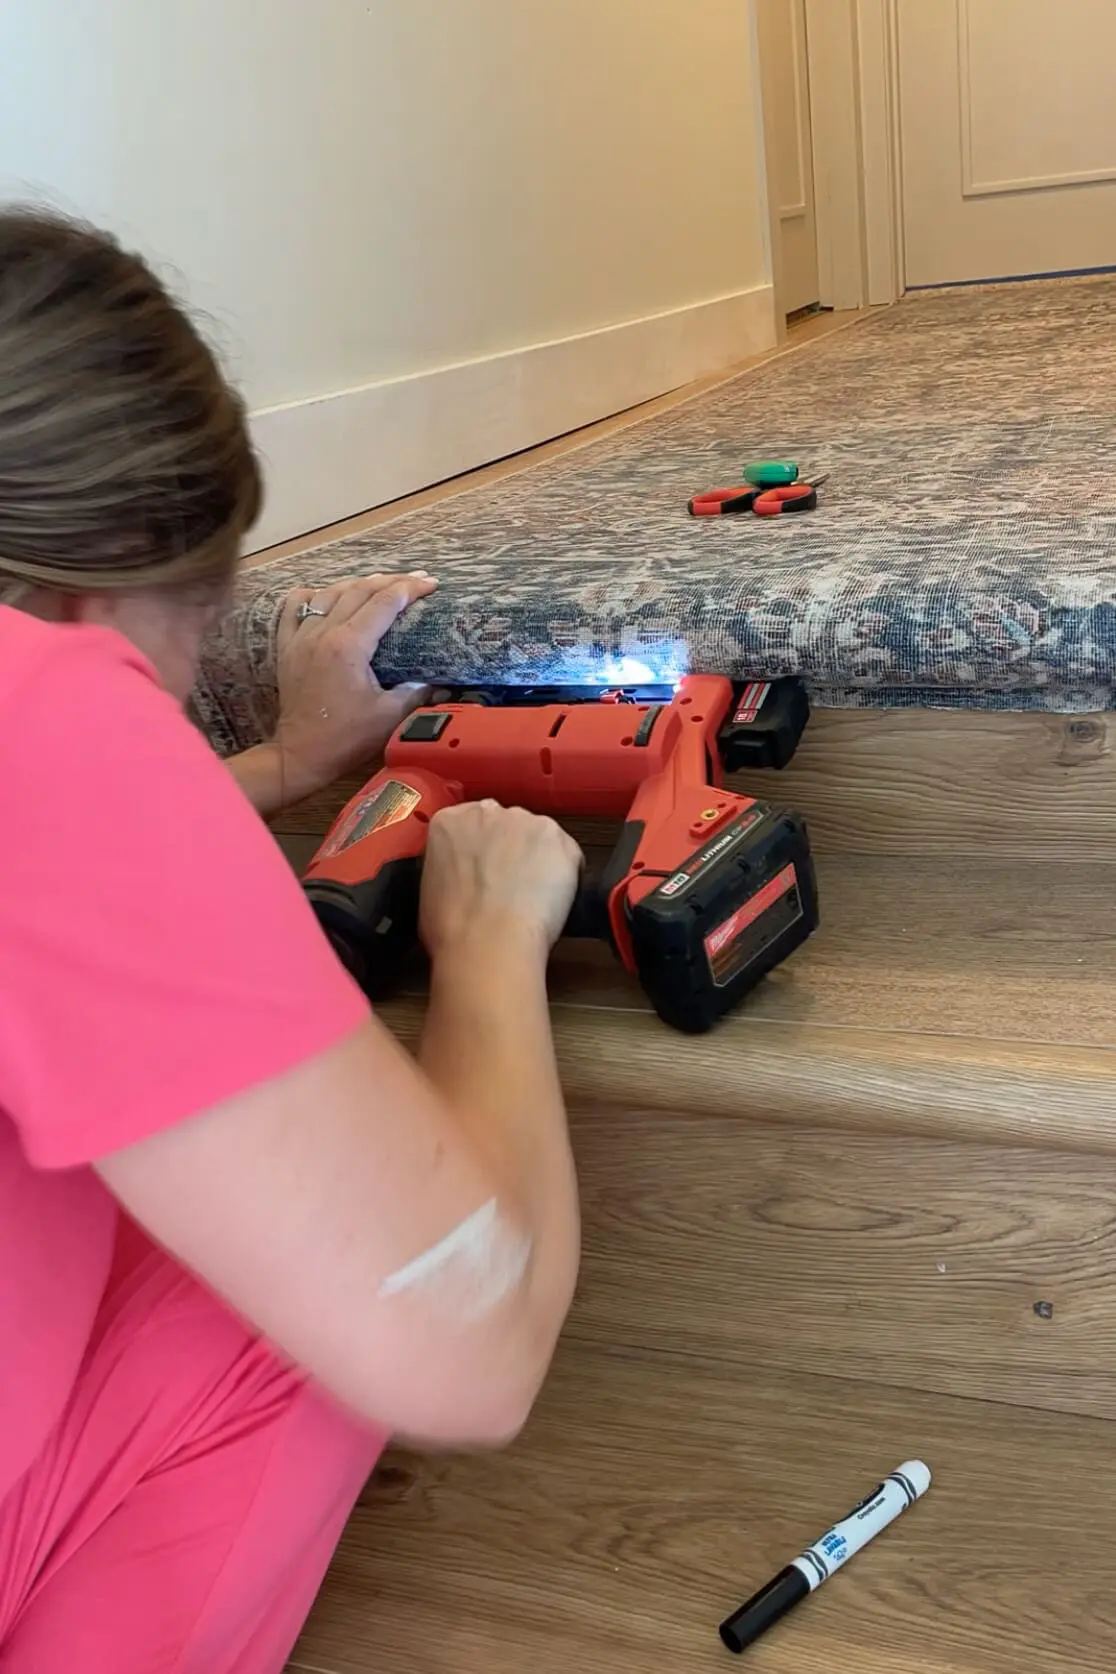
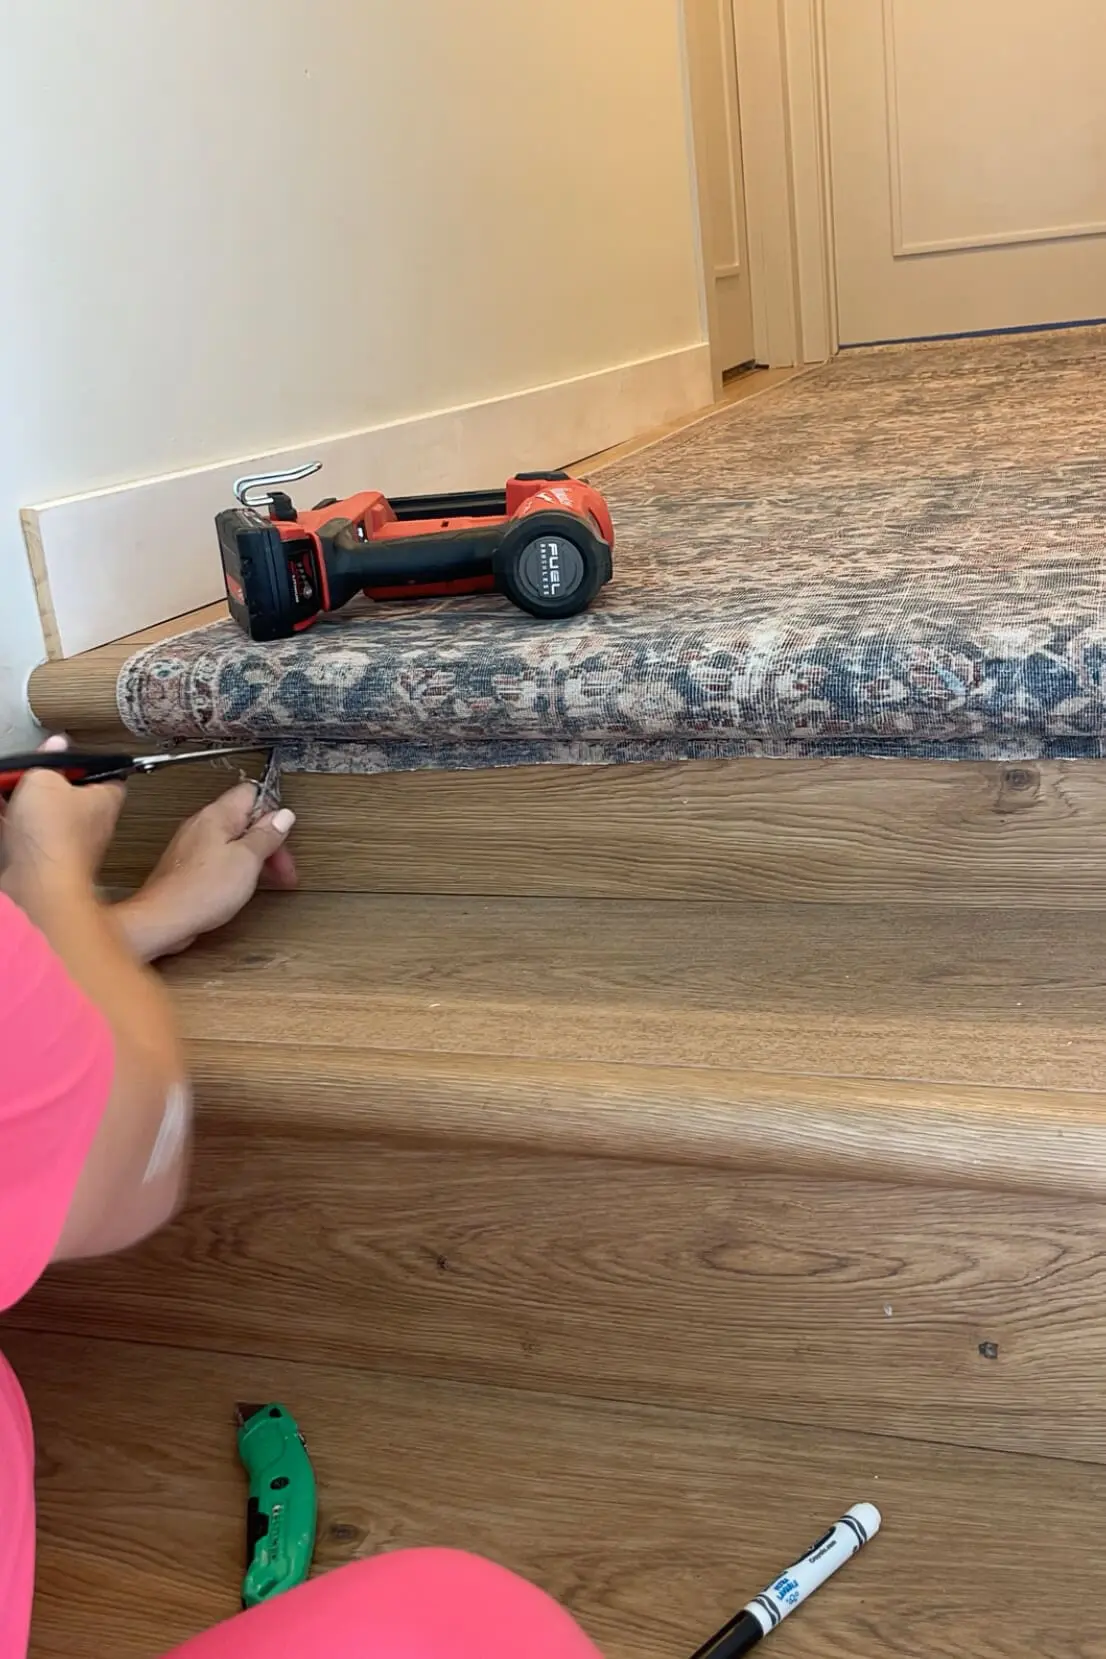
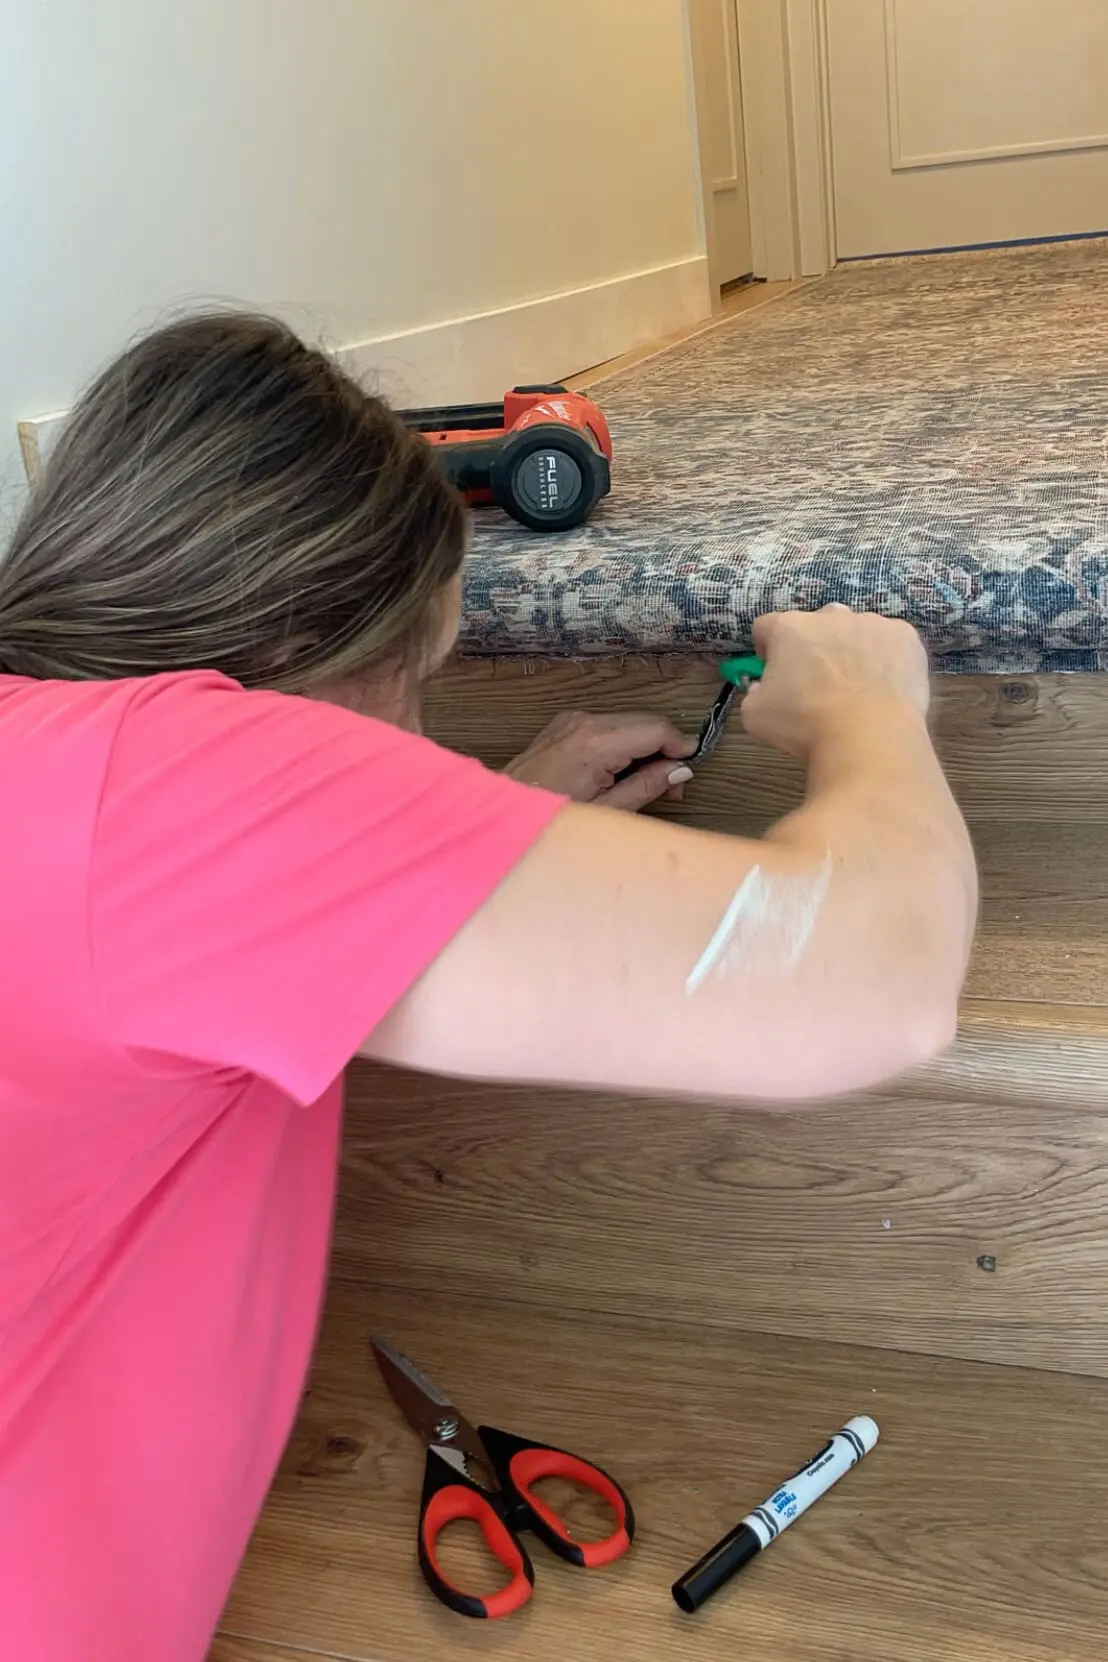
The hallway to the top step is done, and my DIY stair runner installation is looking great already!
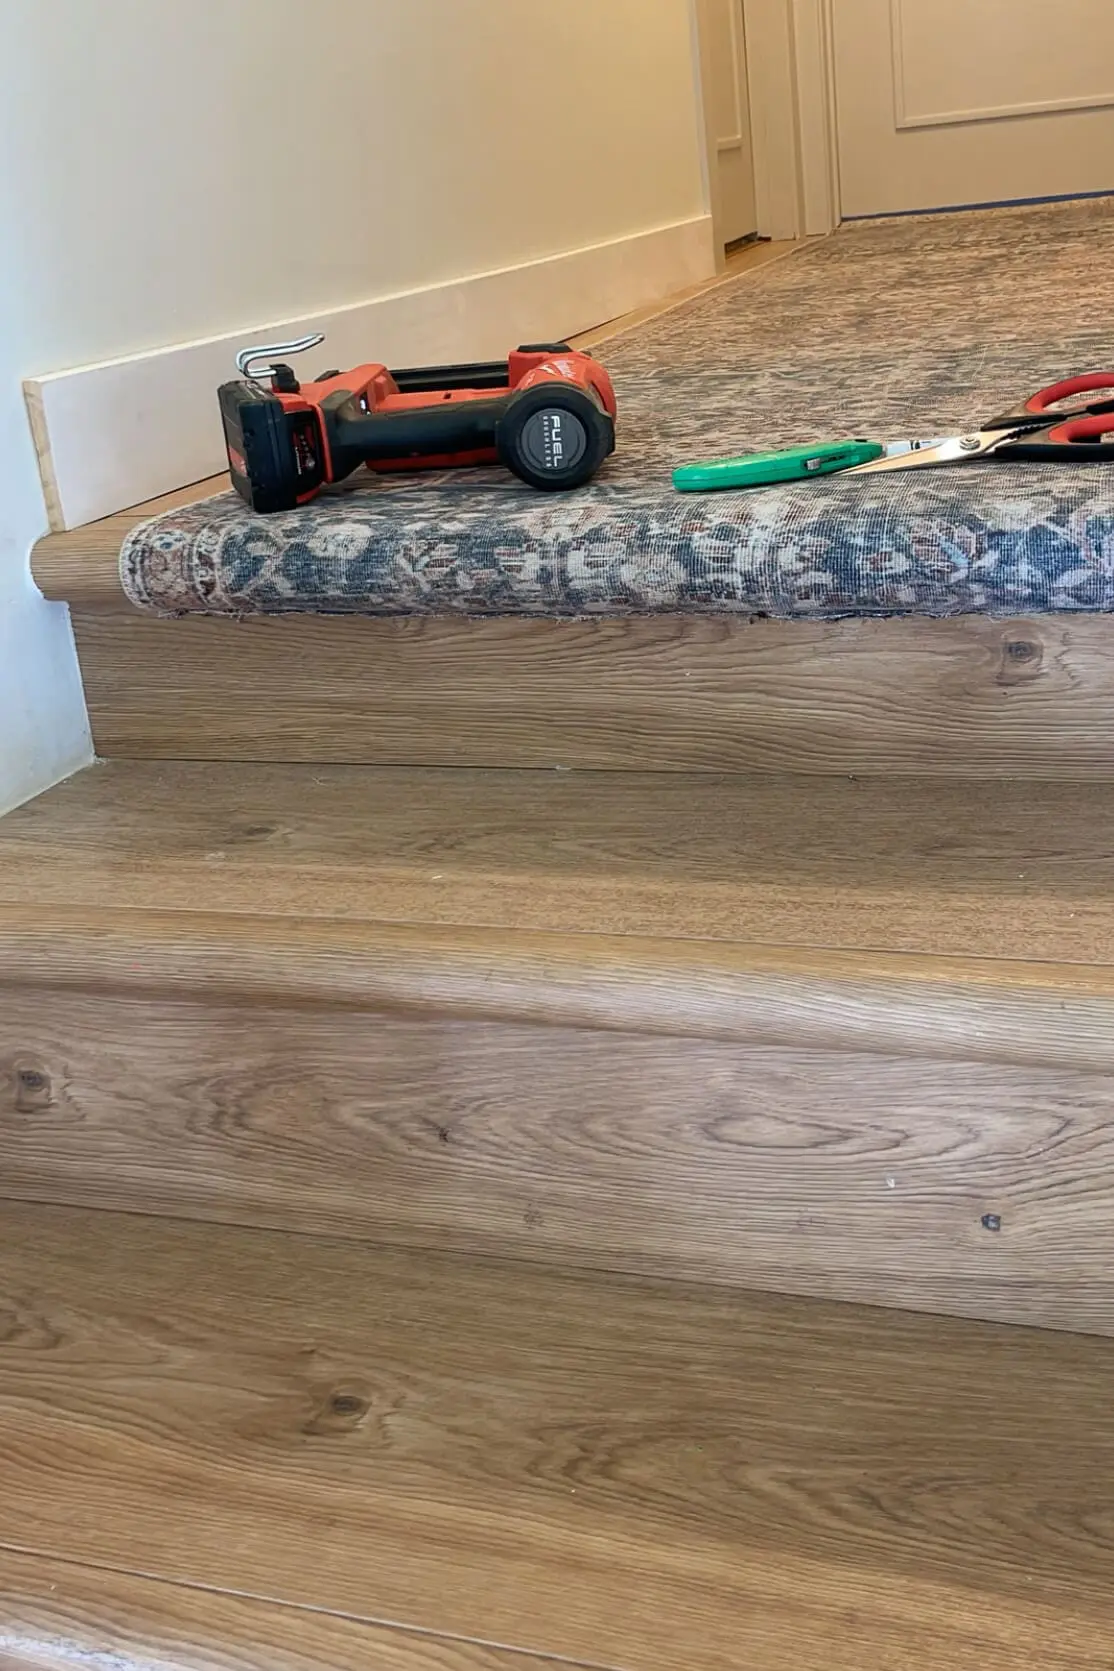
Installing a DIY Stair Runner on a Landing
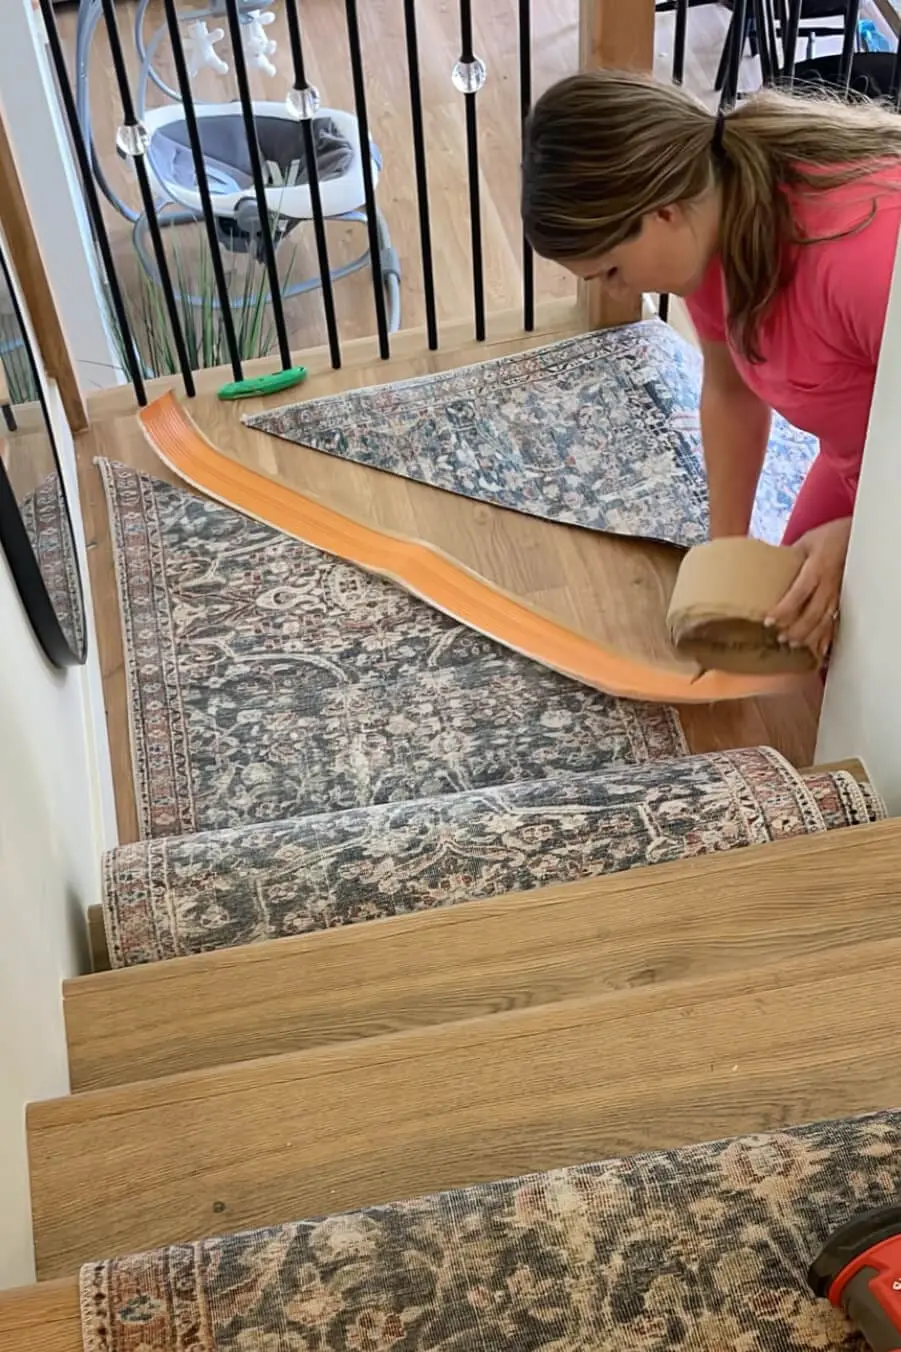
The trickiest part is installing the stair runner on the landing. I laid out another runner, aligning it with where I wanted the runner to end on the landing, with the rest heading towards the top step. Overlapping another runner on top, I lined up the edges.
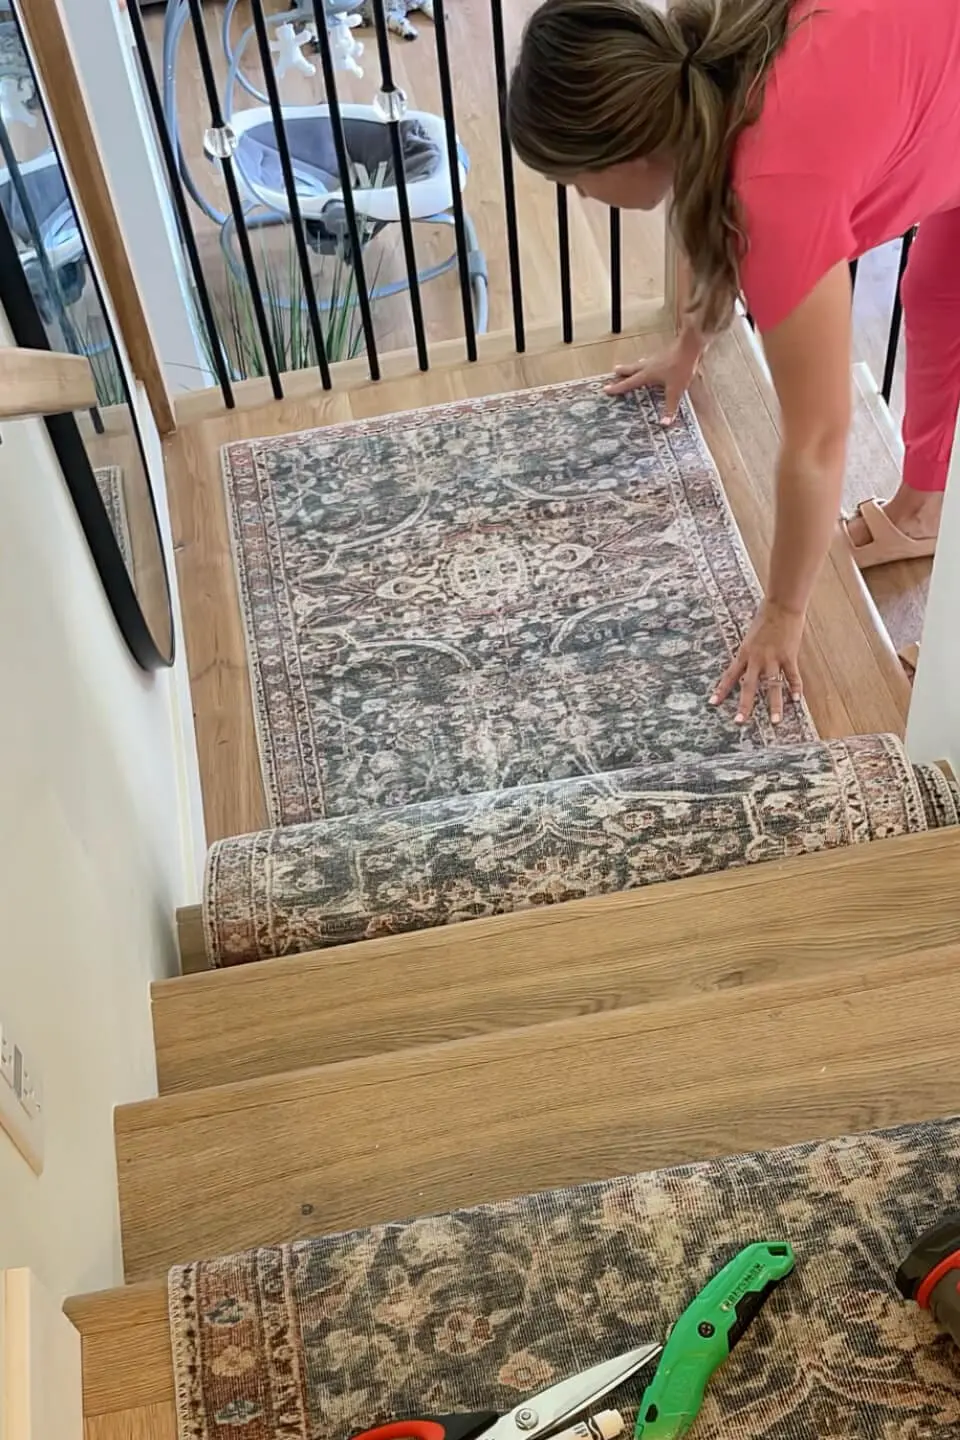
Then I grabbed another rug and overlapped it on top, lining up the edges.
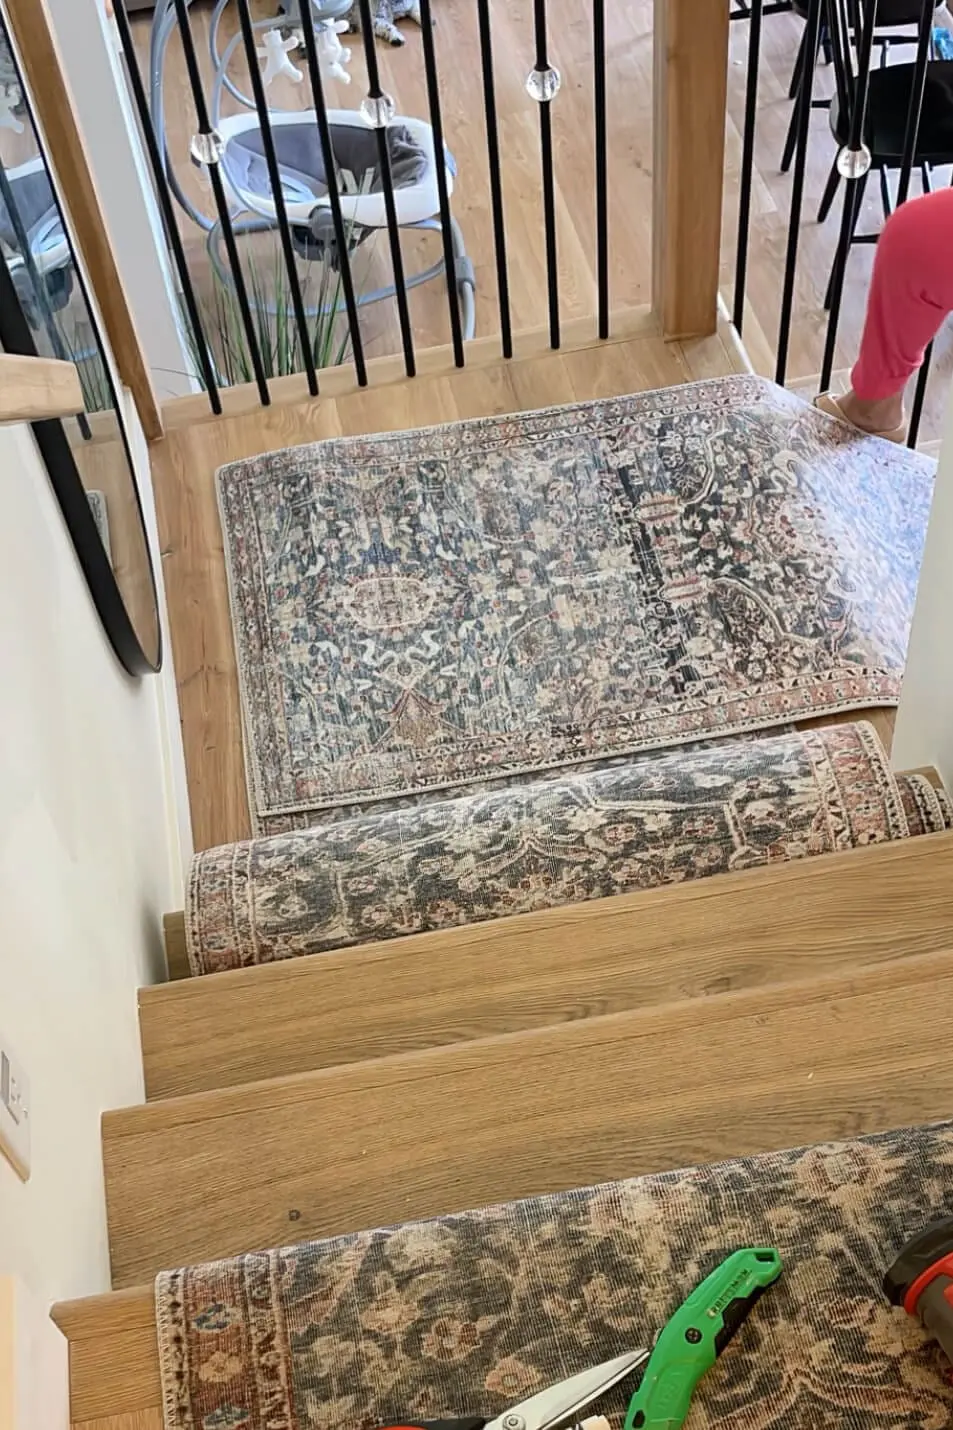
Using my T-Square, I lined up one edge at the outside corner where the runners meet, and the other edge at the inside corner. I scored the rug and finished the cut with scissors, just cutting through the top runner.
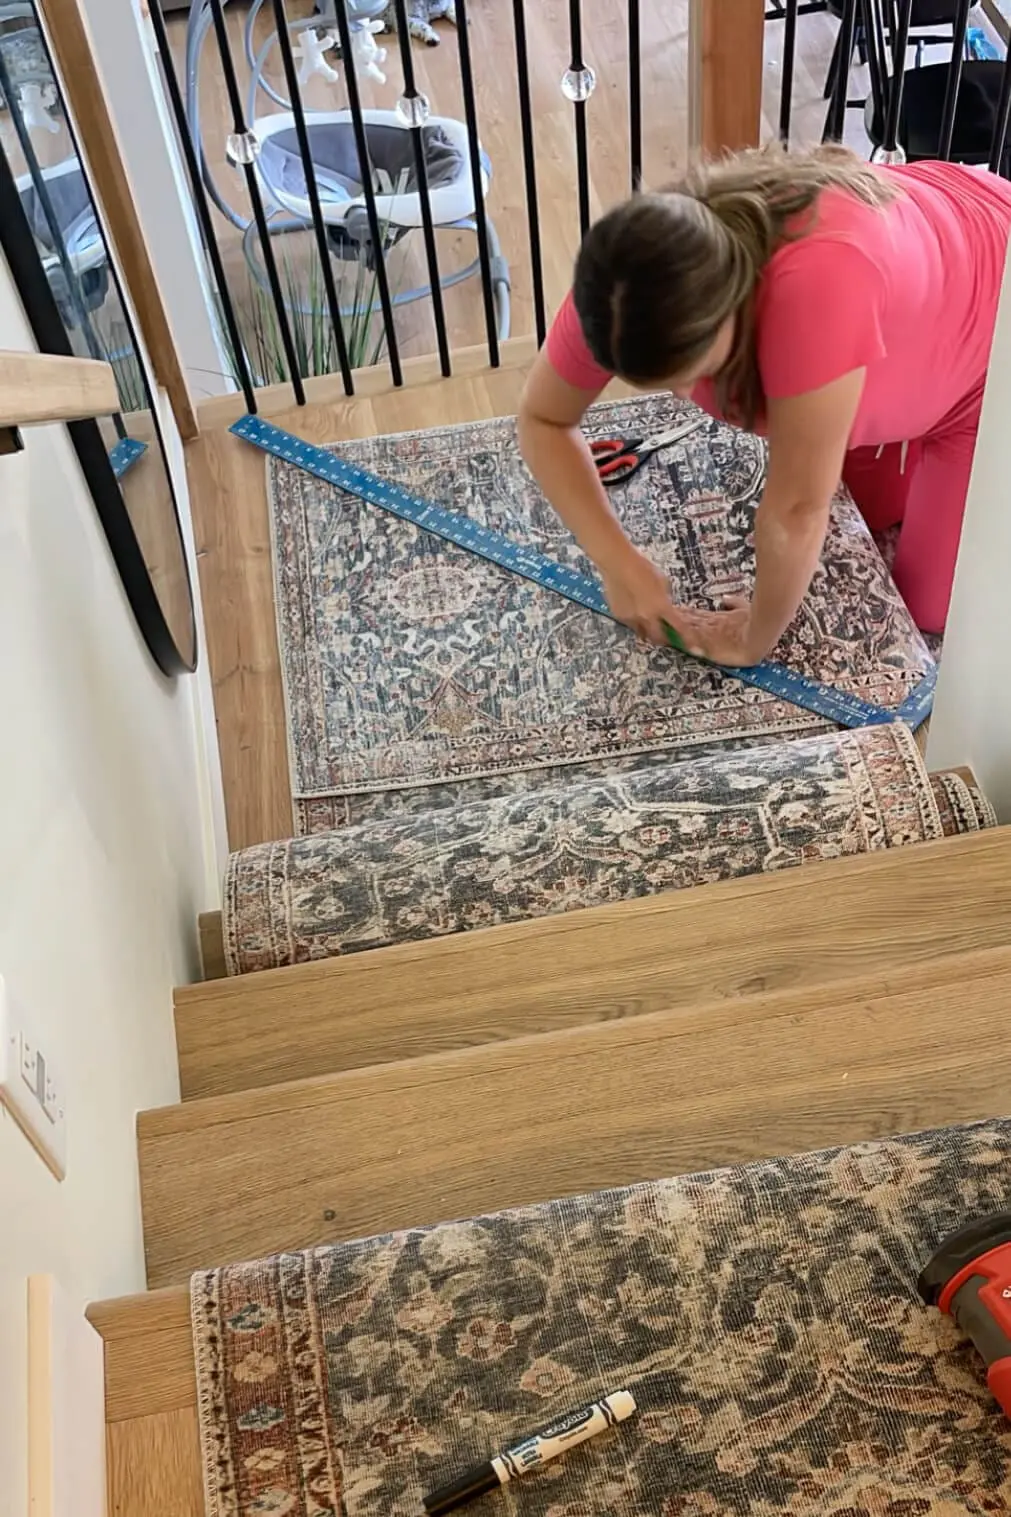
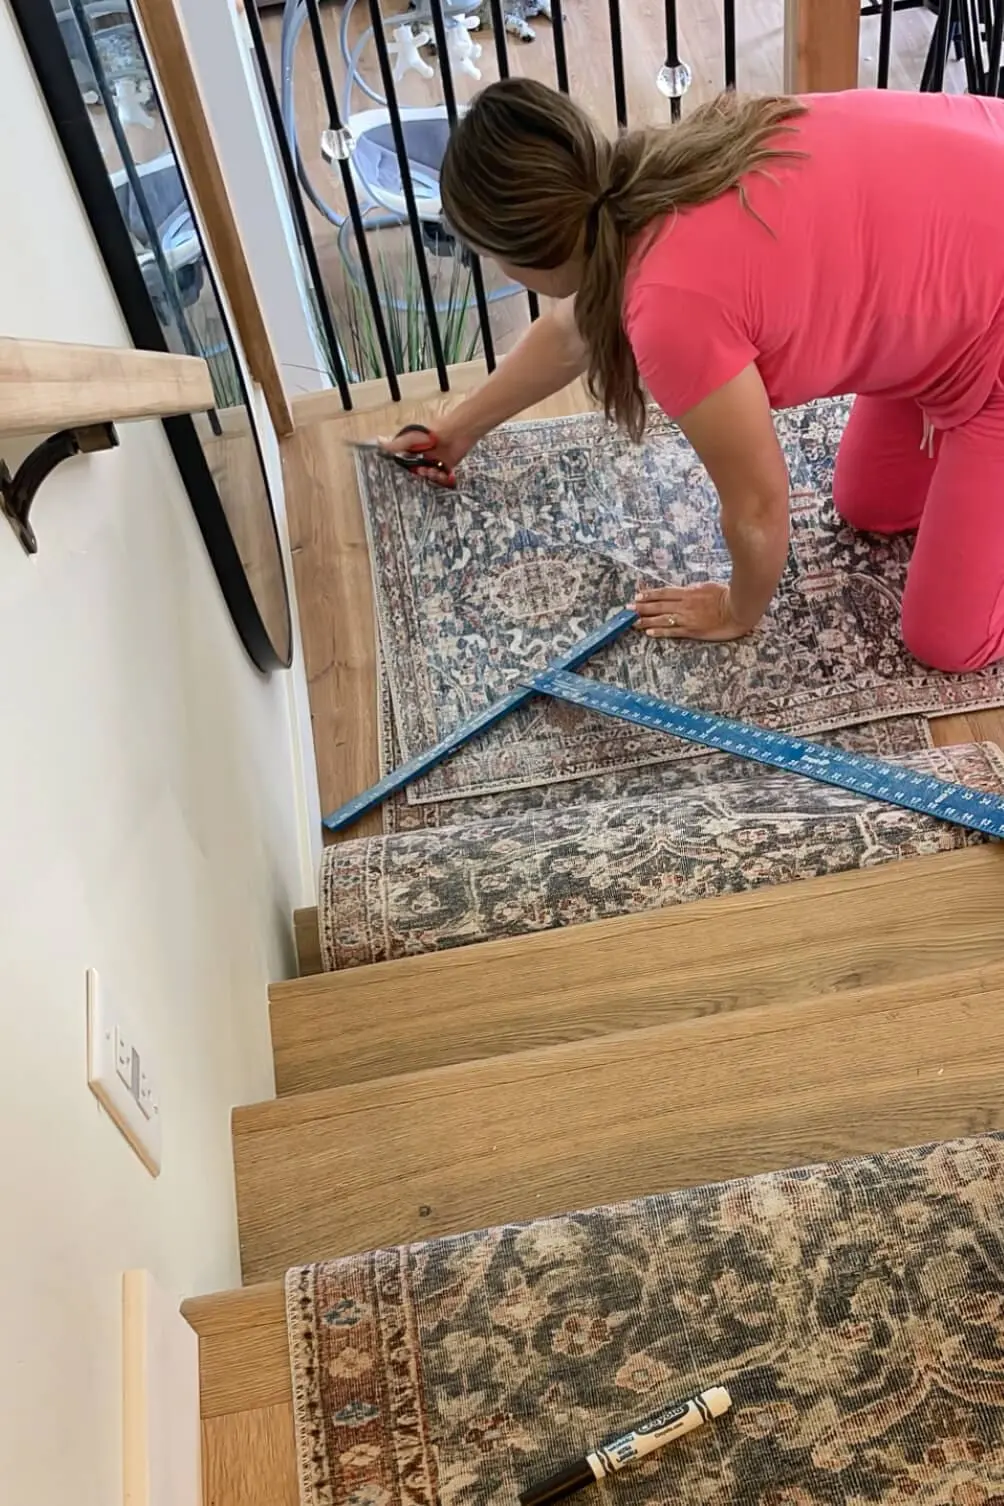
To cut the runner underneath, I used the fresh cut edge of the top runner as my guide. I first scored it with my utility knife, then moved the top carpet out of the way to finish cutting the lower rug with scissors.
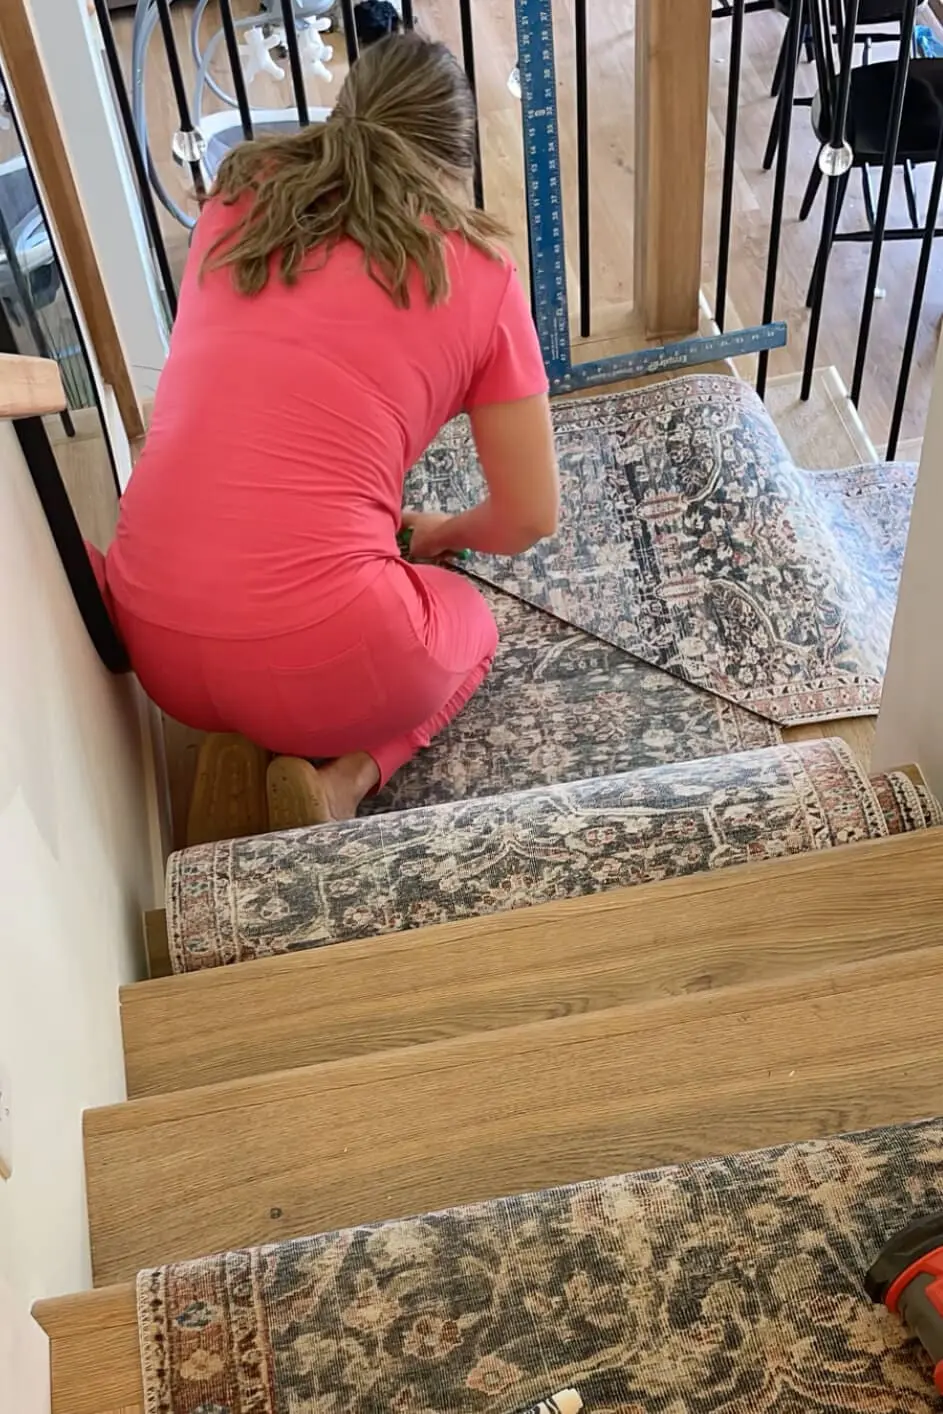
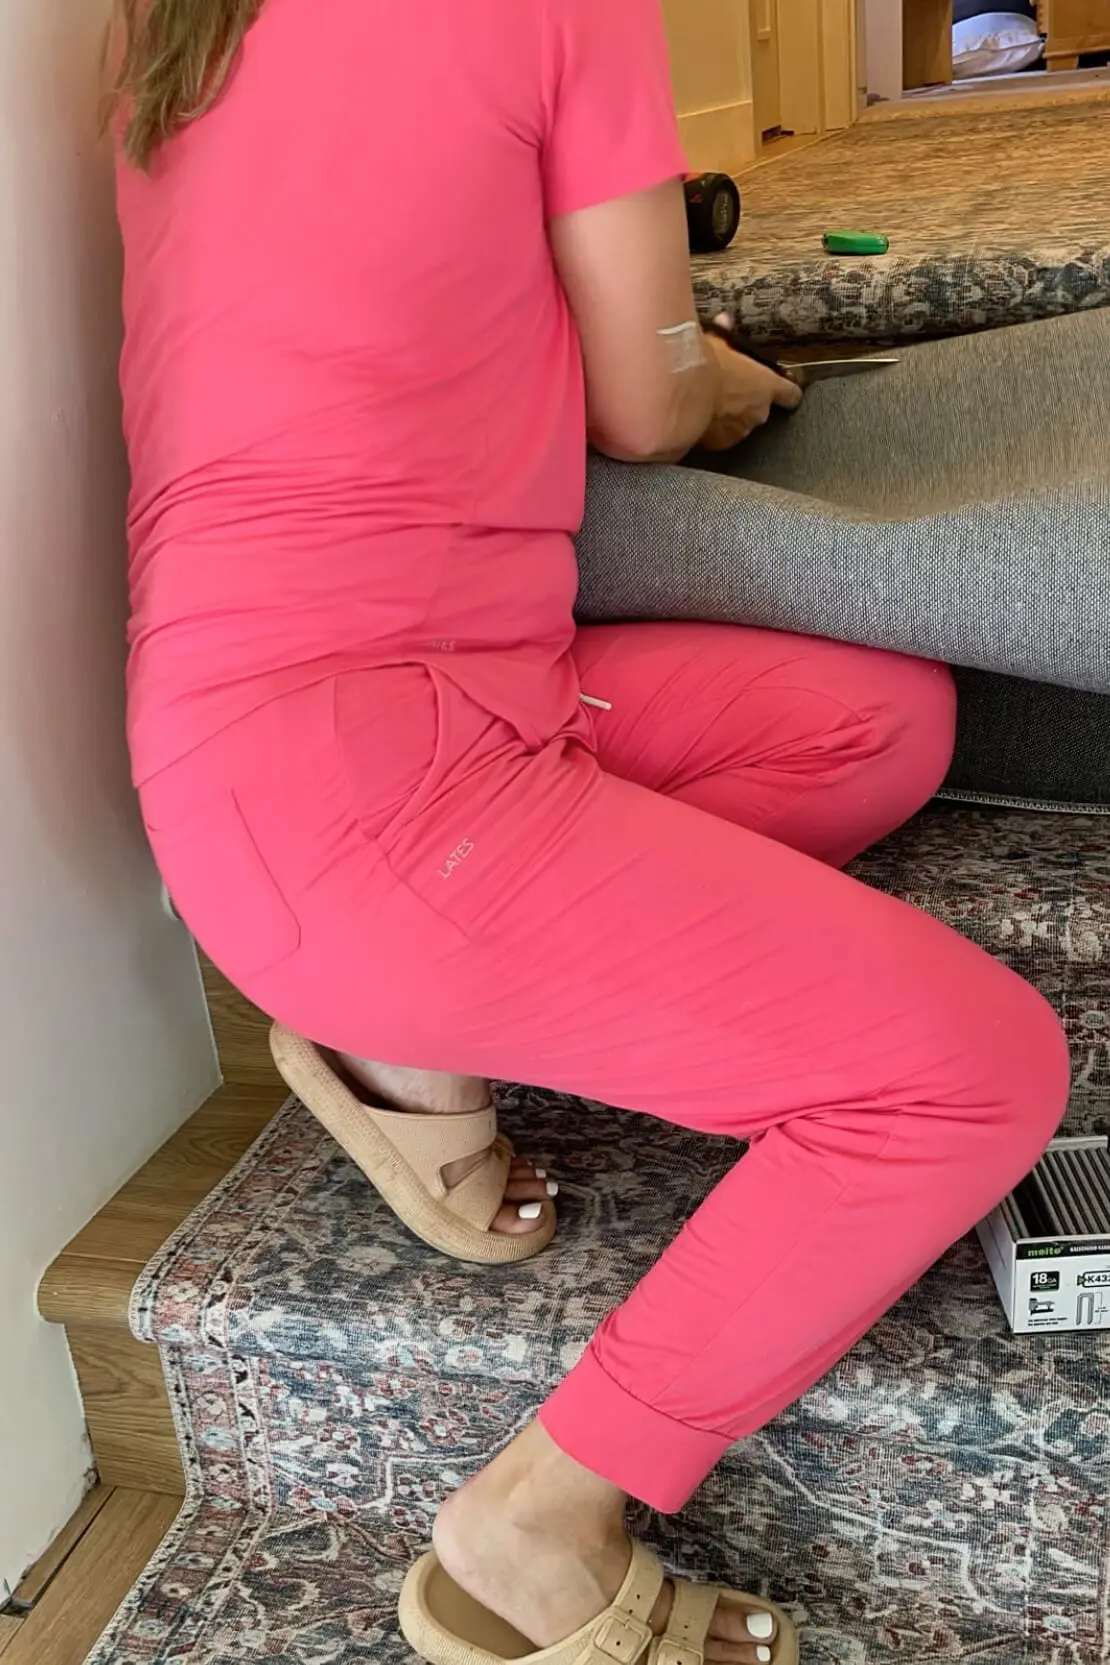
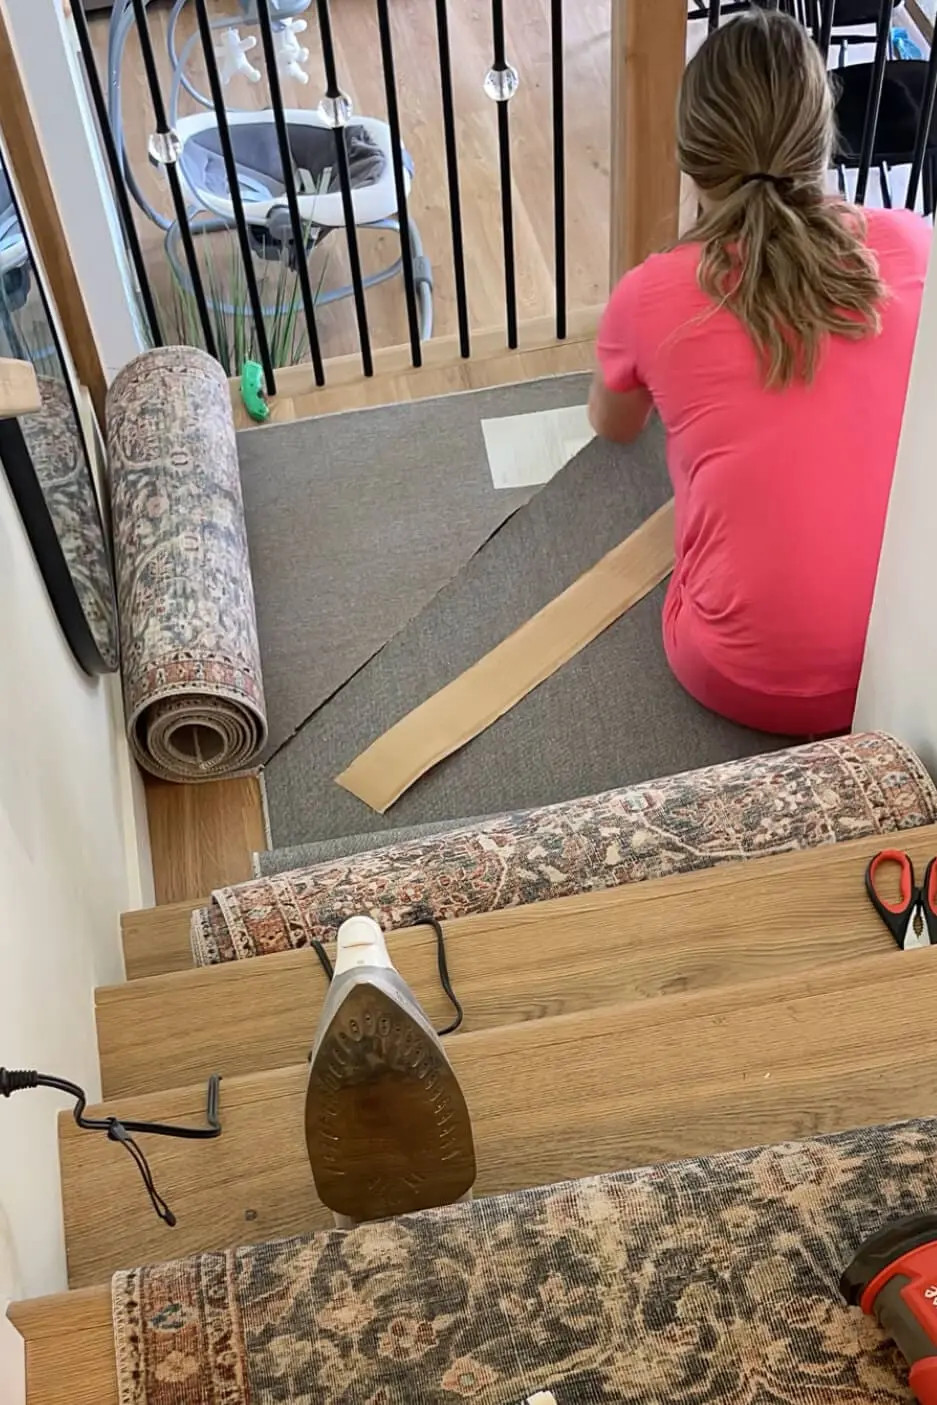
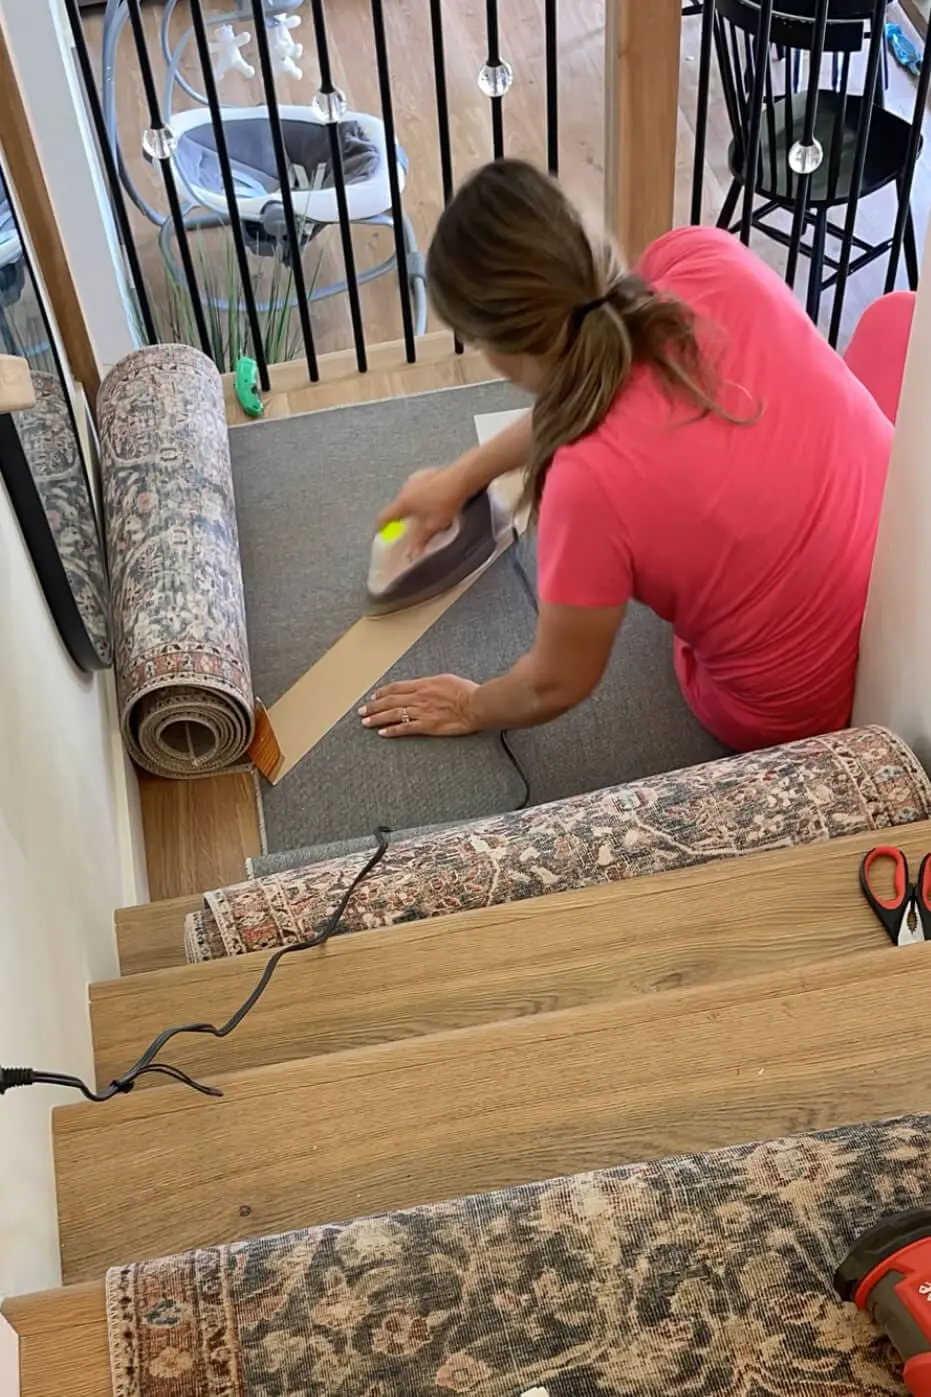
With two perfectly cut 45° angles, I needed to join them together. I plugged in a regular clothes iron to heat up and cut a piece of carpet tape longer than the seam.
Flipping the runners over, I joined them together with the carpet tape, using the iron to activate the adhesive. The heat bonded the rugs together seamlessly.
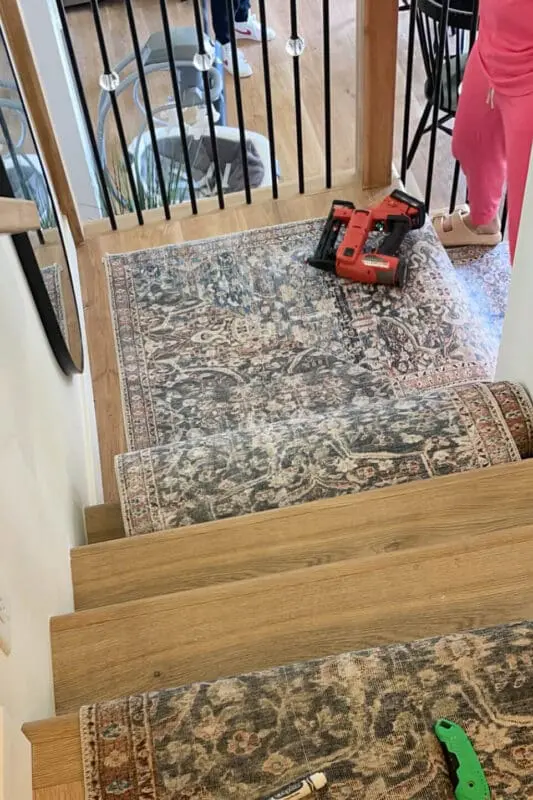
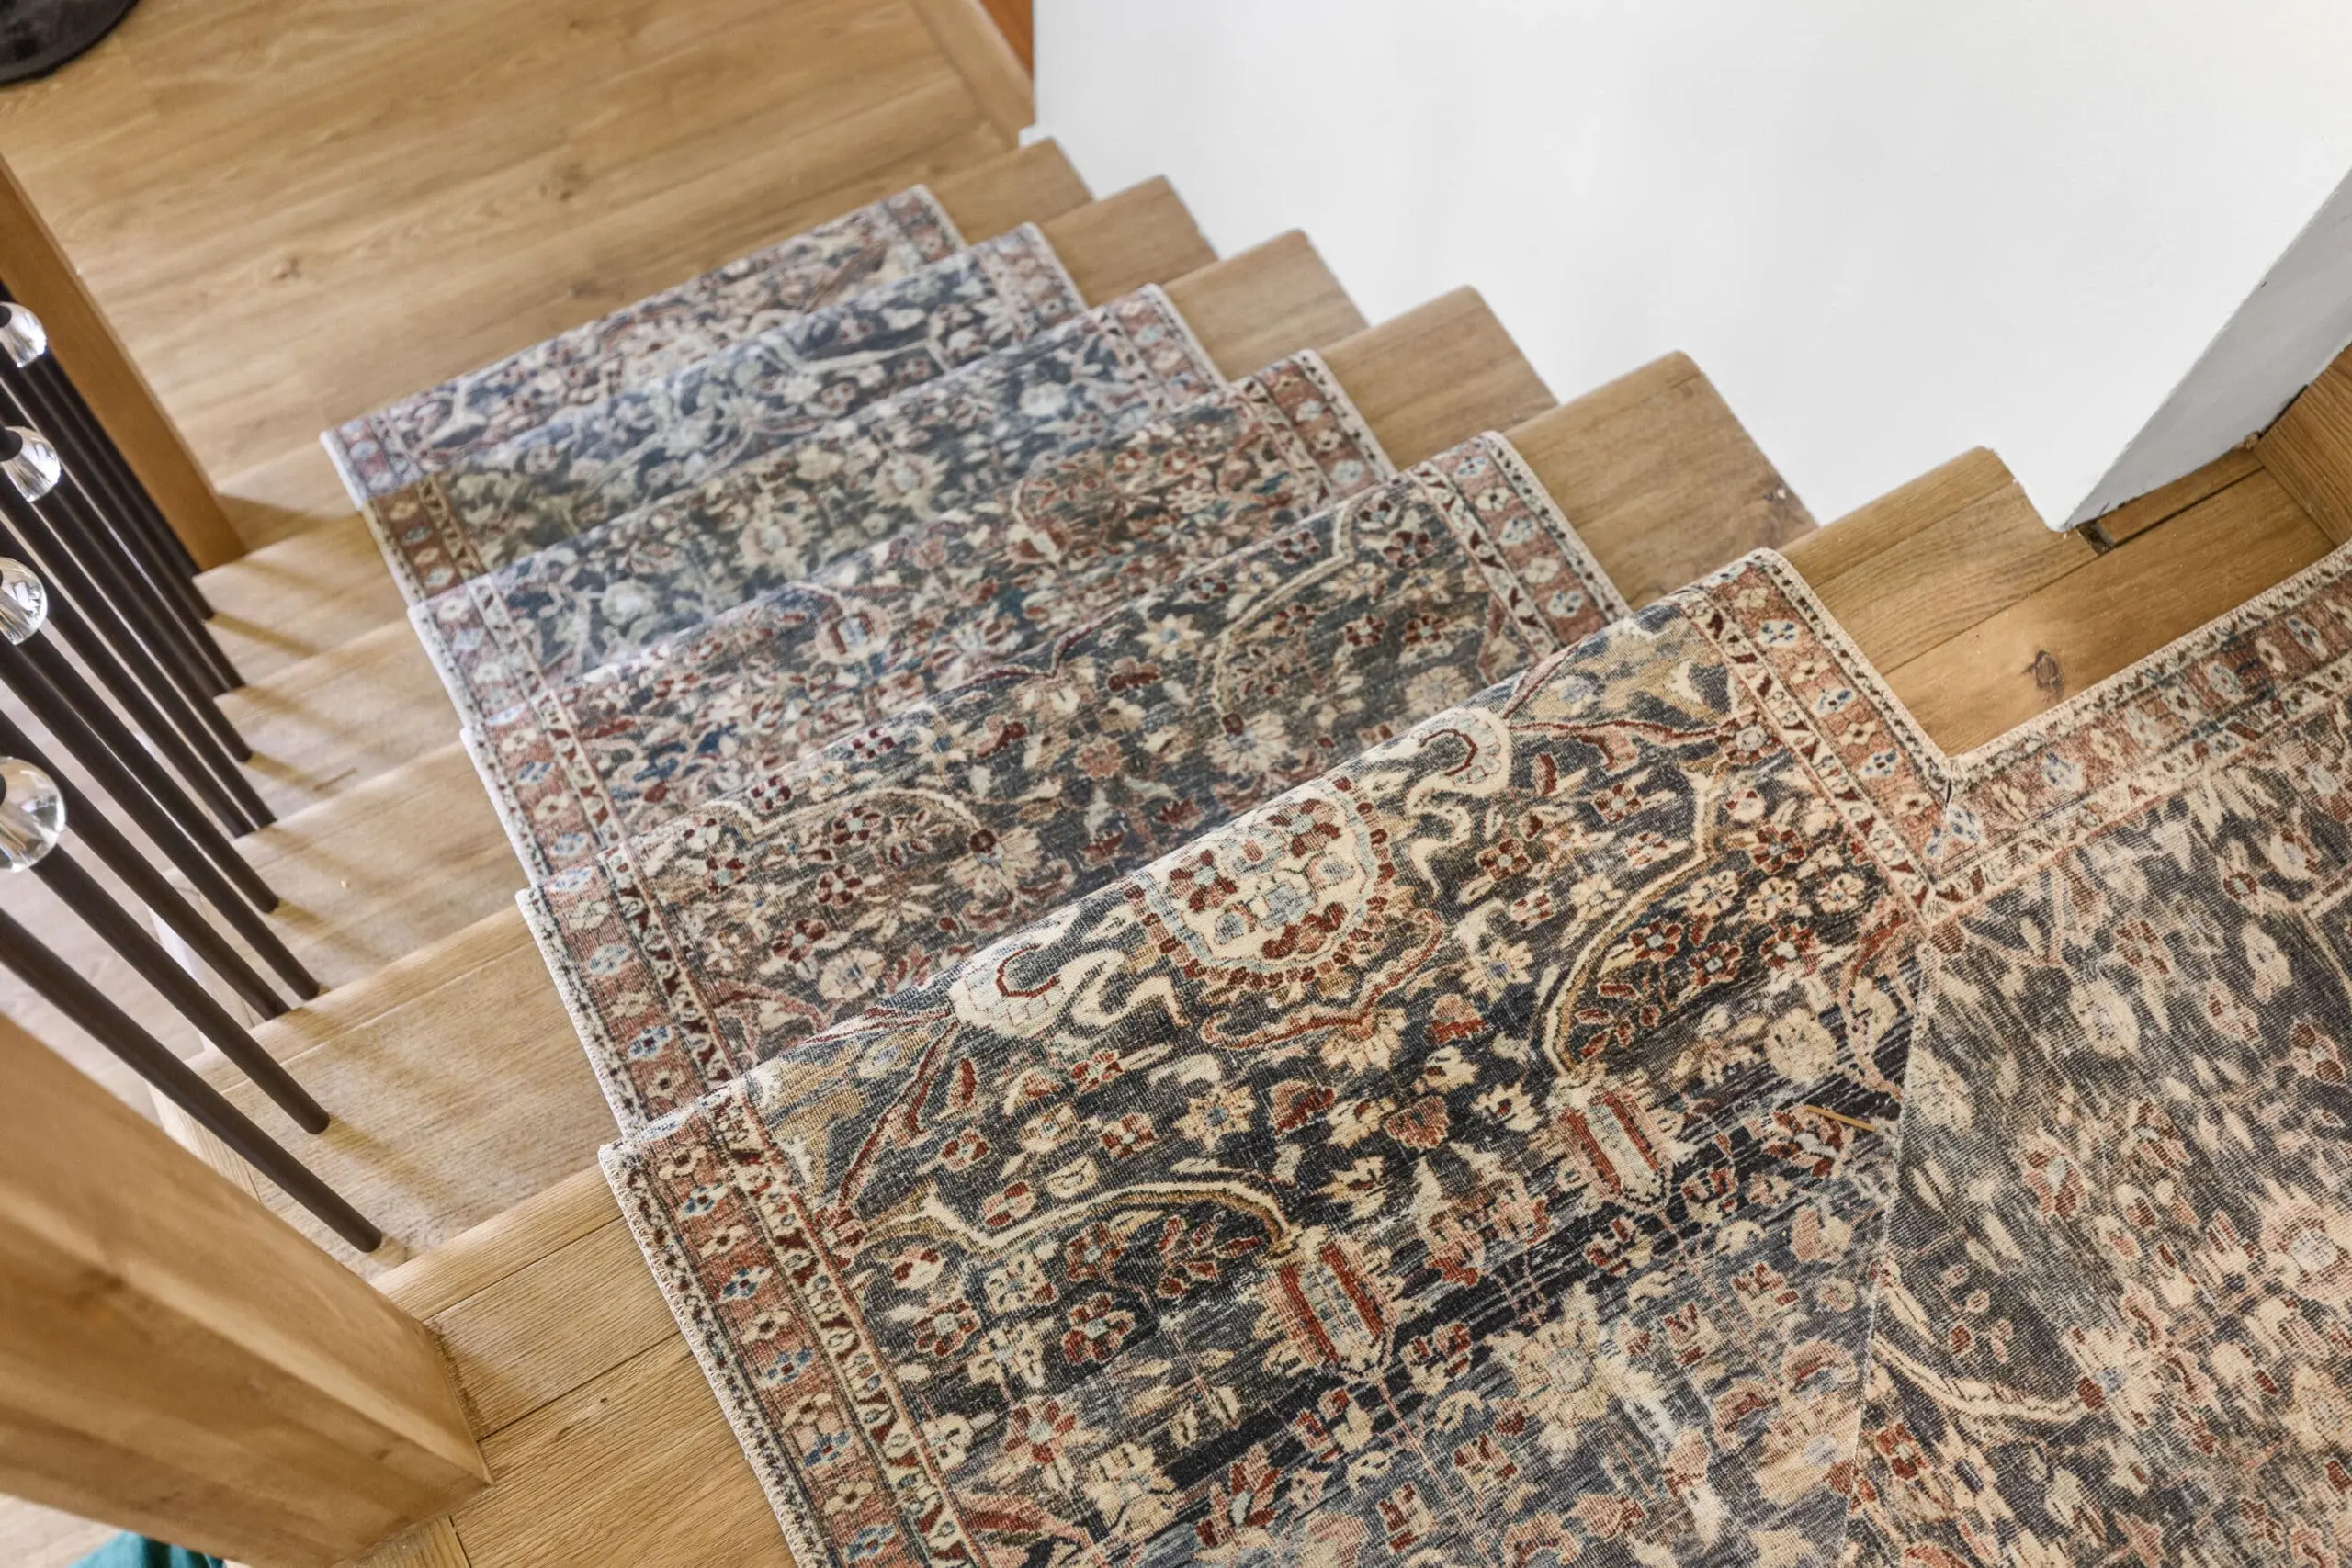
Flip them back over and staple the runners in place on the landing. Doesn’t it look great?
Finishing the DIY Stair Runner
With the landing done, I worked my way back up to the top step, stapling along the edges of the runner on both the riser and the top of the stair tread. I also stapled underneath each step at the back of the riser.
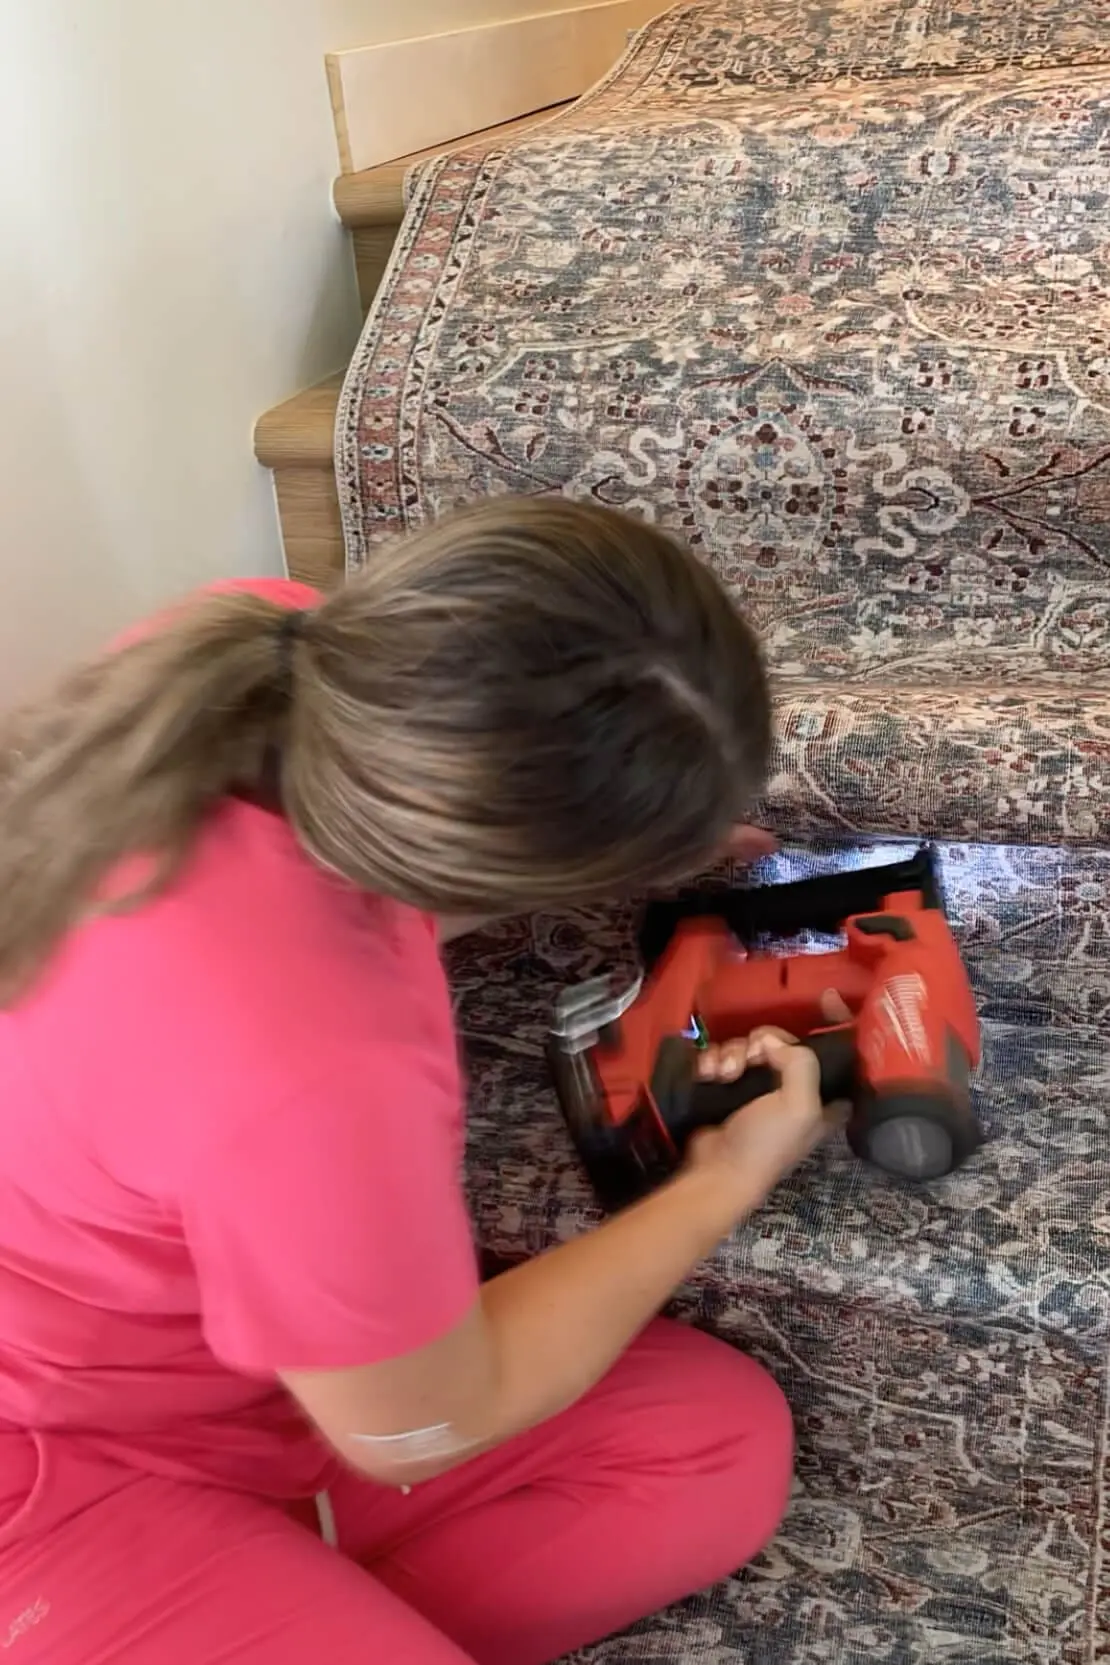
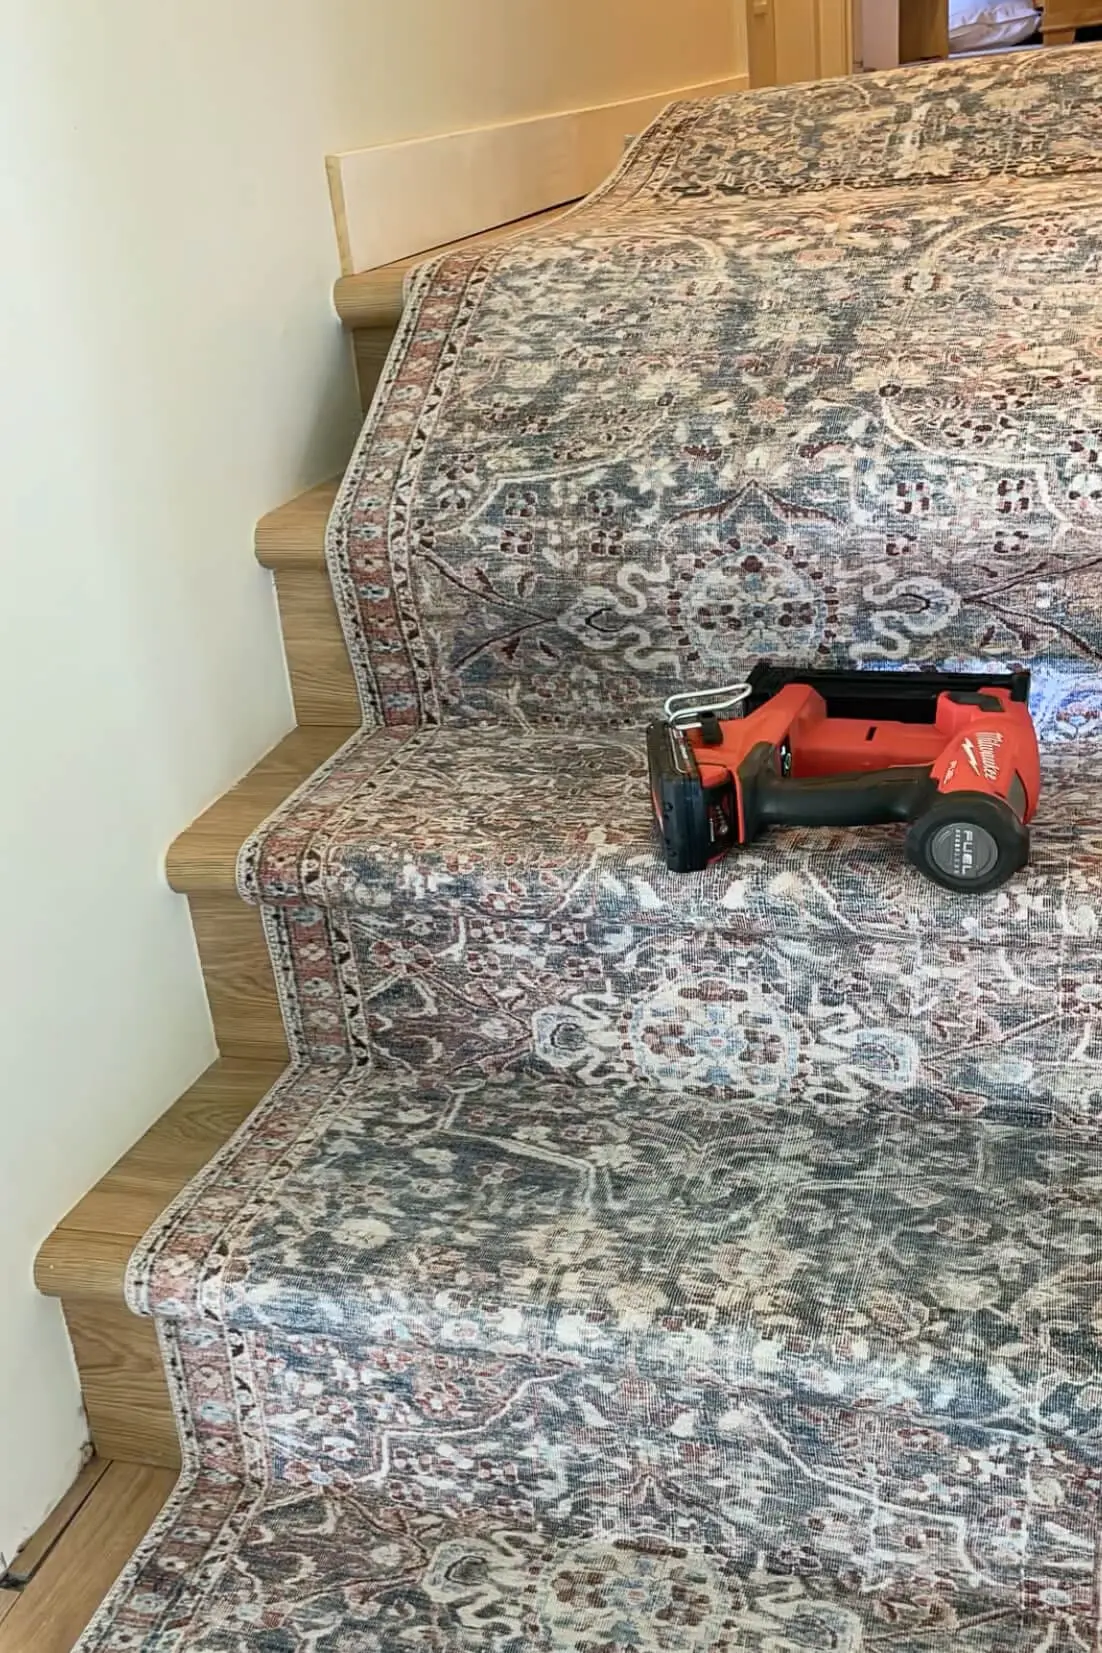
At the top, I trimmed most of the extra runner to get it out of my way. I then stapled the rug underneath the stair tread, meeting the previously cut section.

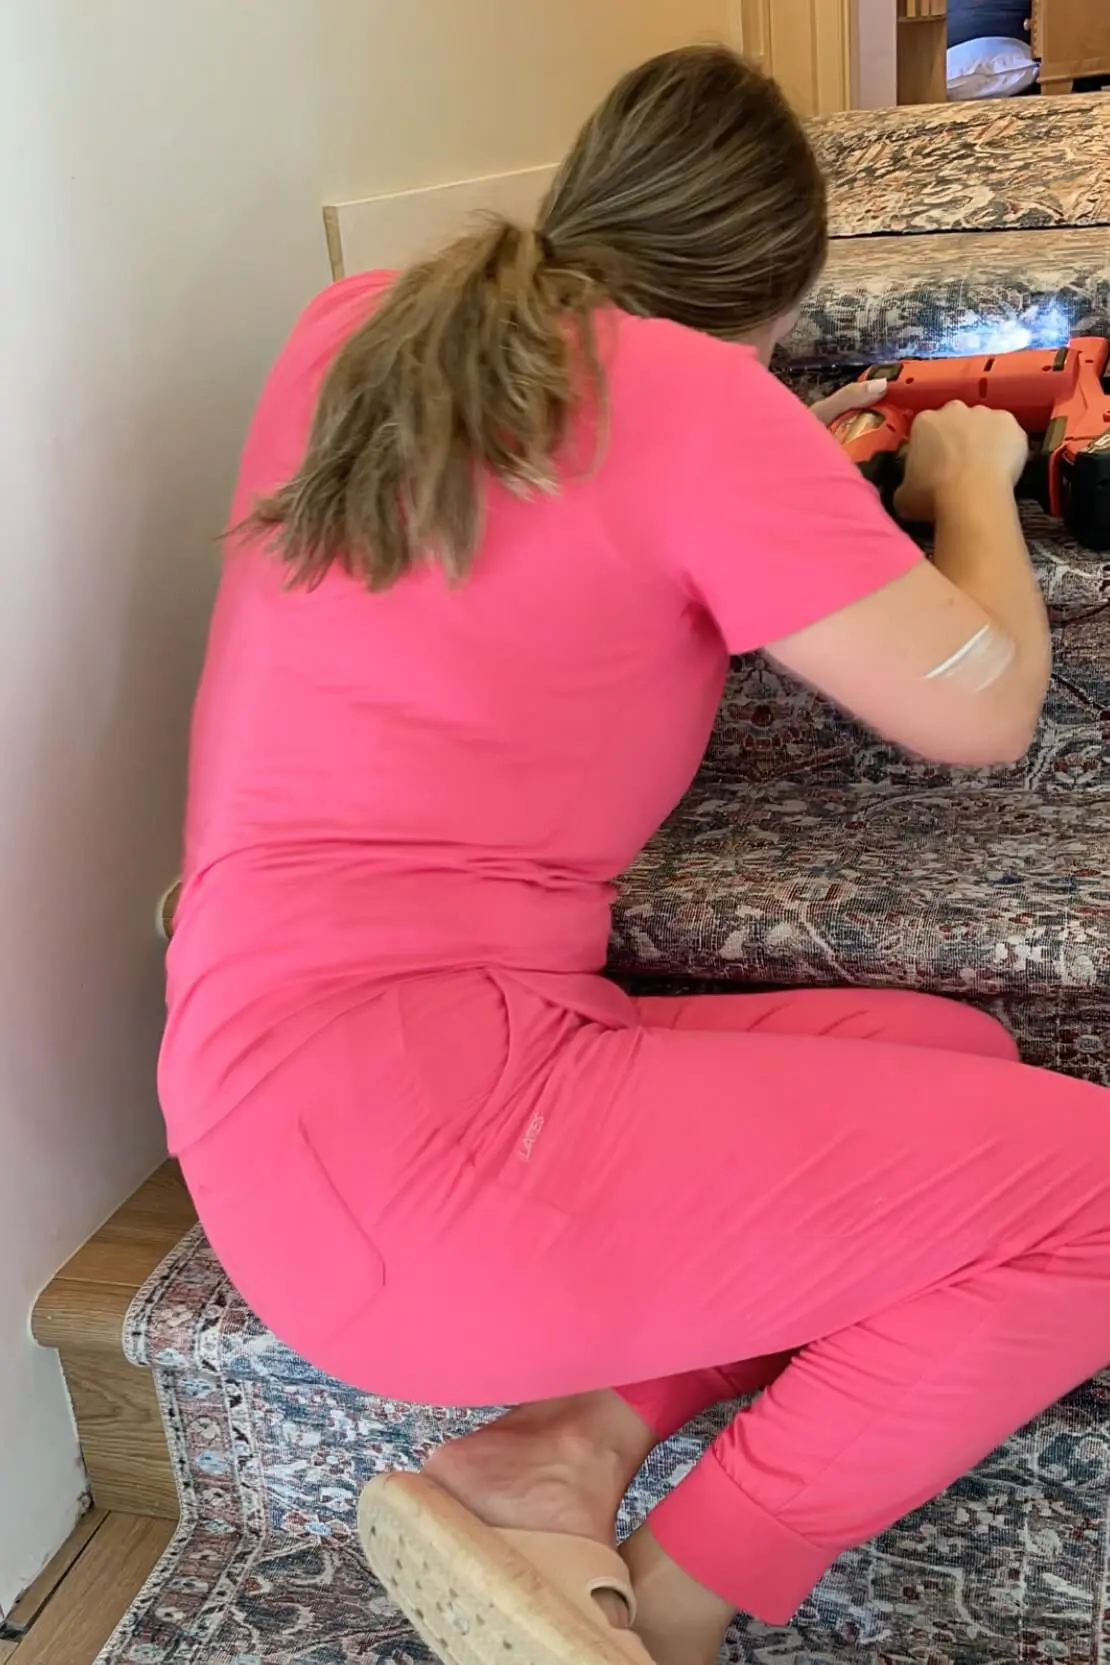
After cutting off any extra bit of carpet, this section was done.
It really looks good, and I am happy with it, but if I were to do this part of my DIY stair runner again, I would do it differently.
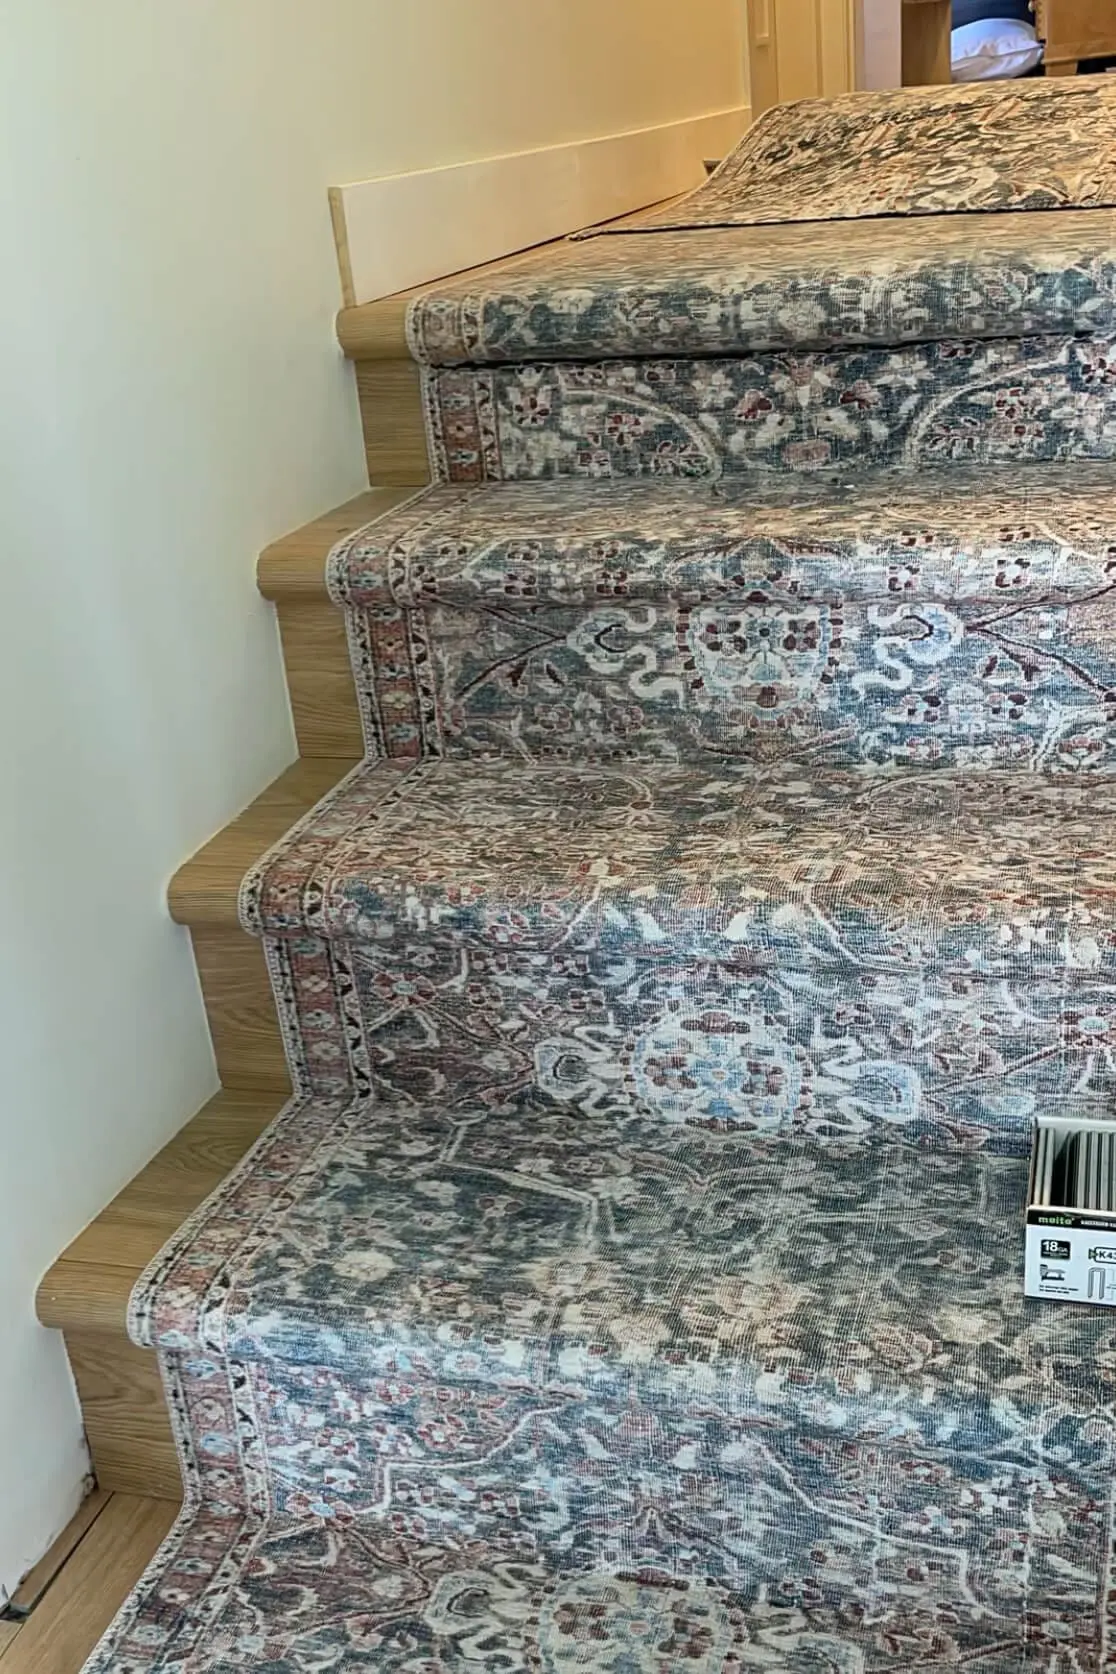
Instead of having two raw edges meet under the tread, I would use carpet tape to join the seam. This would have required a bit more effort and planning during the installation but would have resulted in a cleaner finish during this DIY stair runner install.
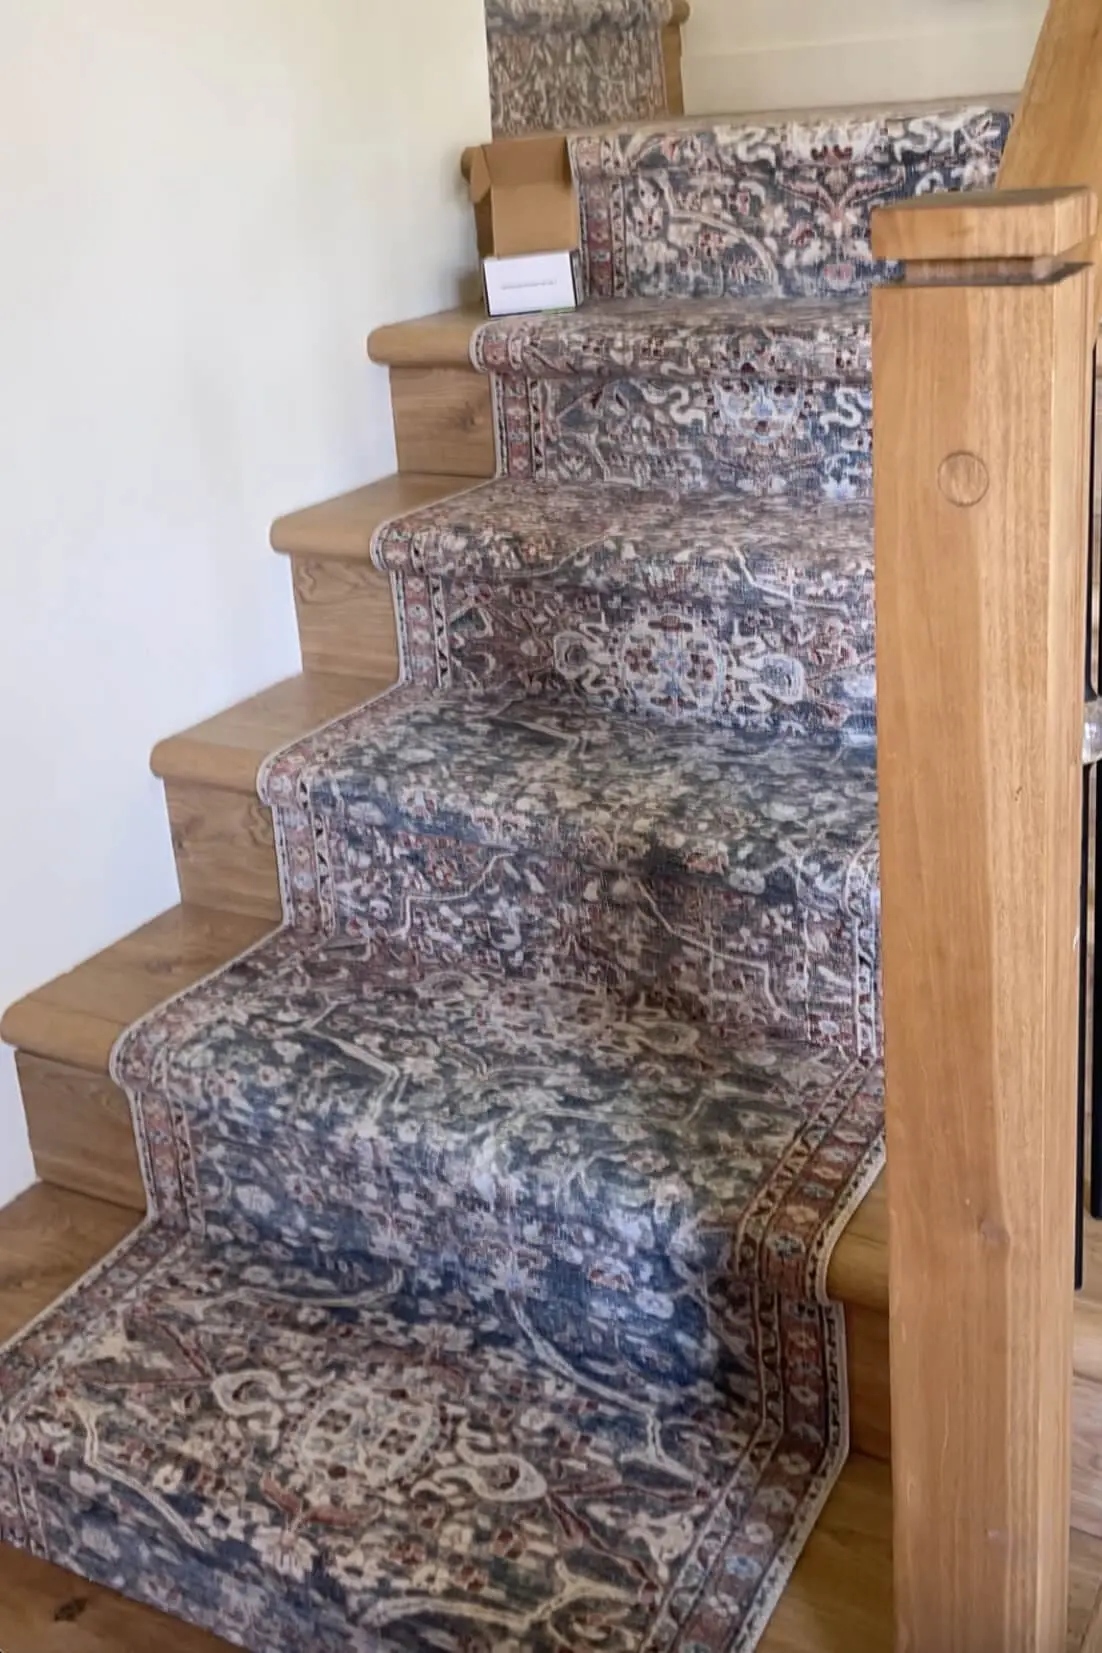
It’s all downhill or uh… downstairs from here now. For this last little section below the landing, I just unrolled the carpet and worked my way down, stapling as I went.
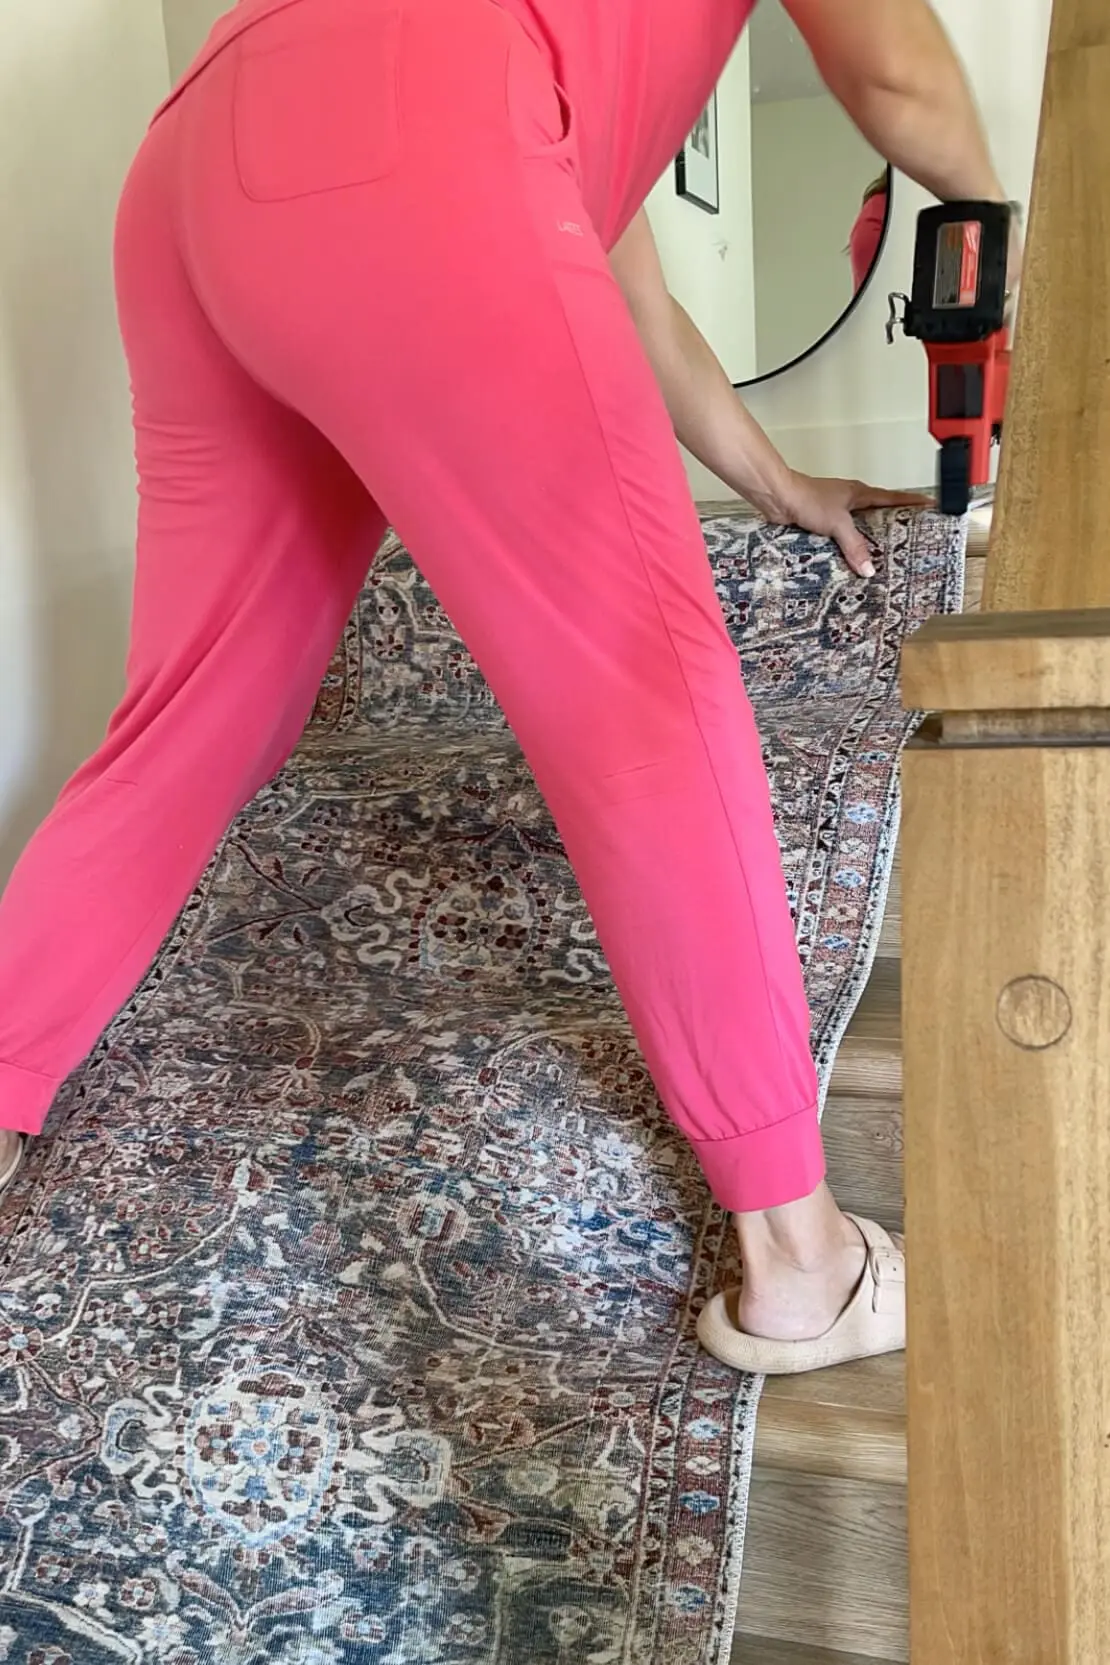
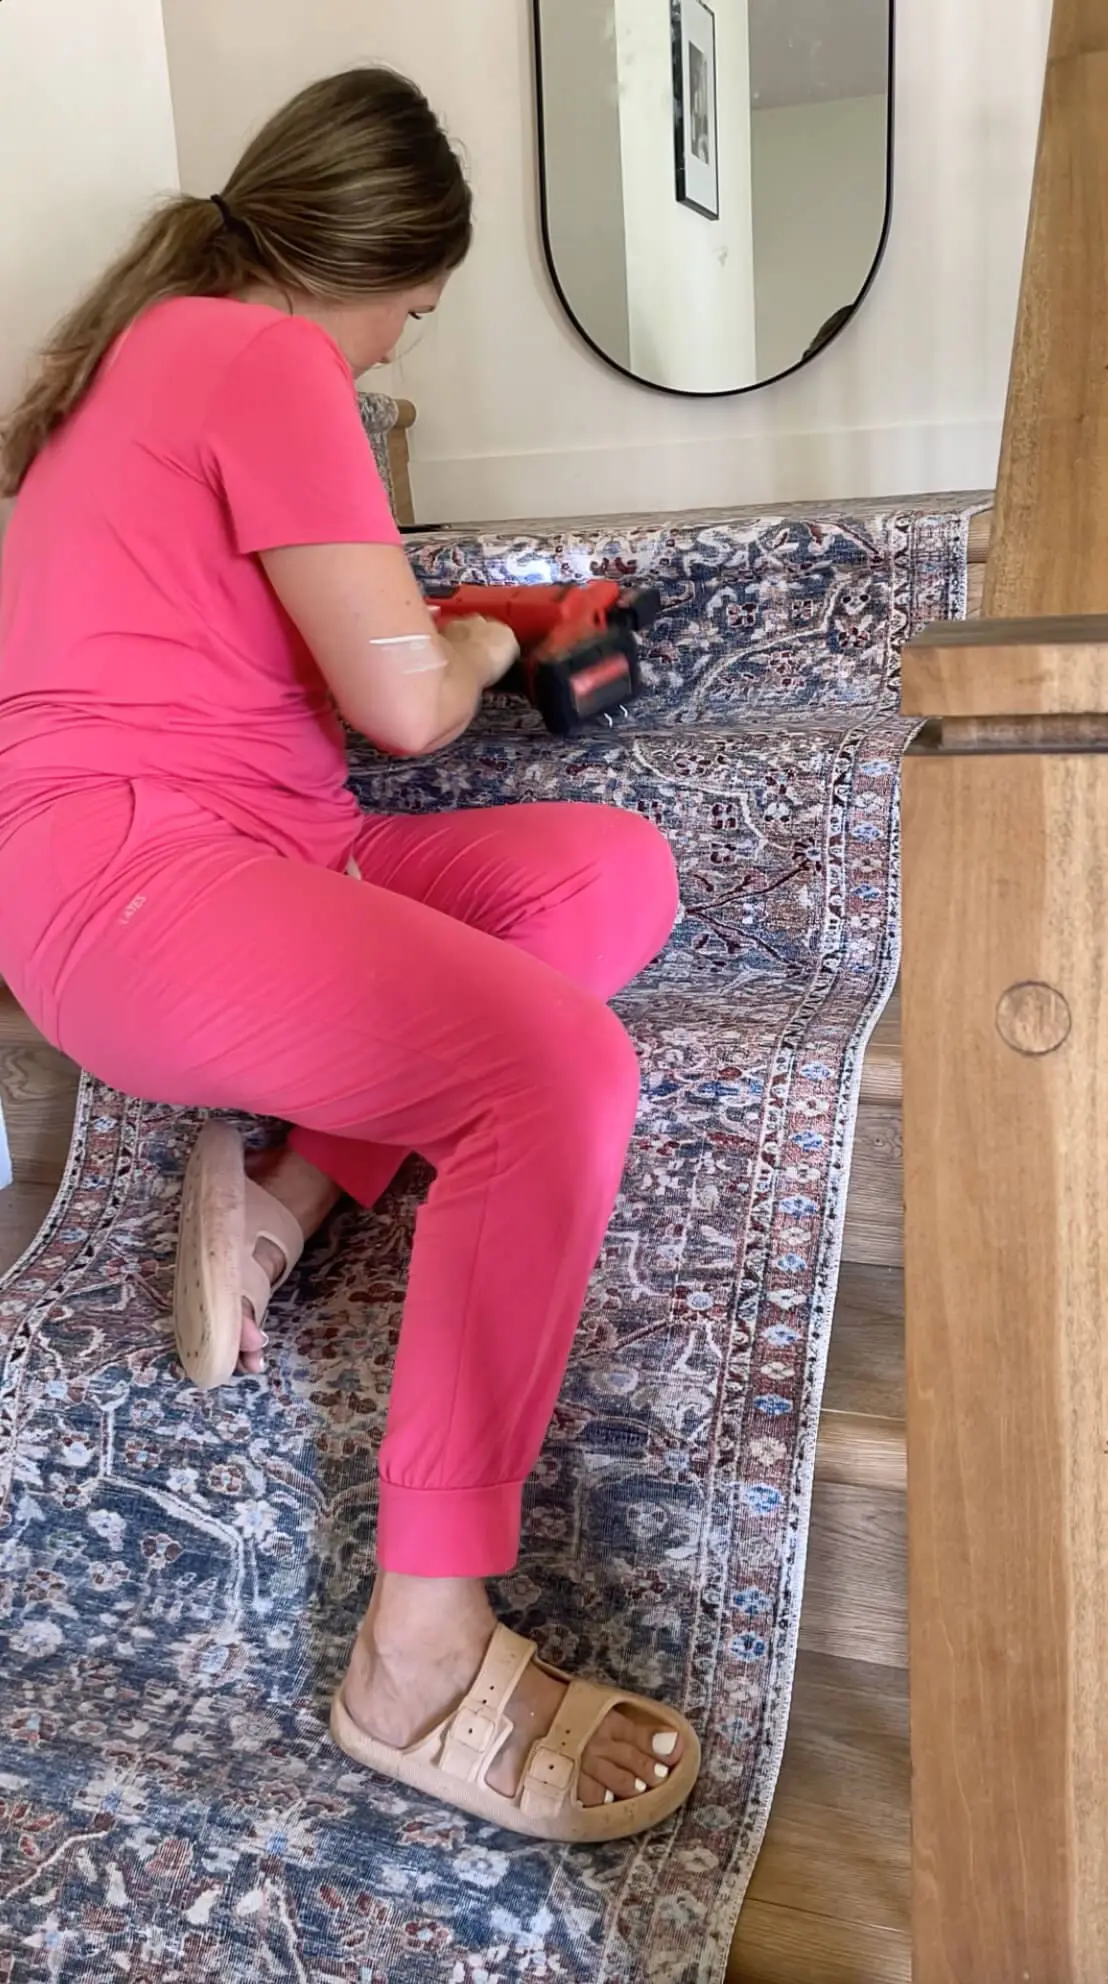
Pull the runner tight, staple, and repeat.
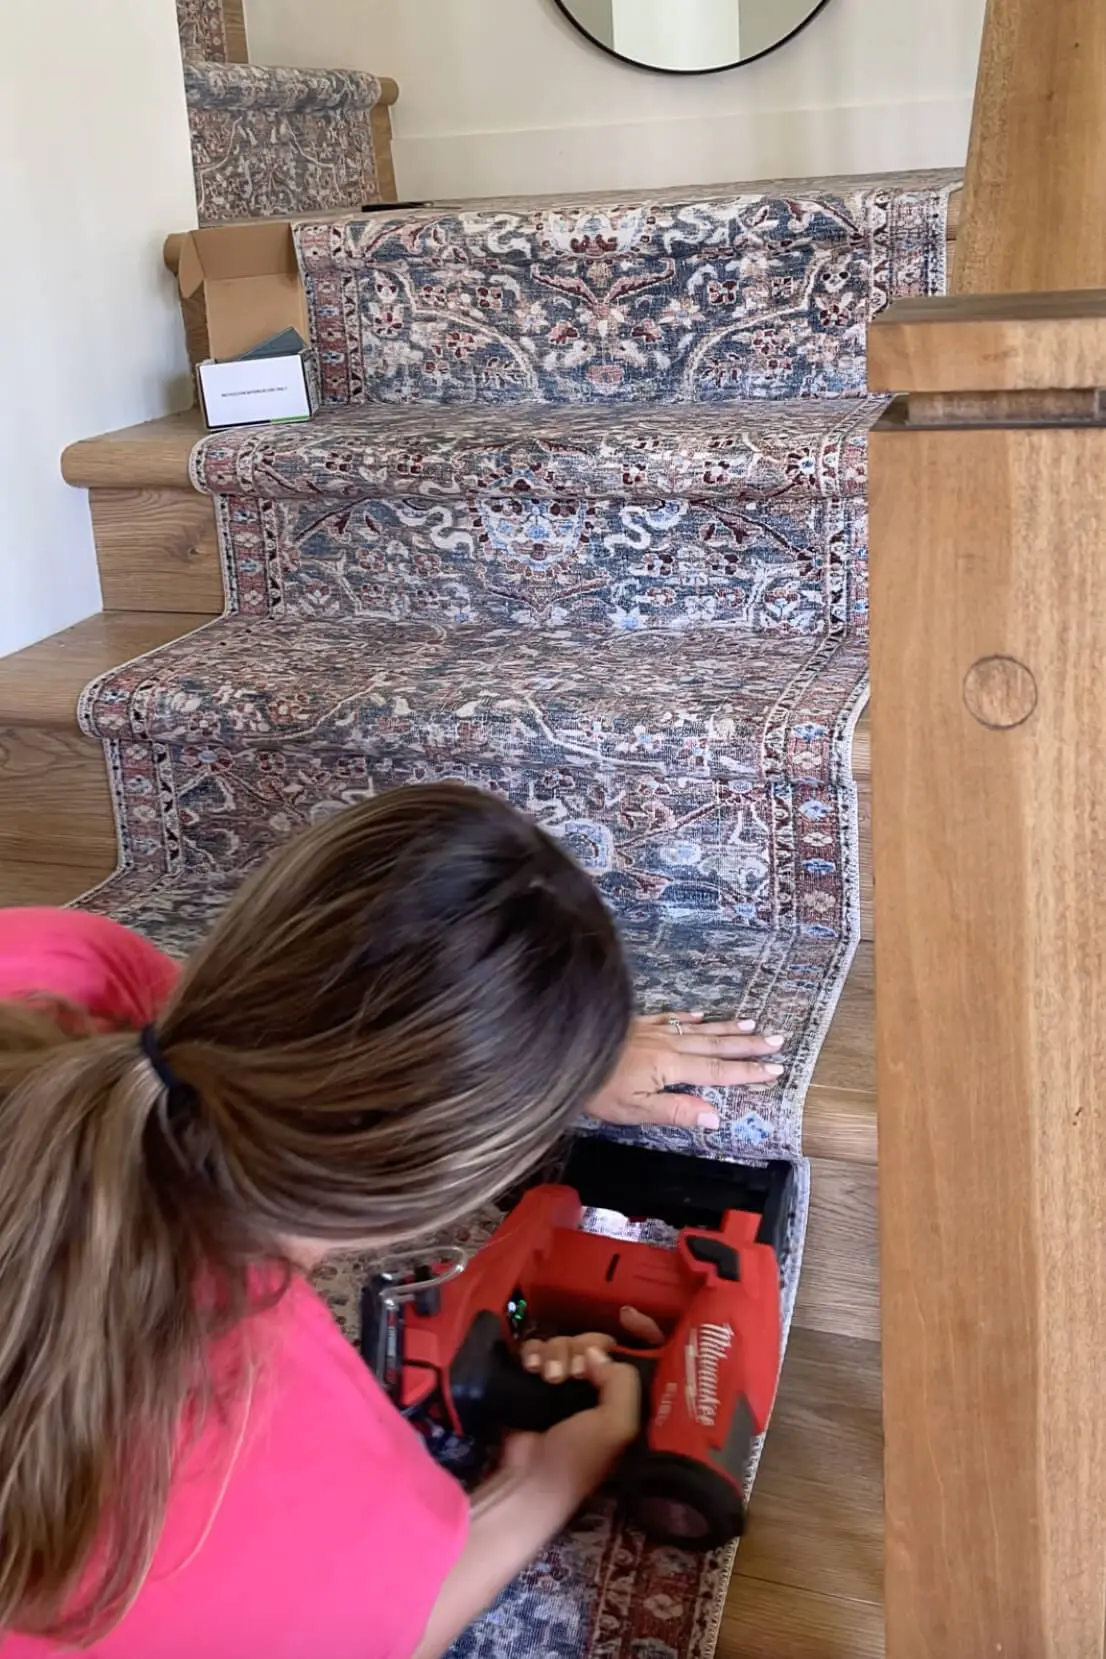
At the bottom of the stairs, I simply cut off the excess runner where it meets the floor and stapled the edge in place.
DIY Stair Runner: Before and After
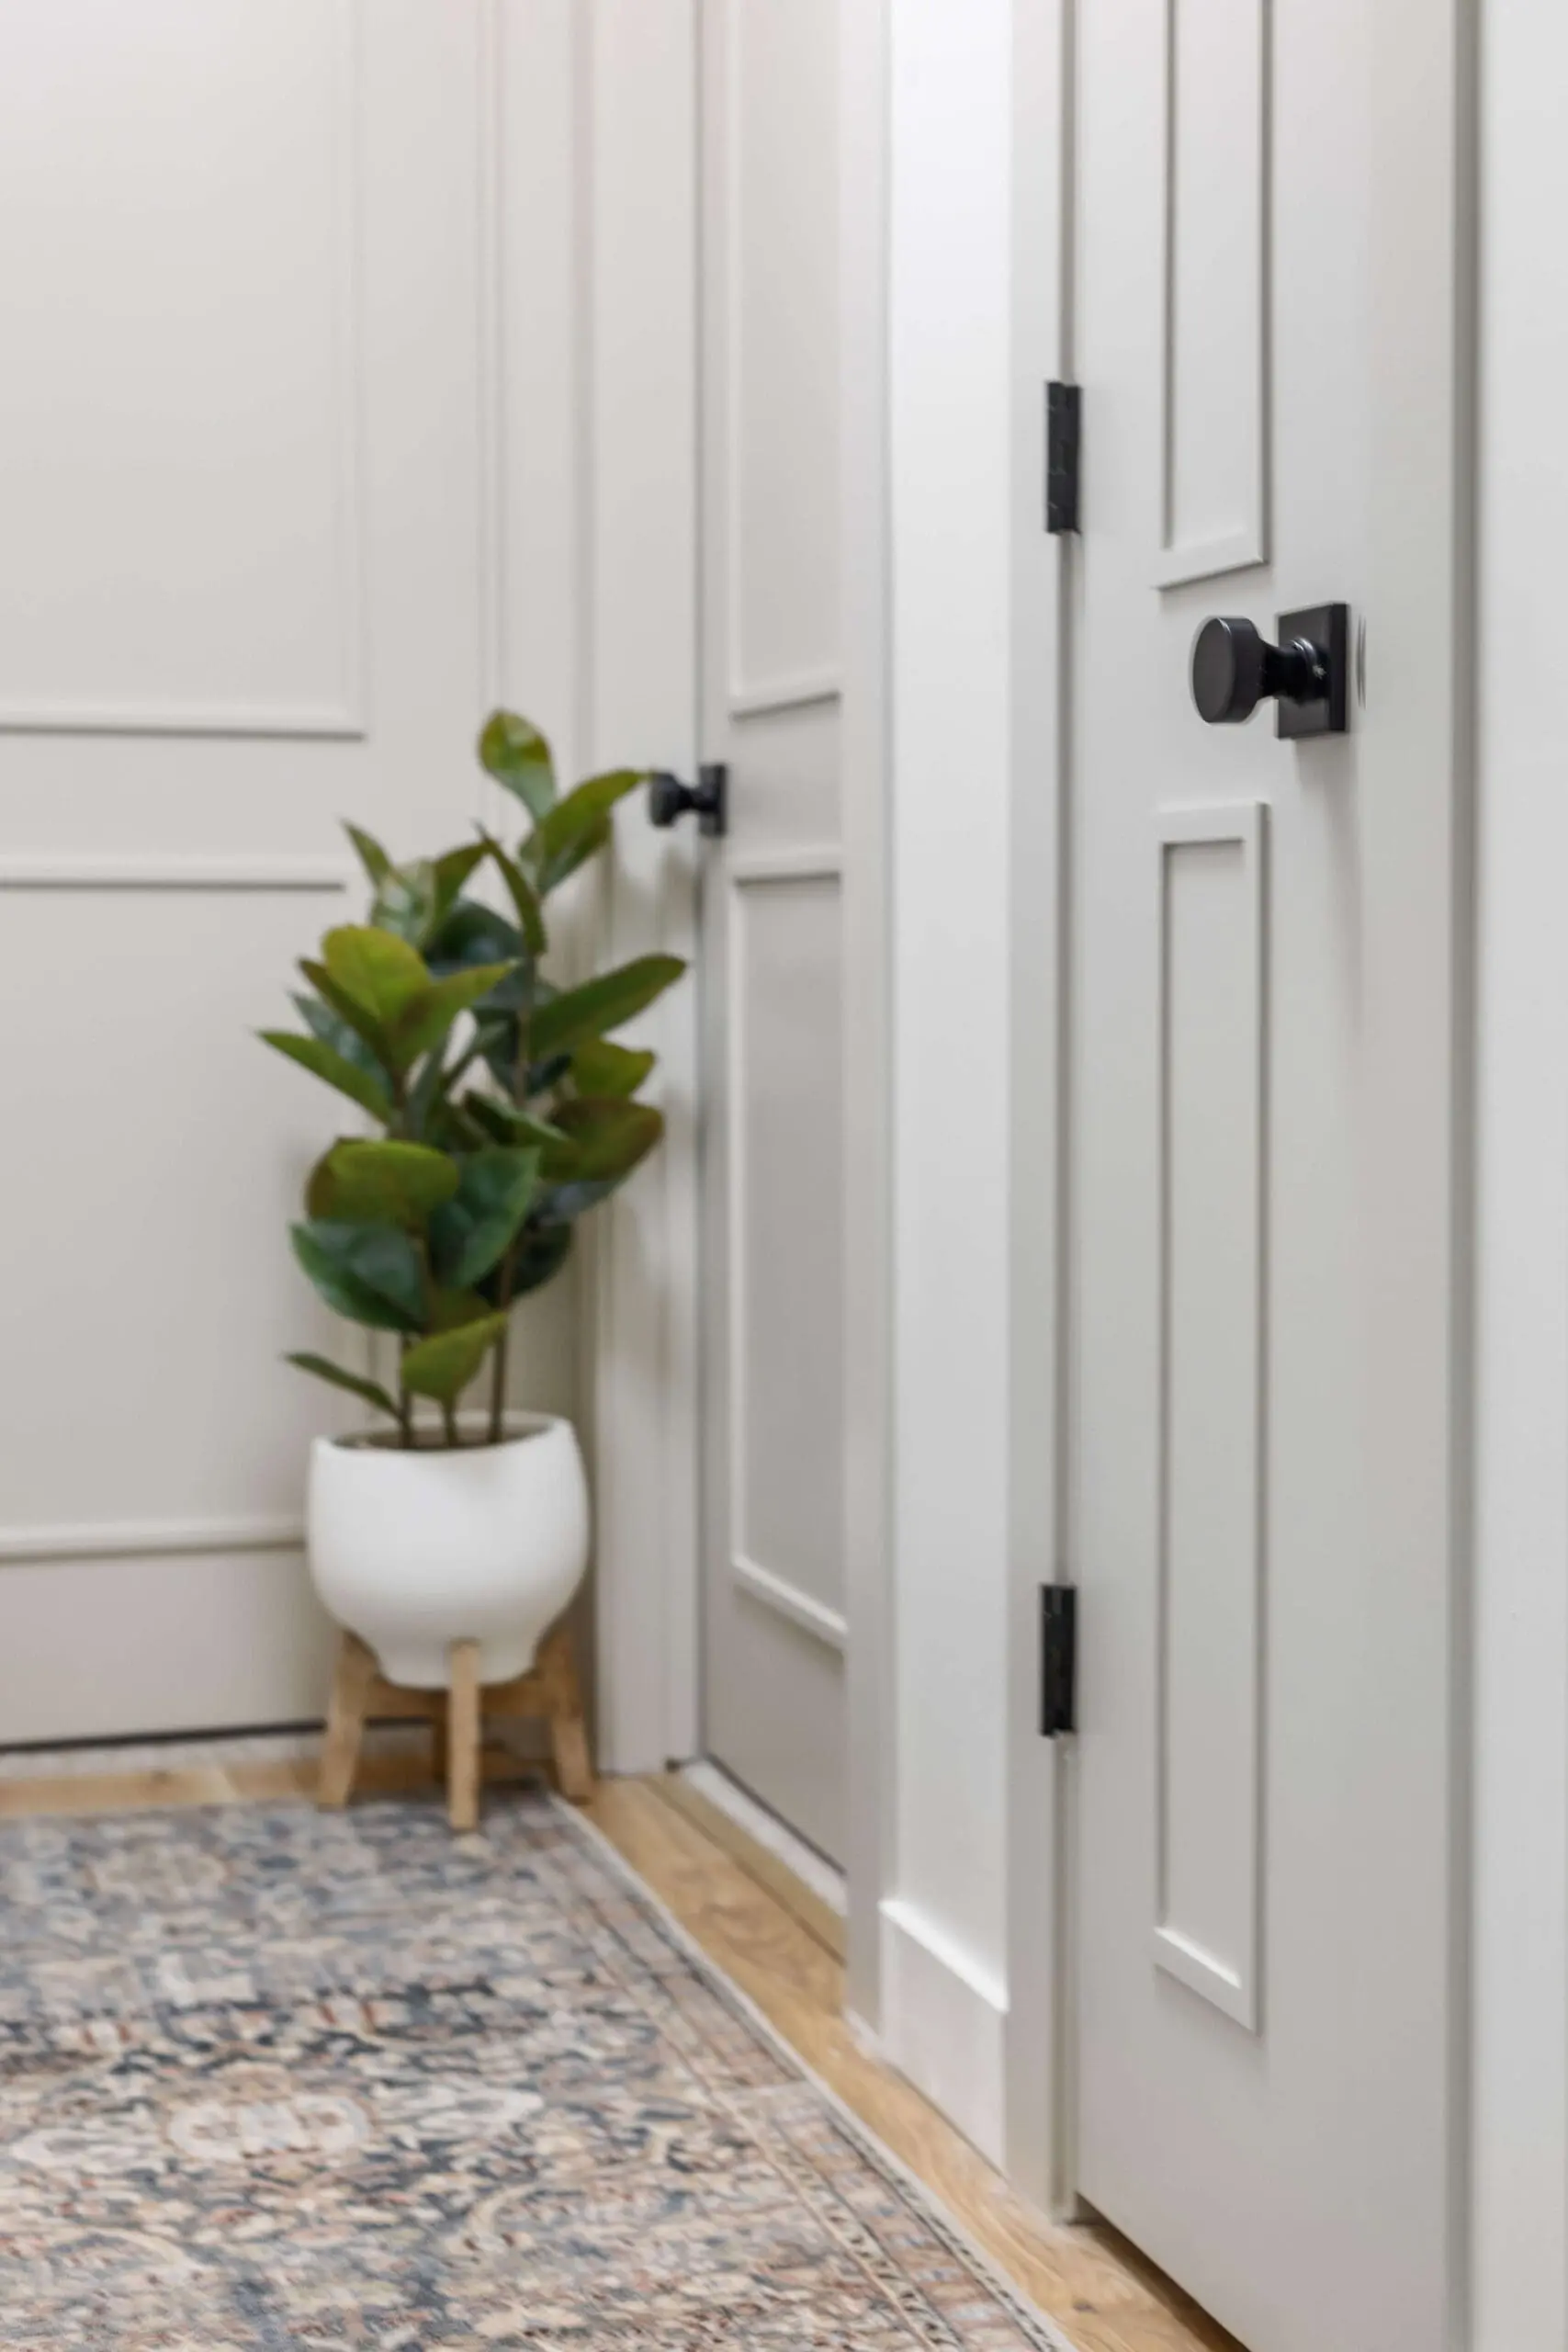
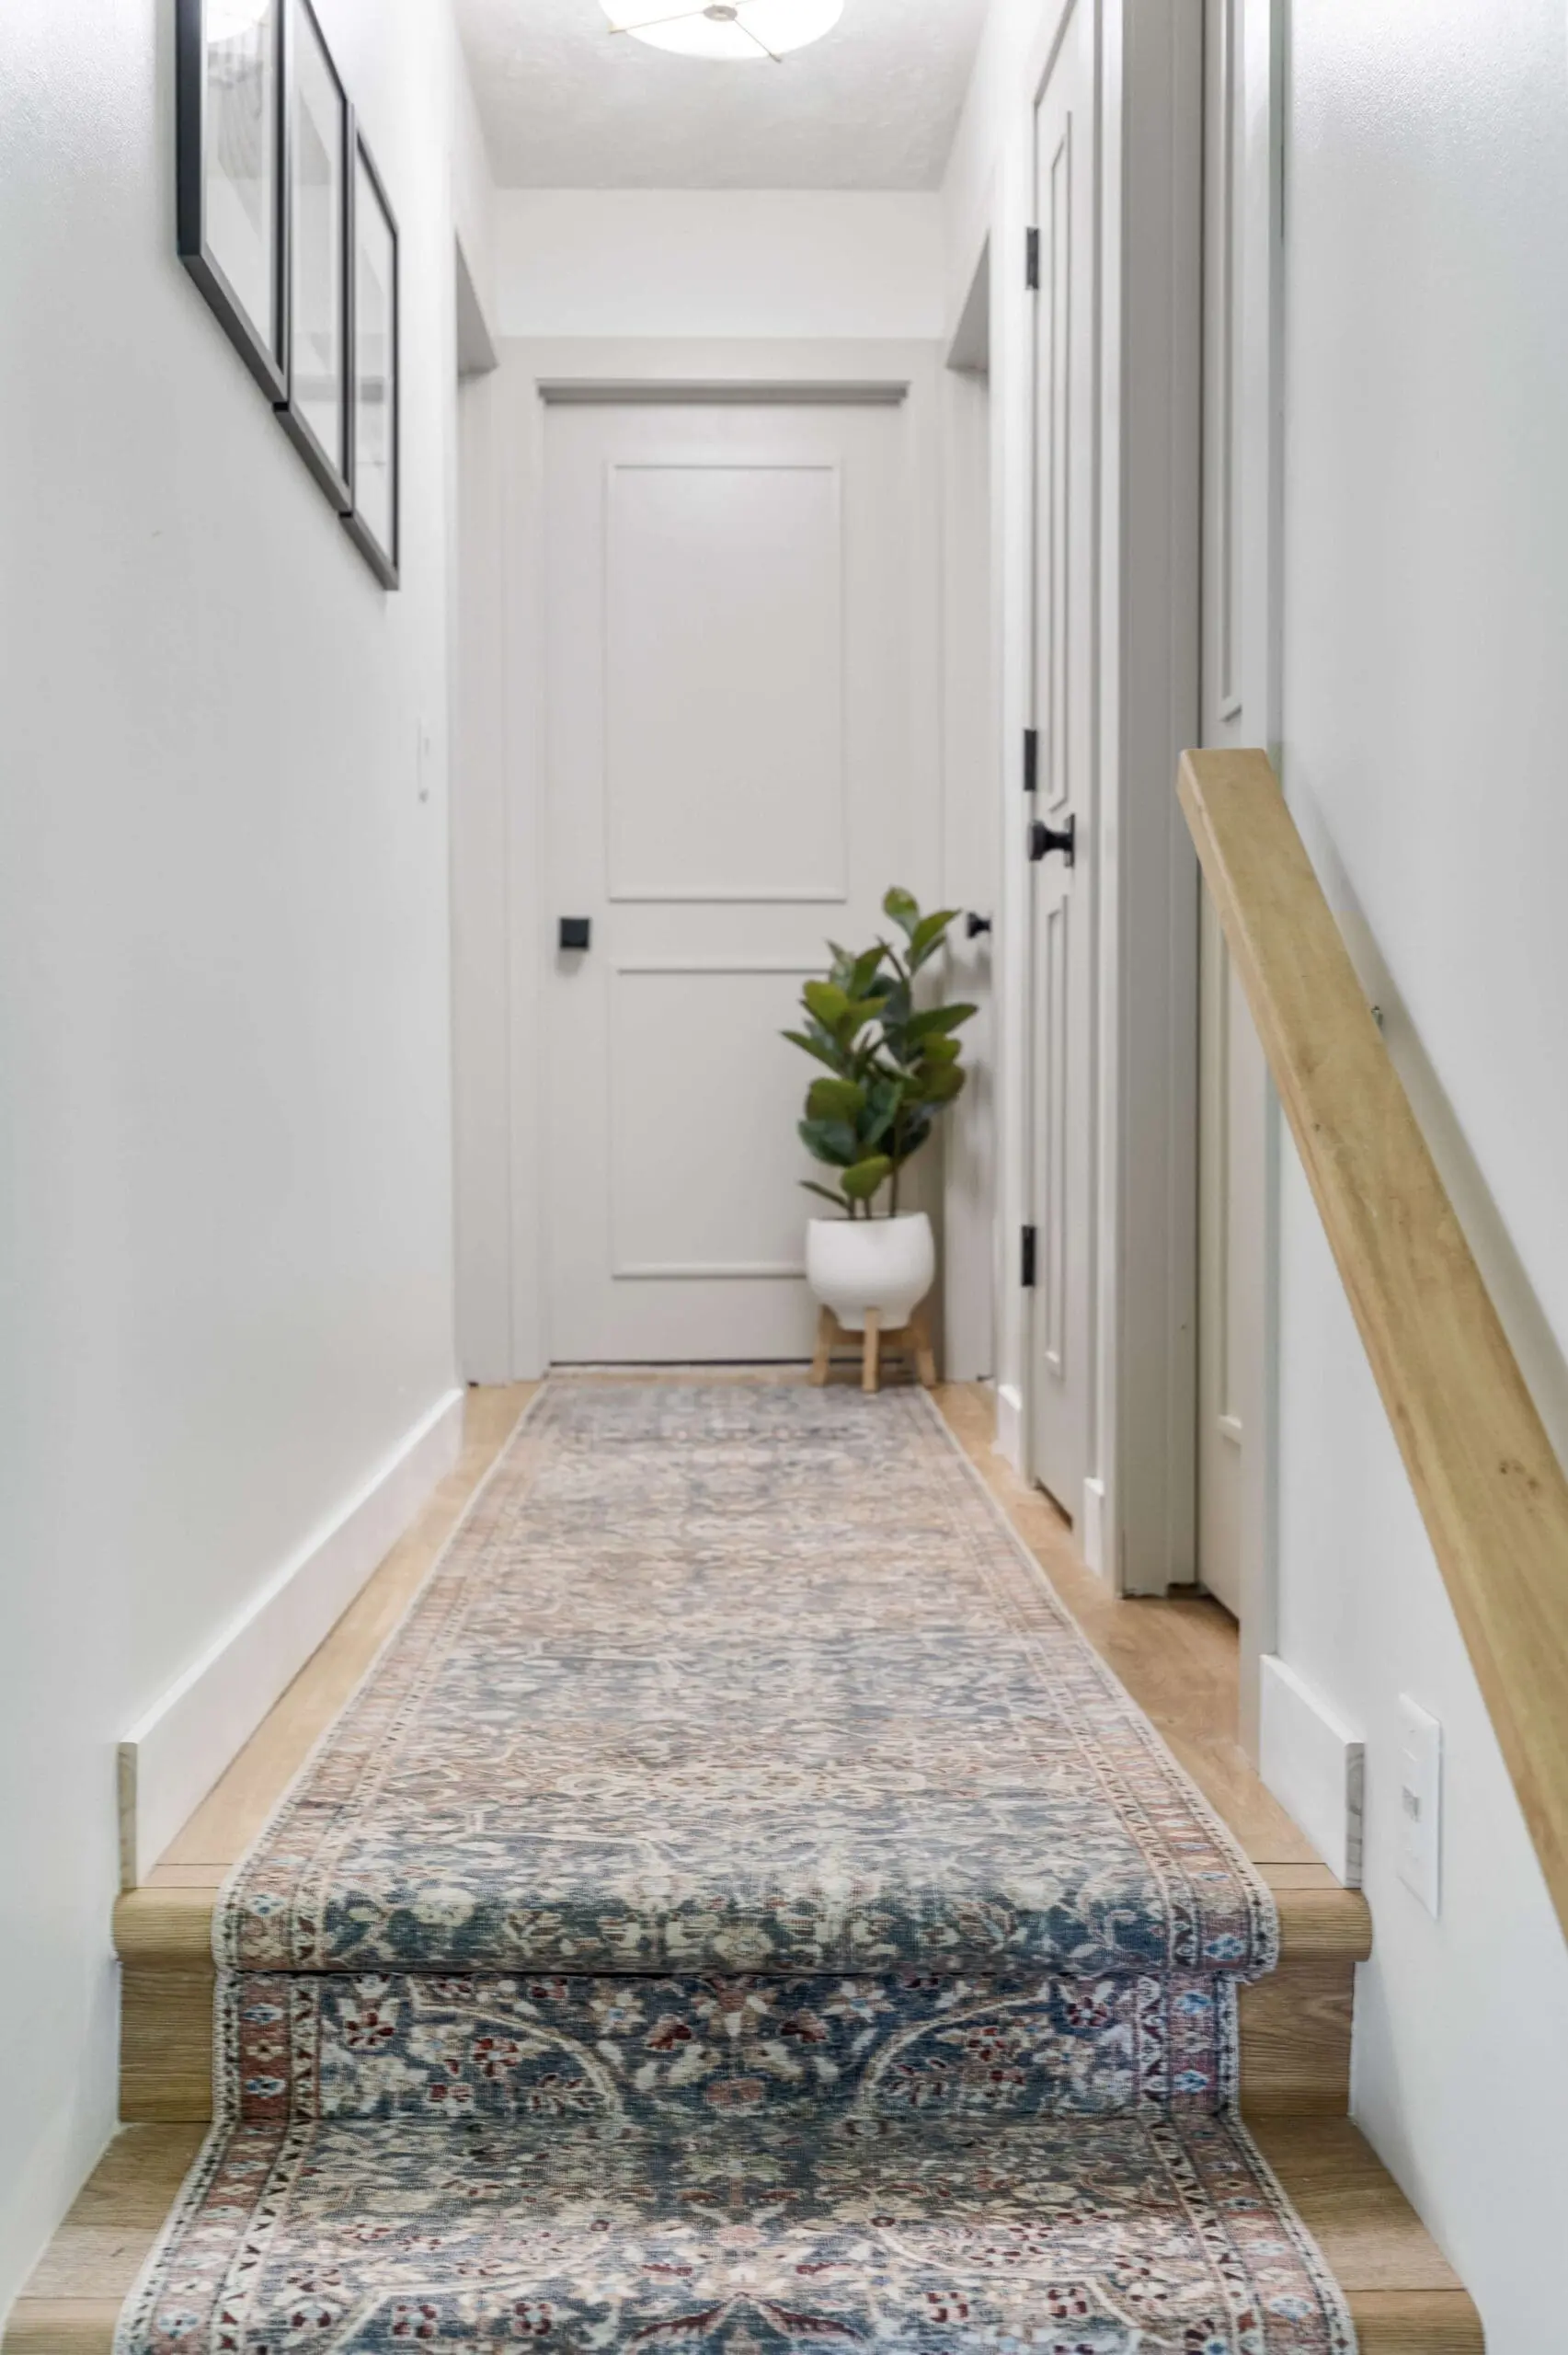
Look at these hallway before and after pictures. I painted the walls and upgraded my 1970’s era doors with trim, paint, and new hardware, but the runner is that finishing touch that adds color and a little warmth too.
And a side-by-side look at the stairs before and after the DIY stair runner was done.
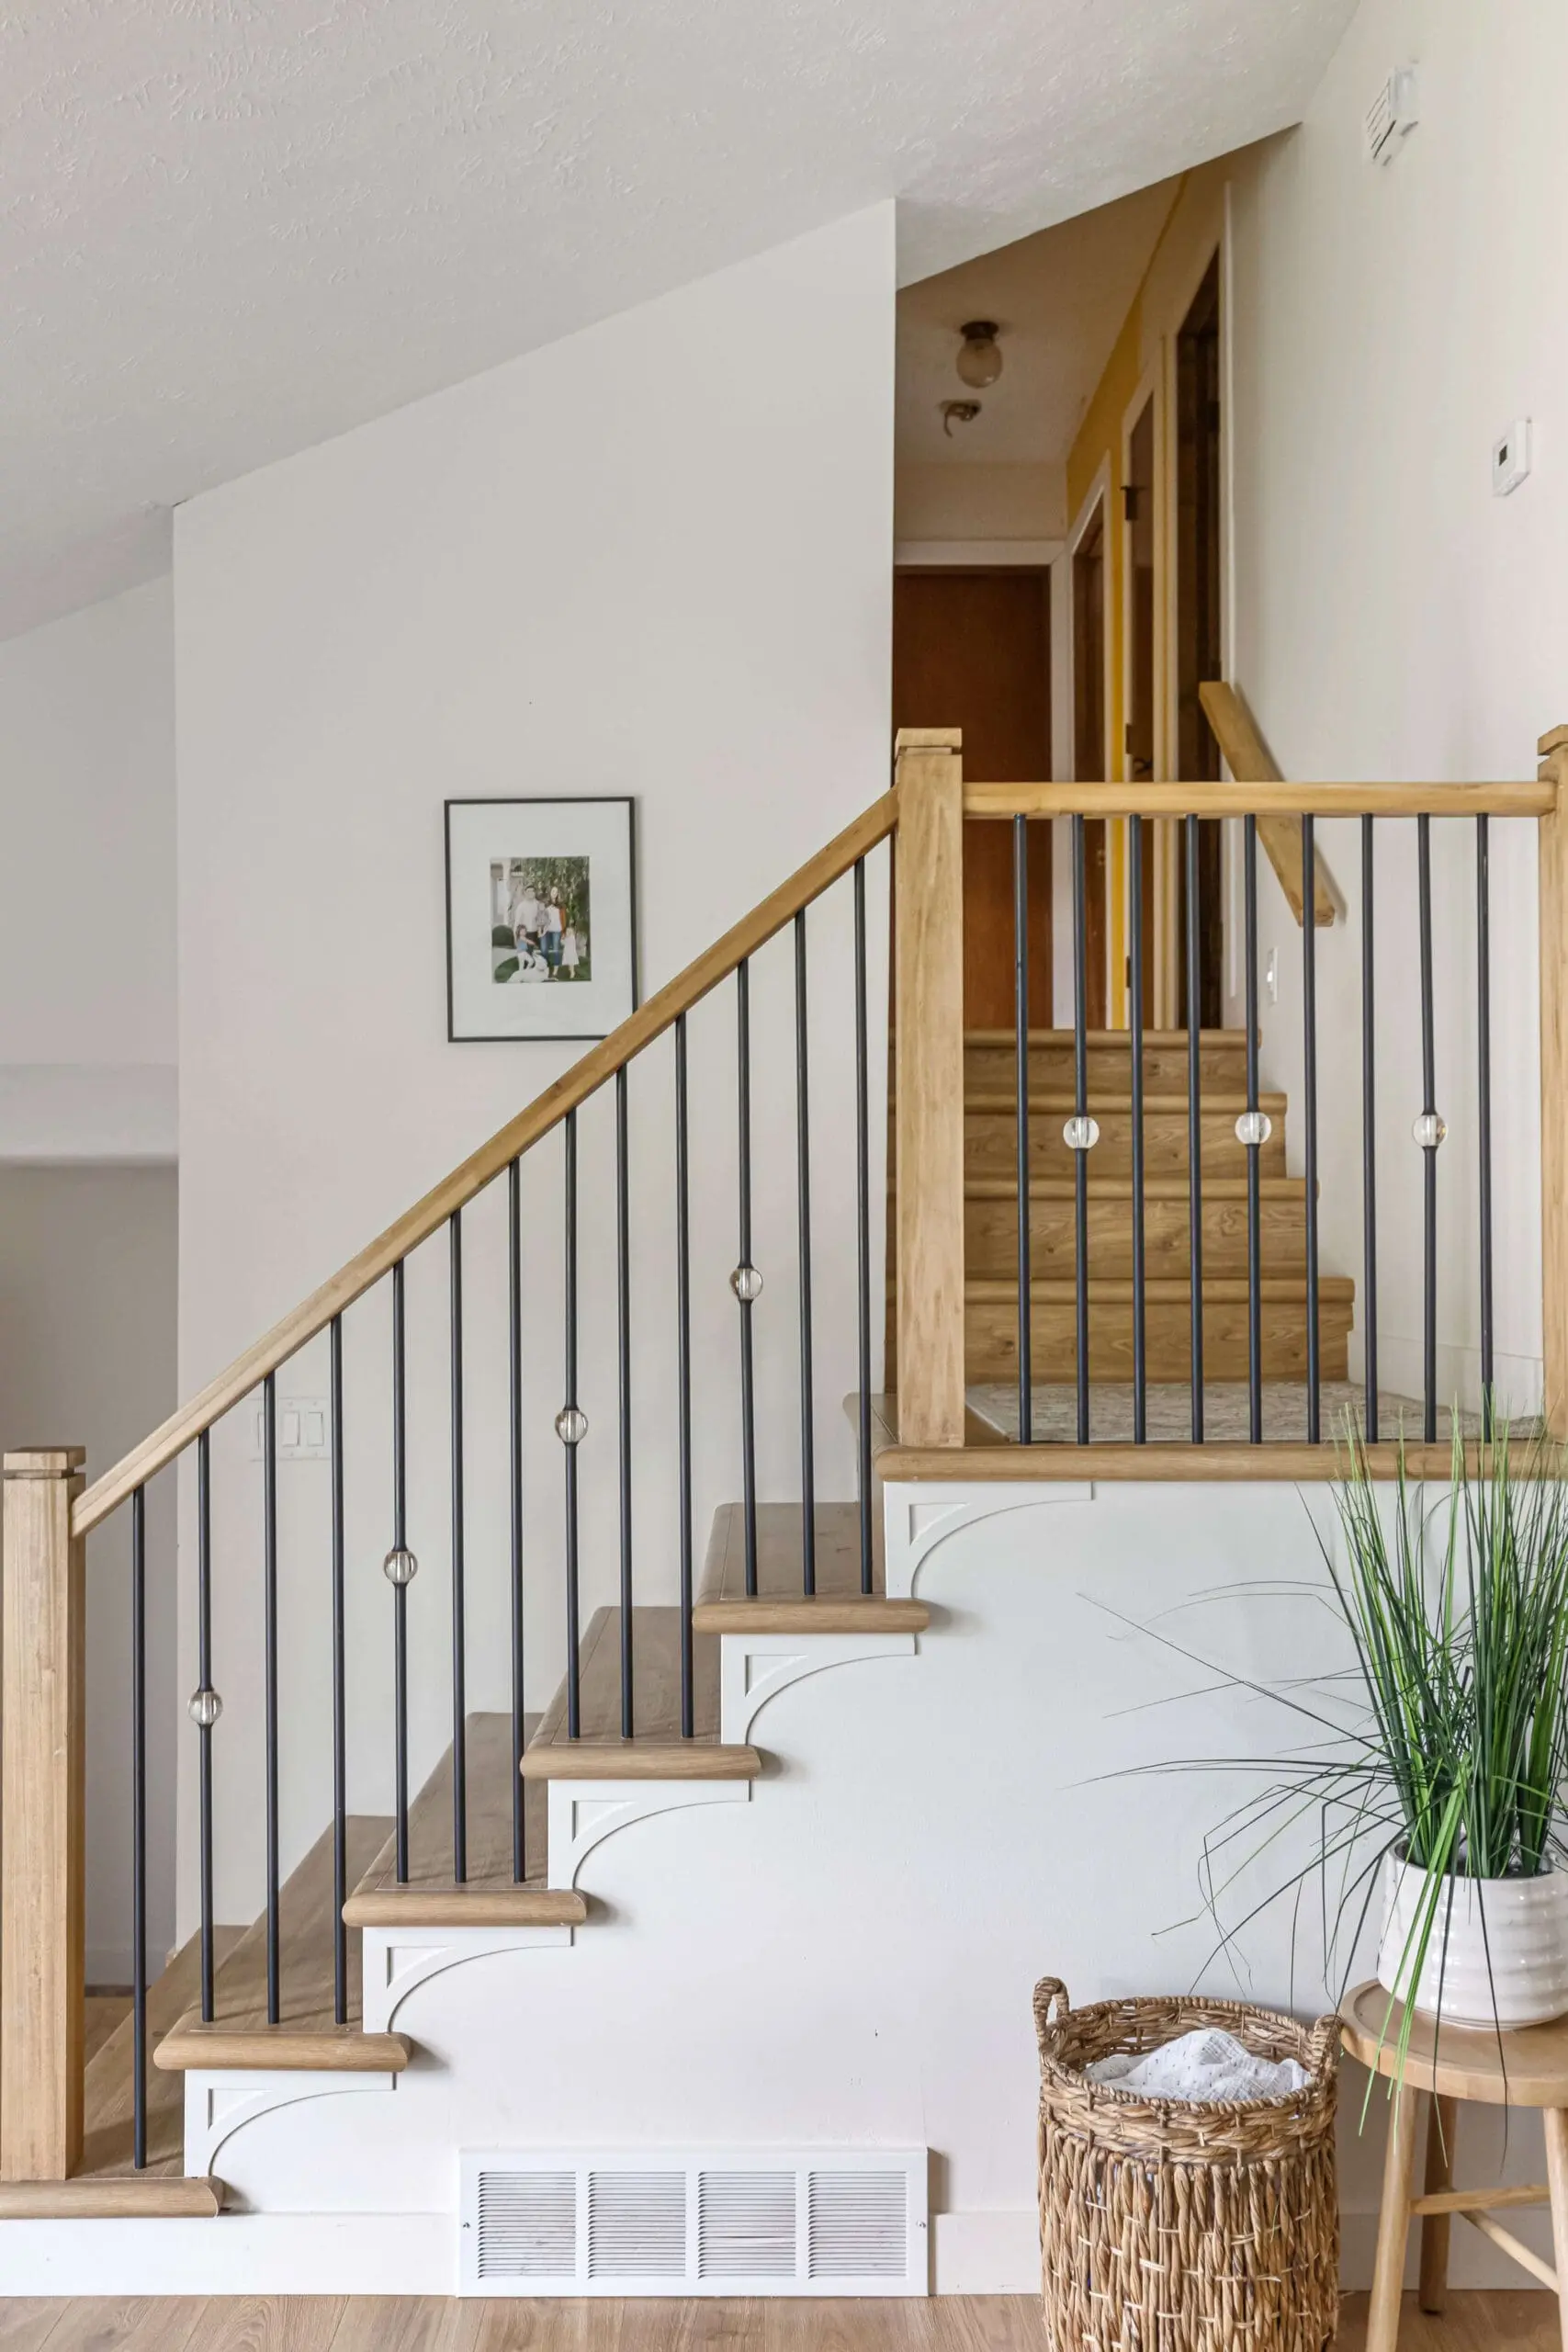
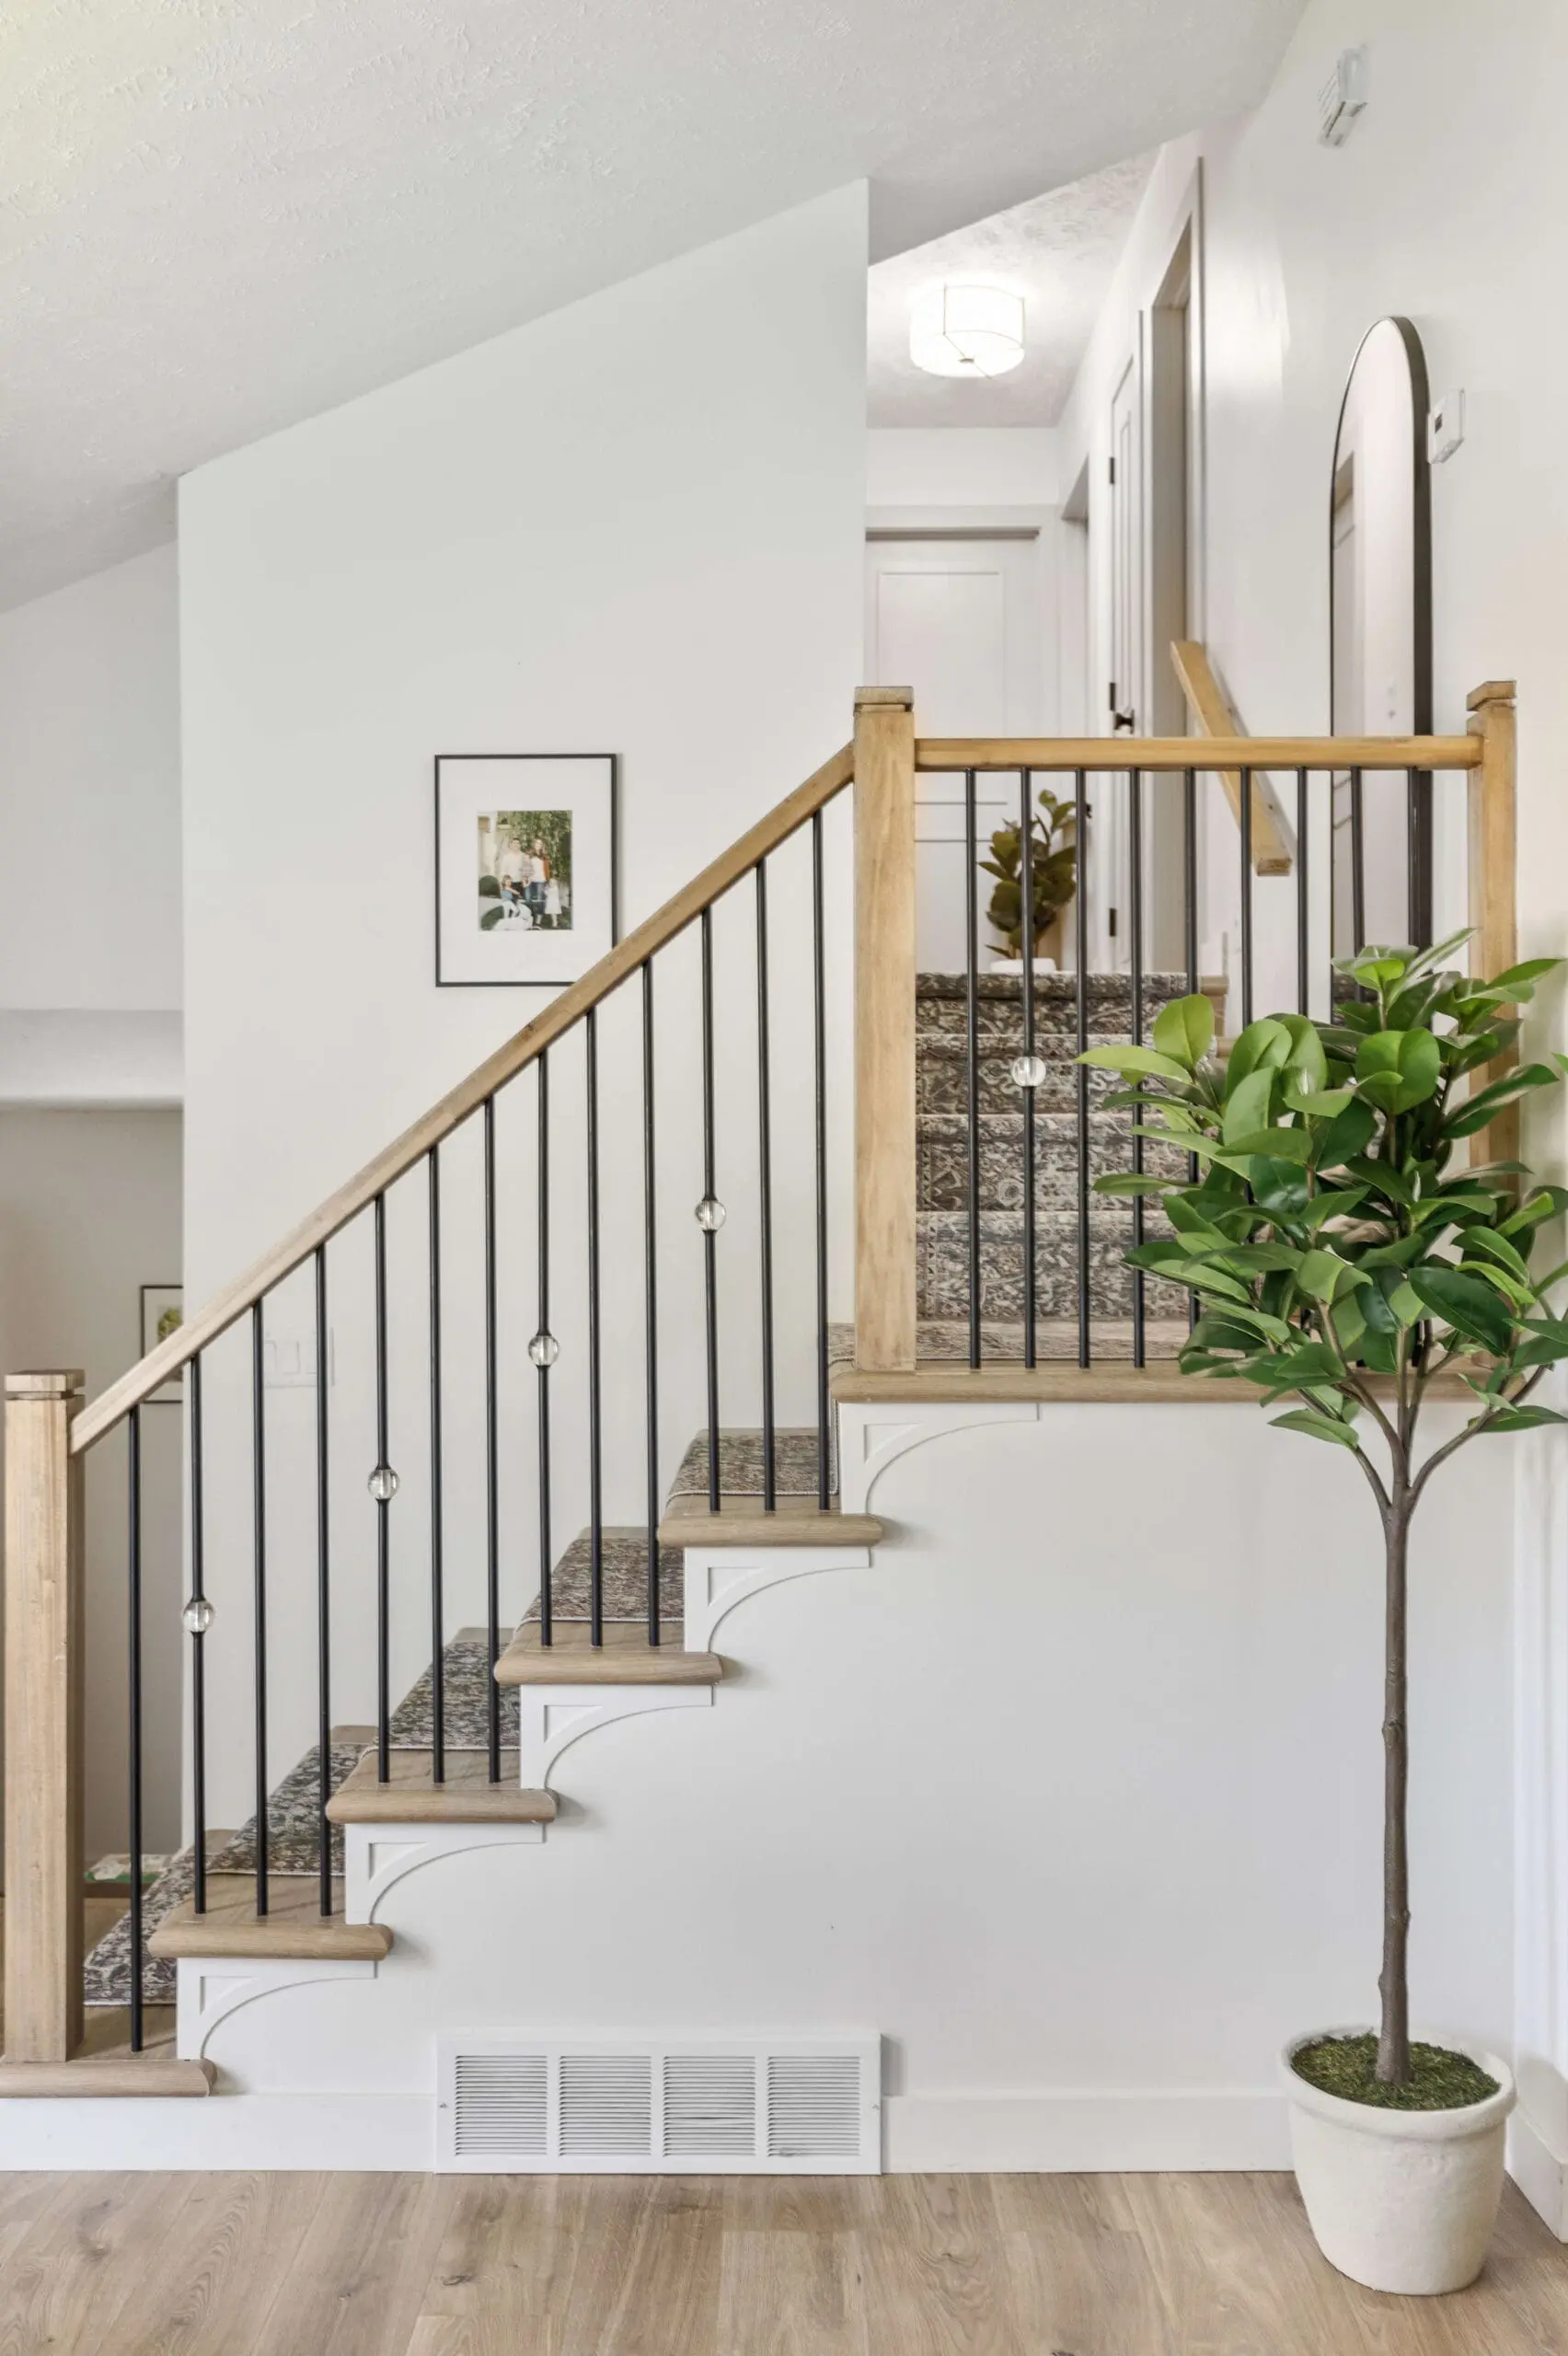
It’s really a small and quick project with a BIG impact!
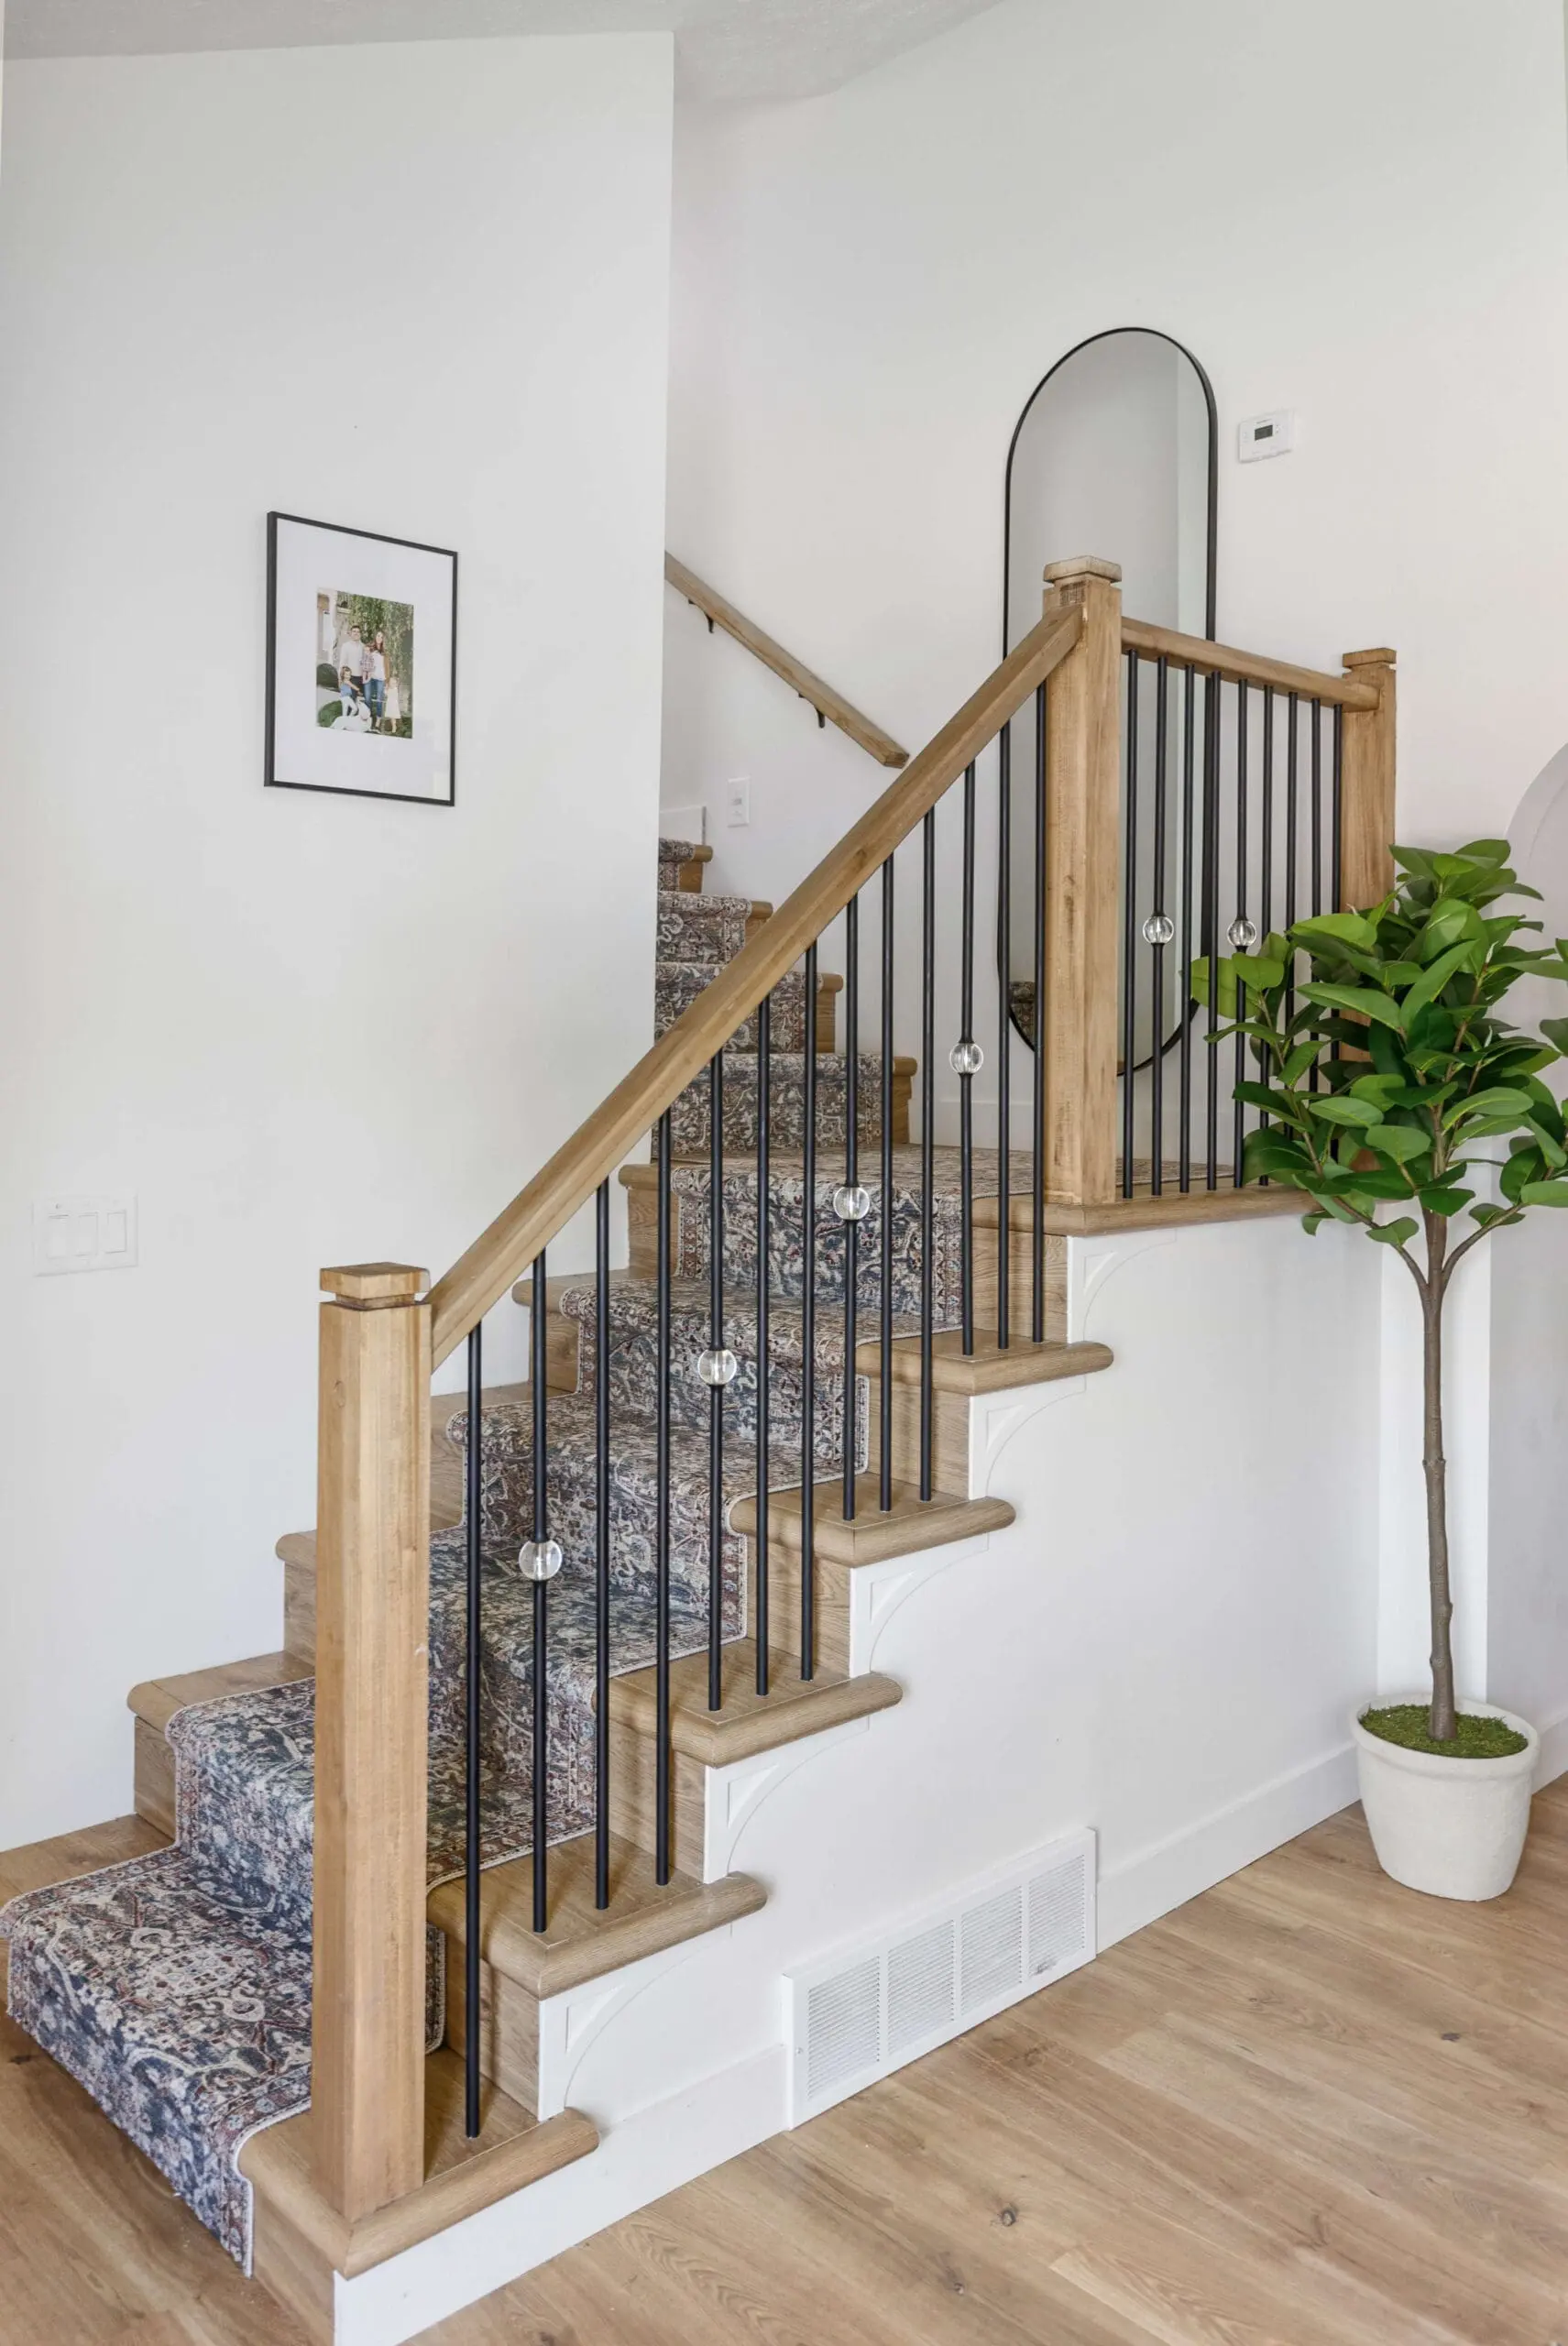
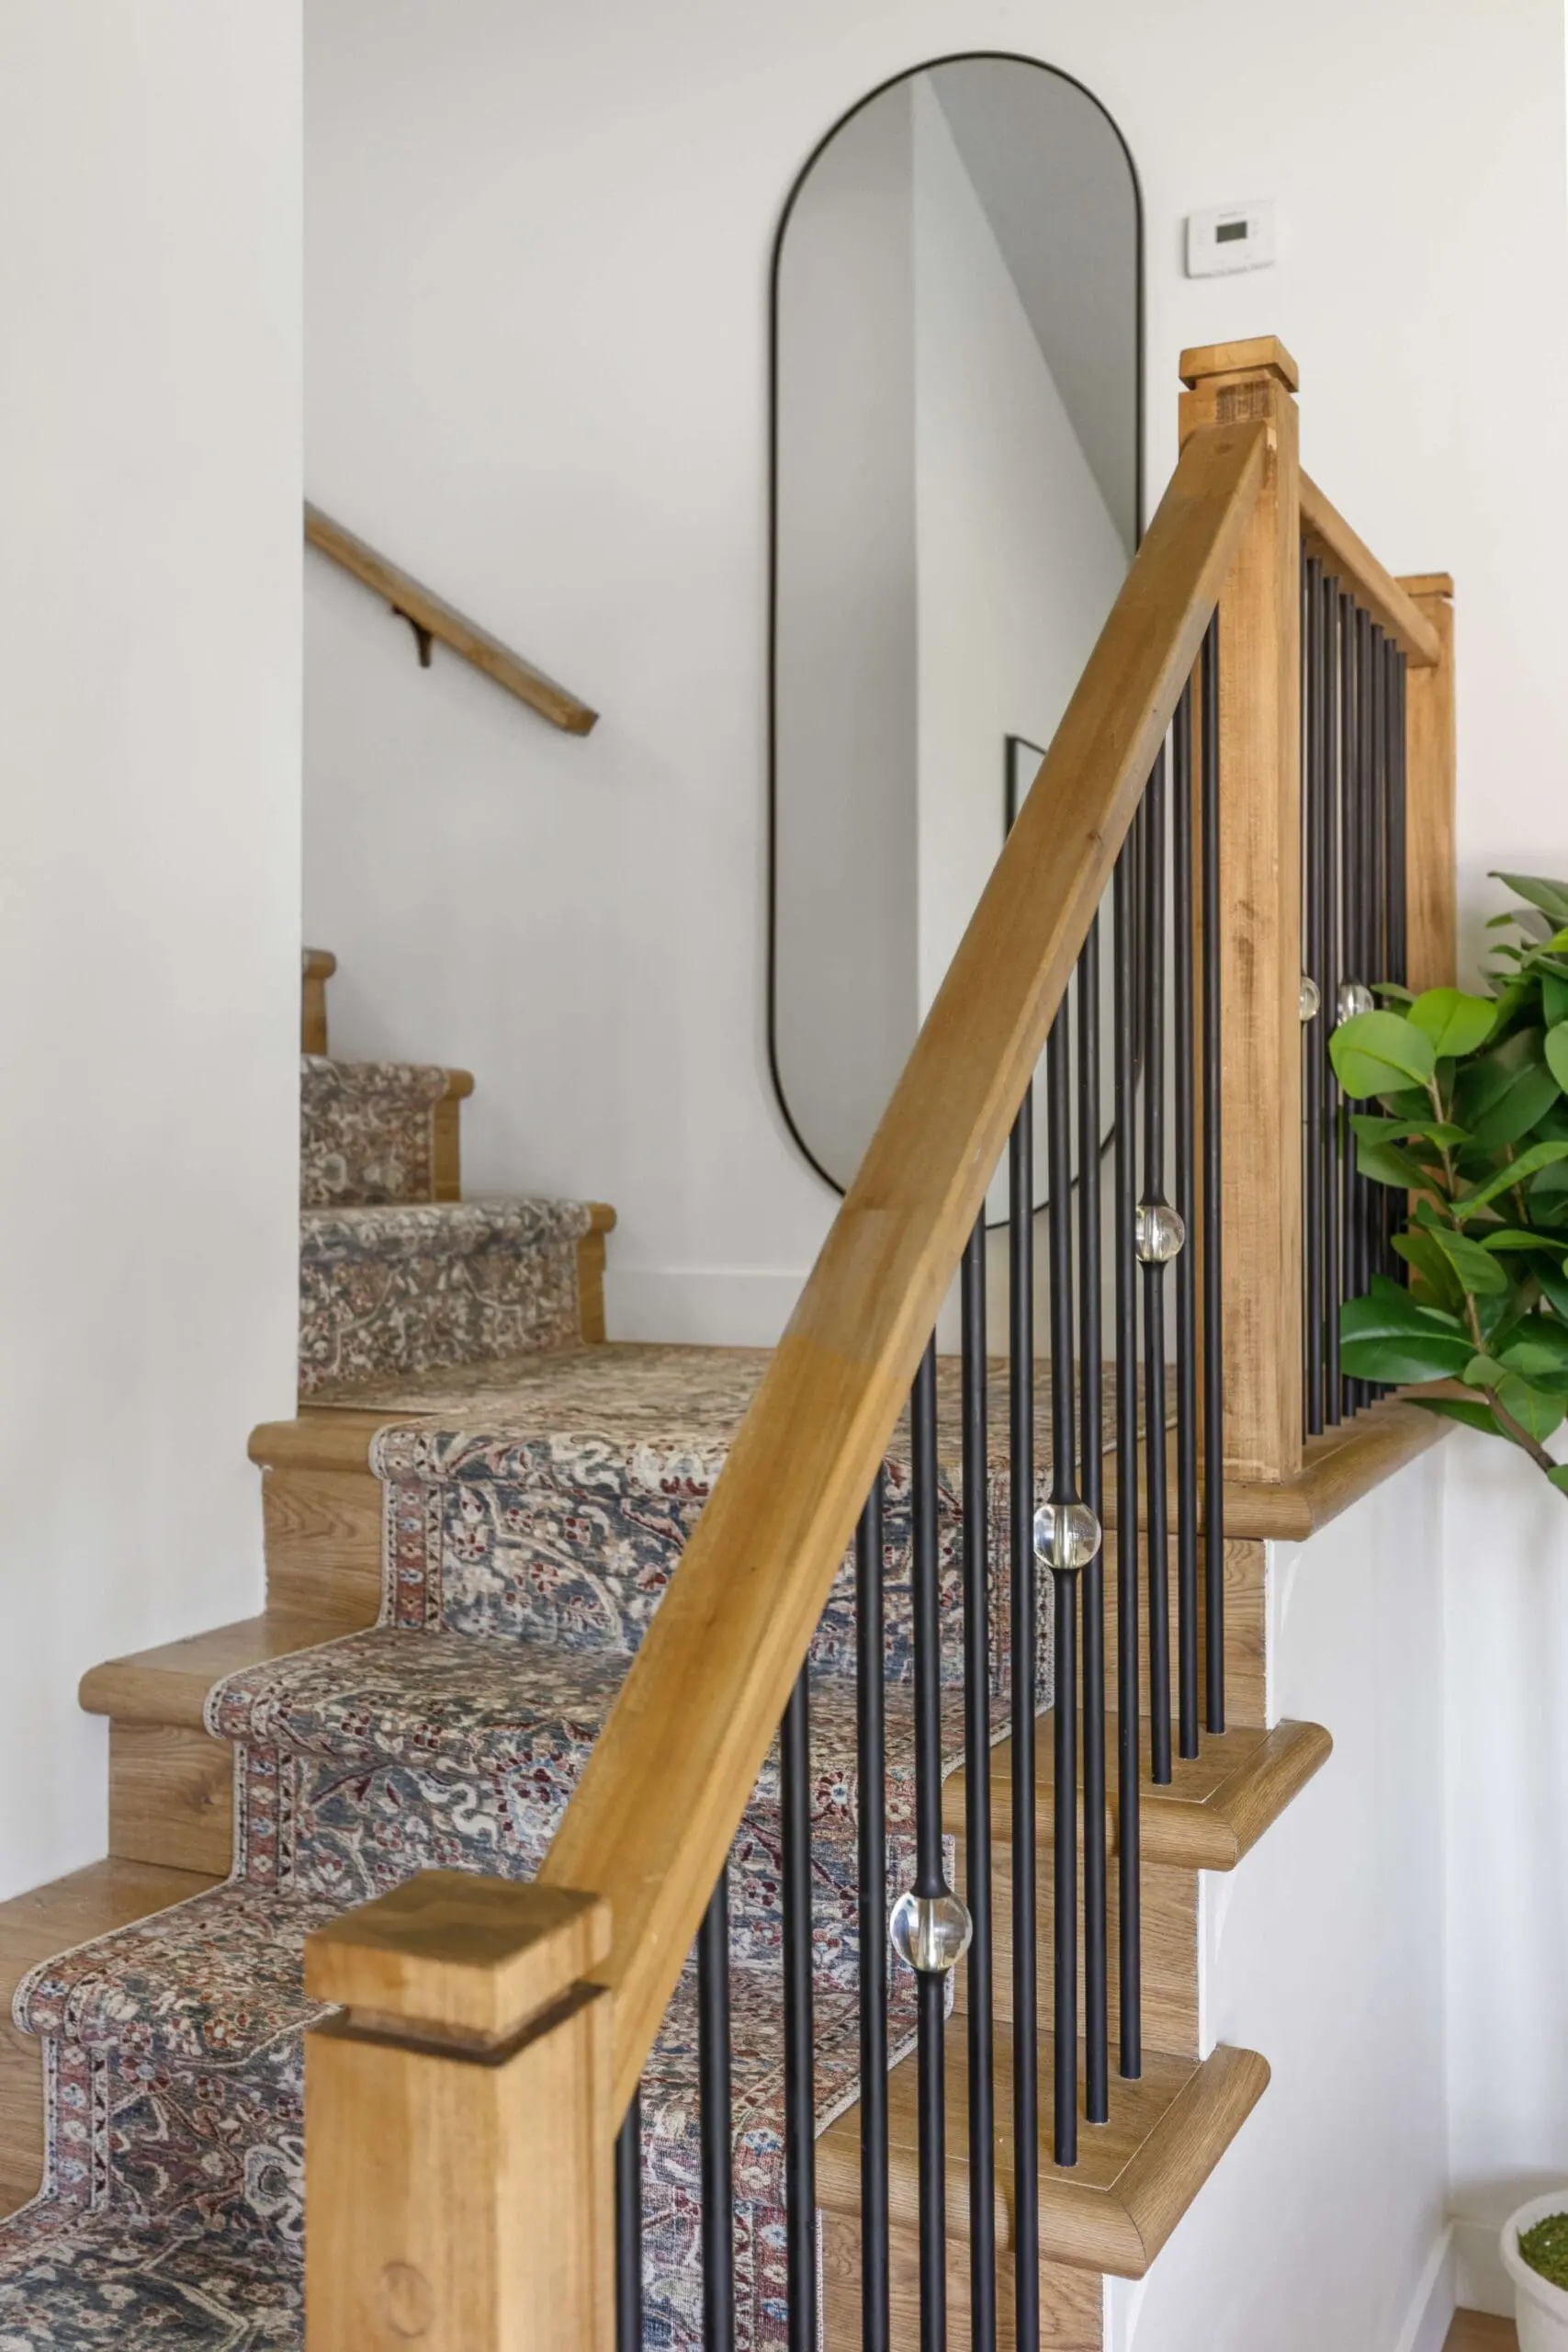
We have had the runner down for a bit now and the seam on the landing is holding up great. Doing a DIY stair runner installation, even on a landing that changes direction, isn’t difficult, and can totally be a beginner level DIY project.
I would love to see pictures of your own DIY stair runner installs if you try this. Be sure to tag me on Instagram.
Shop this project! I have links for all of my paint colors, light fixtures, and decor posted for you here.
And a full tutorial for how I upgraded my hallway doors to look like expensive, custom doors here.
