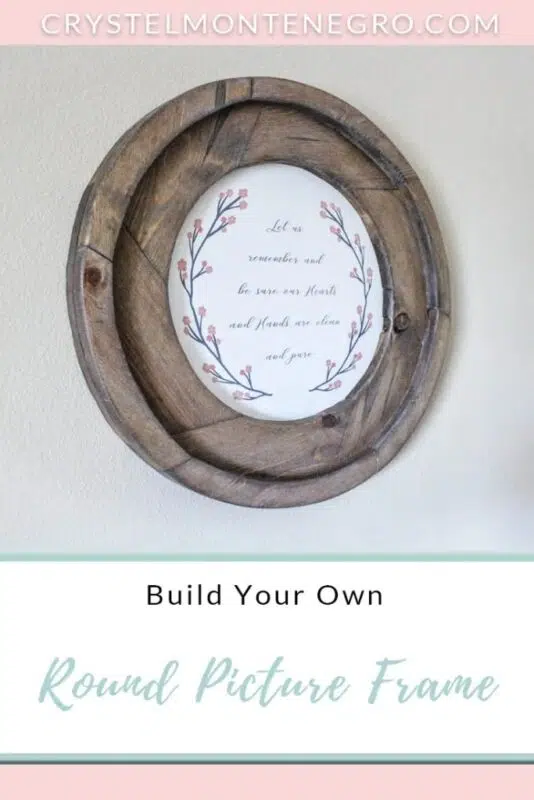
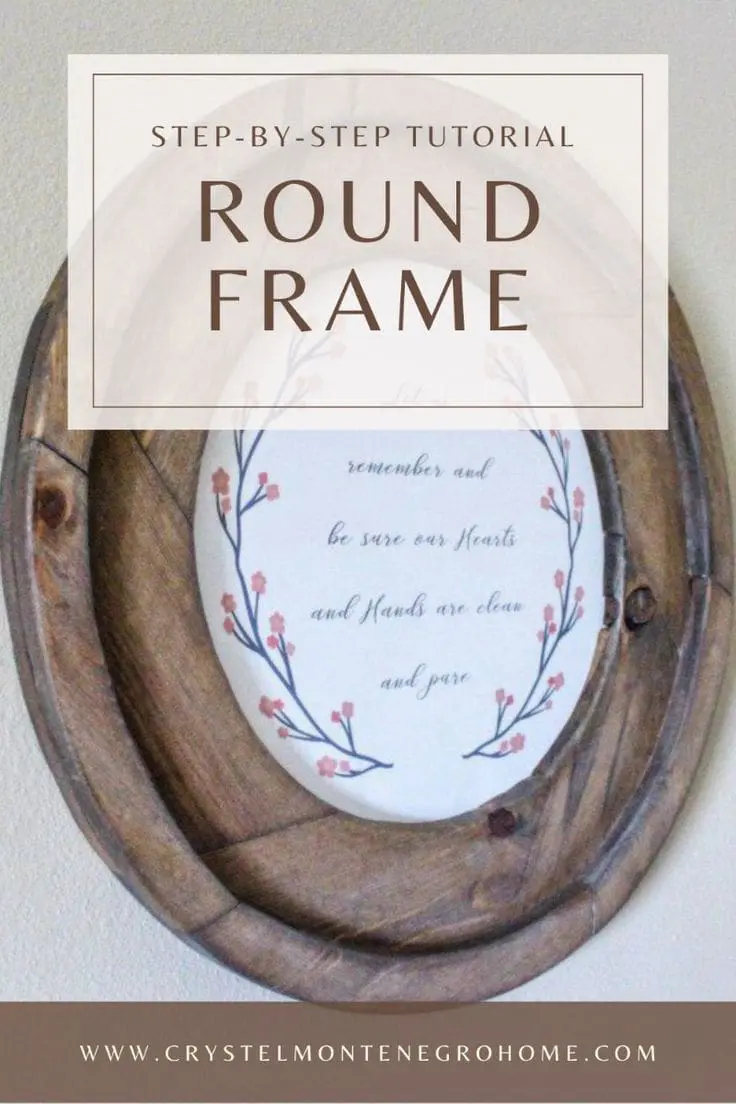
DIY Rustic Round Picture Frame
Updated November 7, 2024
One of the best things ever happened last week. My sister brought me her miter saw and jig saw for me to use for a WHOLE MONTH while she’s in Utah! Not to mention she’s lending me her van which is much larger than a Mazda 3 and can hold both kids AND 8 foot long boards. Hallelujah! Let me tell you something, my list of DIY projects just got MUCH longer now. The first project I’ve had my eye on was this round picture frame which I found plans for on Build Basic. She uses it there as a mirror but really there are so many possibilities with this thing! My sister in law even suggested making it into a succulent planter. And really, if you’ve got access to a miter saw, a kreg jig, and a drill that’s all you really need to build it. Plus, you can make it whatever size you want! It’s not a very complicated build either, which is always a good thing. Here are the materials you’ll need:
MATERIALS
- 1x8x8 pine board
- Miter saw
- Jig Saw
- Kreg Jig
- 1 1/4″ screws
- brad nails
- hammer or brad nailer
- Paint Stick
- 150 and 220 grit sandpaper
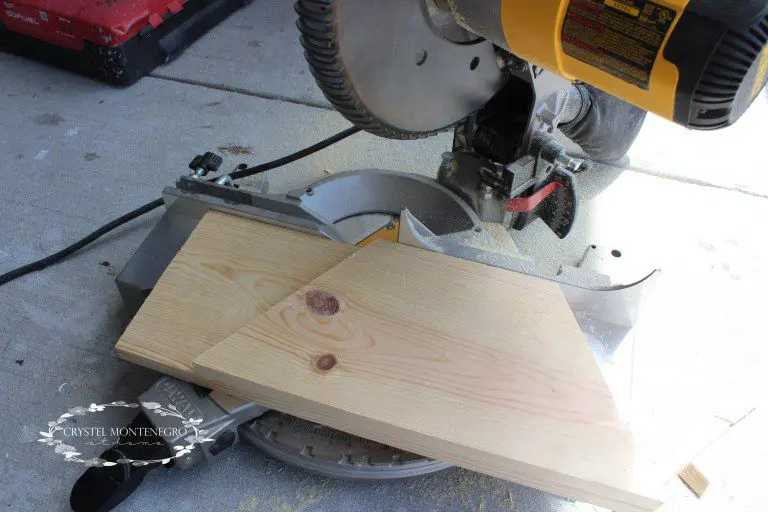
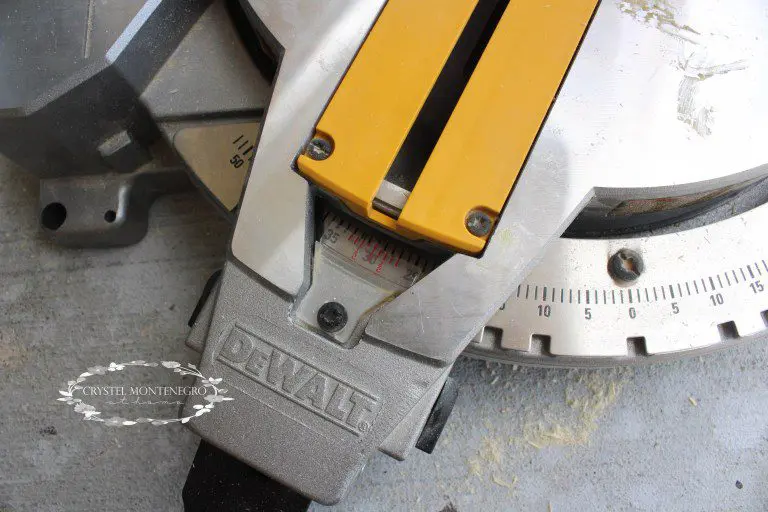
You’re first going to start by cutting your board into 6 trapezoids. The long side of the trapezoid should be 15 3/8″, and you’ll position your miter saw at 30 degree opposing angles to make the cuts. You’ll want to be as precise as you can so the pieces will fit together without problems.
Arrange your trapezoids into a circle. There are several ways you can do this but I prefer the method below. You’ll want to be sure to place the side of the wood that you want to be seen face down, because the side facing up is the side we will be securing the boards together on.
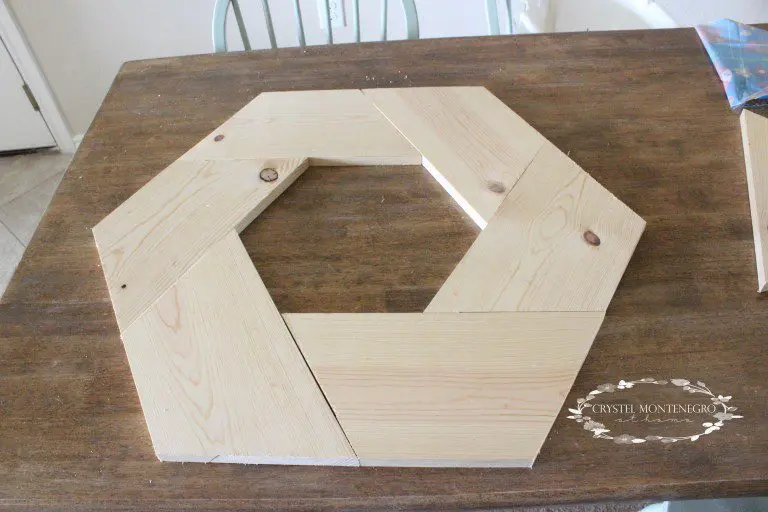
Once you have all of your boards perfectly placed, make numbered marks on the joints of both boards so it will be easier to place them again after you move them.
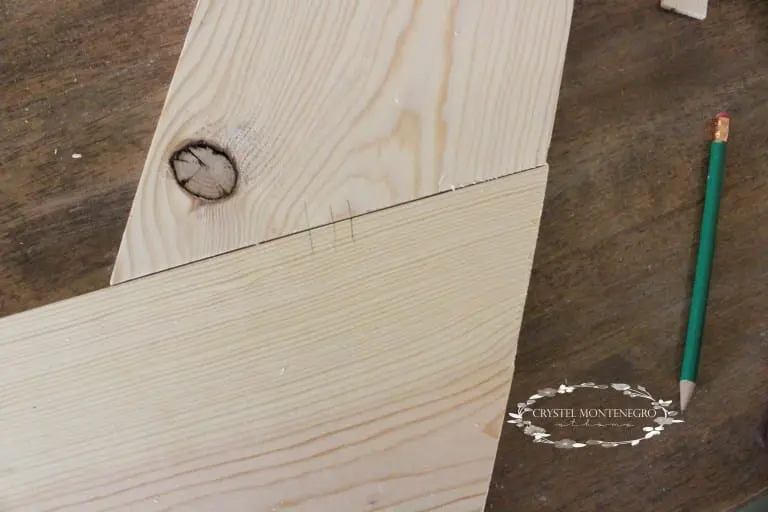
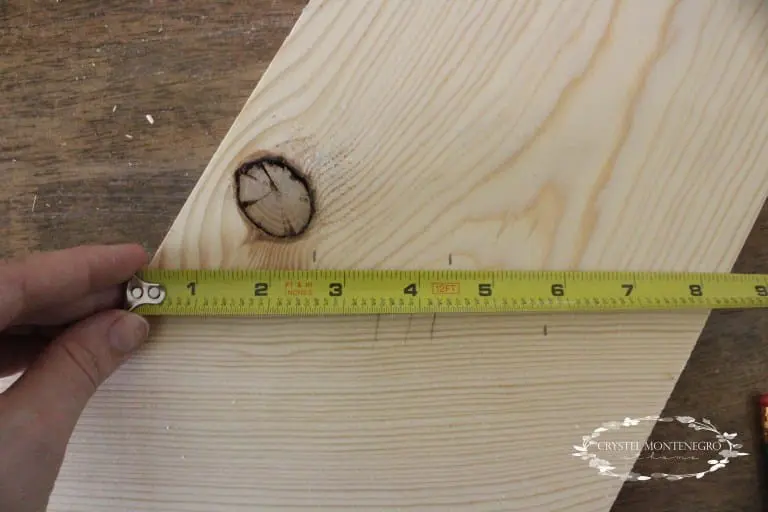
Now, at each joint make a mark at 2 5/8″ and again at 4 1/2″ where the pocket holes will be drilled. This placement will ensure they don’t get cut off when it comes time to use the jig saw.
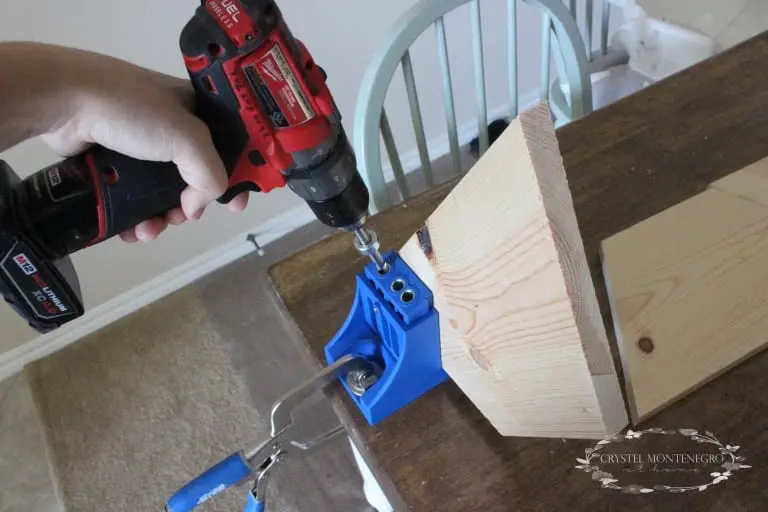
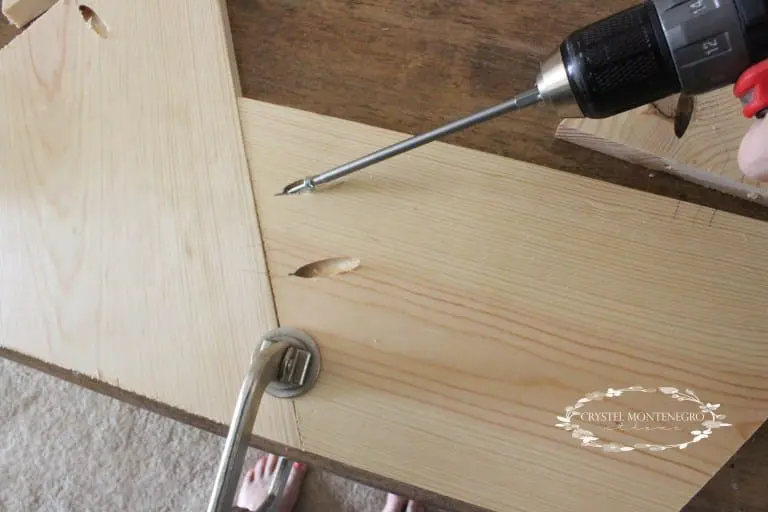
Drill pocket holes and screw together with 1 1/4″ screws.
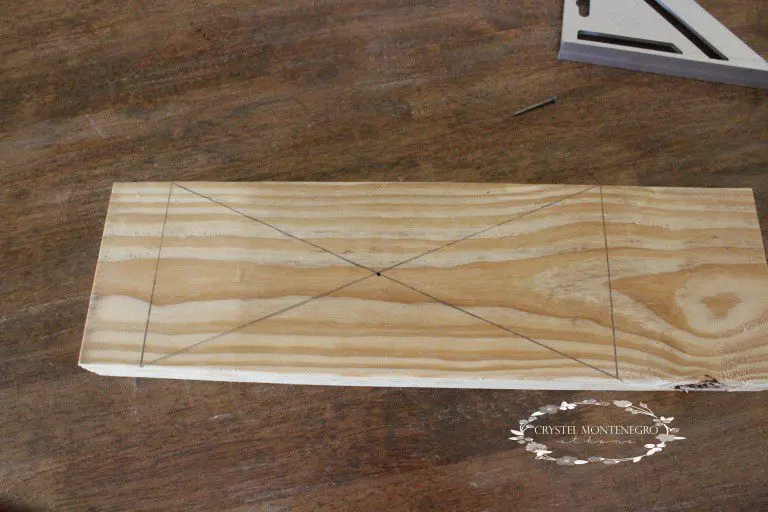
Now for drawing the circular cut lines. Grab a scrap piece of wood, draw two lines 14 inches apart, then two more lines from corner to corner. This will be your center. Place your center point right in the center point of your hexagon.
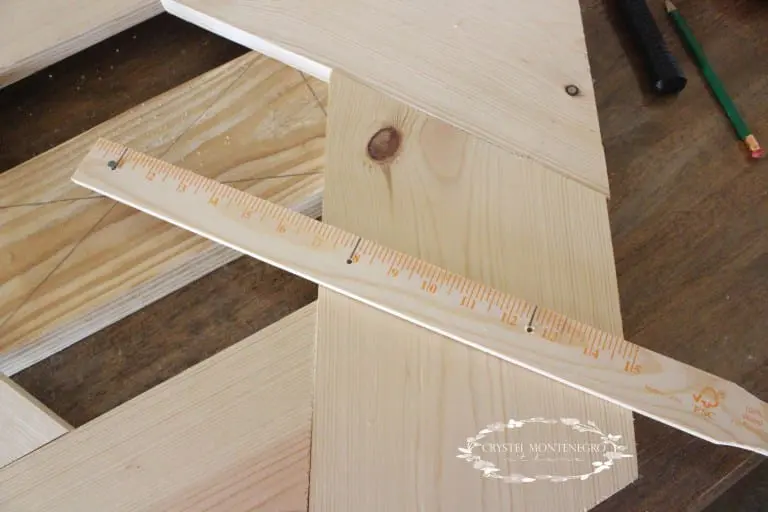
Next up, get your paint stick and drill 3 holes, one at 1″, one at 8″, and one at 12 1/2″. Not pictured here, but you’ll also want to drill one at 13 3/4″, or even closer depending on how thin you want your trim pieces to be. Likewise, if you want your frame to be thicker, push the third line out just a little bit further, maybe to 13 inches or so. Drive a nail through the one inch hole into your centerpoint, being careful not to drive it too far. The paint stick should be able to pivot on the nail without trouble.
Take your pencil and trace the lines.
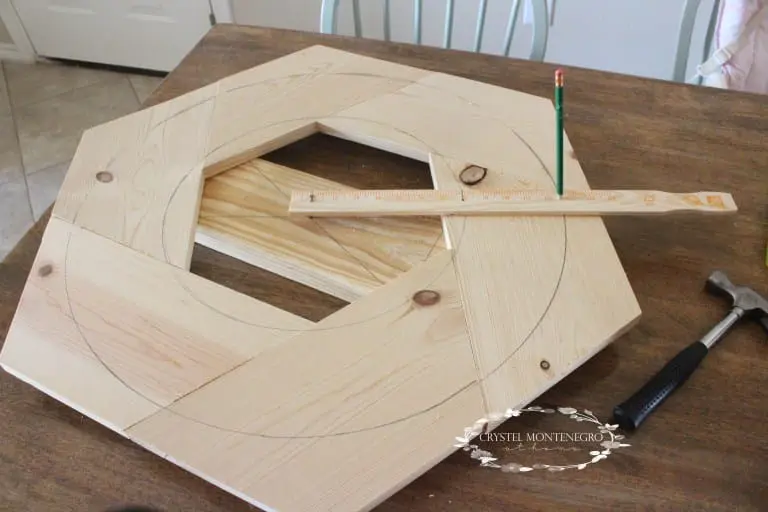
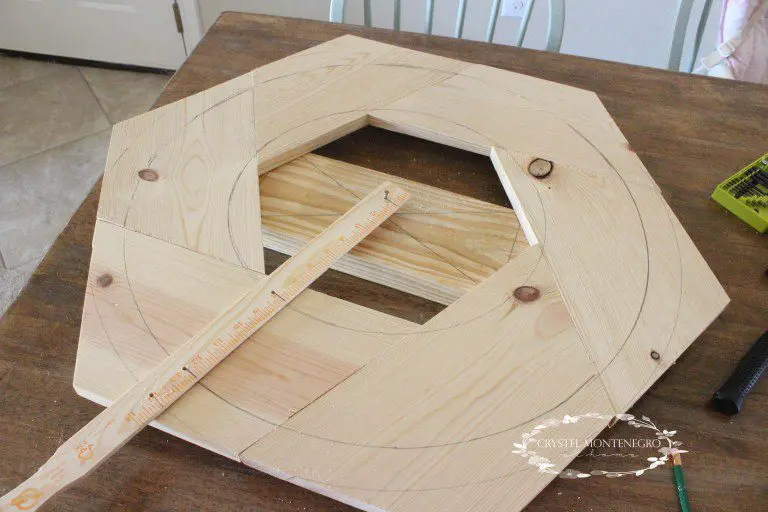
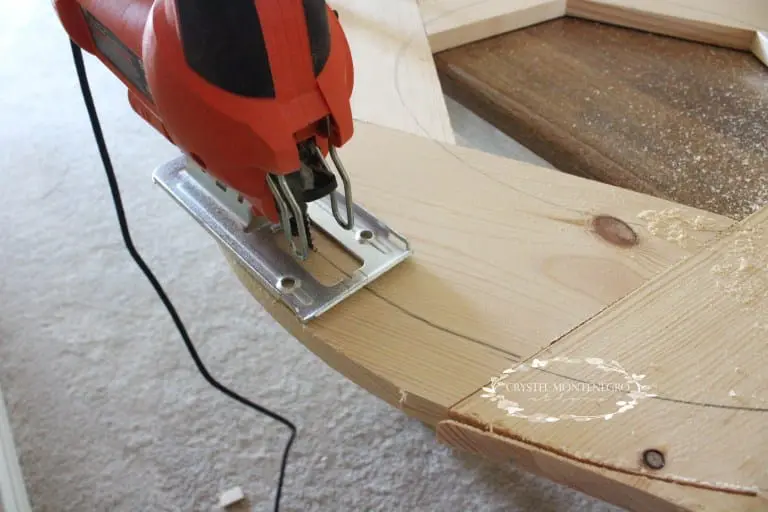
Now to cut the lines! Clamp your frame to a table and work your way from the outside in cutting the circles.
You should now have something that looks like this!
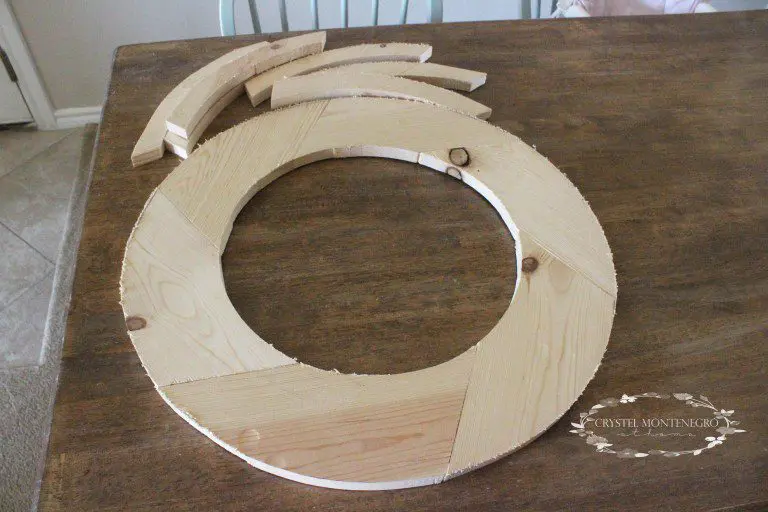
Using a pencil, place the trim and mark where the boards need to be cut. Make cuts as needed and arrange them on the frame.
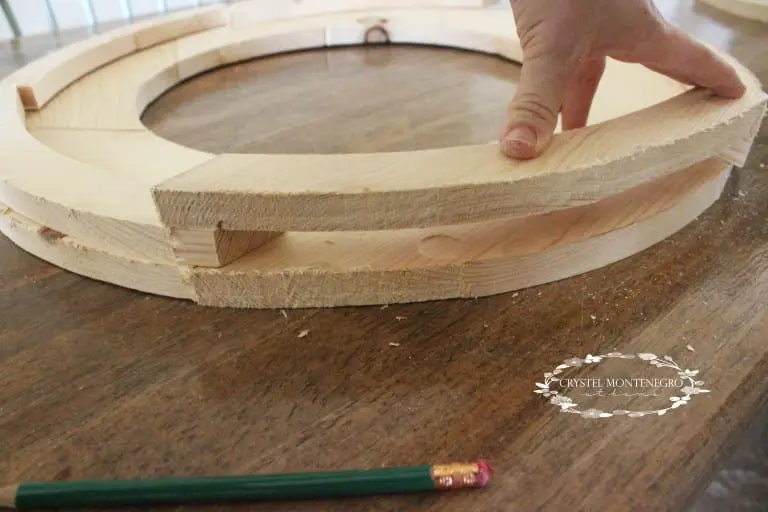
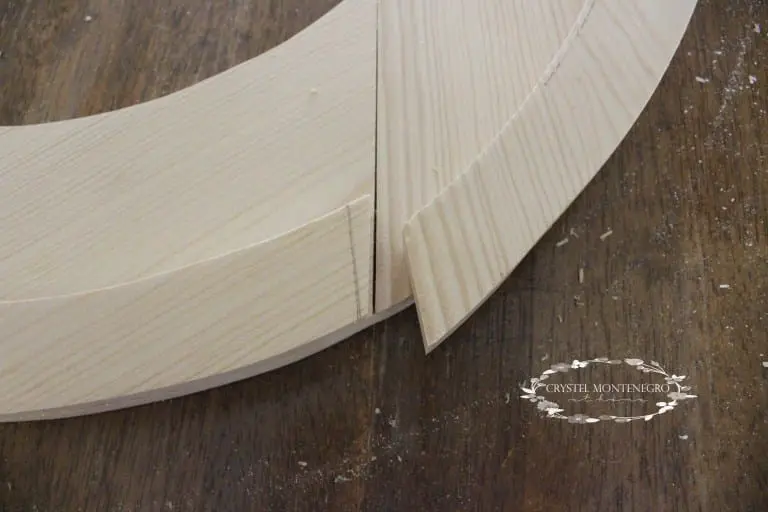
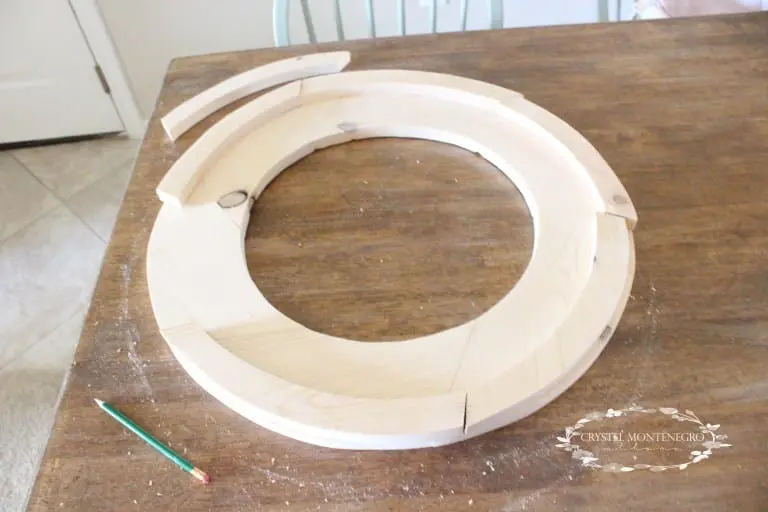
Again, mark the joints of the trim across both boards, then sand all each piece with 150 grit, then 220 grit sandpaper before securing. Be careful not to sand off your markings!
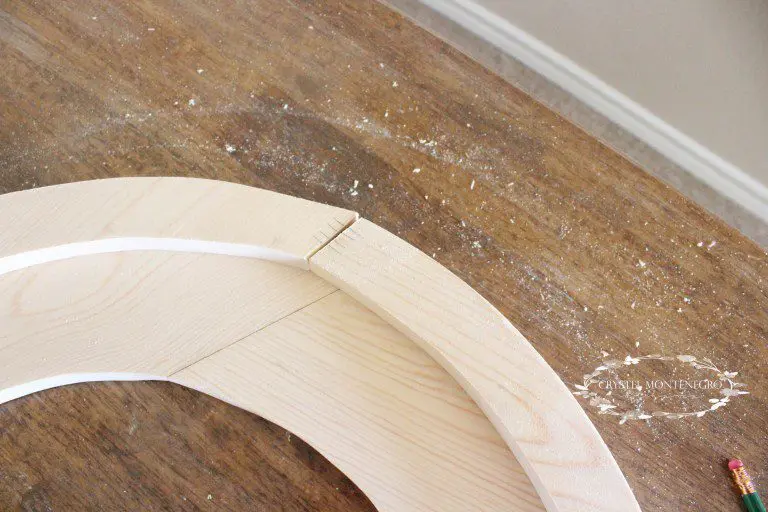
To secure, first join together using wood glue.
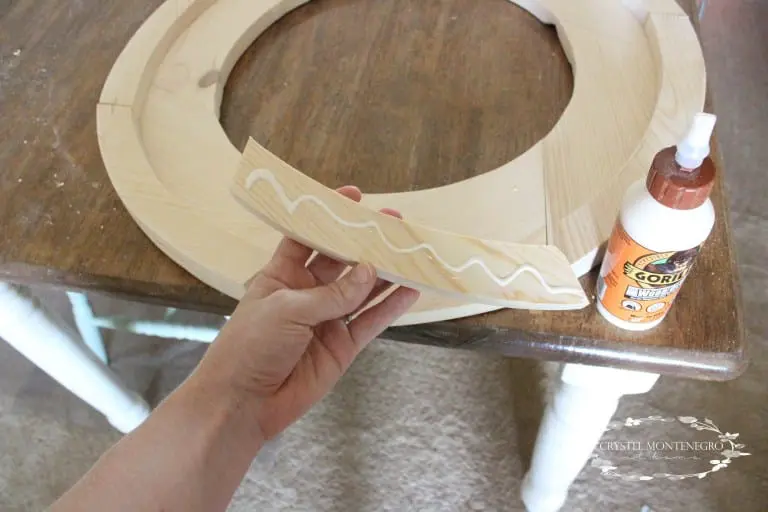
On the back side, nail the trim to the frame using brad nails or 1 1/4″ nails.
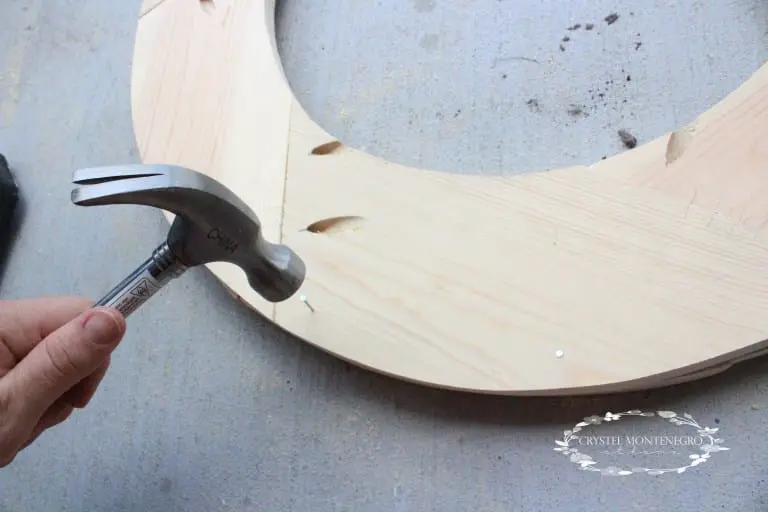
If yours looks anything like mine you will see lots of imperfections, but imperfections are A-okay, especially since it is a rustic piece of decor anyway. If necessary you can fill in the joints with wood filler, but I just left mine as is. At this point I gave it another thorough sanding along the outer edges to make sure my trim and my frame were flush.
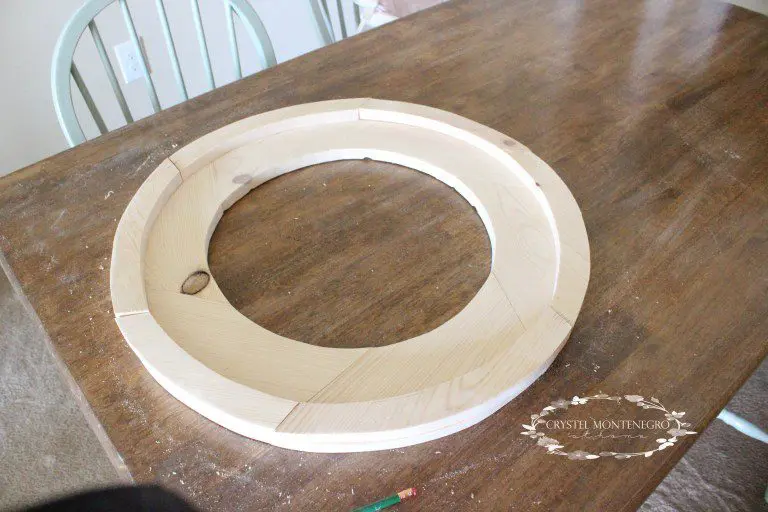
Stain or paint and you’ve got yourself a rustic round wooden frame!
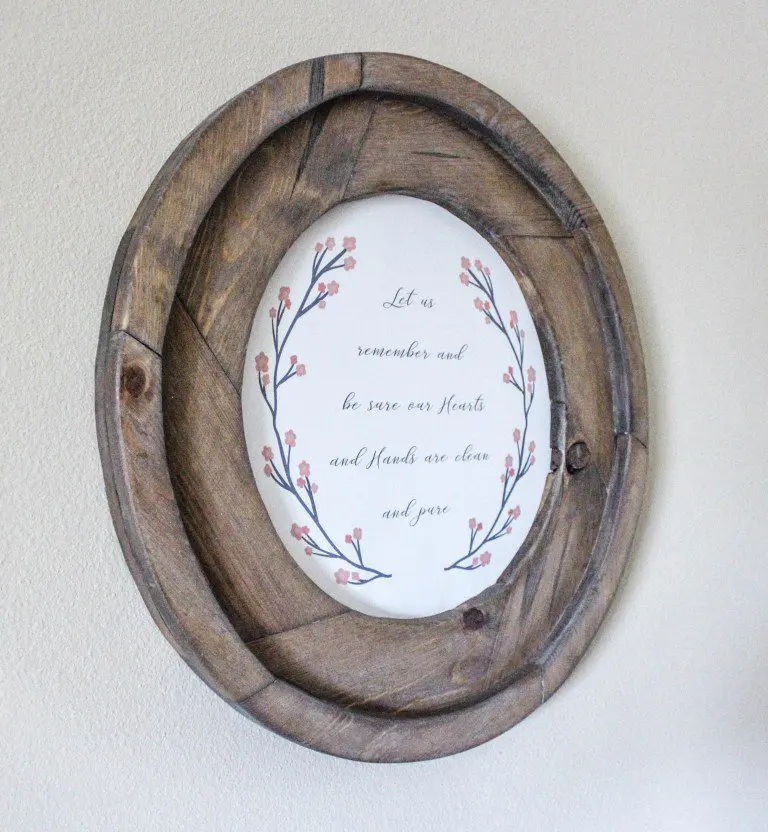
This was such a fun project for me to do, and I feel like this opens up my mind to so many other possibilities in the world of woodworking! If you’re interested in this, you might also be interested in my framed mirrors I made for my dining room recently, or even my bedroom nightstands. Check it out!
Thanks for following along with me today, guys!
XOXO,
Crystel
