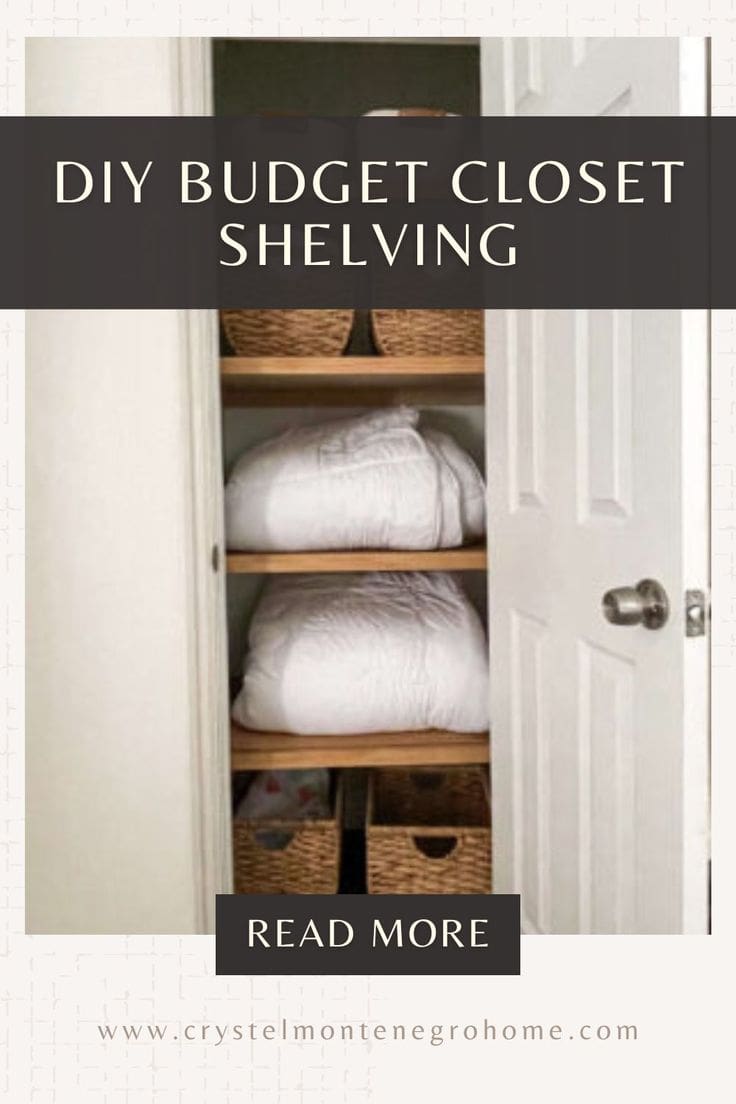
DIY Closet Shelves on a Budget: Step-by-Step Guide


Updated August 6, 2025
I love a project that’s both beautiful and functional, and these DIY closet shelves check both boxes. Not only did they transform an unused coat closet into a much-needed linen closet, but they were also an easy afternoon project using budget-friendly materials. Let’s get started!
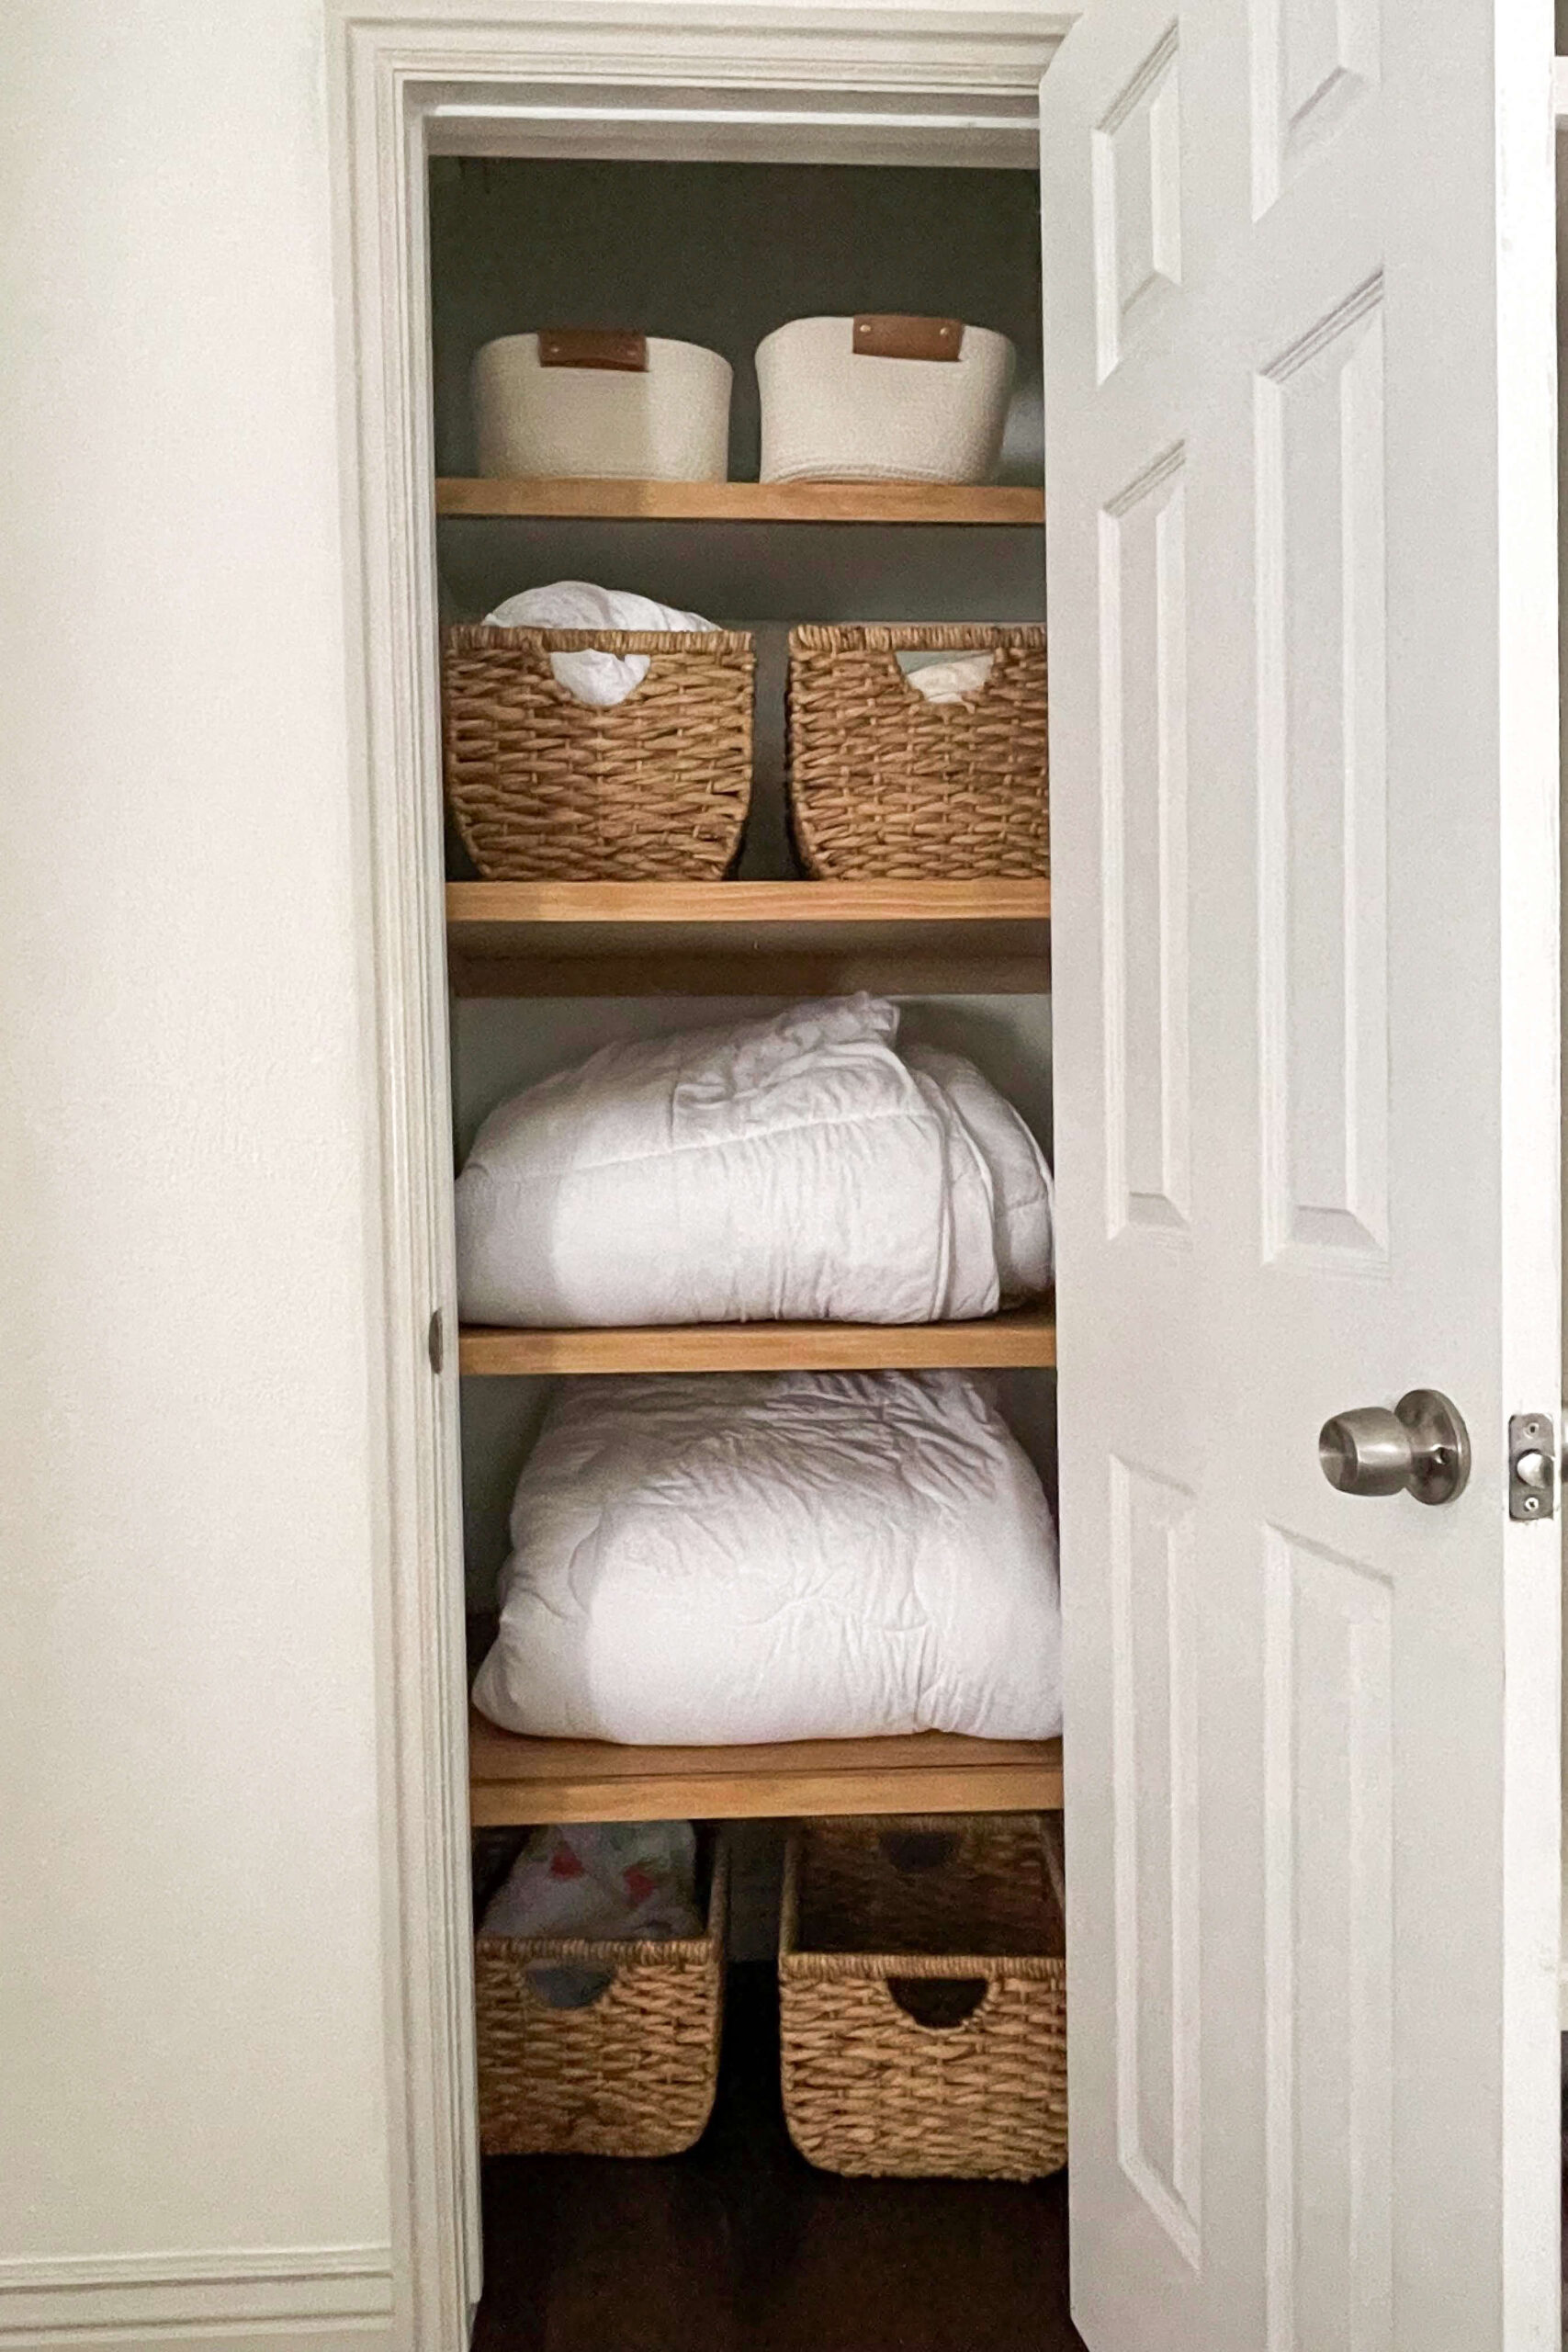
Table of Contents
- Tools I Used to Build Closet Shelves
- Materials for Custom Closet Shelving
- Why I Converted Our Coat Closet into a Linen Closet
- How to Build DIY Closet Shelves Without Brackets
- Cut and Install the MDF Closet Shelves
- Upgrade MDF Shelves with Trim for a Custom Look
- How to Cut Plywood to Fit Uneven Closet Walls
- Make a Custom Stain and Seal Finish in One Step
- Final Assembly: Install and Finish the DIY Closet Shelves
- The Before and After: My Closet Shelf Makeover Reveal
- 📌 Save This Linen Closet DIY for Later
- Closet Shelving FAQs: DIY Tips and Storage Solutions
Tools I Used to Build Closet Shelves
Materials for Custom Closet Shelving
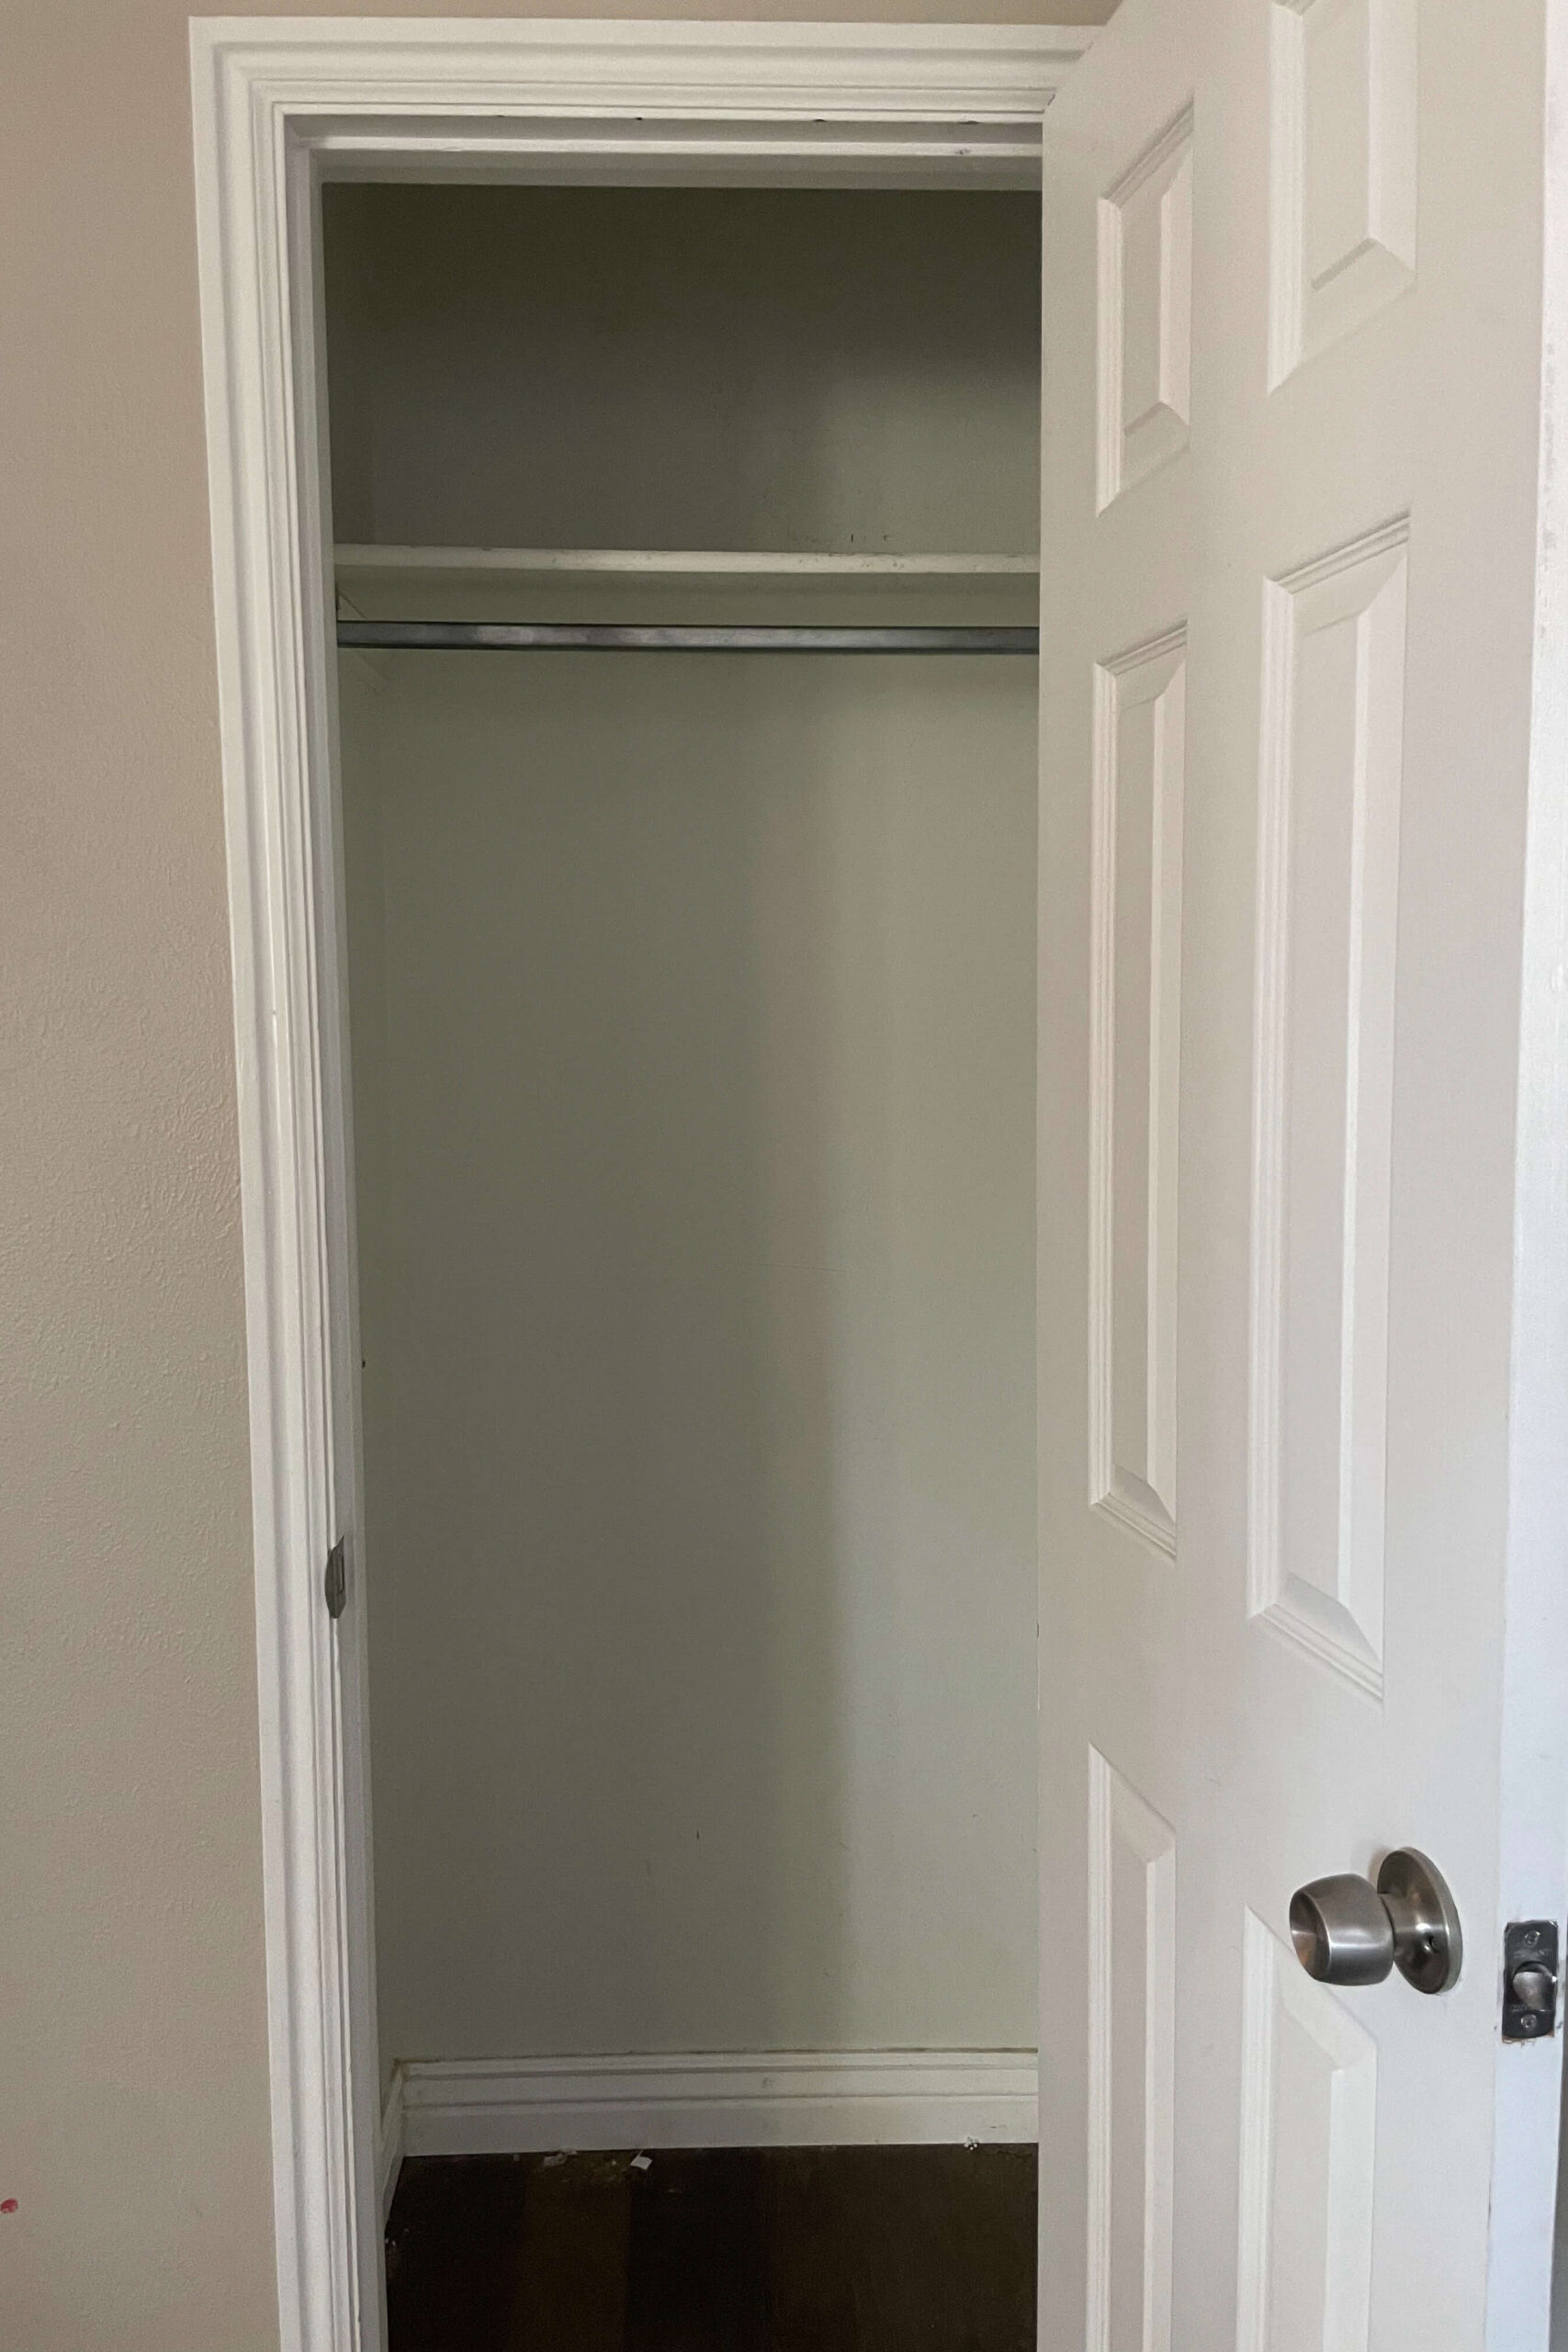
Why I Converted Our Coat Closet into a Linen Closet
After building mudroom lockers in our entryway, this small coat closet became totally unnecessary. But you know what I did need? A linen closet! So, I ditched the hanging rod and tiny shelf, leaving me with a blank slate – and a plan for some custom-built DIY closet shelves.
How to Build DIY Closet Shelves Without Brackets
The best part? These shelves don’t require fancy hardware. Instead, I used strips of MDF as cleats to hold up the shelves. Here’s how to do it:
- Make Cleats – Rip down strips of MDF or plywood using a table saw.
- Check for Level – Use a level to make sure your cleats are straight.
- Install the Cleats – Attach cleats on both sides of the closet and along the back wall at your desired shelf heights using a brad nailer.
- Secure to Wall Studs – After using a stud finder, reinforce the cleats by screwing them into the wall studs for extra strength.


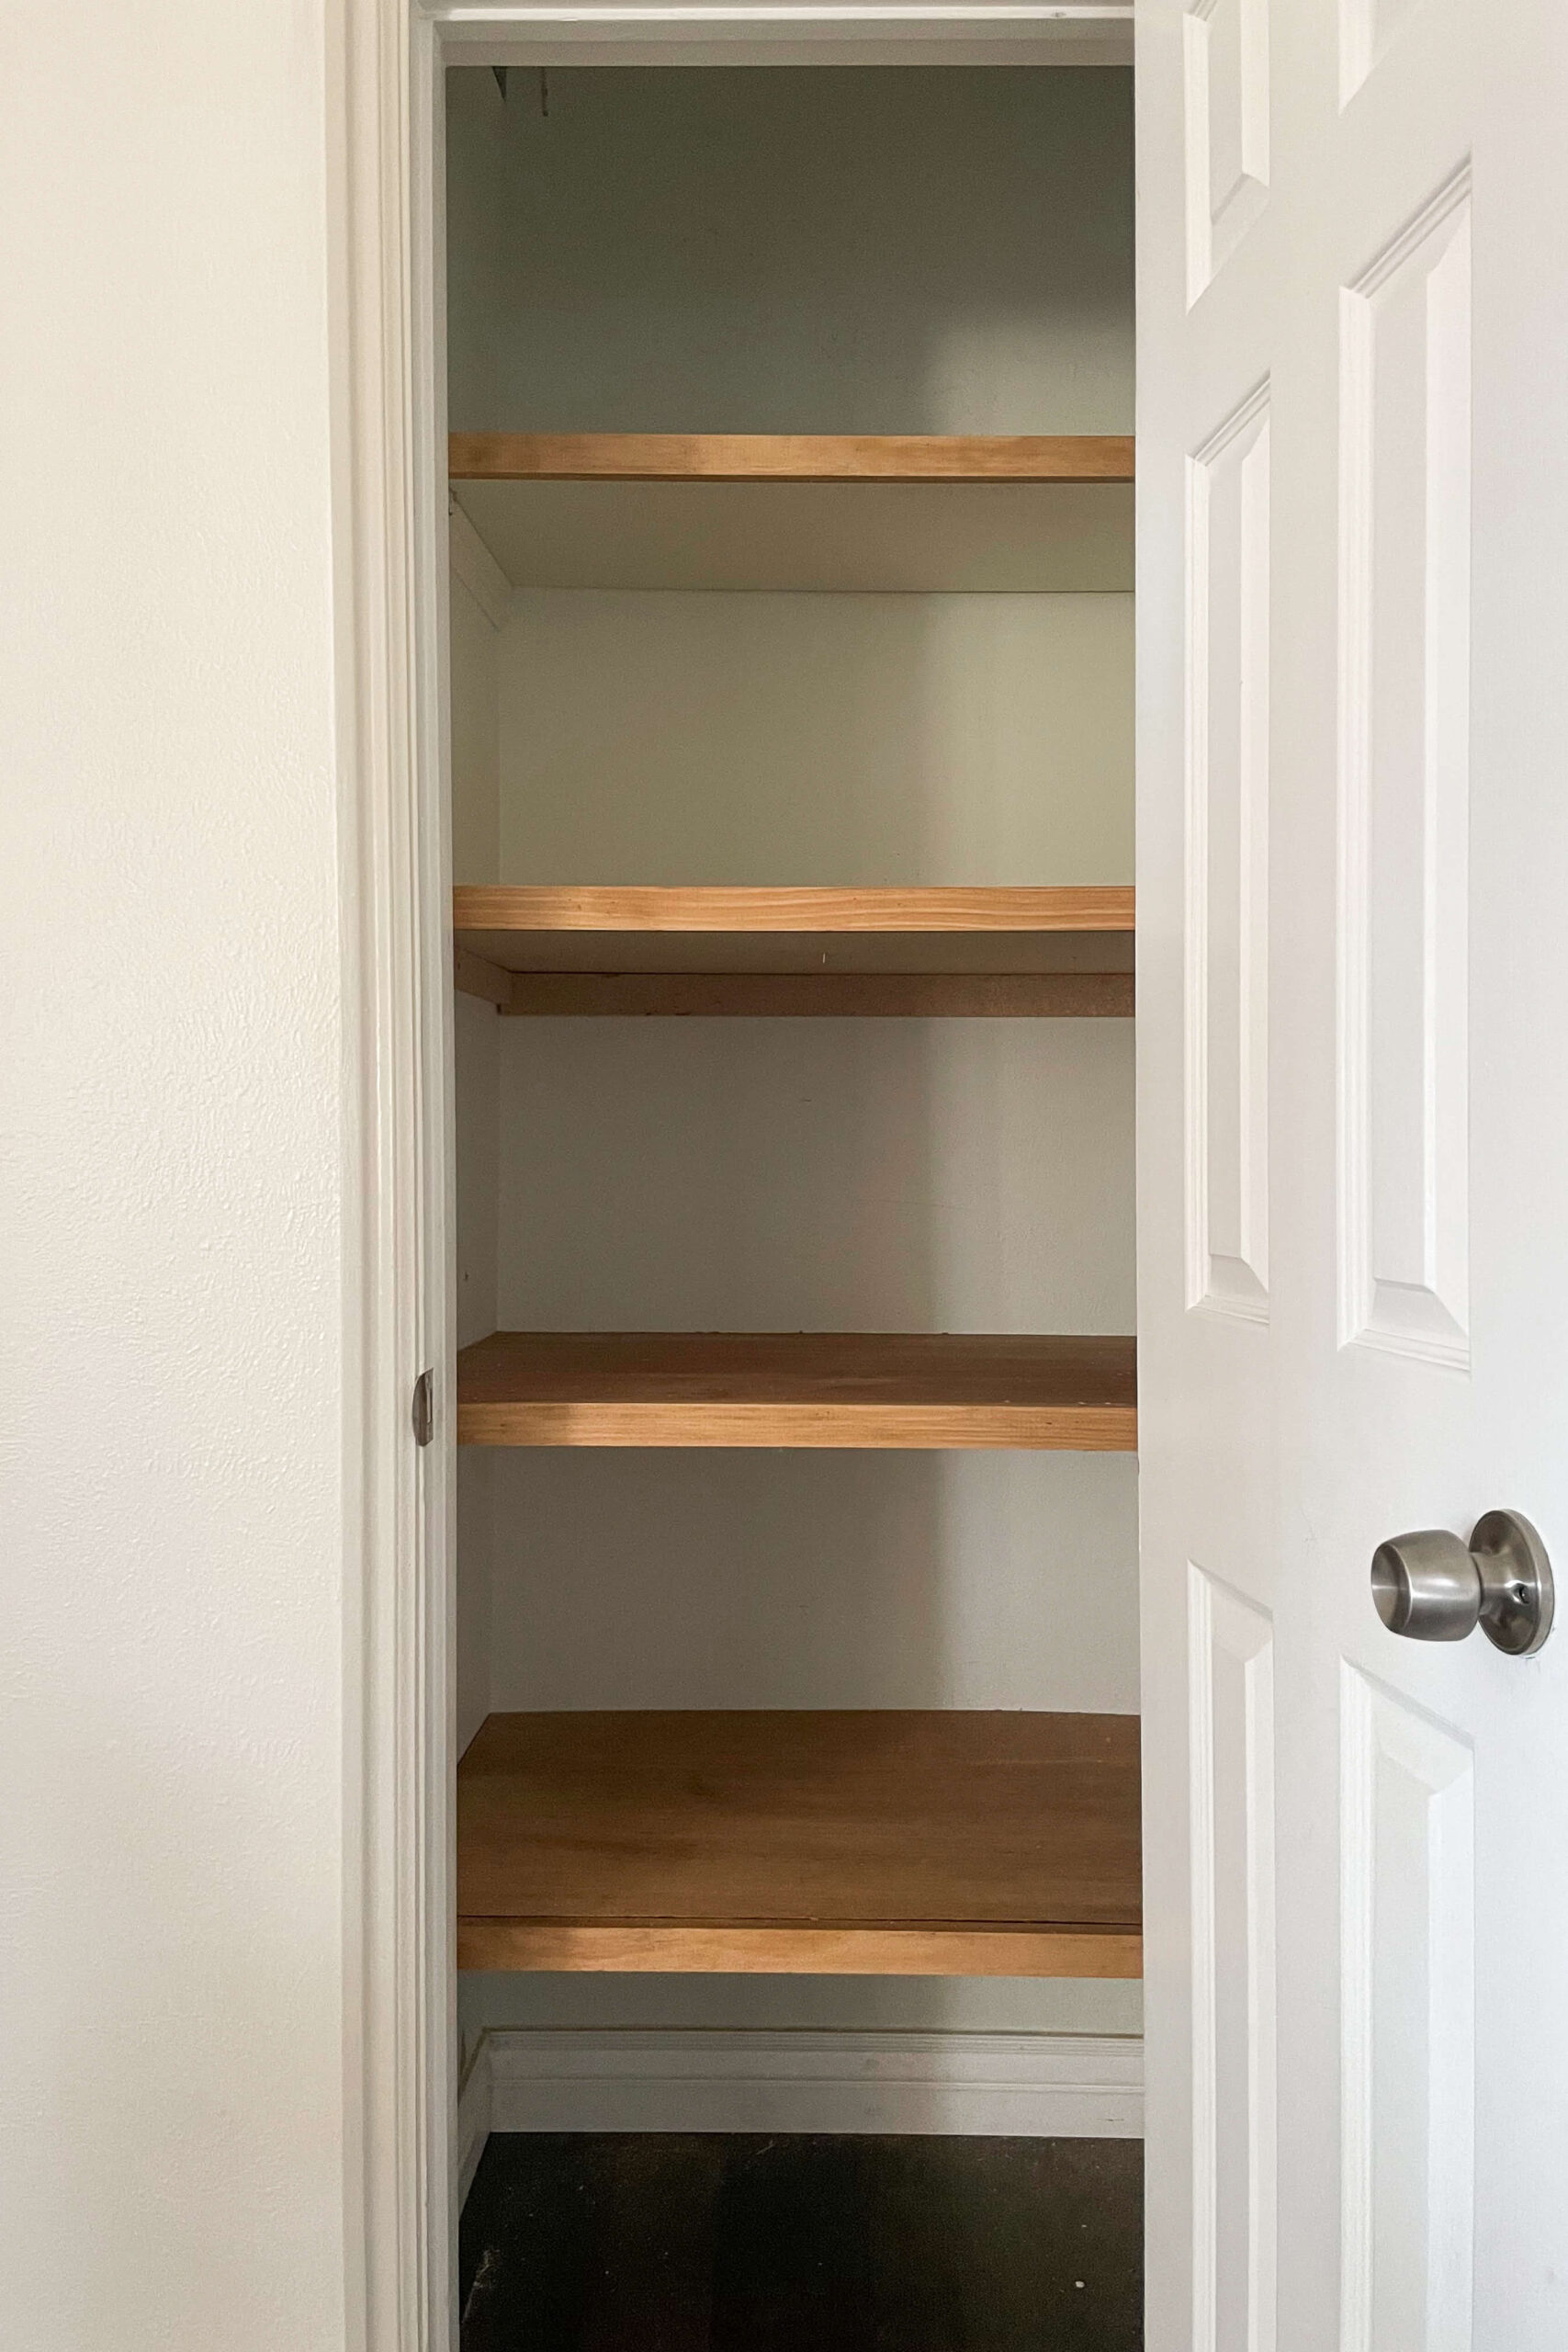
Cut and Install the MDF Closet Shelves
Using a sheet of 3/4-inch MDF and my table saw, I cut shelves to rest on top of the cleats. MDF is a budget-friendly alternative to plywood while still getting the job done!
Pro Tip: If you plan to use baskets or organizers in your linen closet, buy them first. This way, you can space your DIY closet shelves perfectly to fit them.

Upgrade MDF Shelves with Trim for a Custom Look
MDF is functional, but let’s be real – it’s not the prettiest. To upgrade the look without spending a fortune, I covered each shelf with ¼-inch plywood and added a 1×2 furring strip to the front edge. This trick hides the MDF and gives the shelves a more finished, custom look.

How to Cut Plywood to Fit Uneven Closet Walls
Since walls are never perfectly straight, I used a washer and pencil trick to scribe a line along the edges and cut along that line with my jigsaw. This made sure the shelves fit perfectly flush against the walls without any awkward gaps.


Make a Custom Stain and Seal Finish in One Step
Just like when I installed the board and batten bathroom wall, I created my own custom stain color for these shelves. I started with some Polycrylic then drizzled in just a bit of Minwax Early American stain. After giving it a good stir, I applied it with a paintbrush, then wiped off the excess. Stain and sealer done in one!


Final Assembly: Install and Finish the DIY Closet Shelves
With the stain done, it’s time to finish these DIY closet shelves. First, place an MDF board on the cleats, then cover with a piece of the stained plywood. Use a brad nailer to attach the plywood along the edges to the cleats. Finally, nail the 1×2 strip across the front for a polished finish. What an improvement over the plain MDF!


The Before and After: My Closet Shelf Makeover Reveal
And just like that, my DIY closet shelves turned a useless coat closet into a gorgeous and functional linen closet. Now, I have tons of storage, a custom built-in look, and shelves that cost way less than store-bought options.
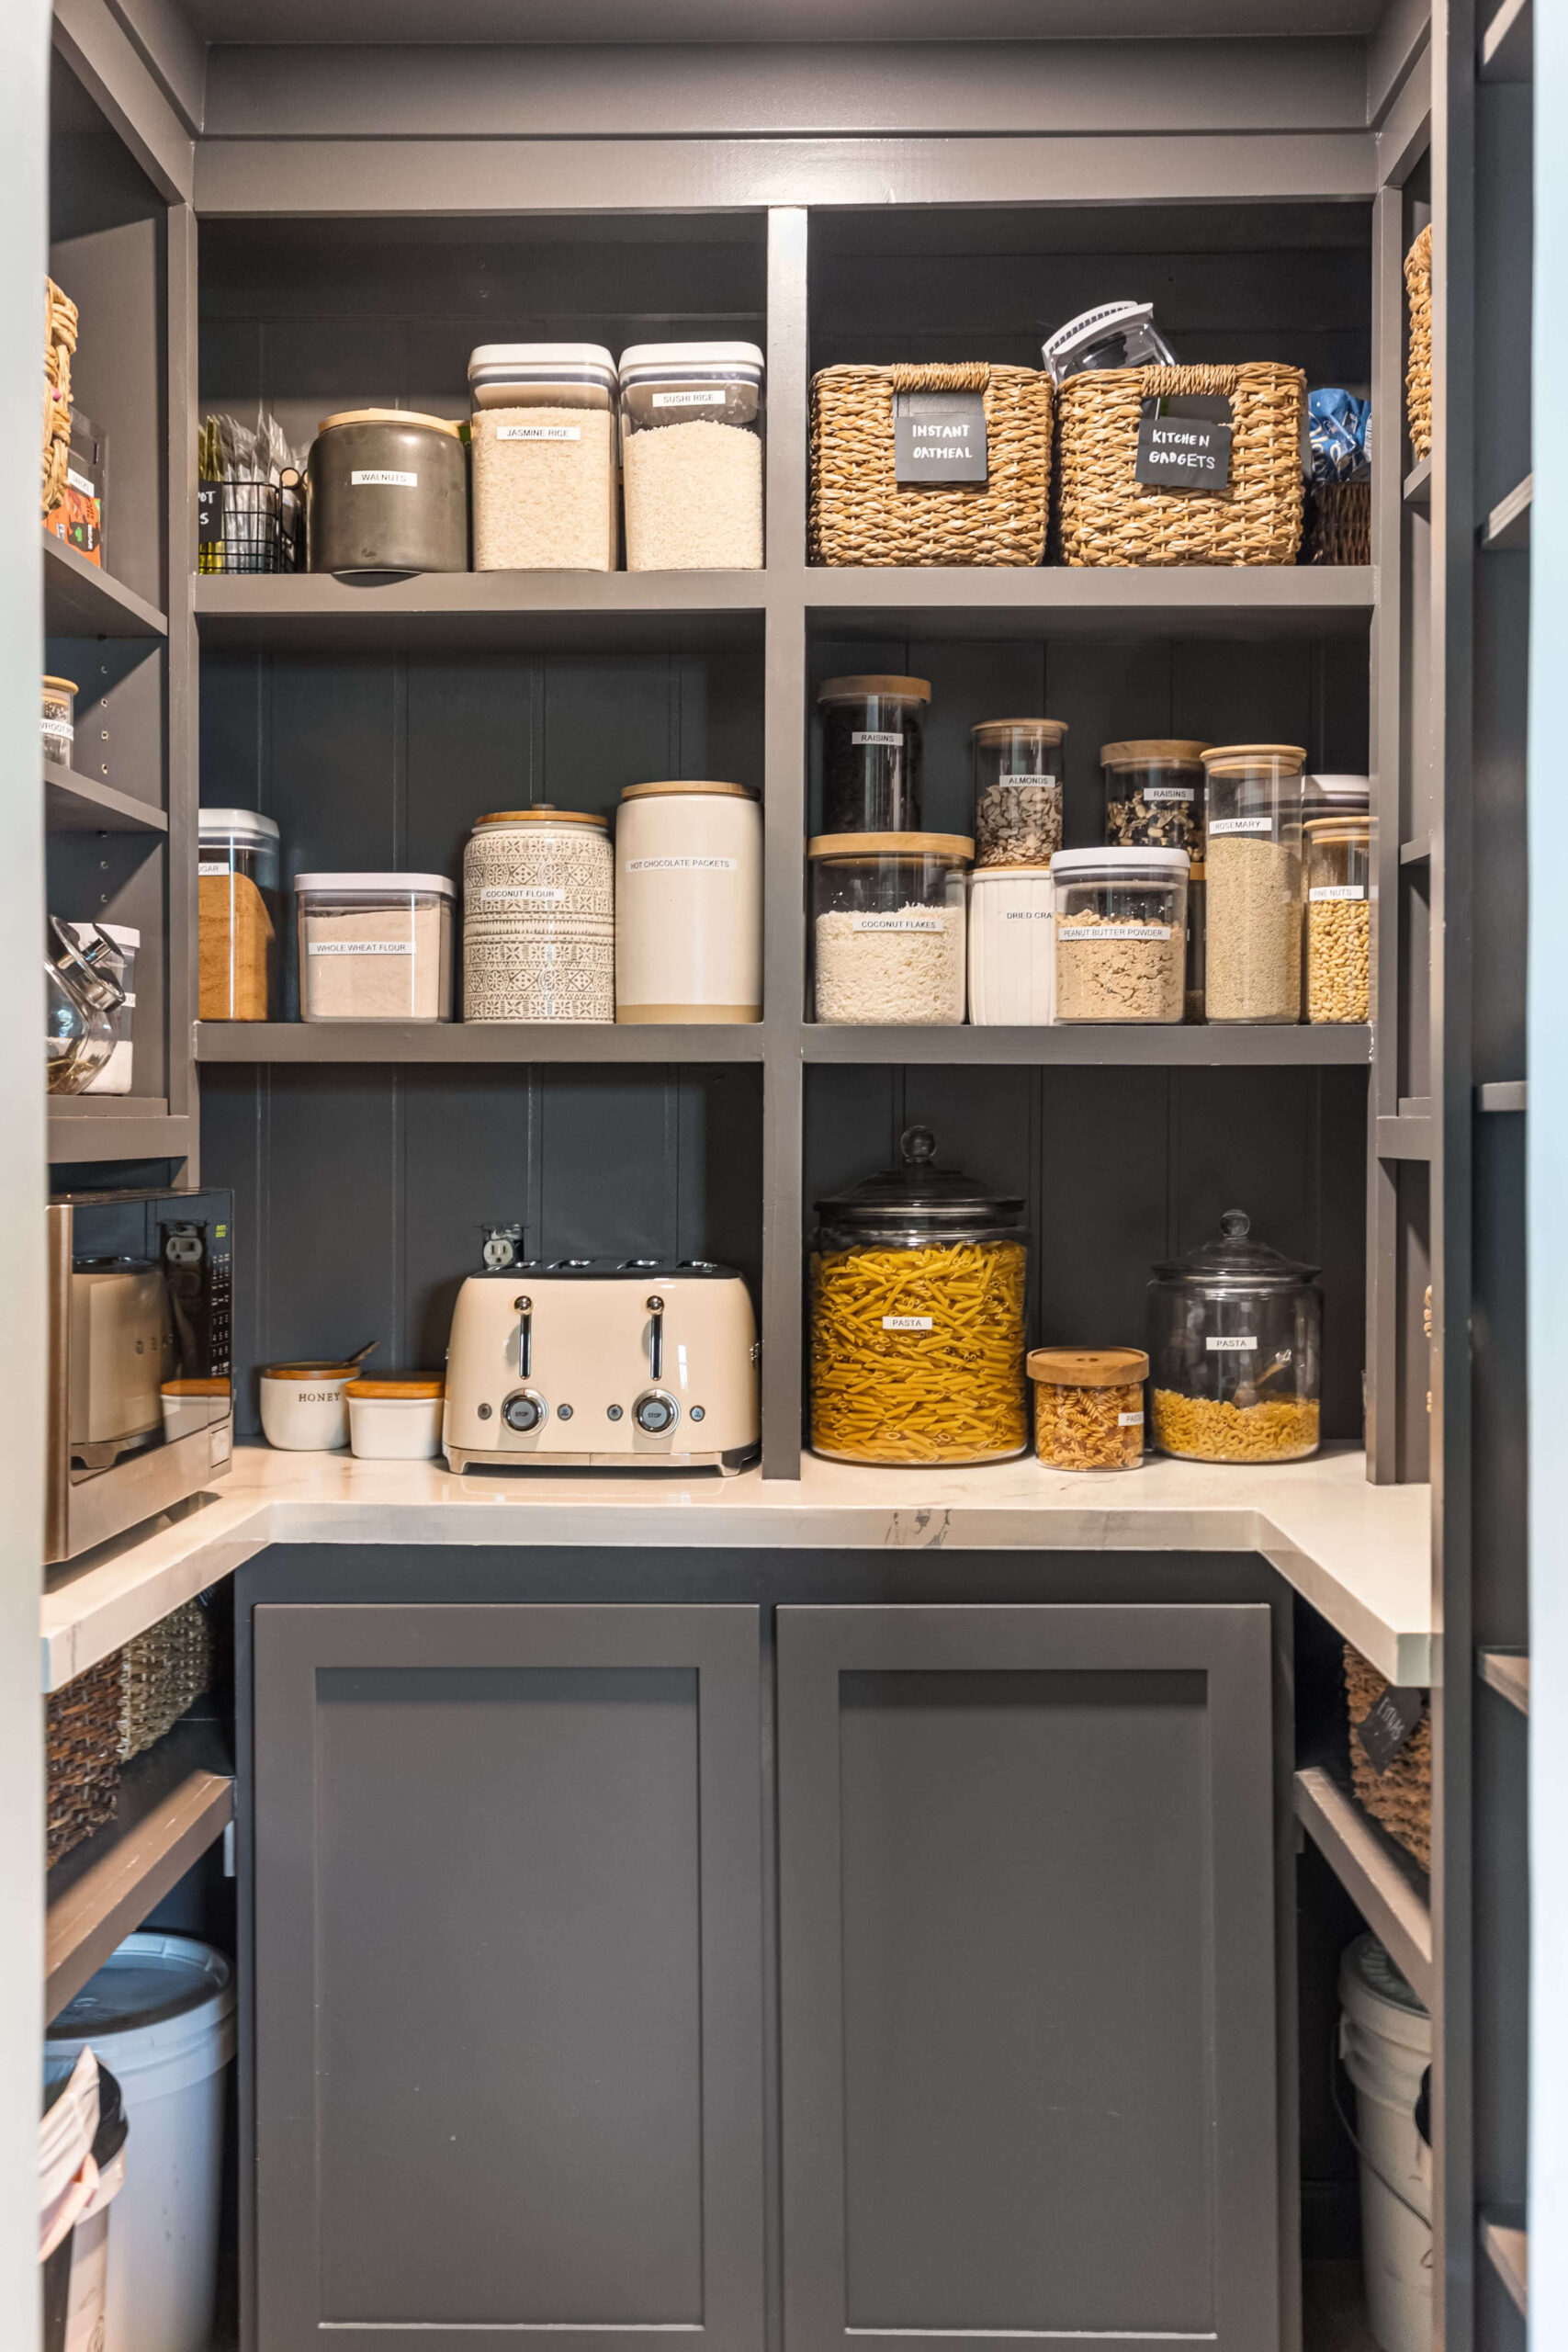
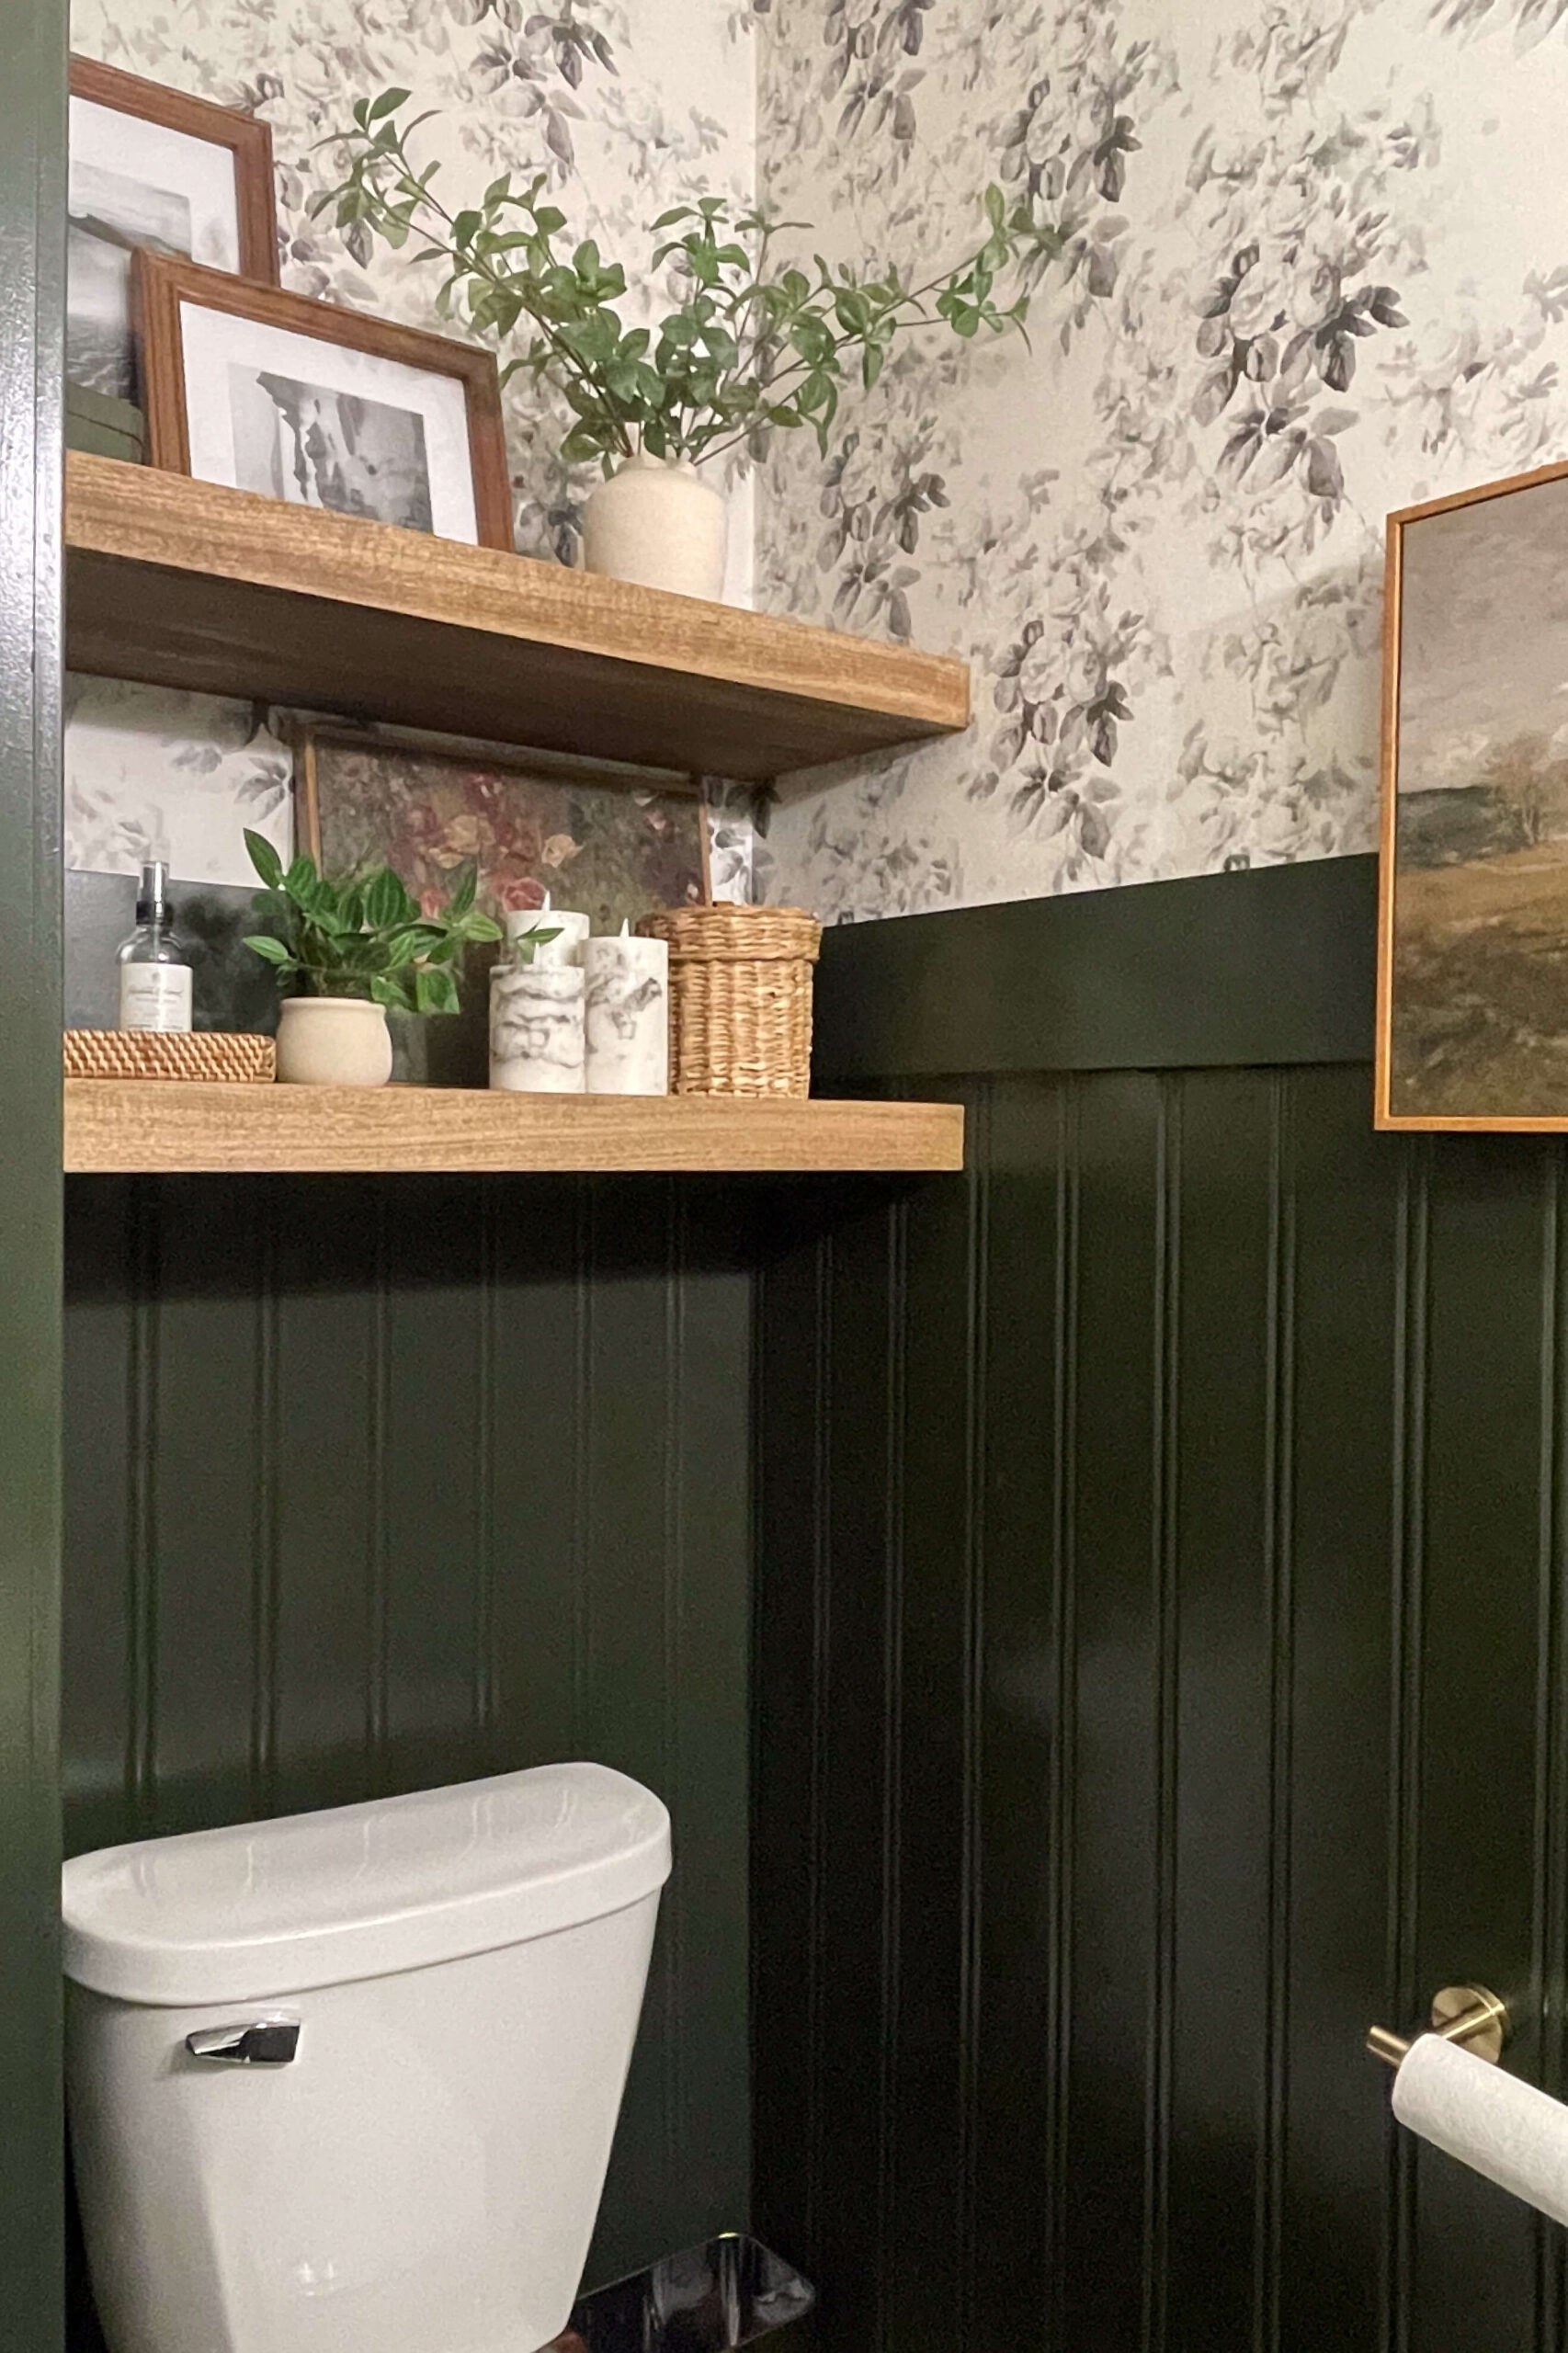
Looking for more DIY shelving ideas? Check out these posts where I show you how I built my pantry shelves, and some floating bathroom shelves too!
📌 Save This Linen Closet DIY for Later

Closet Shelving FAQs: DIY Tips and Storage Solutions
MDF is a great budget-friendly option, but plywood is sturdier and more durable. To give MDF a high-end look, I added a plywood face and trim, which made a huge difference.
To create a custom, high-end look, use plywood or MDF for shelving and add trim to the front. Painting everything the same color as your walls also helps make the shelves look seamless.
Nope! I used MDF cleats attached to wall studs to support the shelves, which means no visible brackets or bulky hardware. This method keeps everything looking sleek and polished.
It depends on how they’re installed. Attaching cleats to wall studs ensures shelves are strong enough to hold heavy items like stacks of towels, baskets, and even storage bins.