Updated May 15, 2025
Looking to build DIY bunk beds that maximize a small room while adding tons of built-in storage? You’re in the right place! When it was time to redo my girls’ bedroom, I knew DIY bunk beds were the perfect solution. With three girls sharing one room, I wanted to create something not just functional, but prettier than anything I could buy.
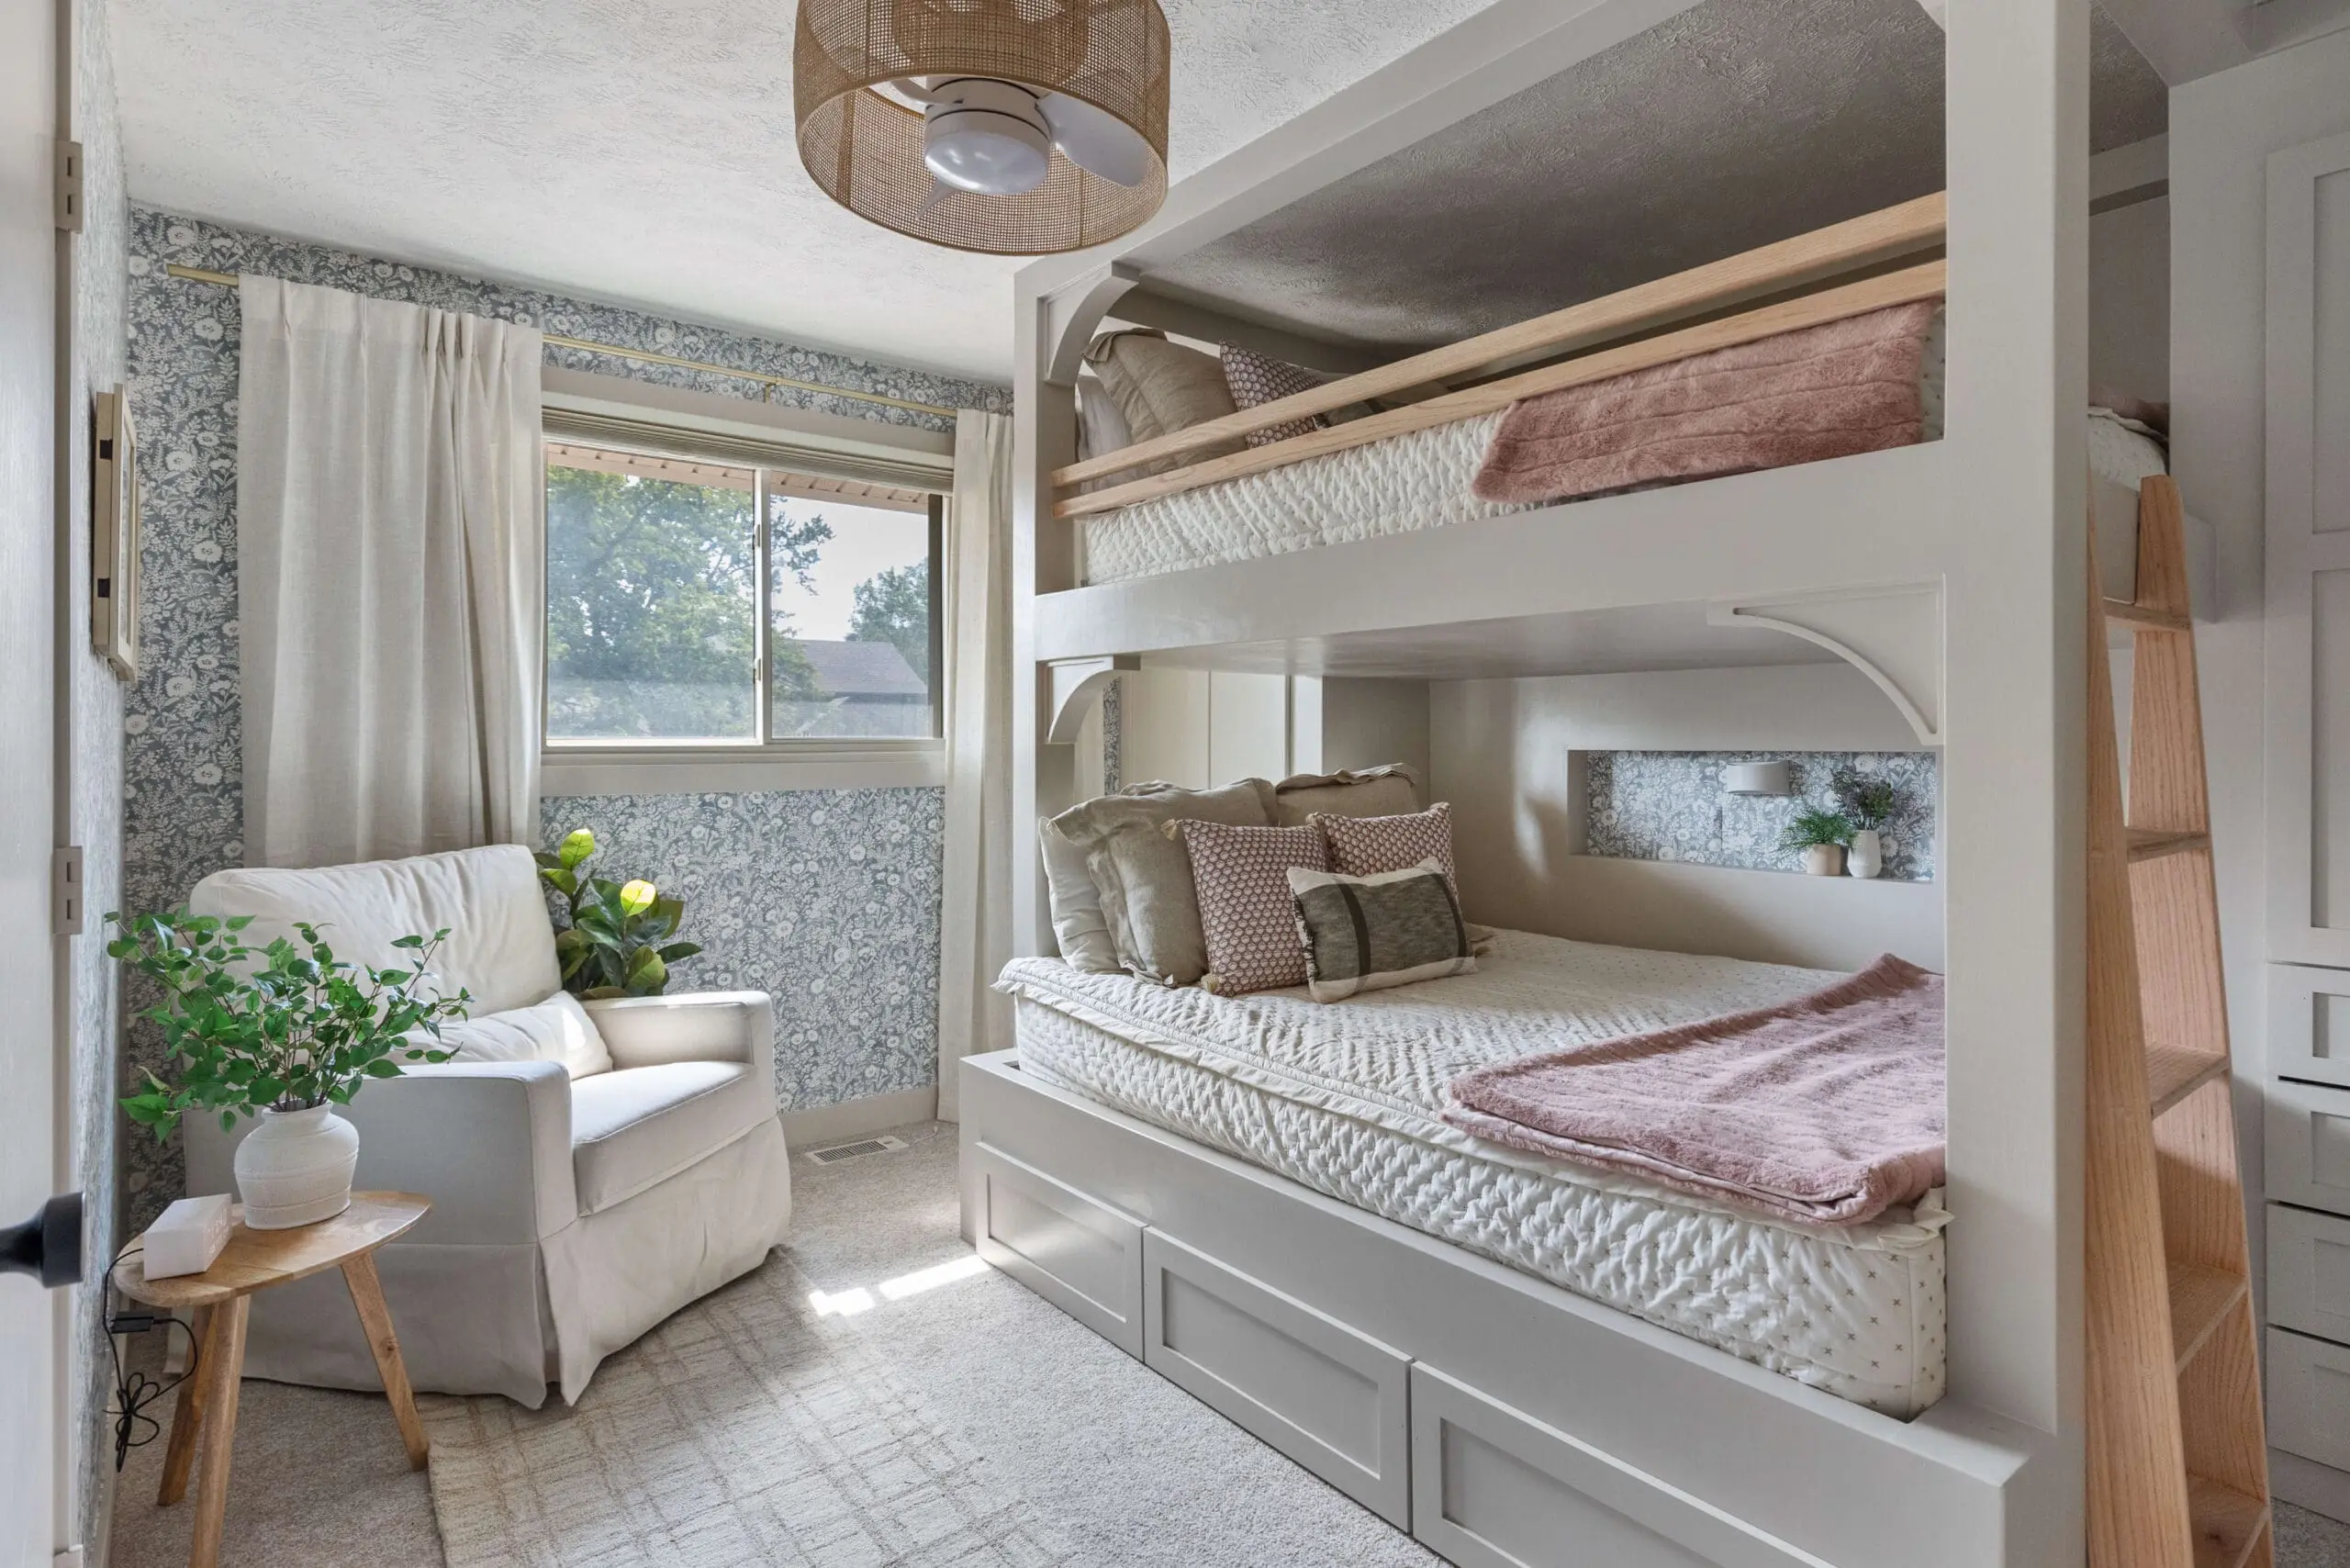
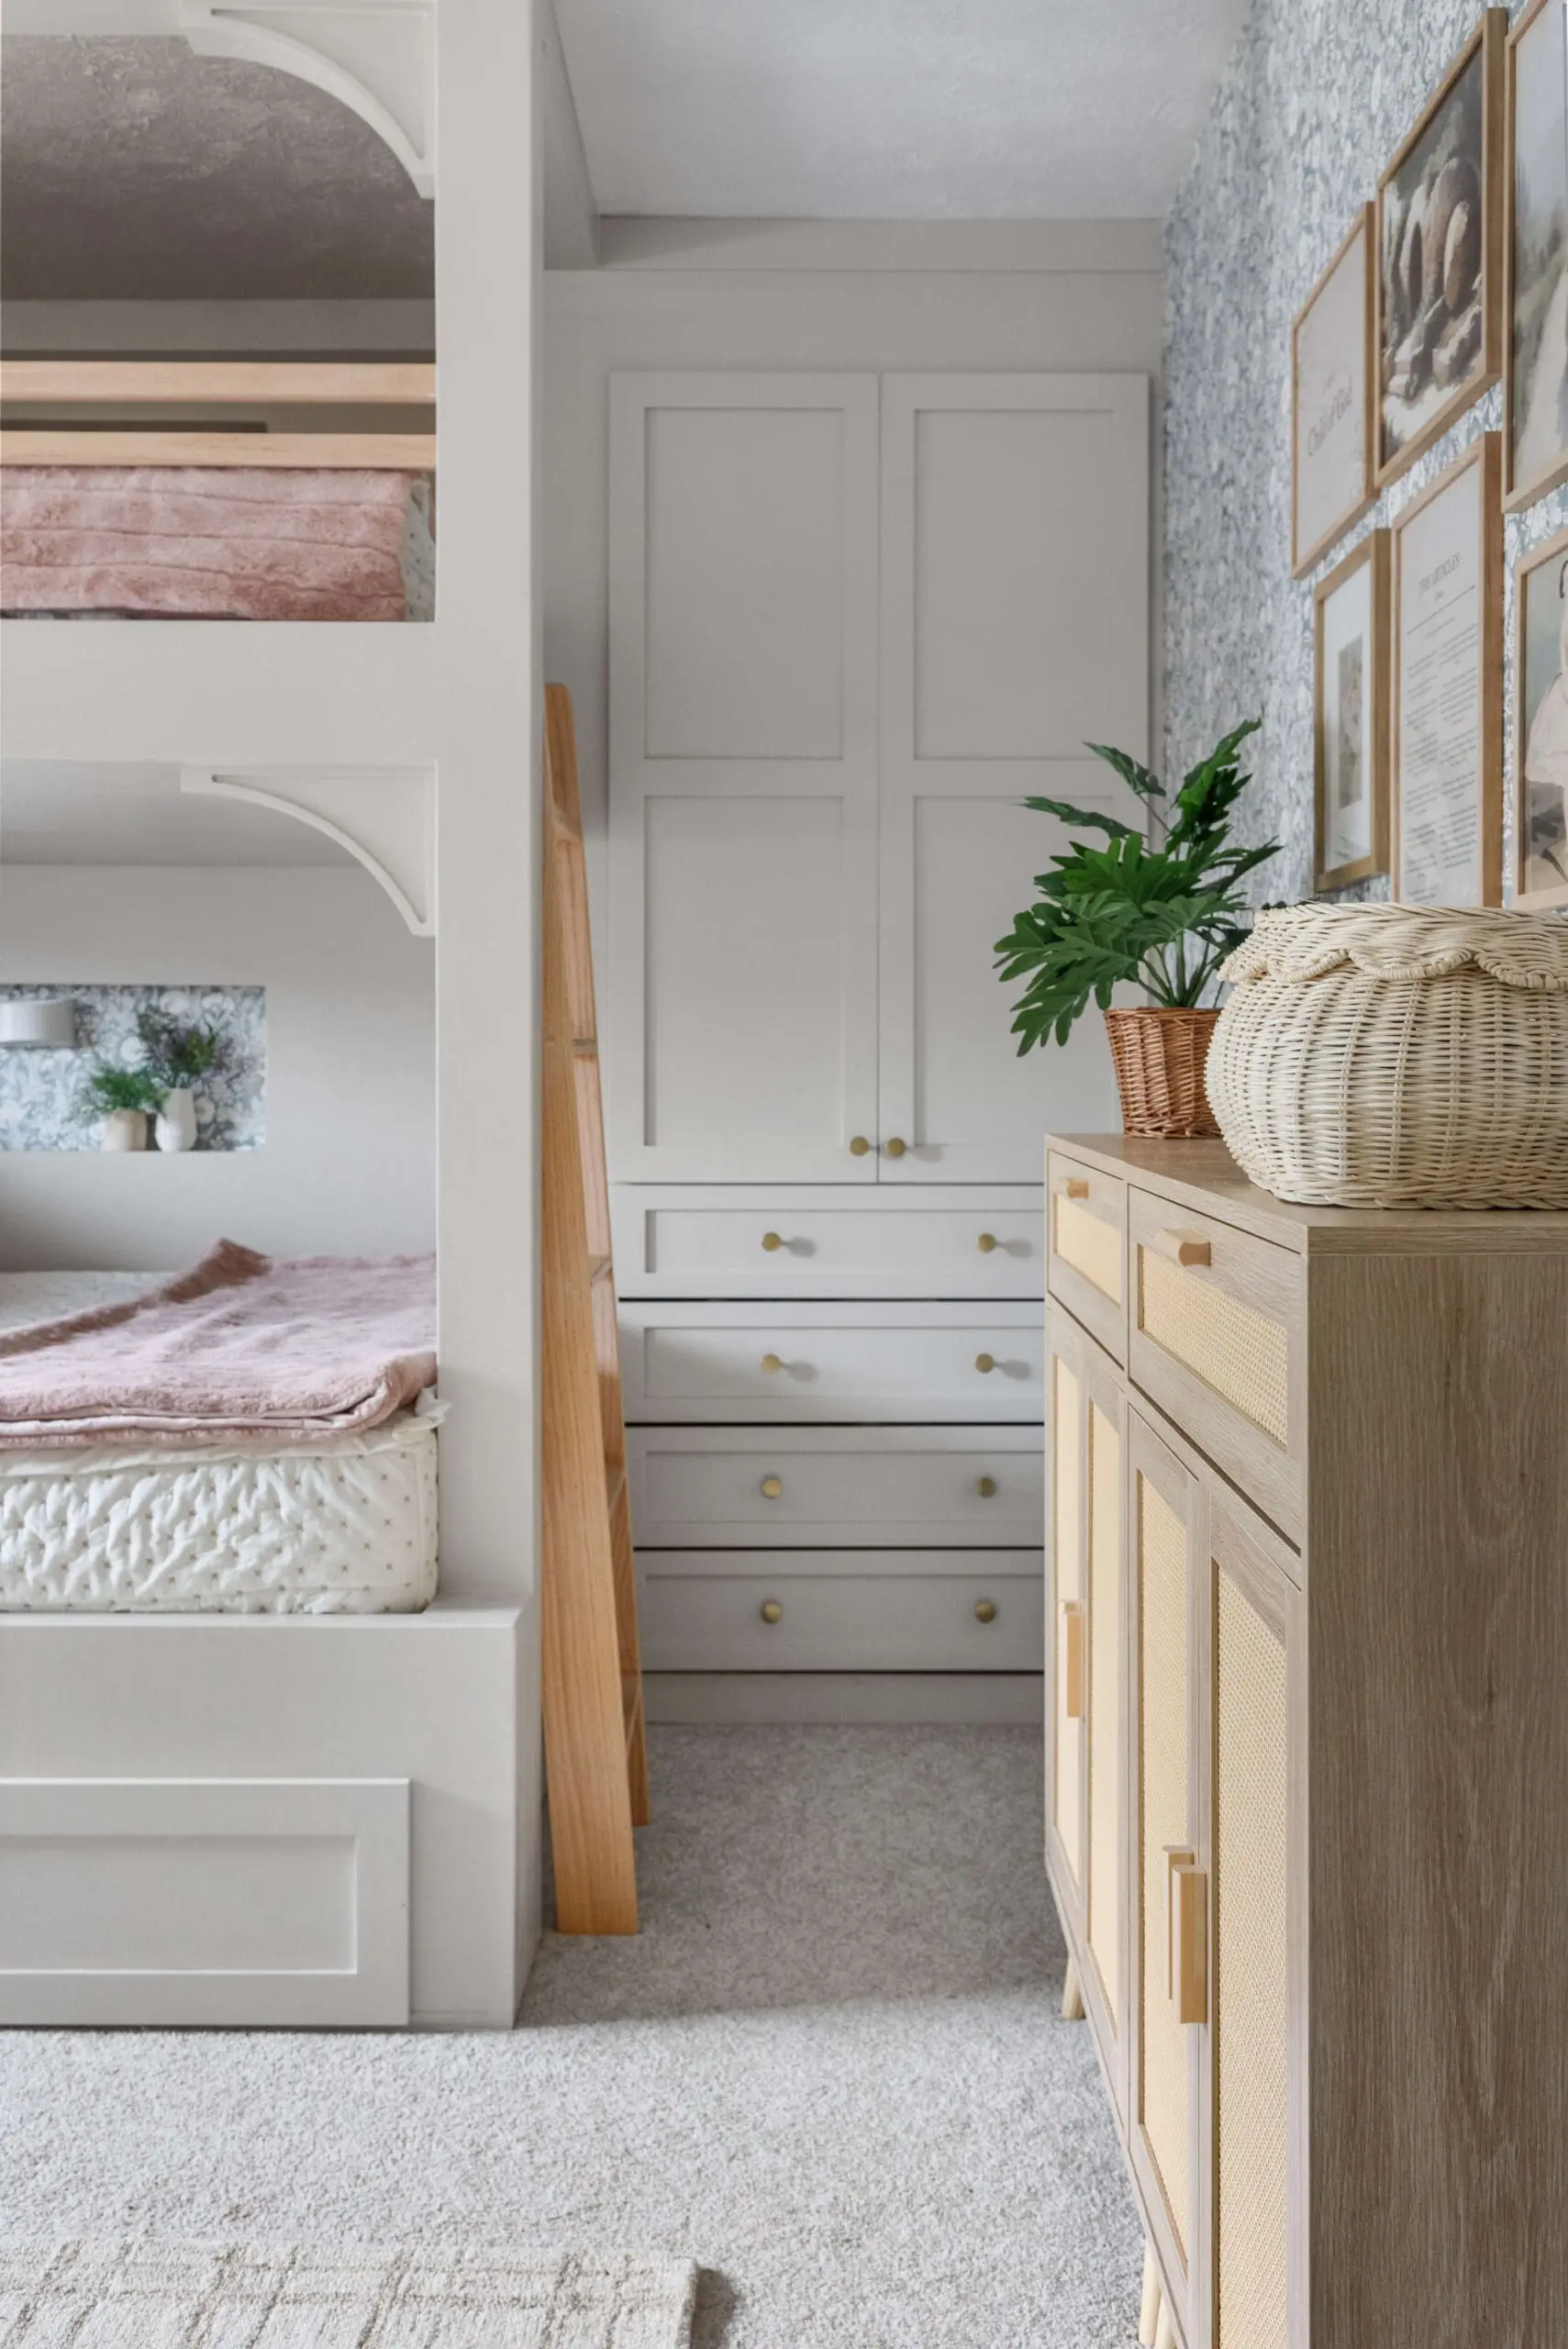
Curious to see what’s behind this door?

Welcome to my girls’ messy room! But not for long—this space is about to get a complete makeover, centered around custom DIY bunk beds. After two years in our Nebraska home, we’ve tackled the kitchen, revamped the front yard, and updated the living room. Now, it’s finally the girls’ turn!

Here’s the starting point. It’s not a large room, so I’m adding much-needed storage alongside the DIY bunk beds. You can see where I’ve taped the walls to measure and plan—it helps me visualize everything. The plan? DIY bunk beds in the center, flanked by built-in wardrobes. It’s going to be awesome!
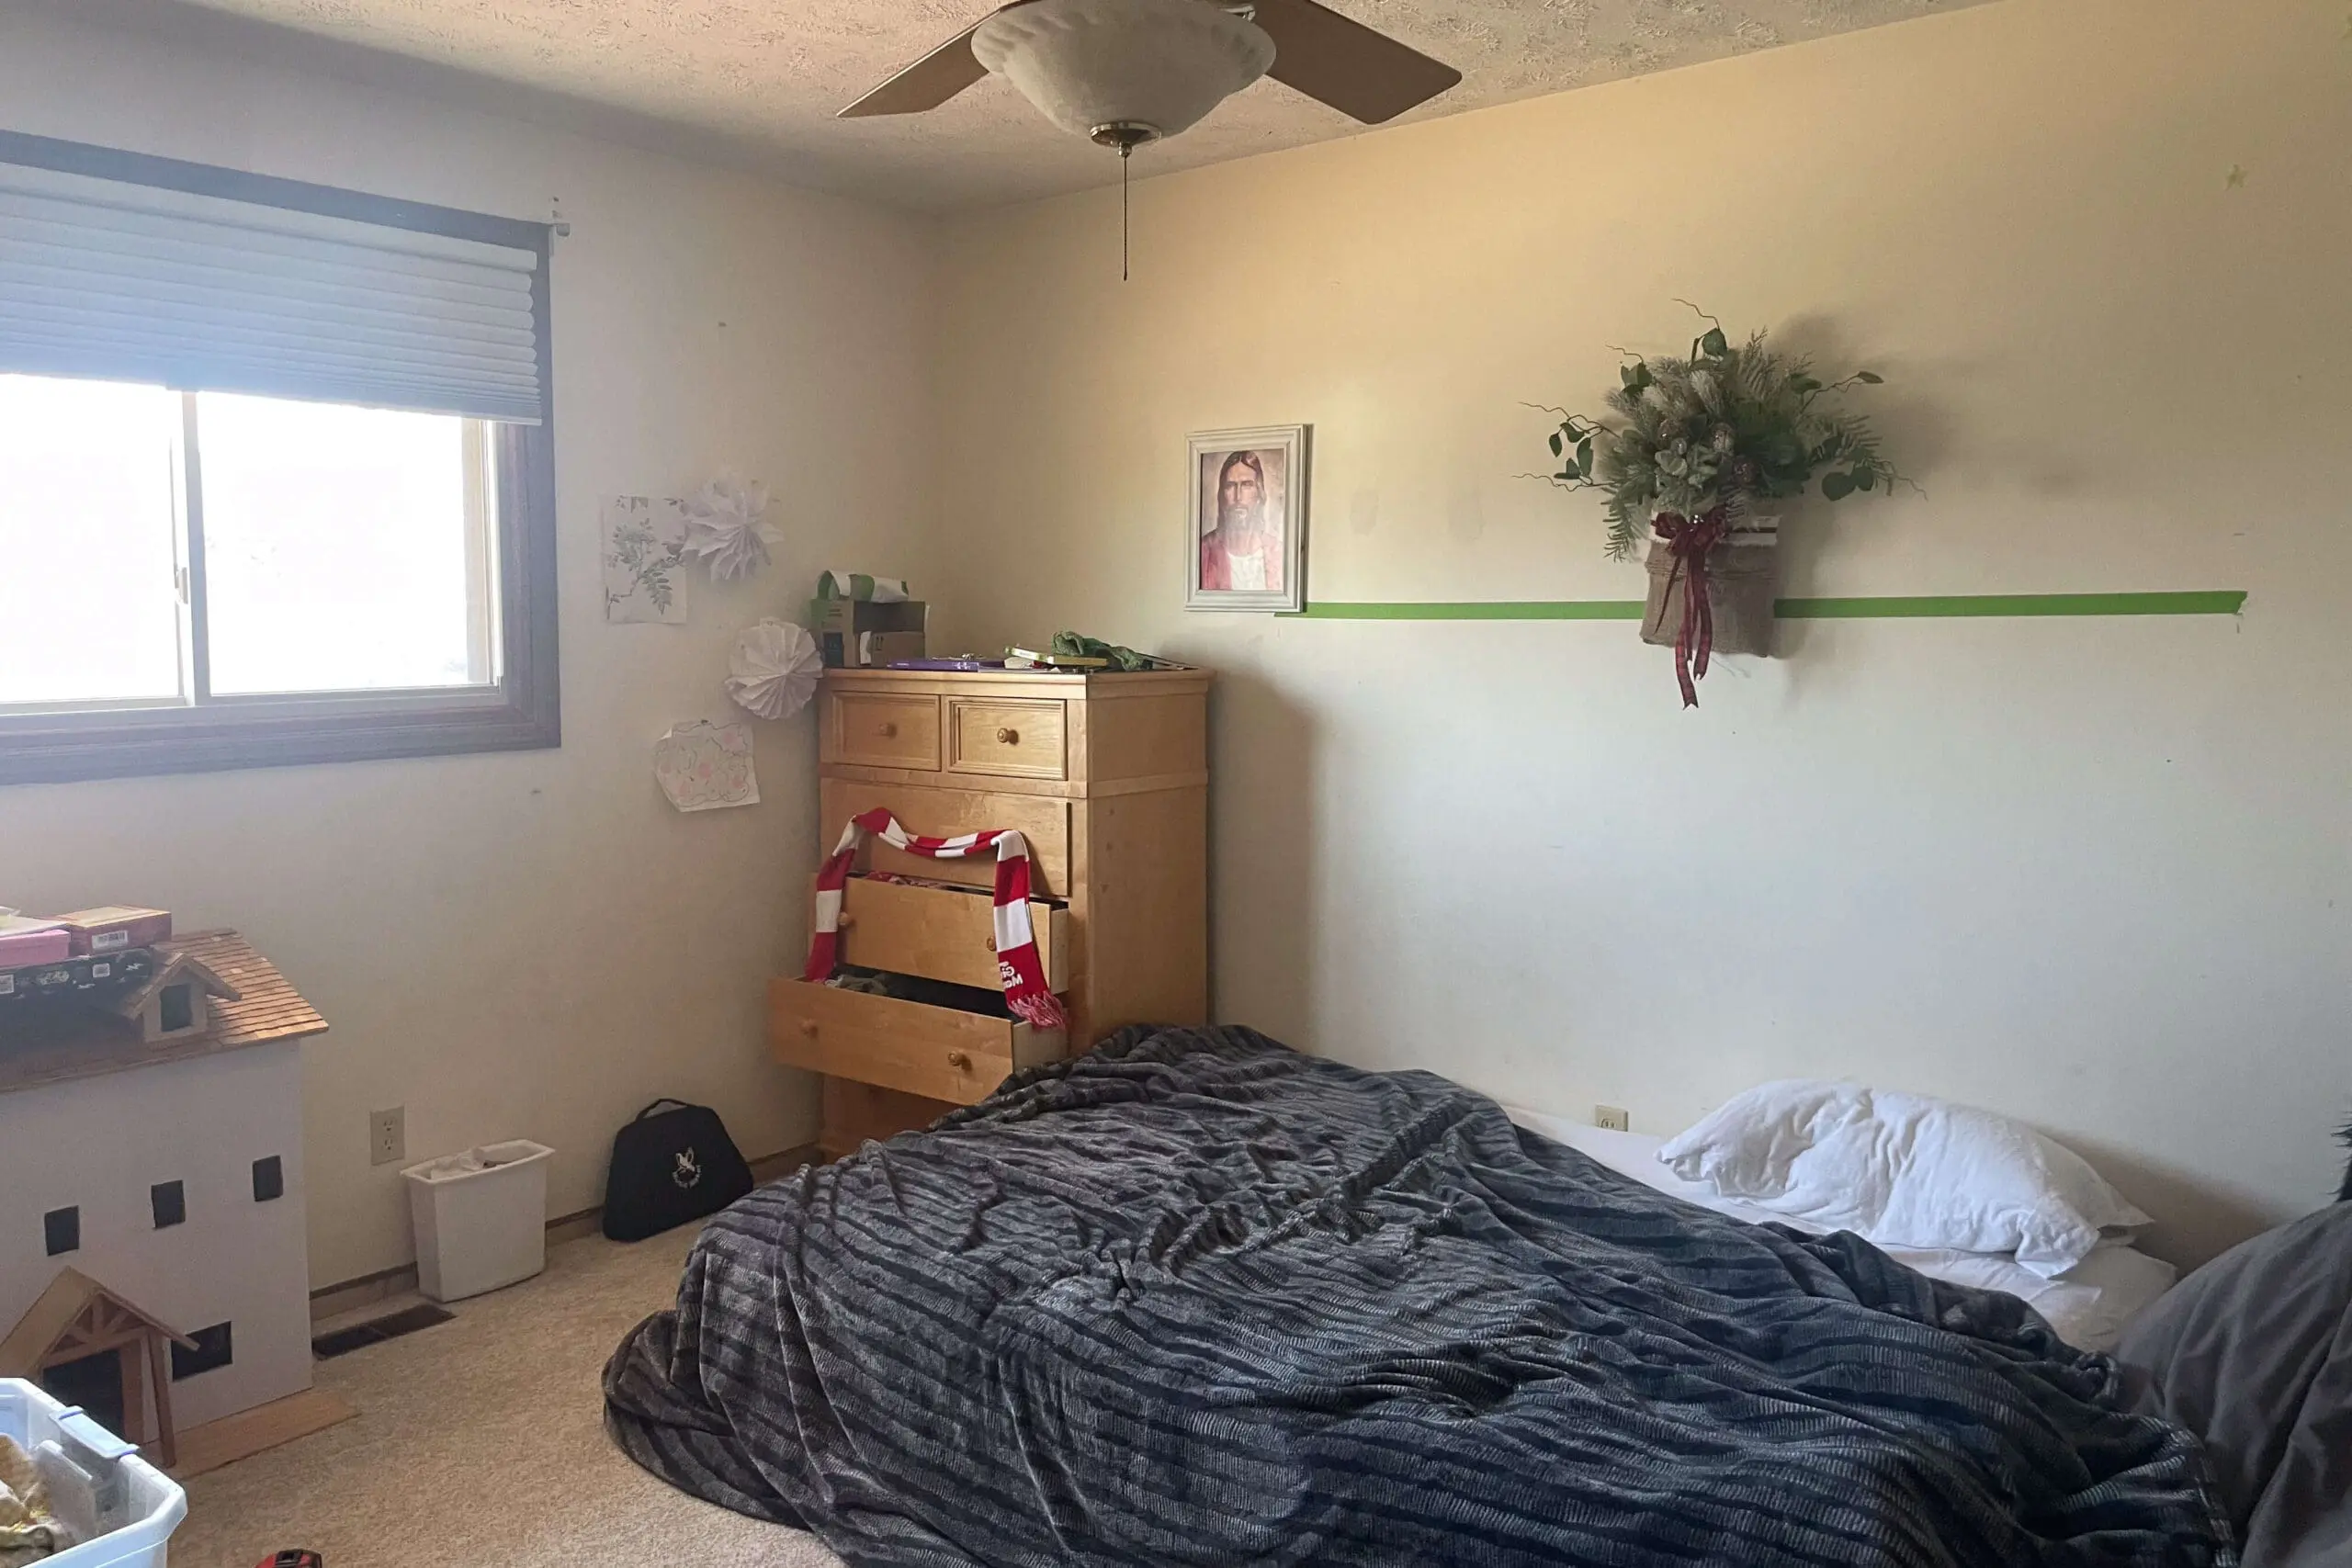
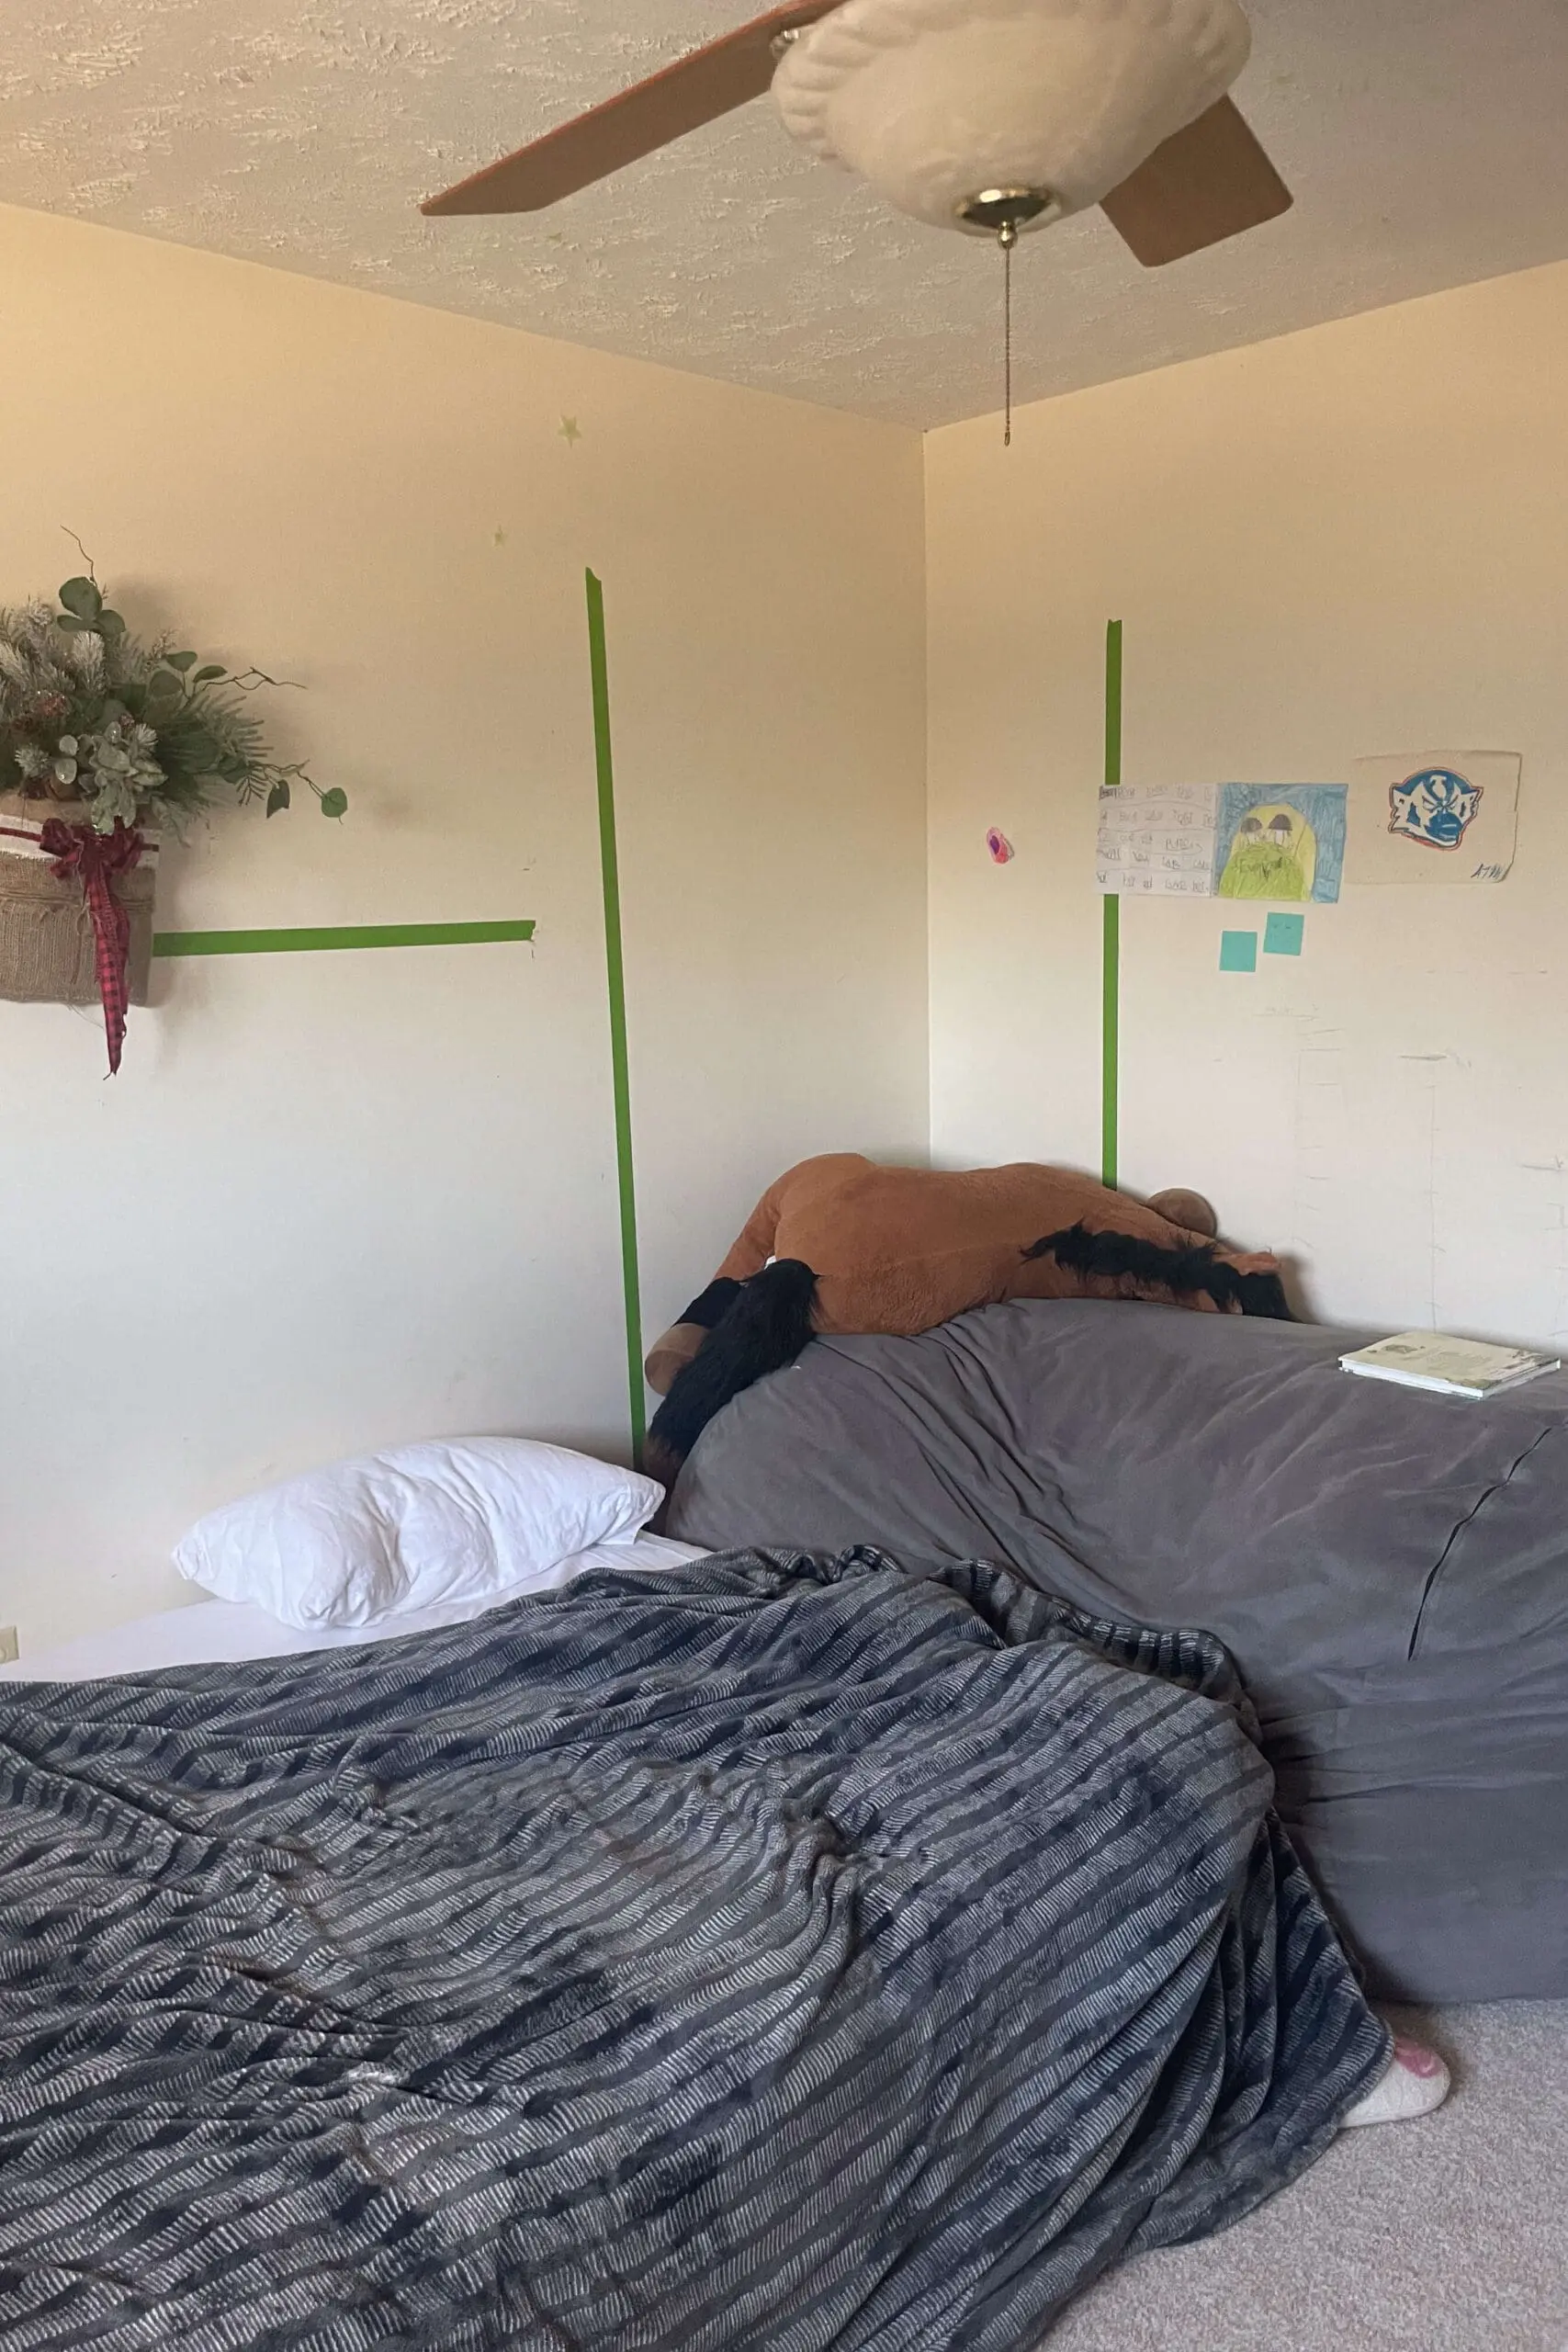
Tools and Materials
- IKEA Pax Units
- 2x6x8’s
- 2x4x8’s
- Clamps
- Multi-tool
- Speed square
- Level
- Wood glue
- Framing nailer
- Brad nailer
- Drill
- Table saw
- Circular saw
Using and Modifying IKEA Pax Units
I decided to use IKEA Pax units for the wardrobes, but they came with a problem. They’re a bit too wide, so I trimmed them down by 4 inches with my table saw.
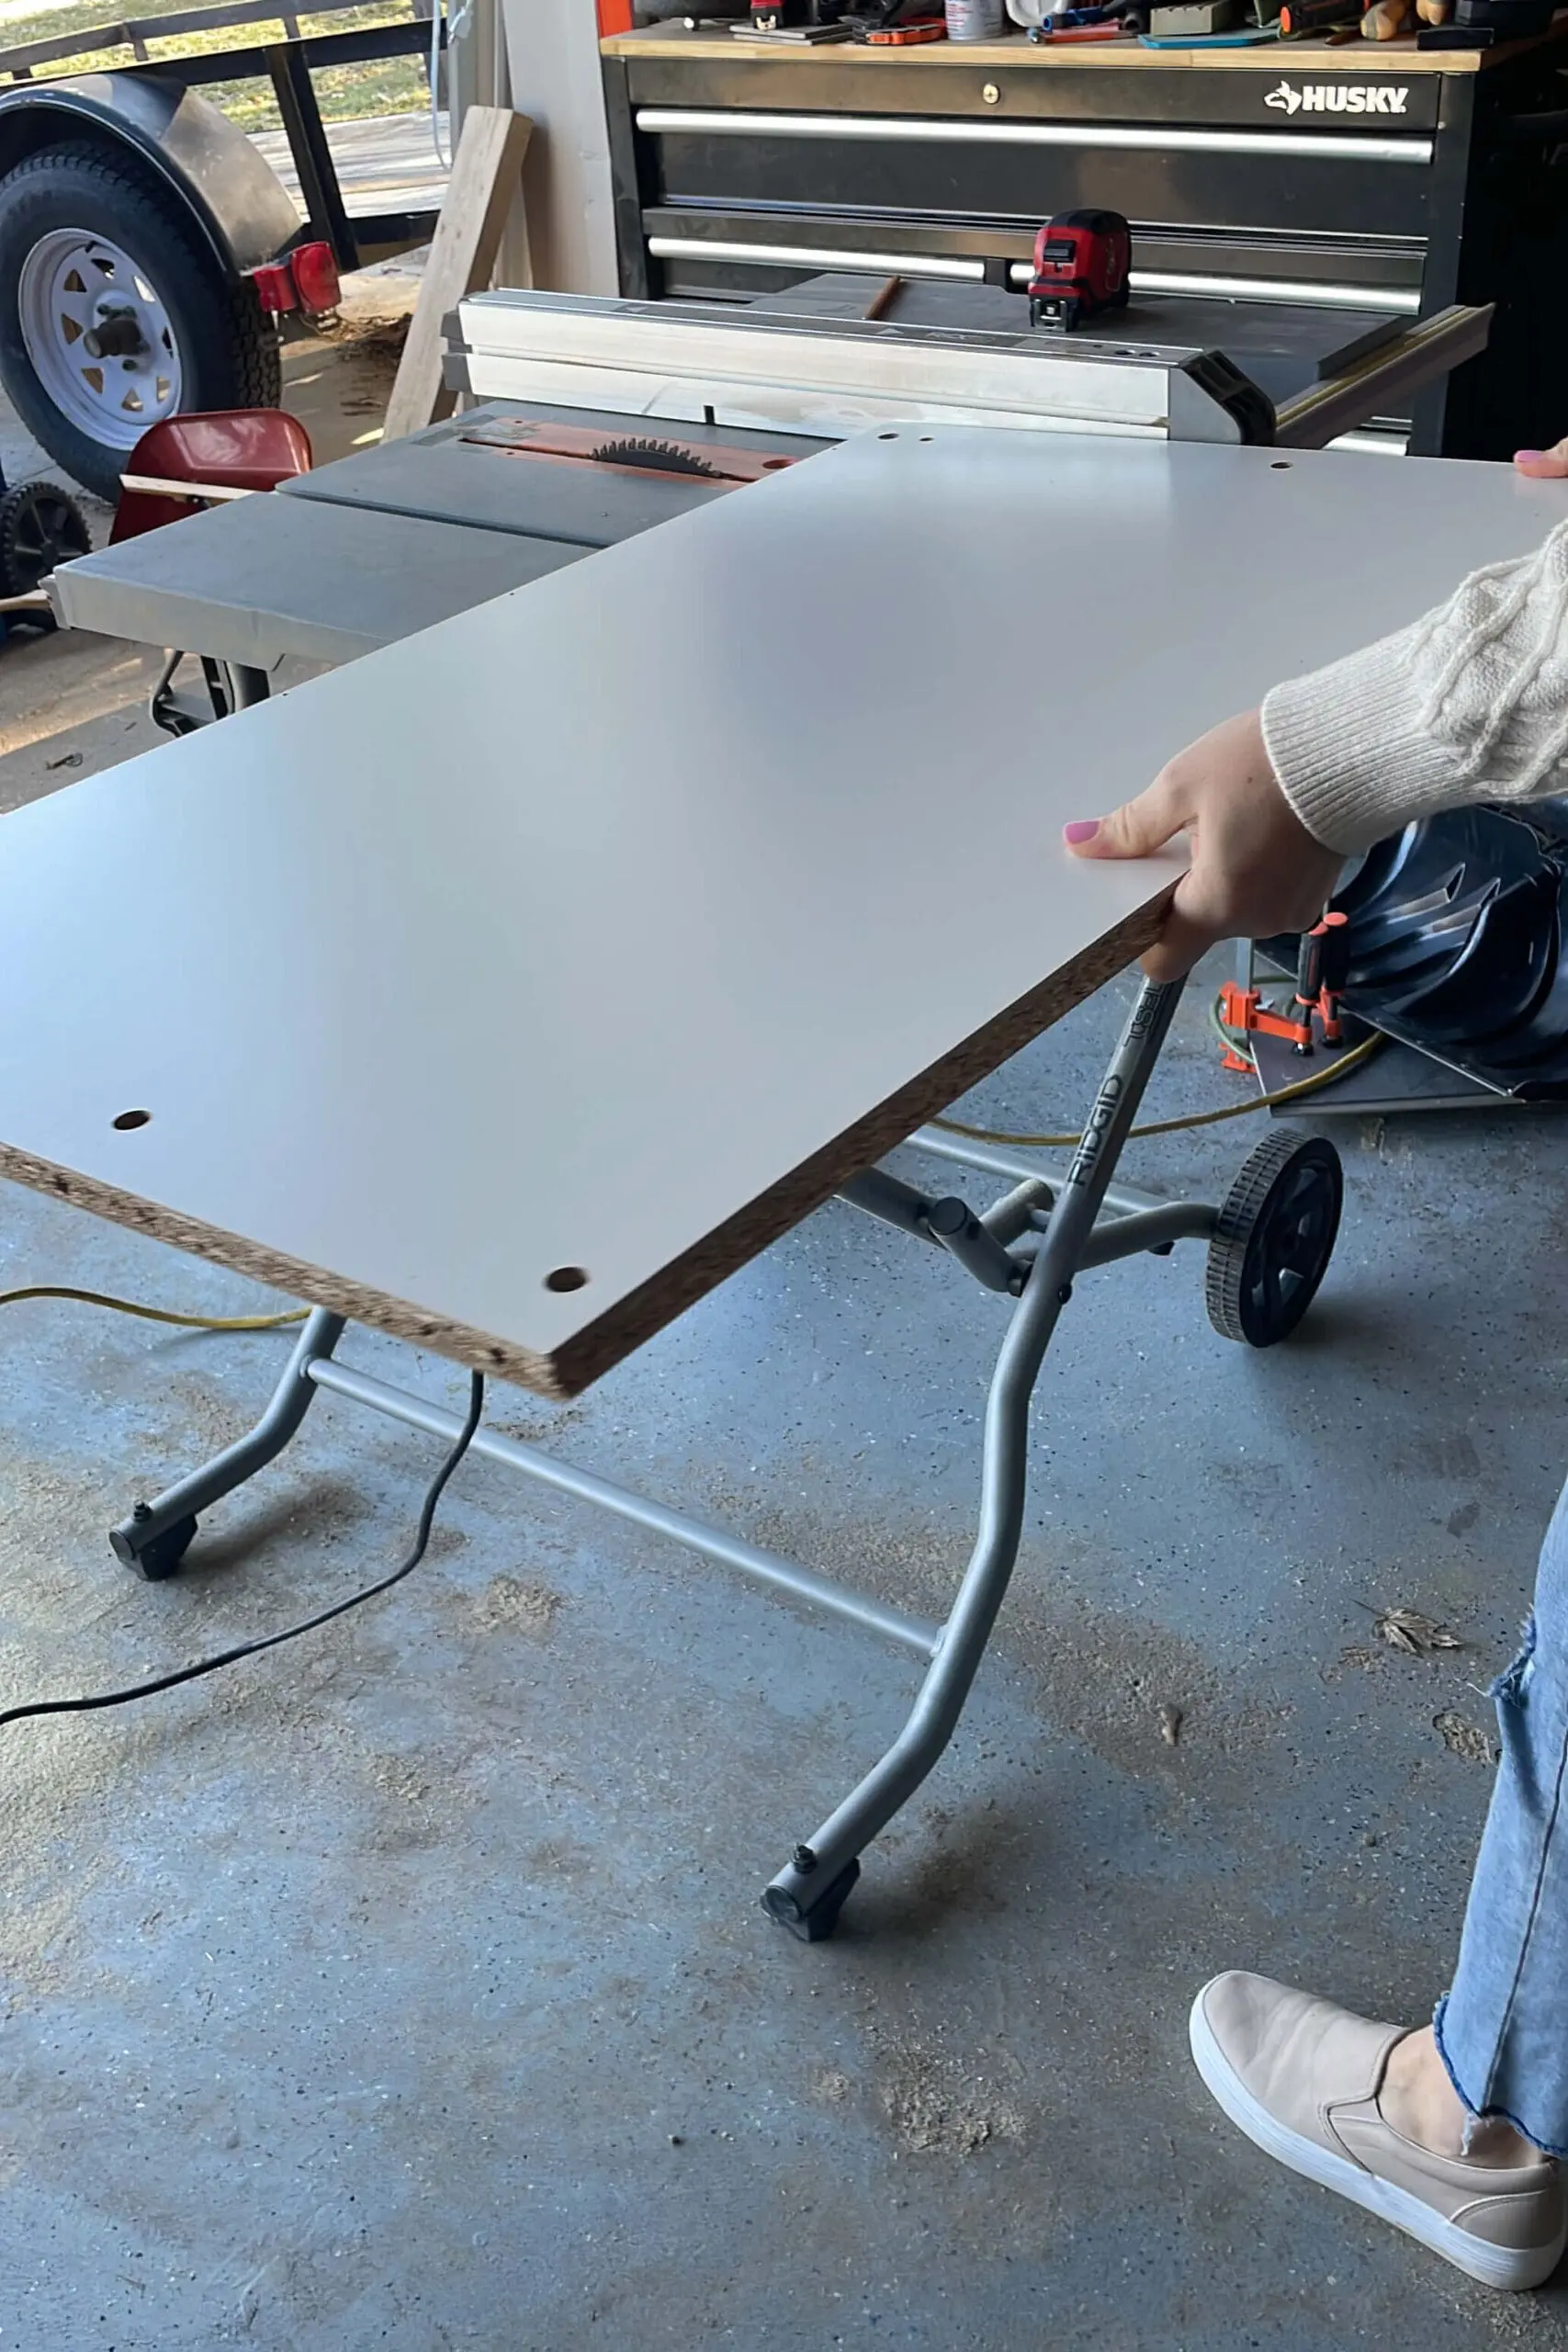
If you’ve ever assembled IKEA furniture, you know those pre-drilled holes come in different sizes. To get each one right, I used the part I cut off as a template to re-drill the correct-sized holes.
Pro Tip: Put a piece of painter’s tape on your drill bit to mark how deep you want to go. This will keep you from accidentally drilling all the way through.
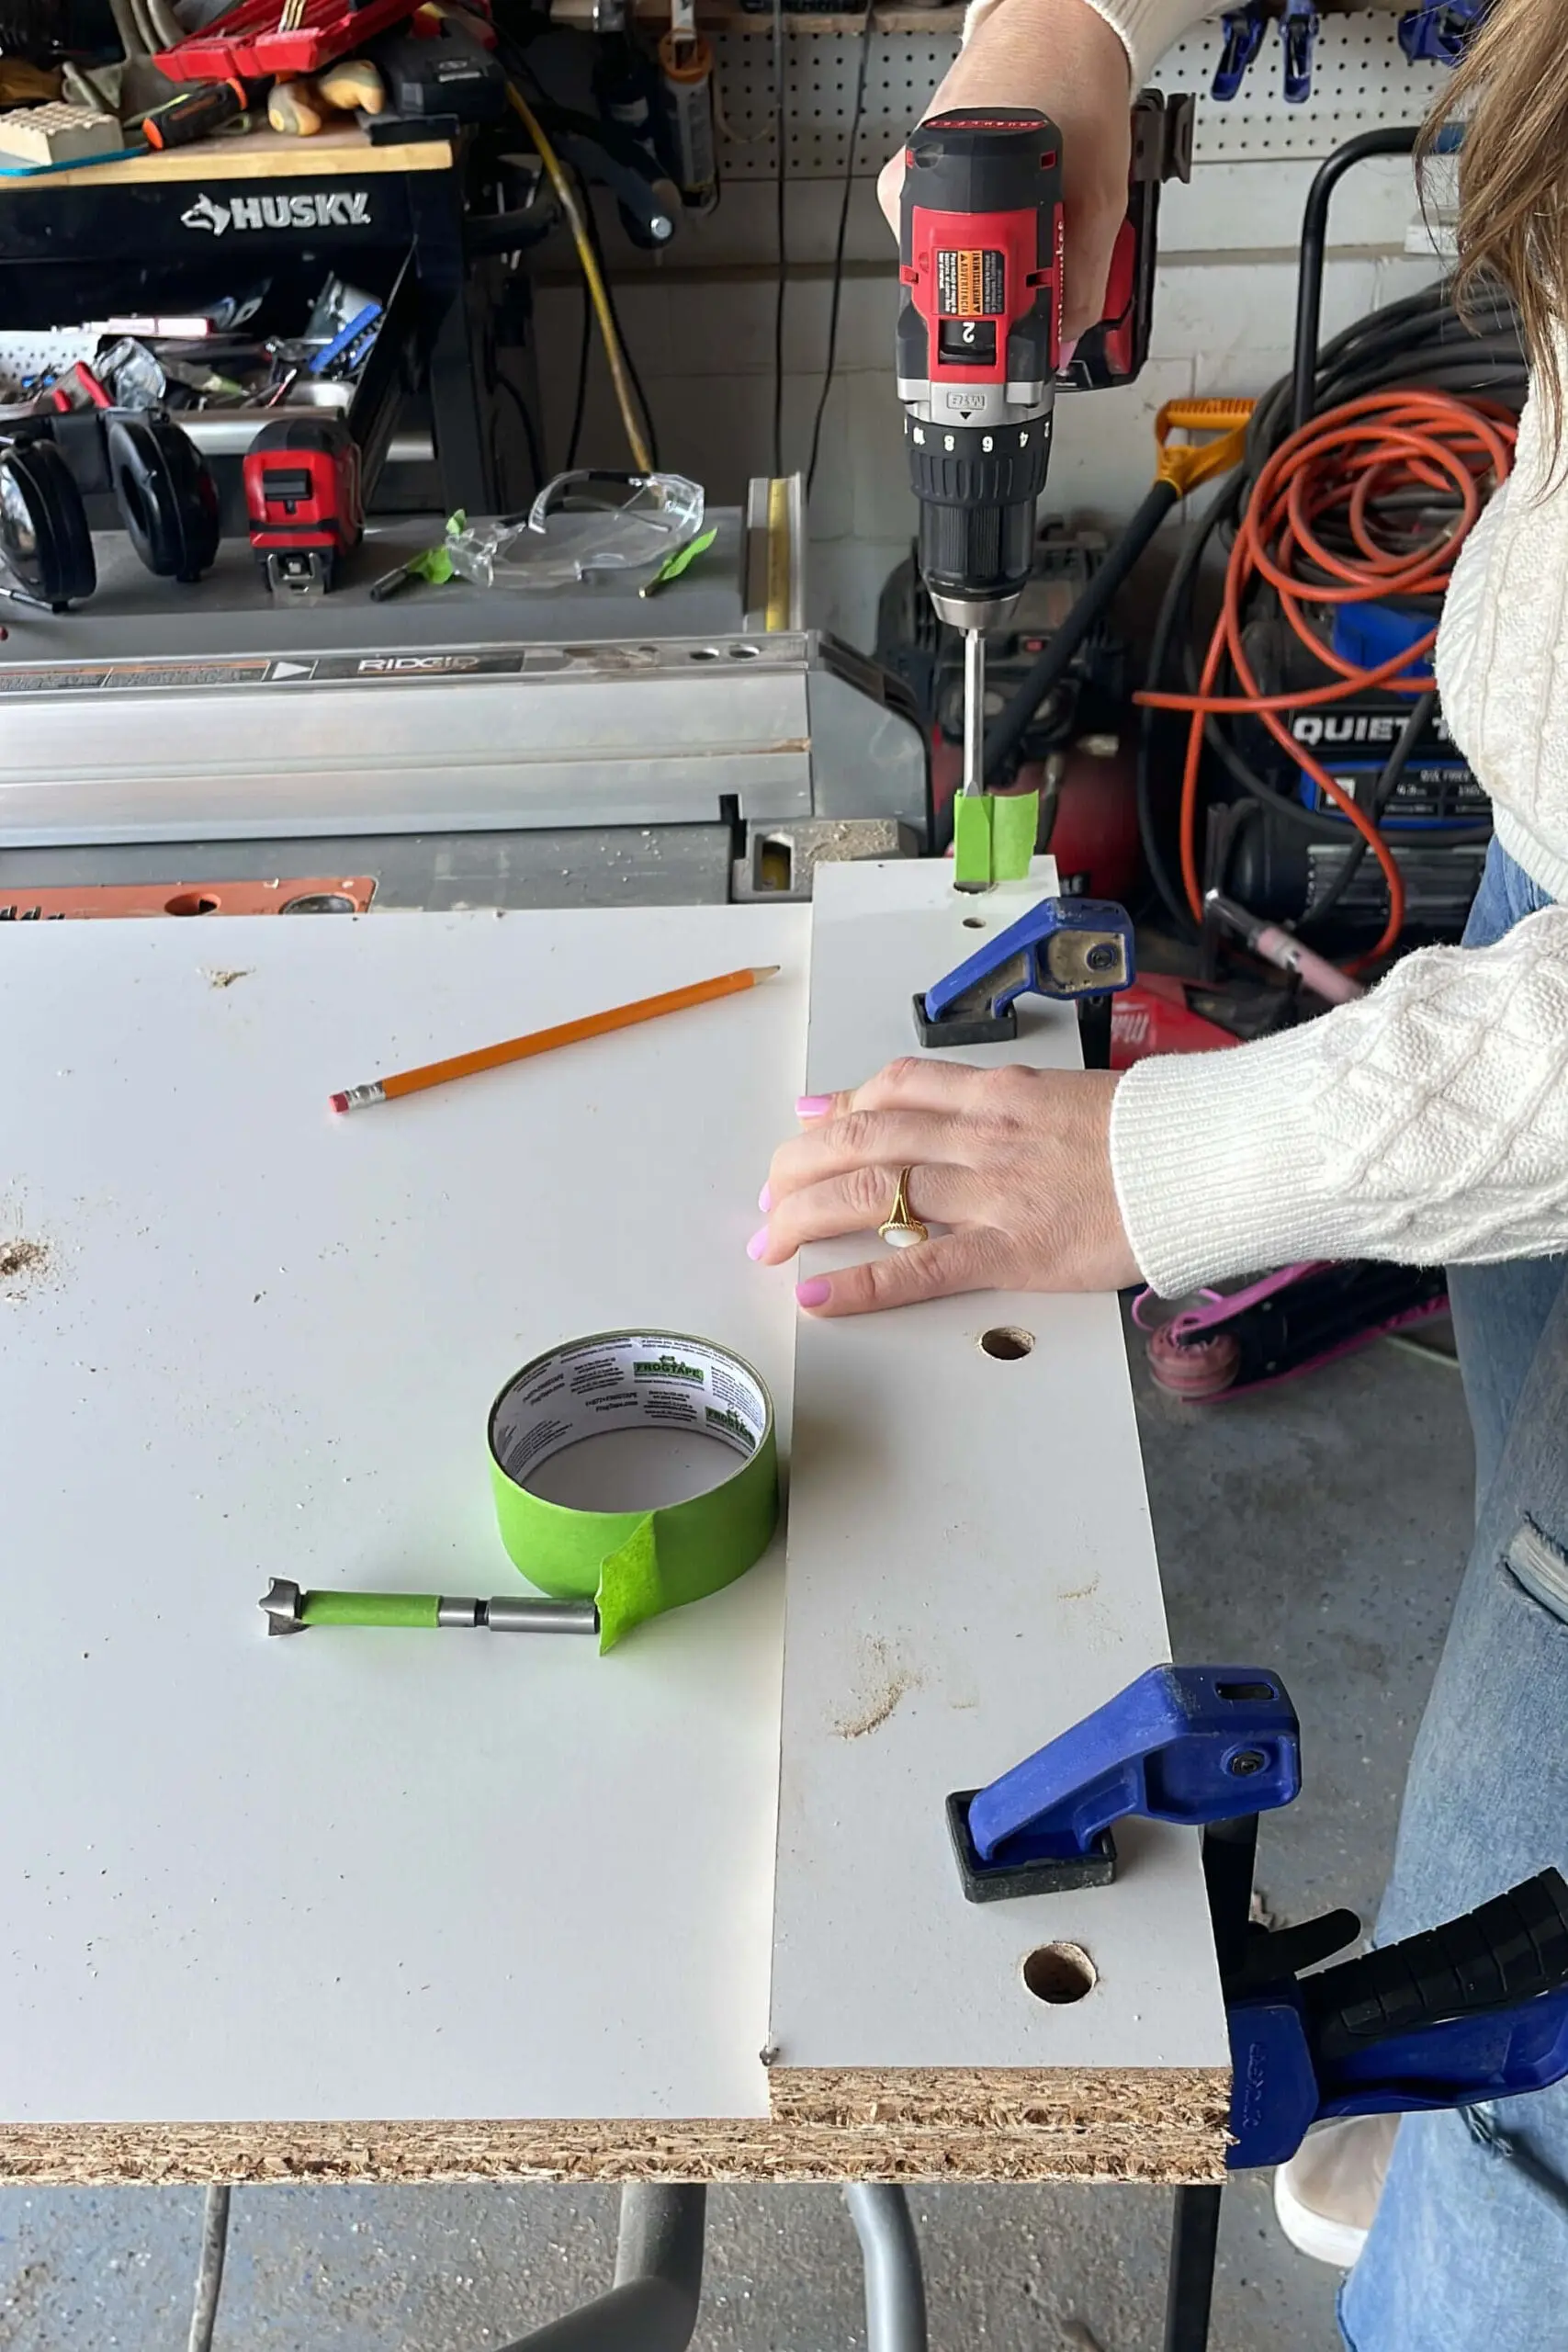
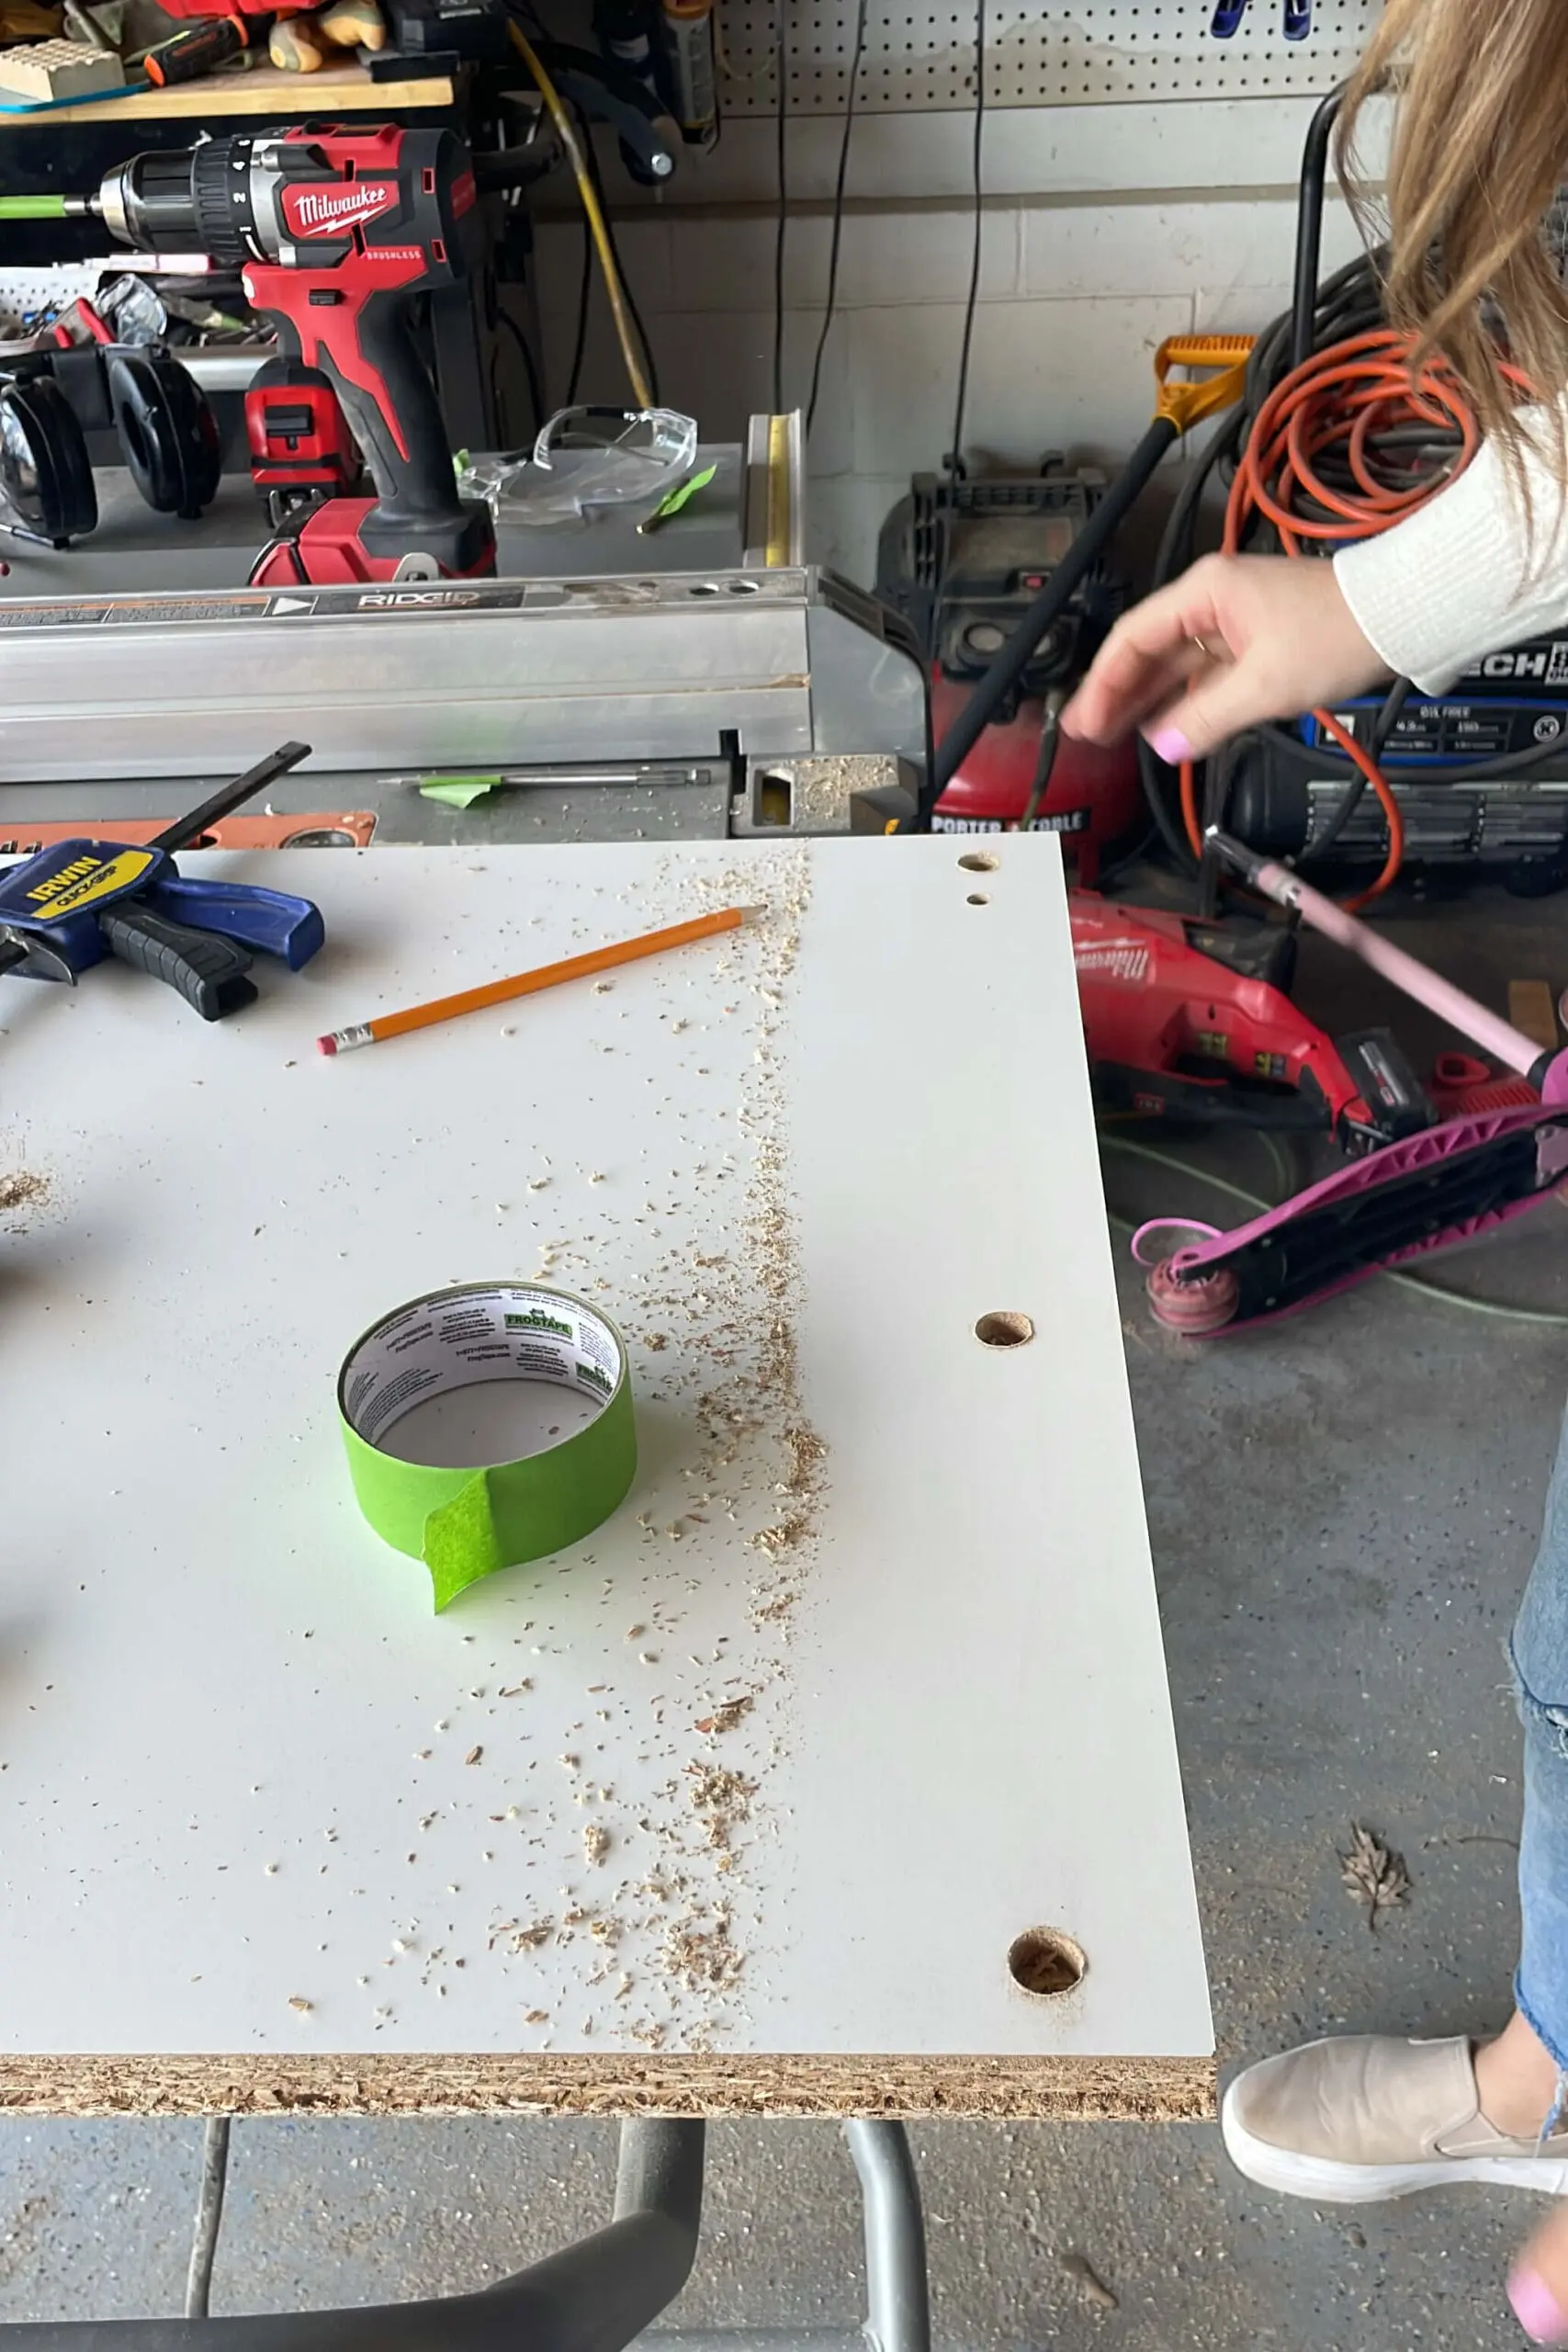
I had to use a few different drill bit sizes to match each hole perfectly, but the edge turned out just like the original! I repeated this process for the top, bottom, and back of each cabinet, and for all sides of the drawers. Even for the smaller pieces, I used the same method—clamping the cut-off piece as a template to drill the new holes.


After trimming everything, I followed the original assembly instructions to put the Pax units together.
Framing the DIY Bunk Beds
With the IKEA units in place, it was time to build the DIY bunk beds.

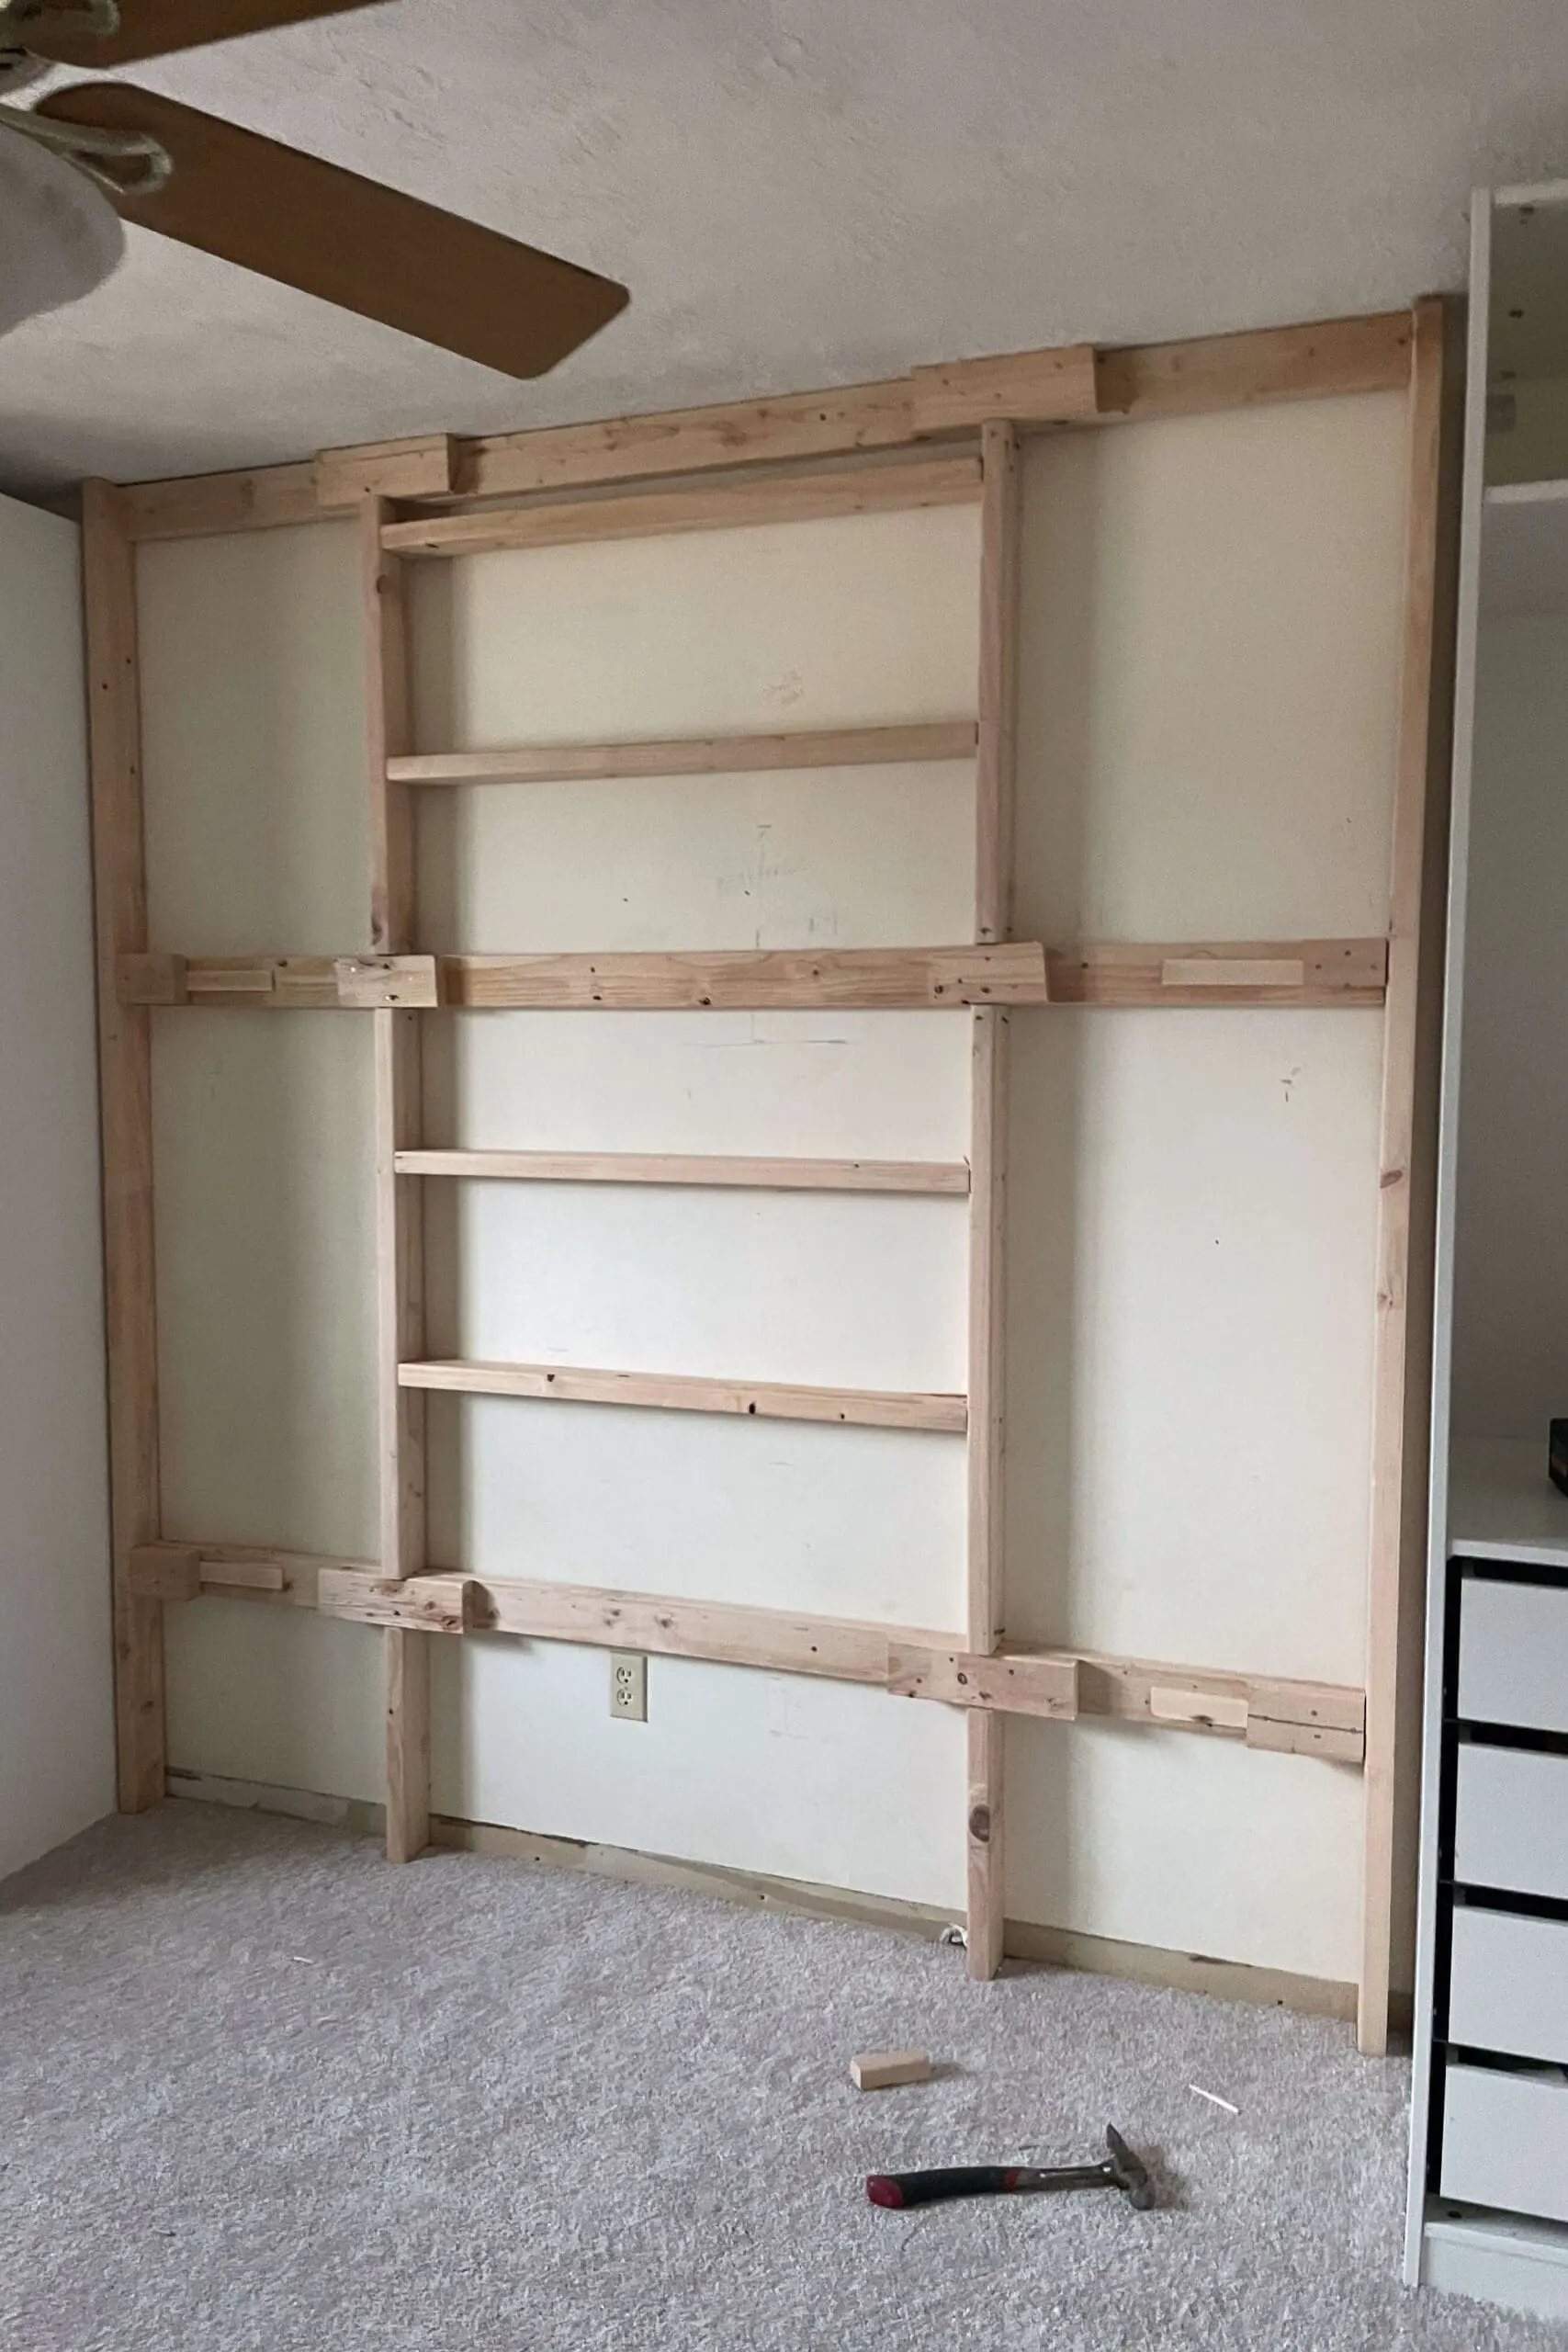
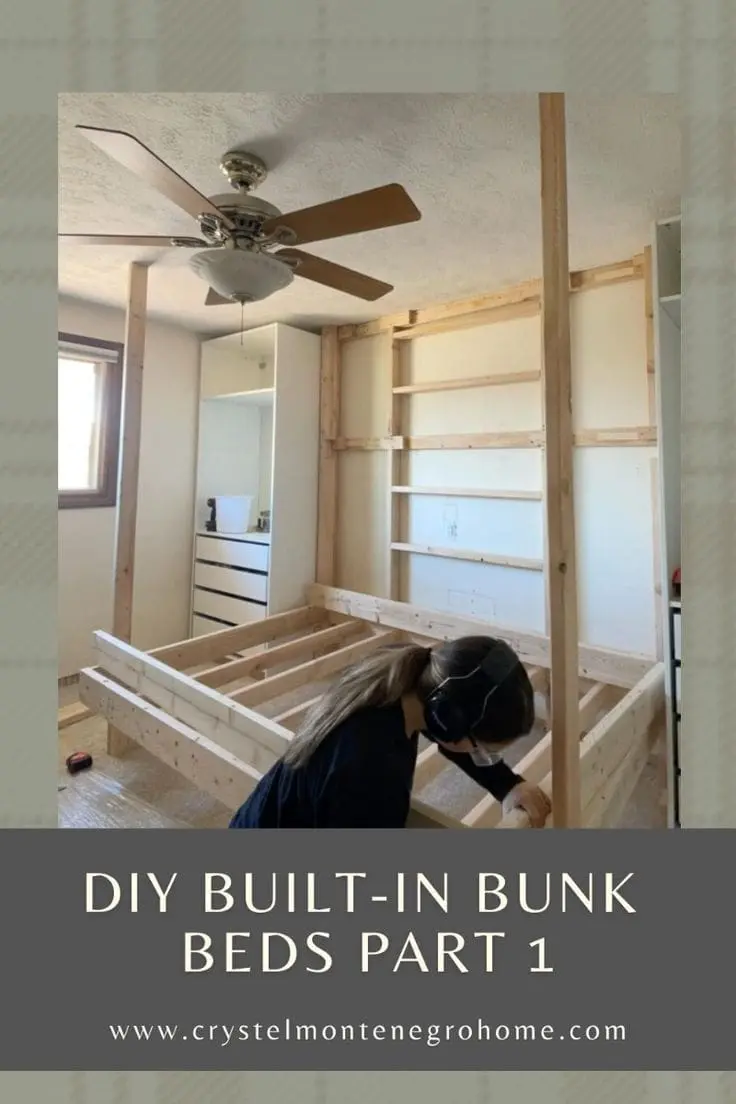
I started by constructing the back section with 2x4s, using my circular saw and framing nailer. This back section is securely fastened to the wall studs. You can see where I’ve planned the top and bottom bunks, along with nooks for books or cups. I’m playing this build by ear (as usual), but it’s coming together!
Building the Bottom Bunk
The bottom bunk will sit inside this framing on the back wall. I notched out sections for the 2×6 frame to fit snugly into both corners.


Then, I built a frame for the bottom bunk using 2x6s, making it large enough for a queen-size mattress. I supported it with 2x4s underneath and added 2×4 beams that go from the floor to the ceiling.
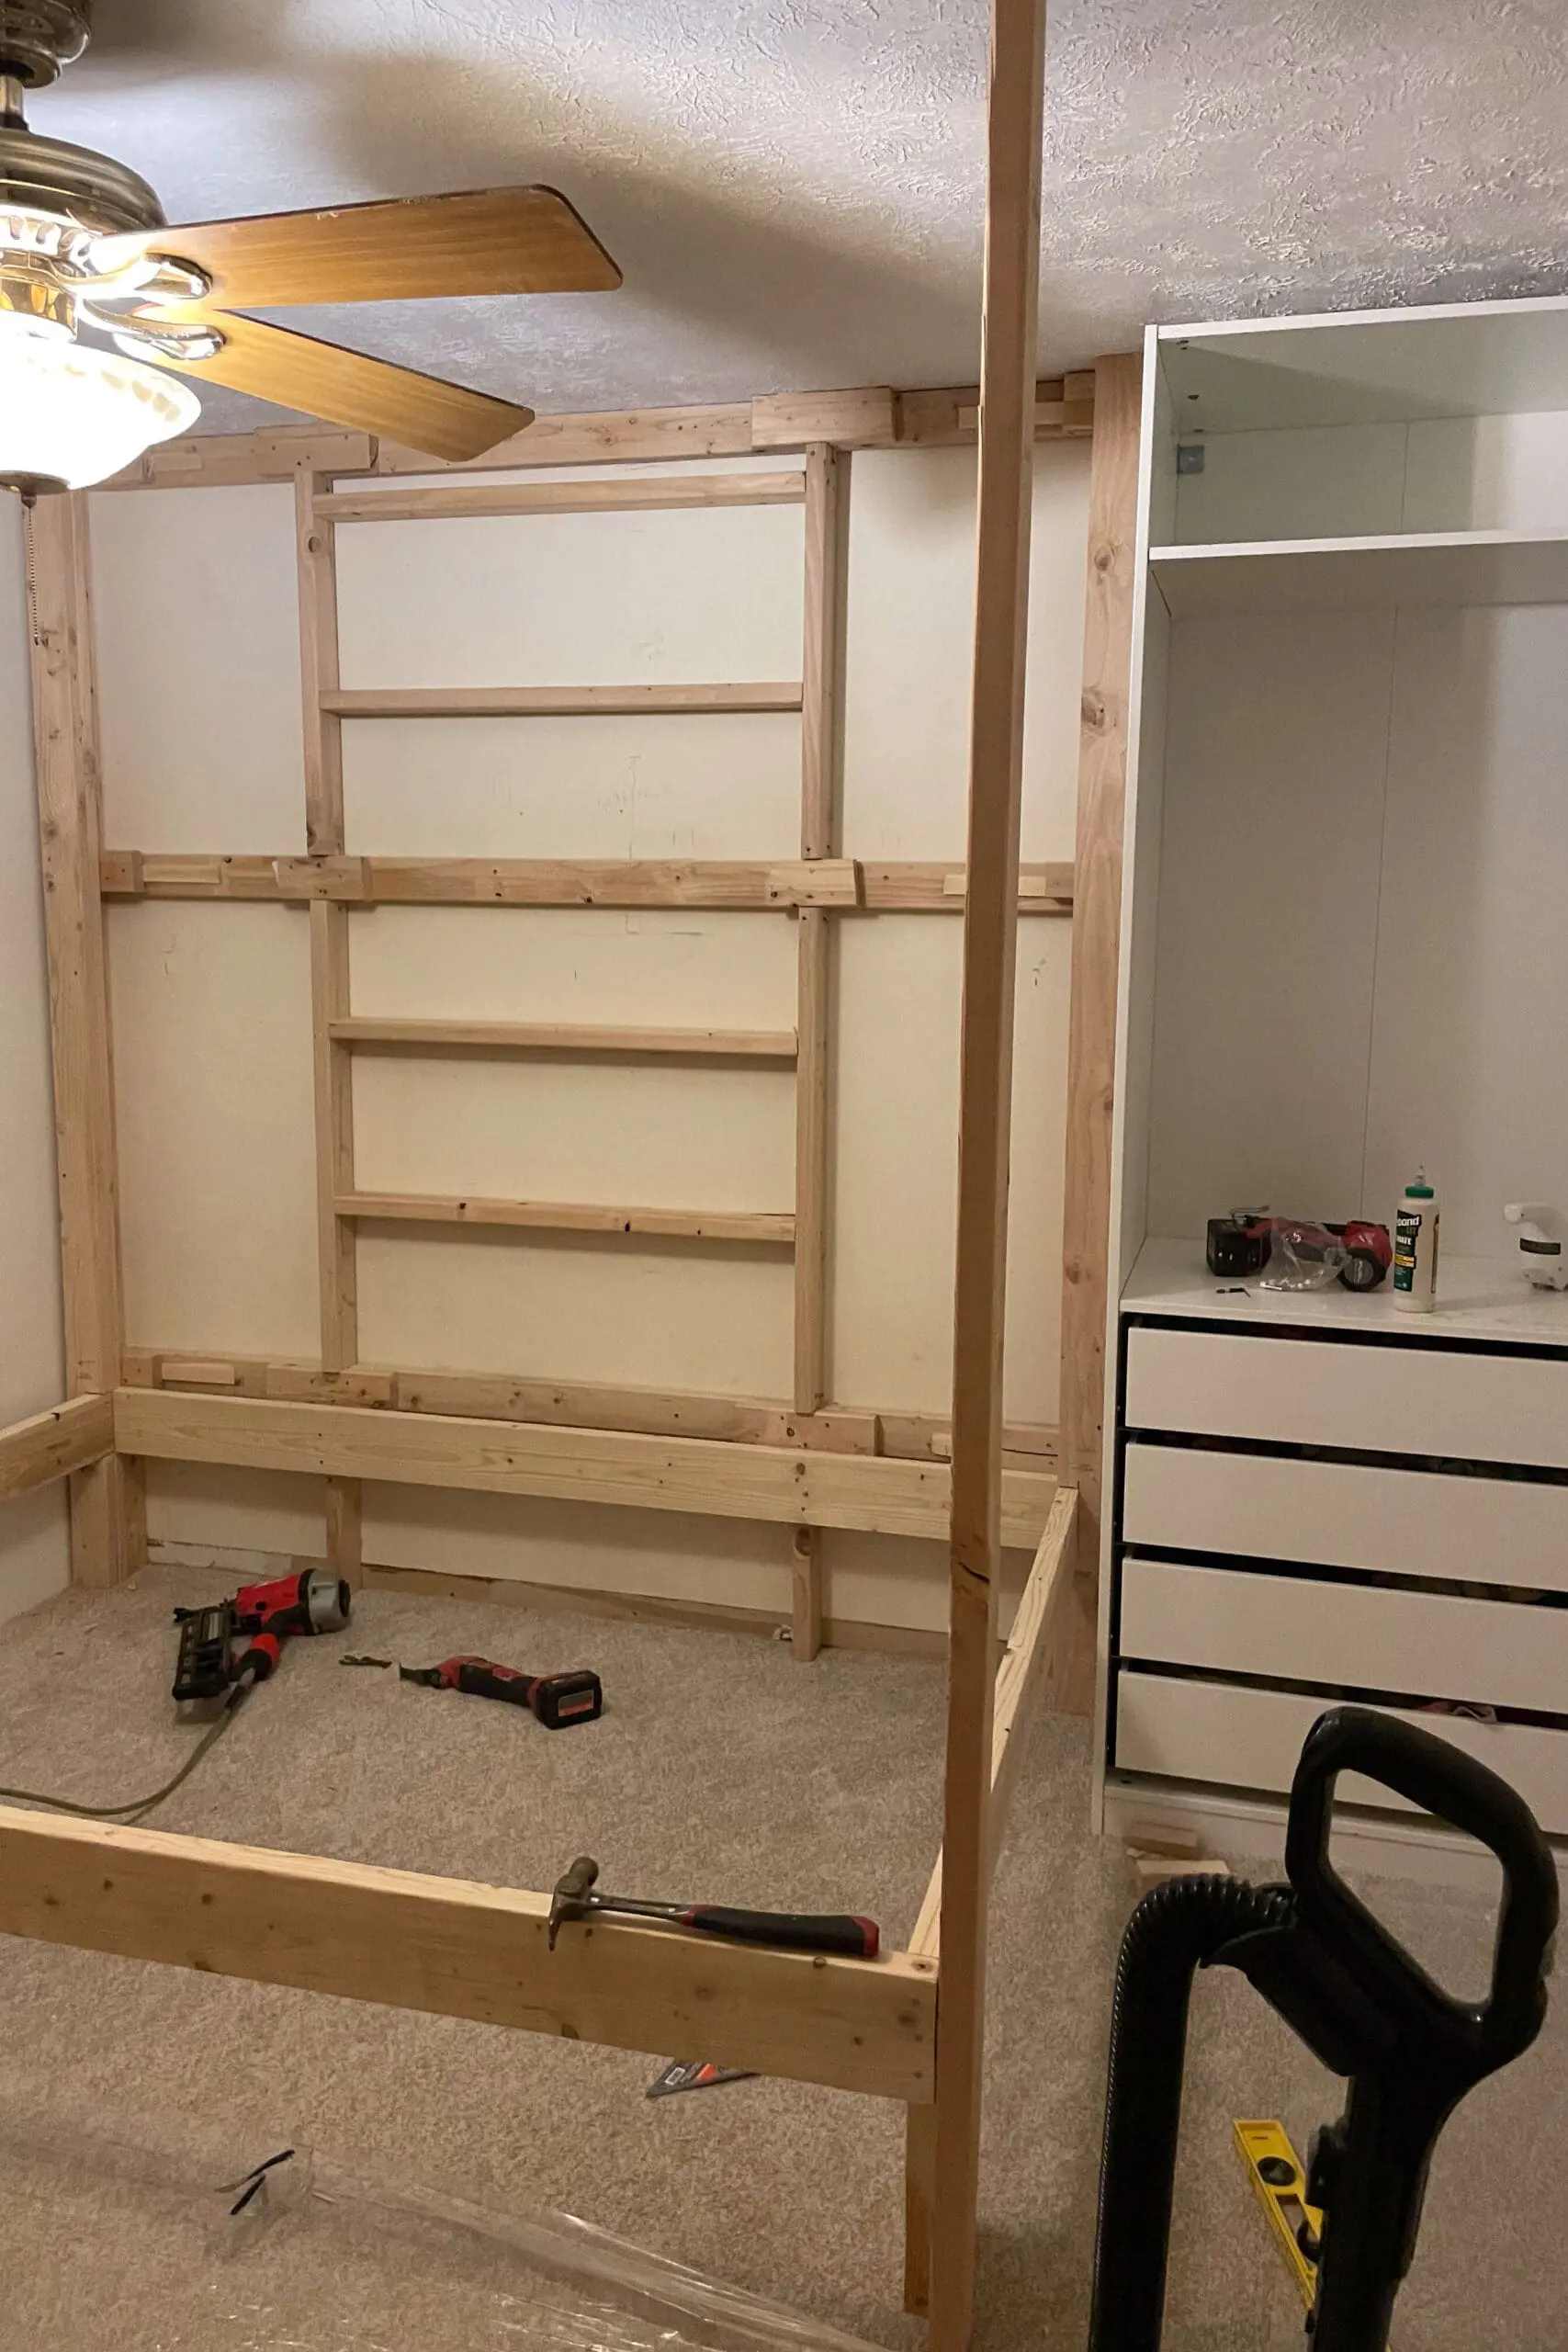
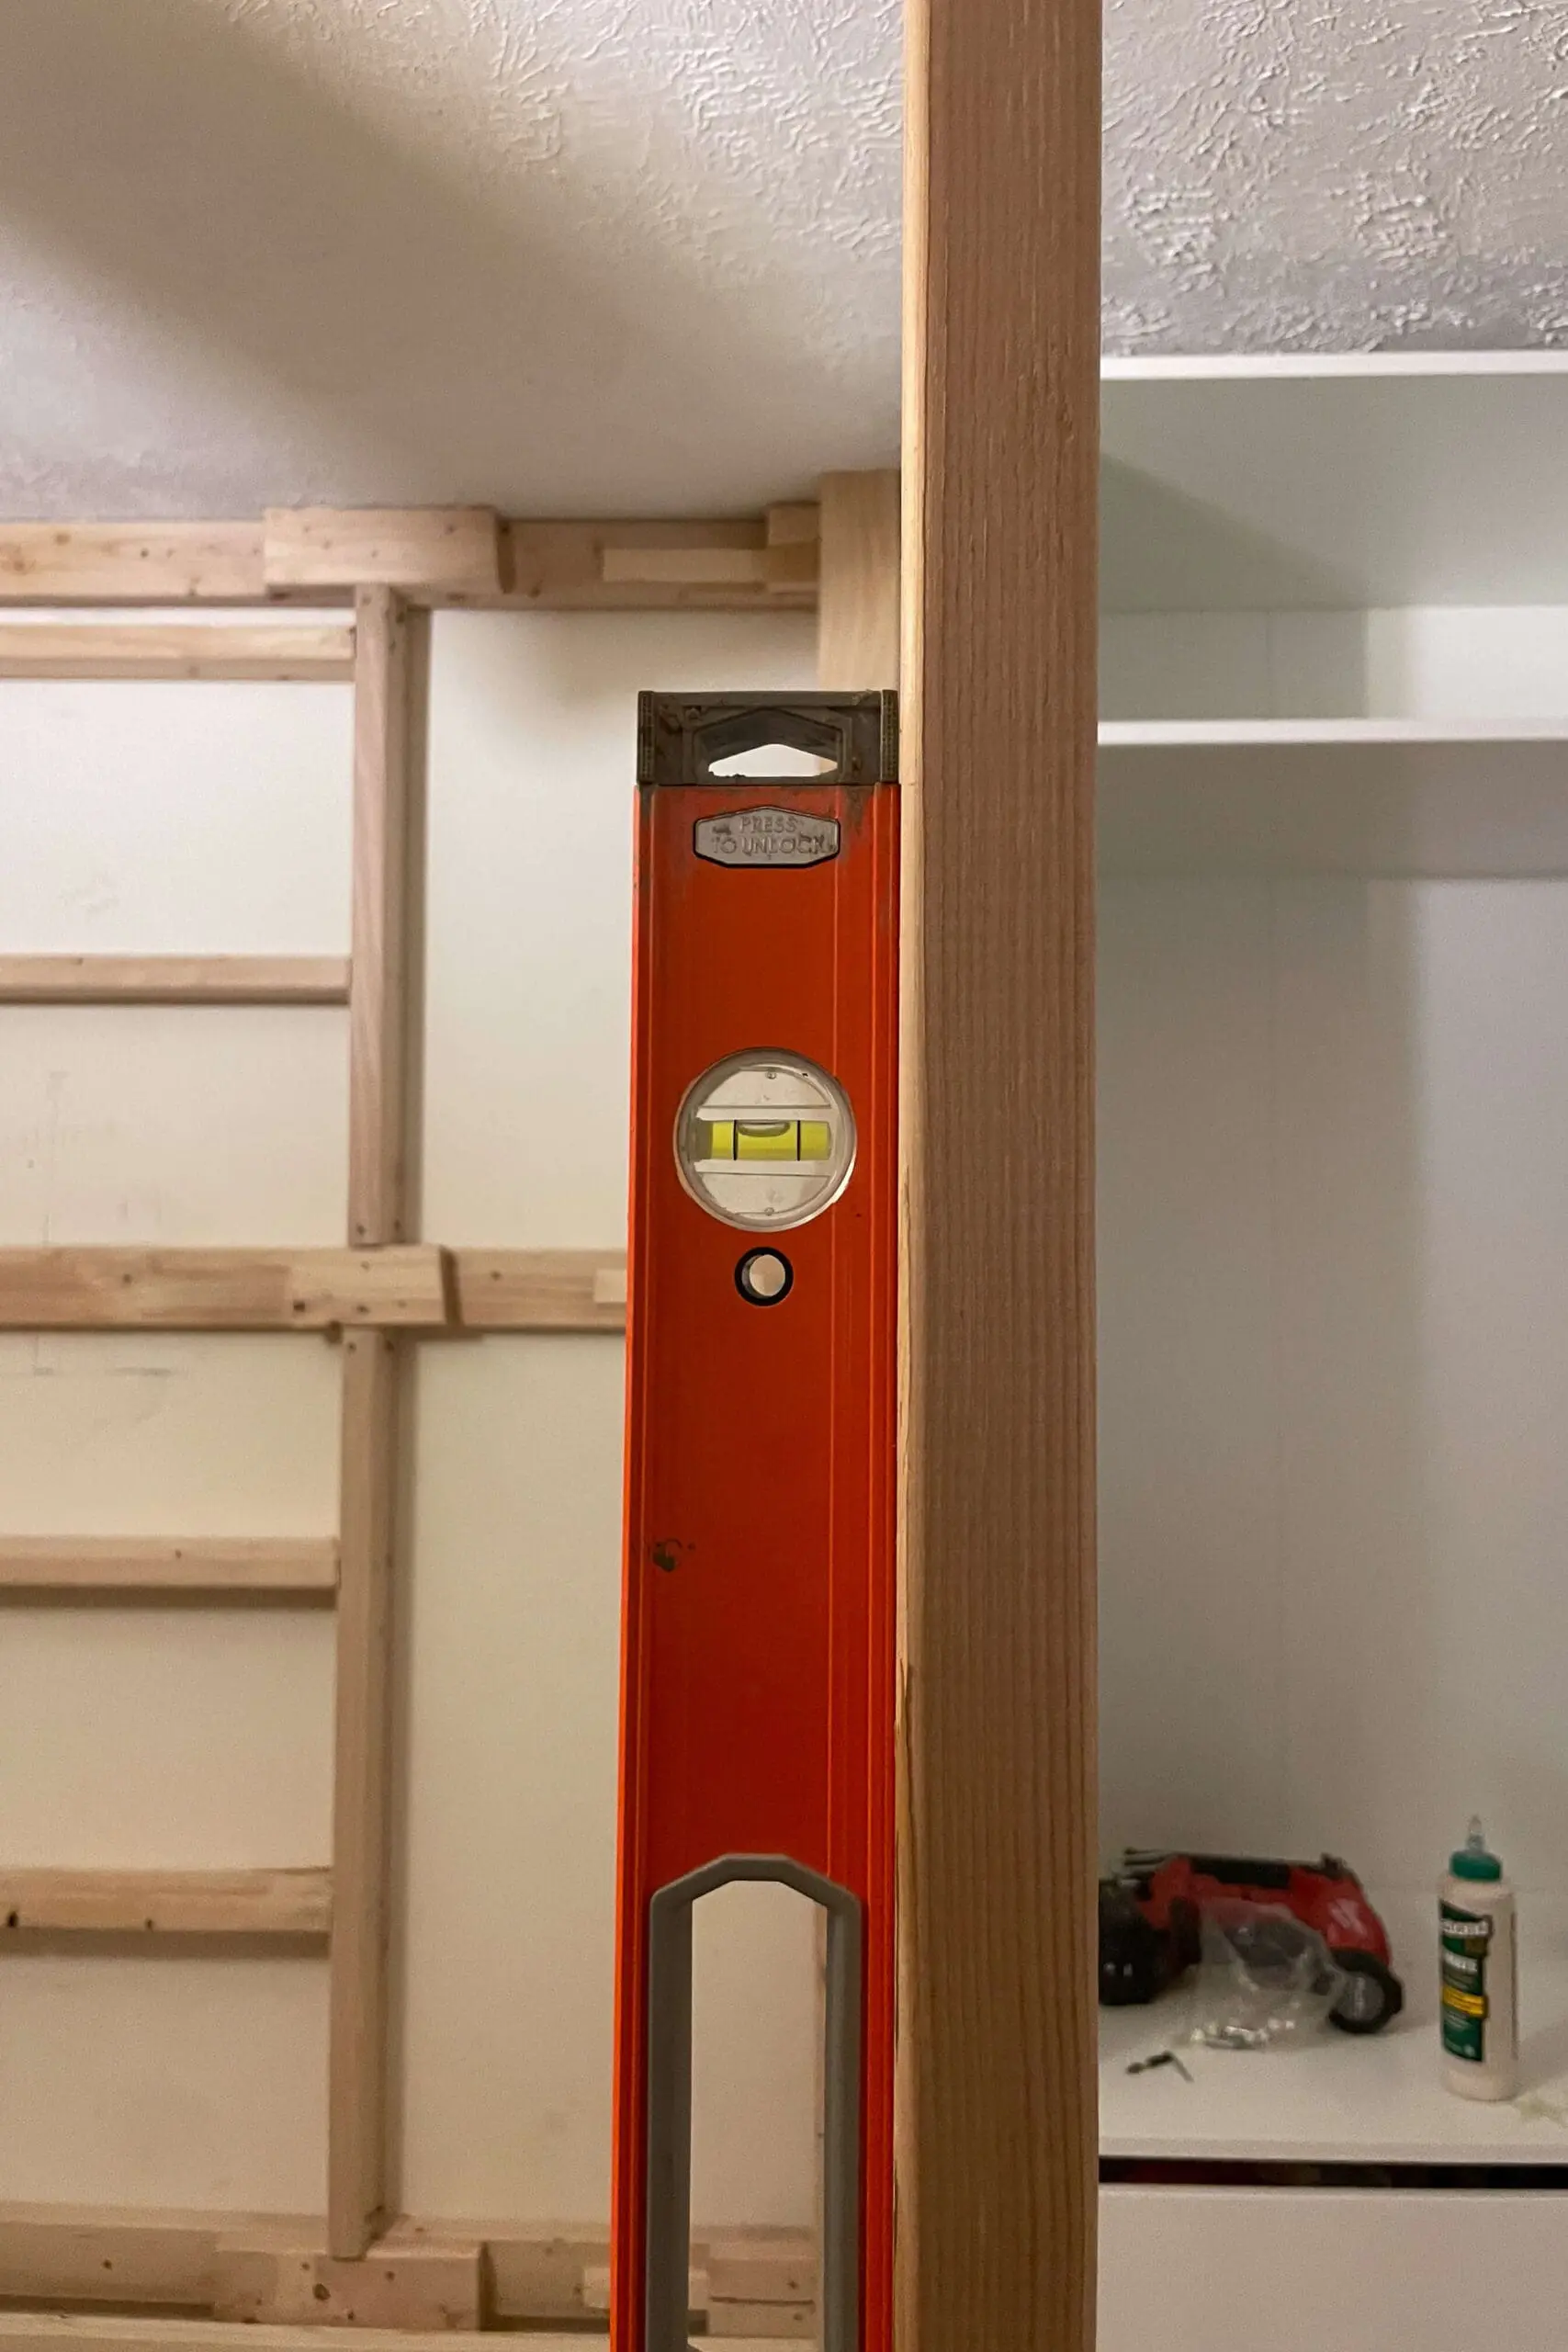
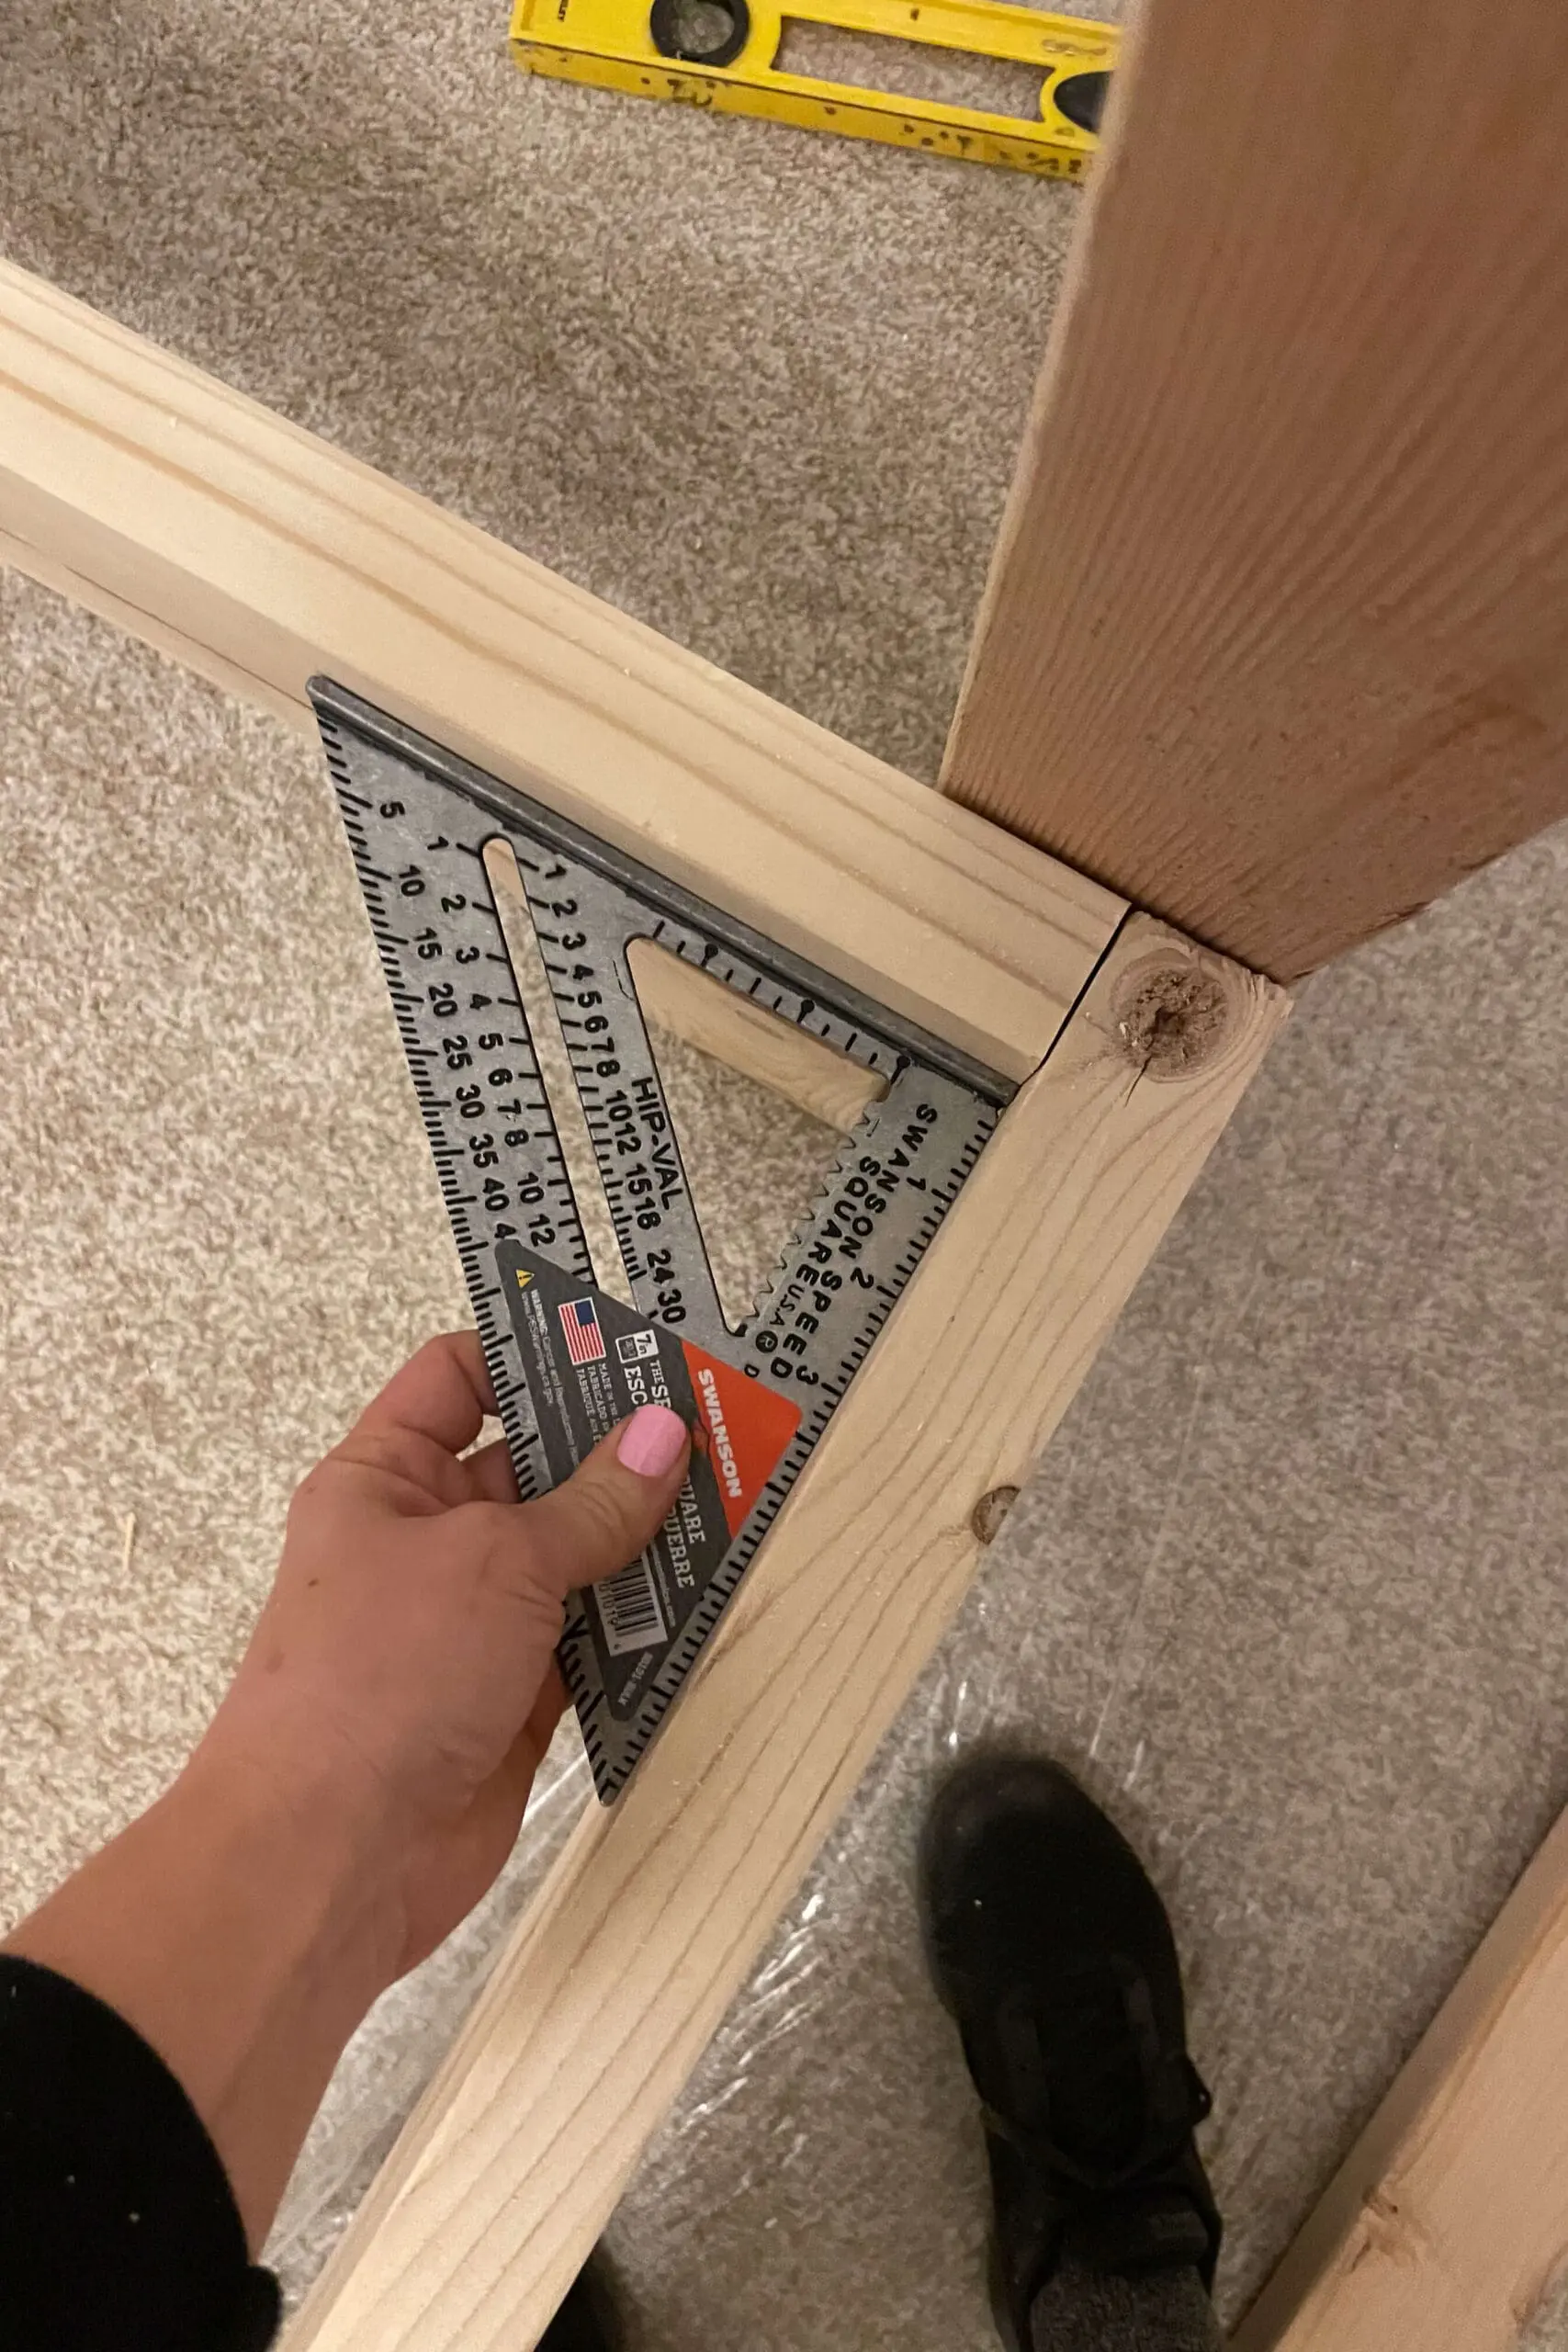
It’s important to ensure the beams are perfectly straight and the corners are square, so I used my level and speed square throughout the process.
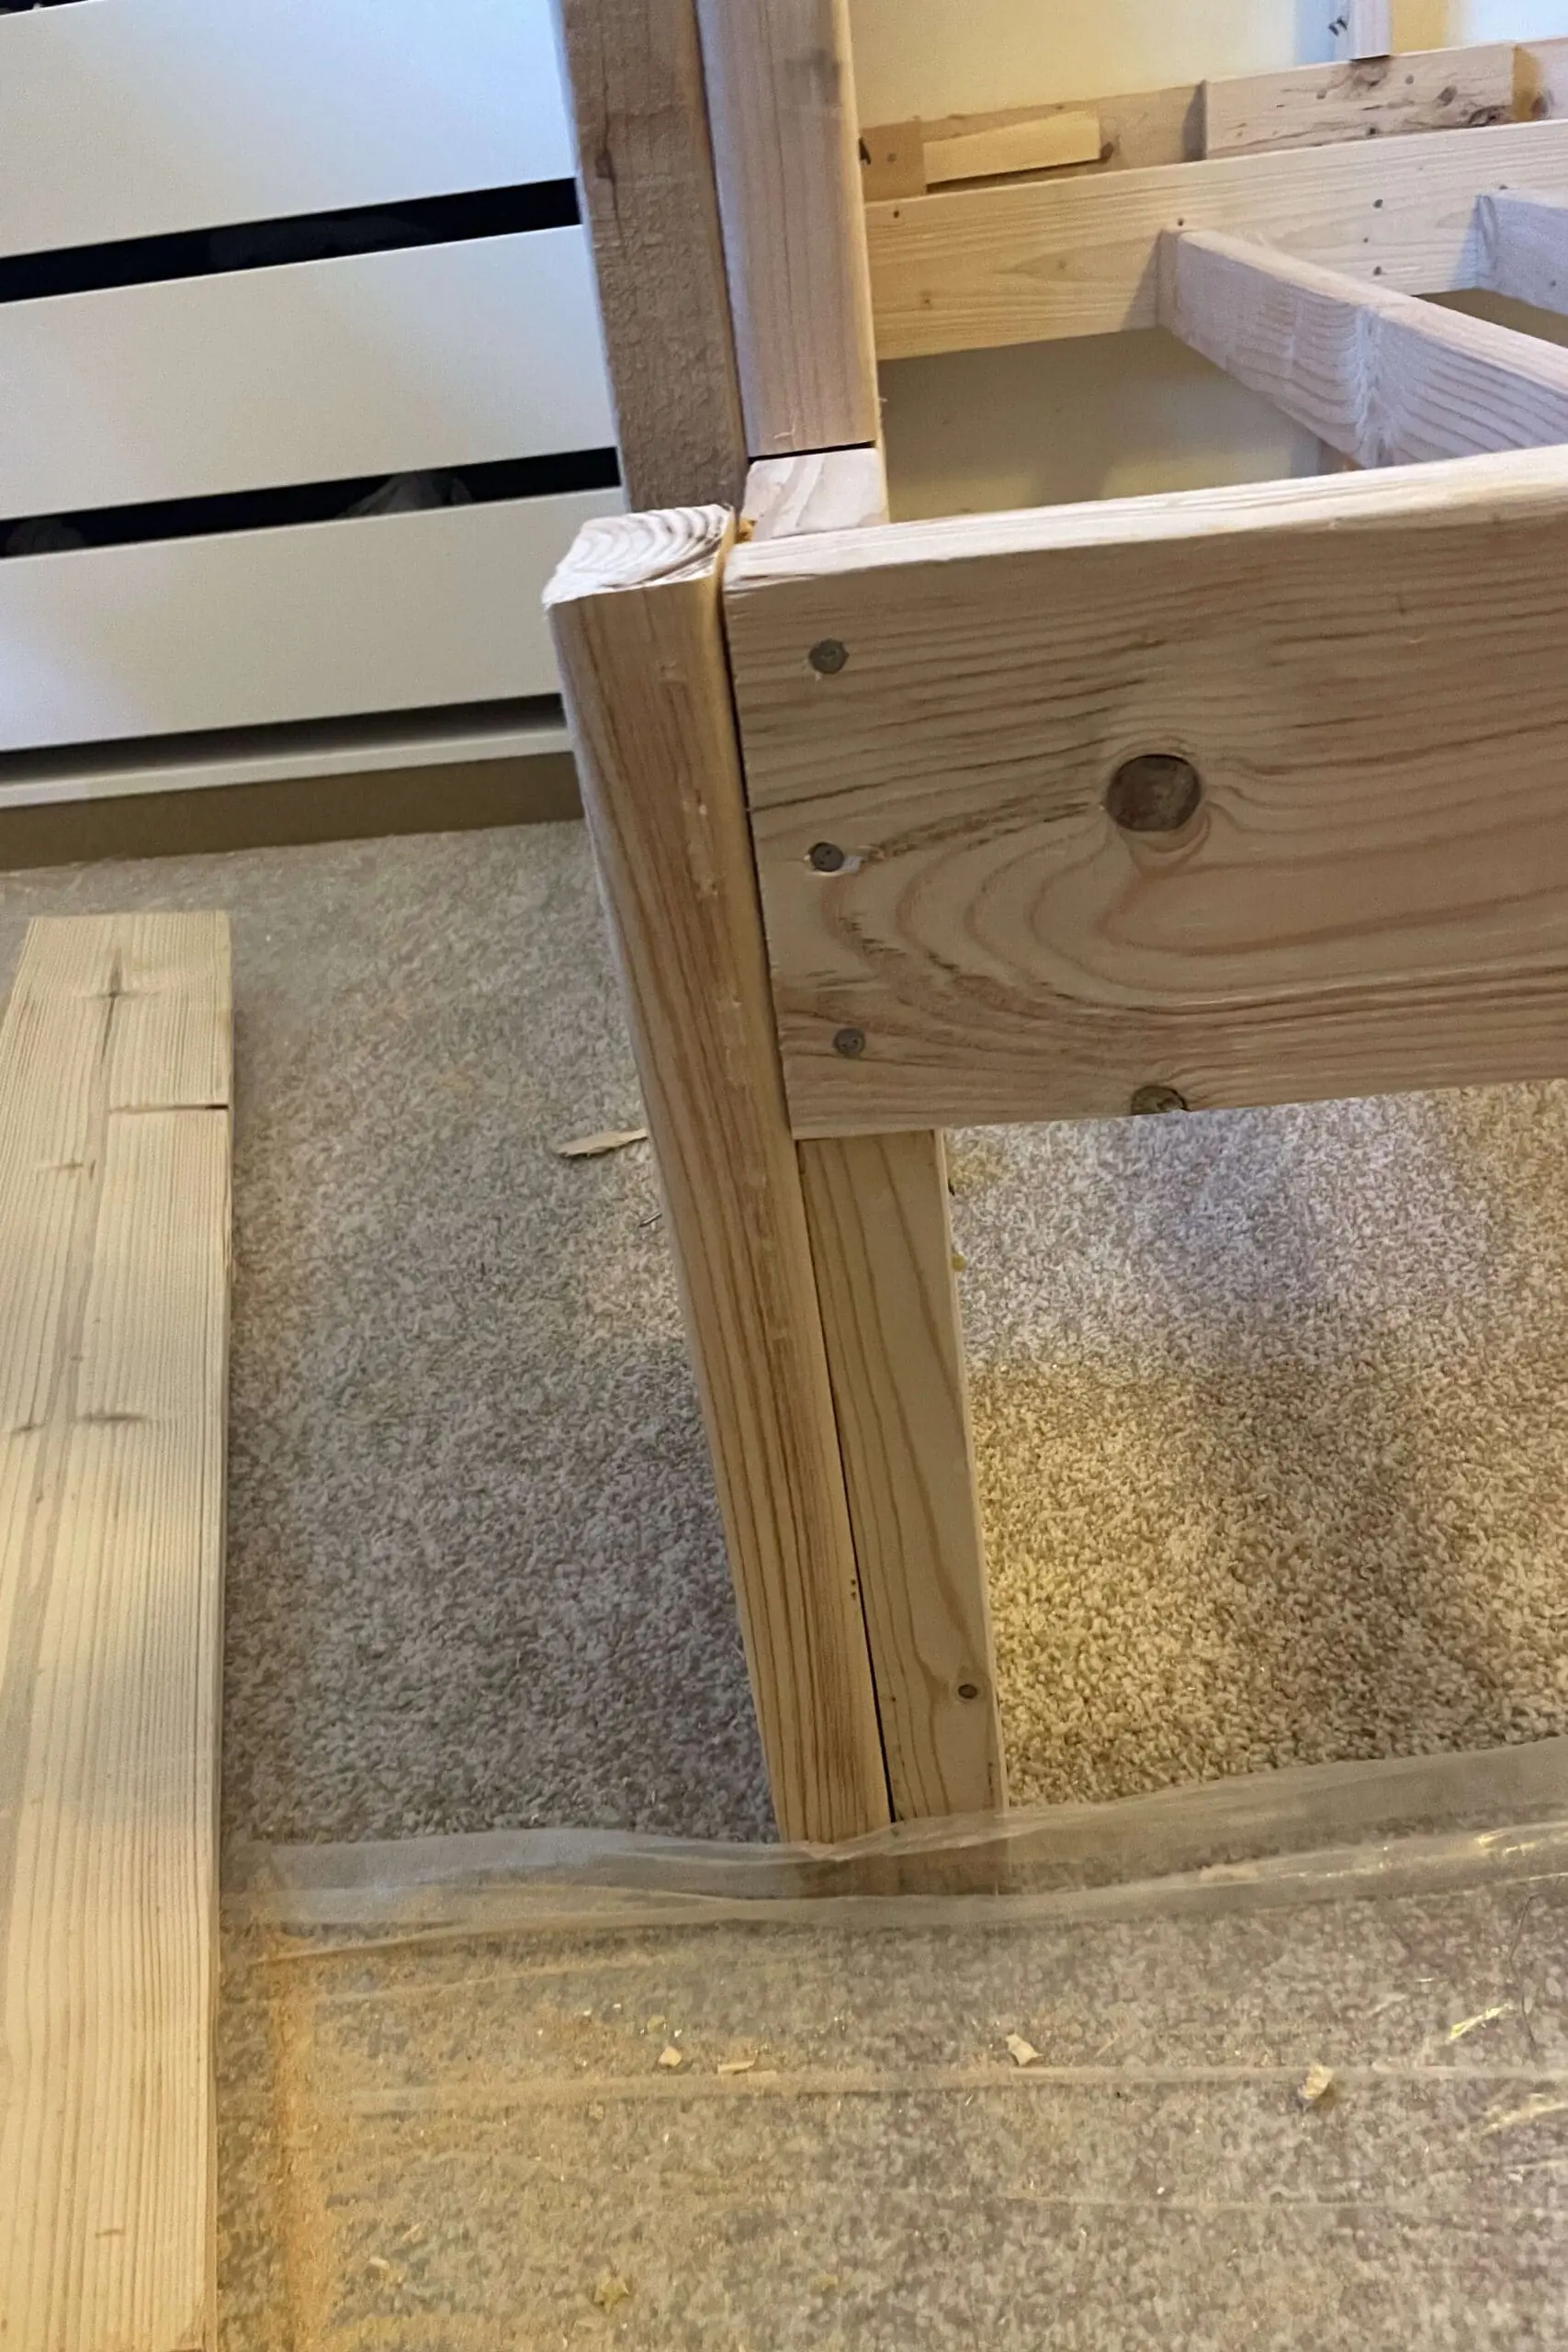
I also added 2x4s across the base of the bed frame to support the mattress and keep the frame sturdy, and then added more support to each corner of the bed

Building the Top Bunk
For the top bunk, I followed a similar process. I notched out sections for the 2×6 frame, then built the frame using 2x6s for the outside and 2x4s for the cross beams. The top bunk will hold a full-size mattress.


I nailed a 2×4 support for the top platform to rest on, allowing it to pivot as we lifted it into place. Then, I secured 2x4s to all four corners of the bed, attaching everything to the wall studs and ceiling for added stability.


Finally, I attached the DIY bunk beds to the ceiling by adding 2x4s on both sides and the front, connecting the back framing to the corner posts, and securing everything to the ceiling studs and bed frame. For extra support, I added a second layer of 2x4s. Now it’s super sturdy!

Attaching the Pax Units
With the basic framing of my DIY bunk beds done, it was time to attach the IKEA Pax units. Since the backing that comes with these units is pretty thin, I grabbed a scrap 1×3 and screwed it through the backing into the wall studs for extra support.
Then, I used my drill to attach the sides of the Pax cabinet directly to the bed frame. When I’m done, this whole setup will look like one solid built-in piece. I’m so excited!


Building Under Bed Storage Drawers
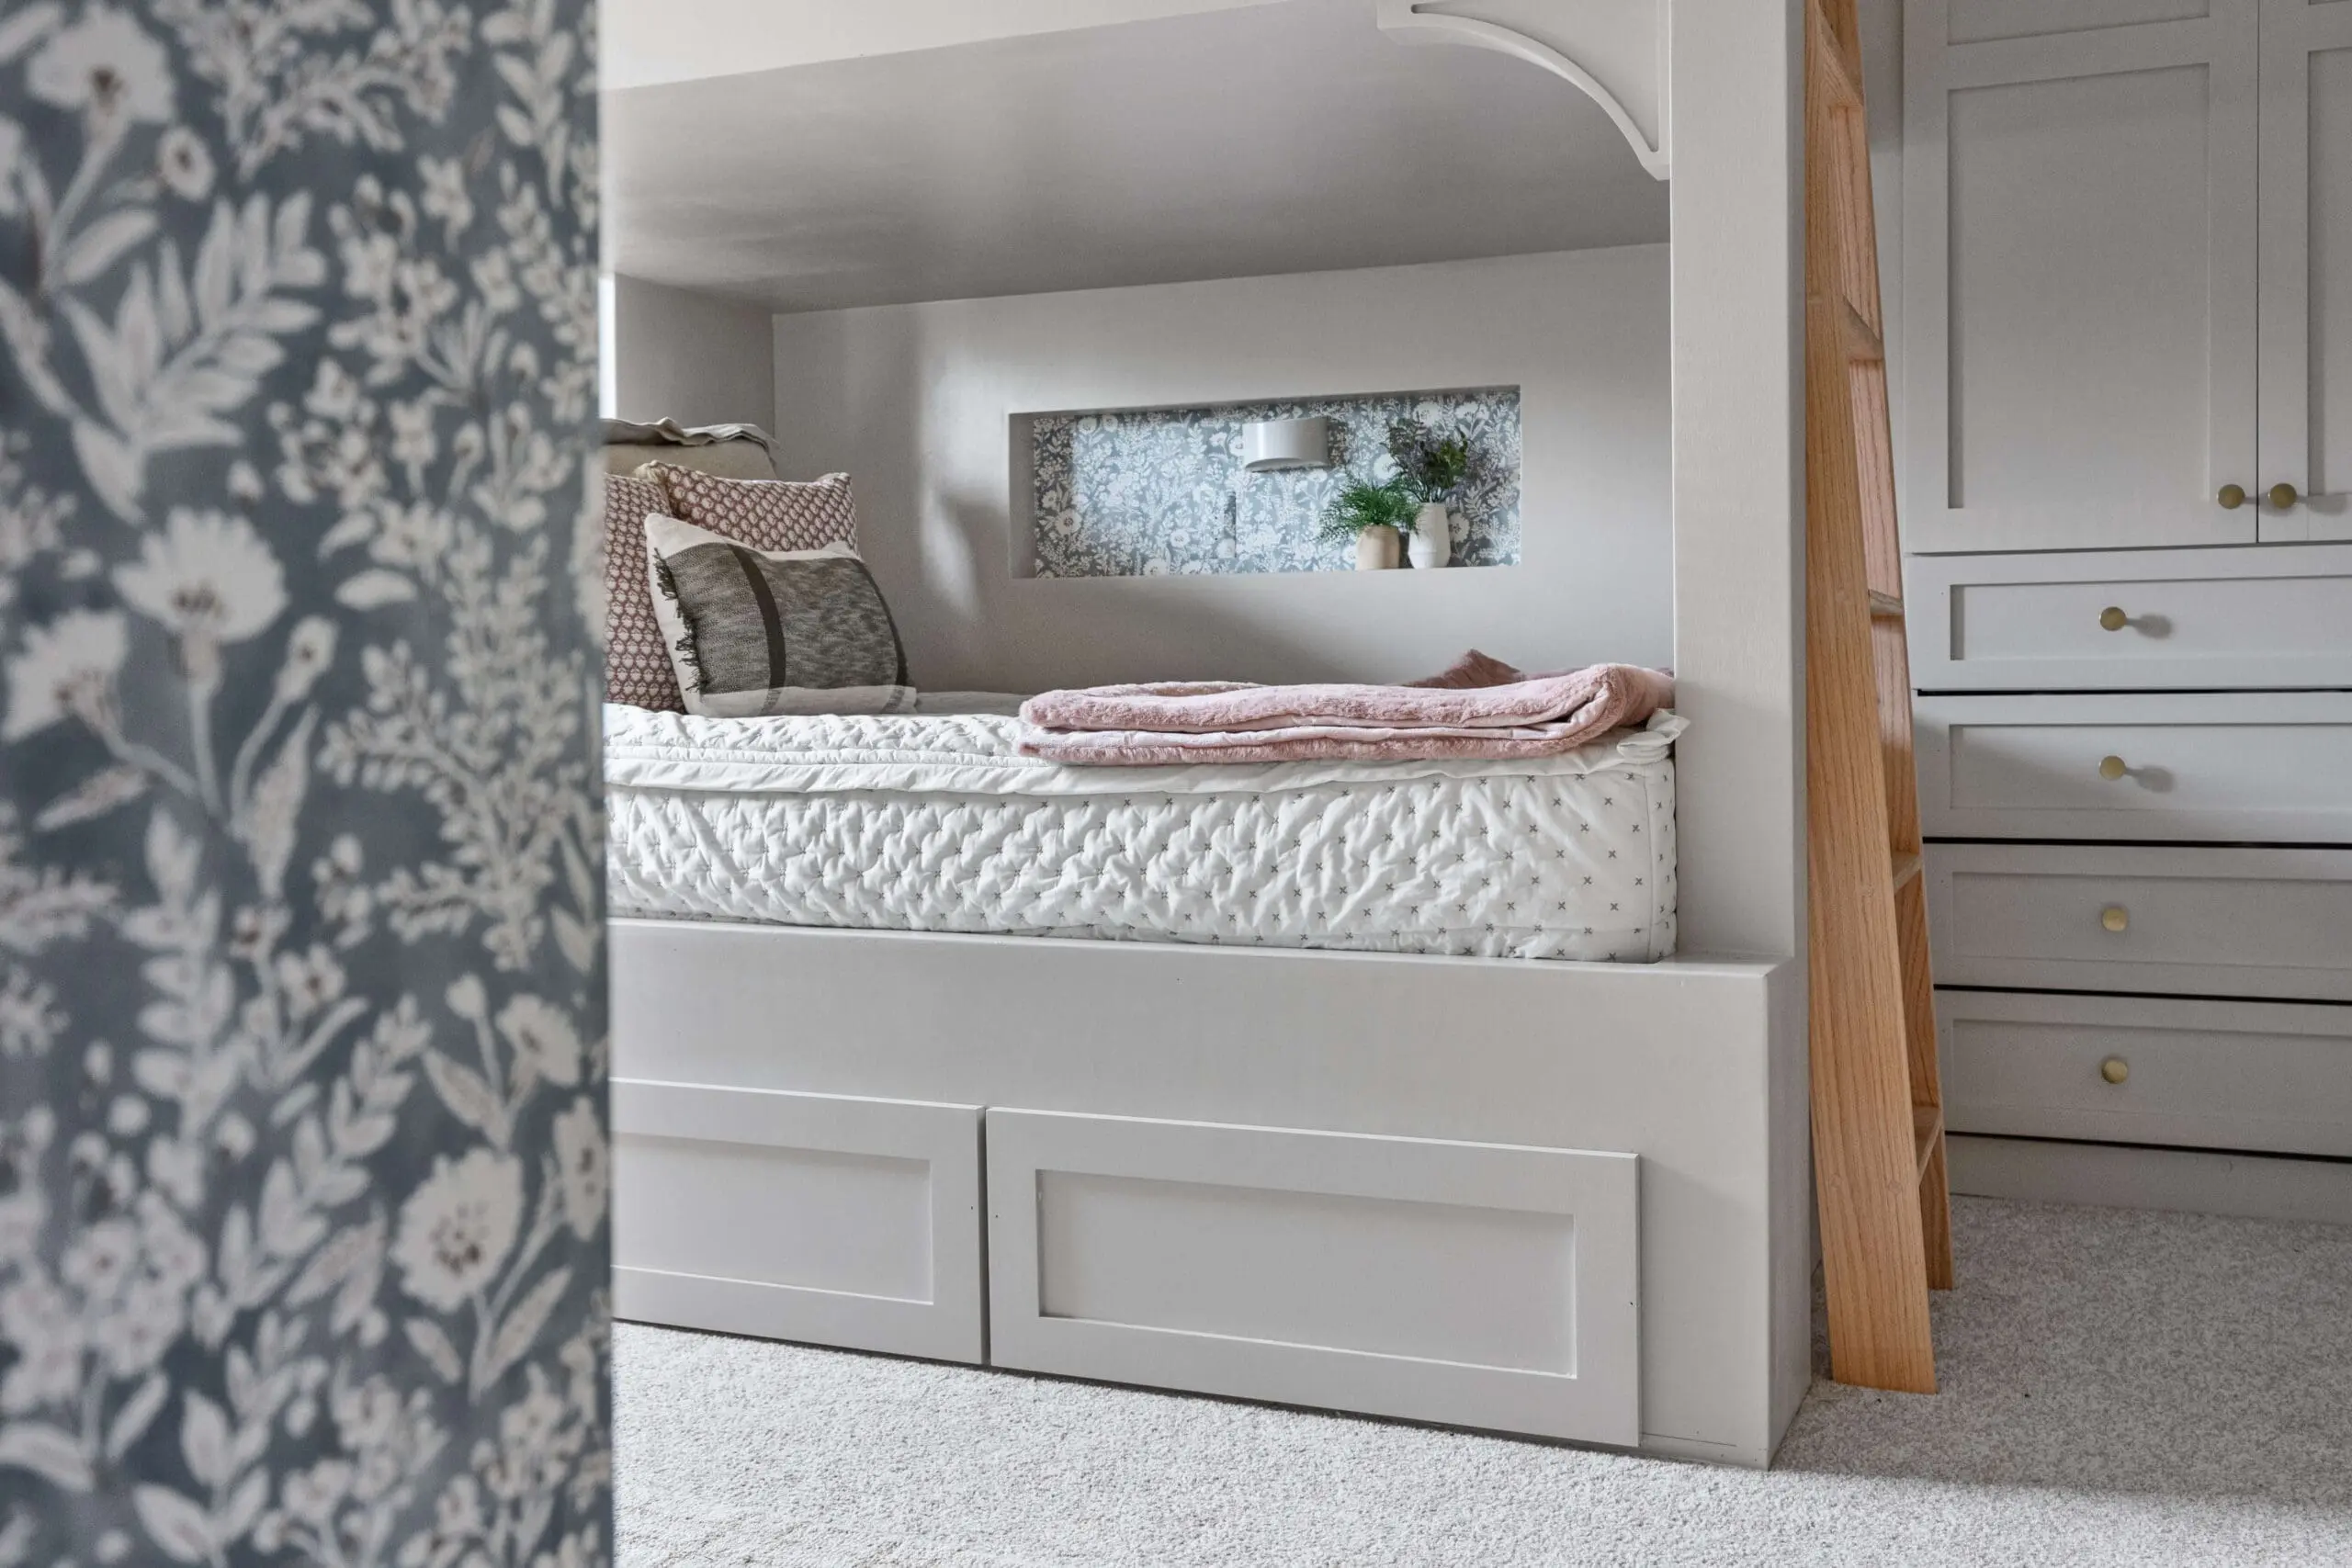
The last step for these DIY bunk beds was to build the under-bed storage drawers. I cut all the pieces downstairs with my table saw, then brought everything upstairs to assemble it in the room. I used wood glue on all the edges and a brad nailer to temporarily hold everything together, which was easy to handle with just one hand. After that, I secured everything with my drill and some wood screws for a solid finish.


Once the basic drawer box was built, I divided it into three separate sections for drawers using my brad nailer, then secured with wood screws. Make sure to use a speed square to keep those angles perfectly square—if they’re off, the drawers won’t fit!


Look how good this looks! I’m so excited for my girls to have a new bed, but also for all the awesome storage I’m adding to this small bedroom. It’s going to be so good!

And done! Just kidding—these DIY bunk beds are unfortunately far from finished. I’ve got the basic framing up, the IKEA Pax units installed, and the drawers underneath built.
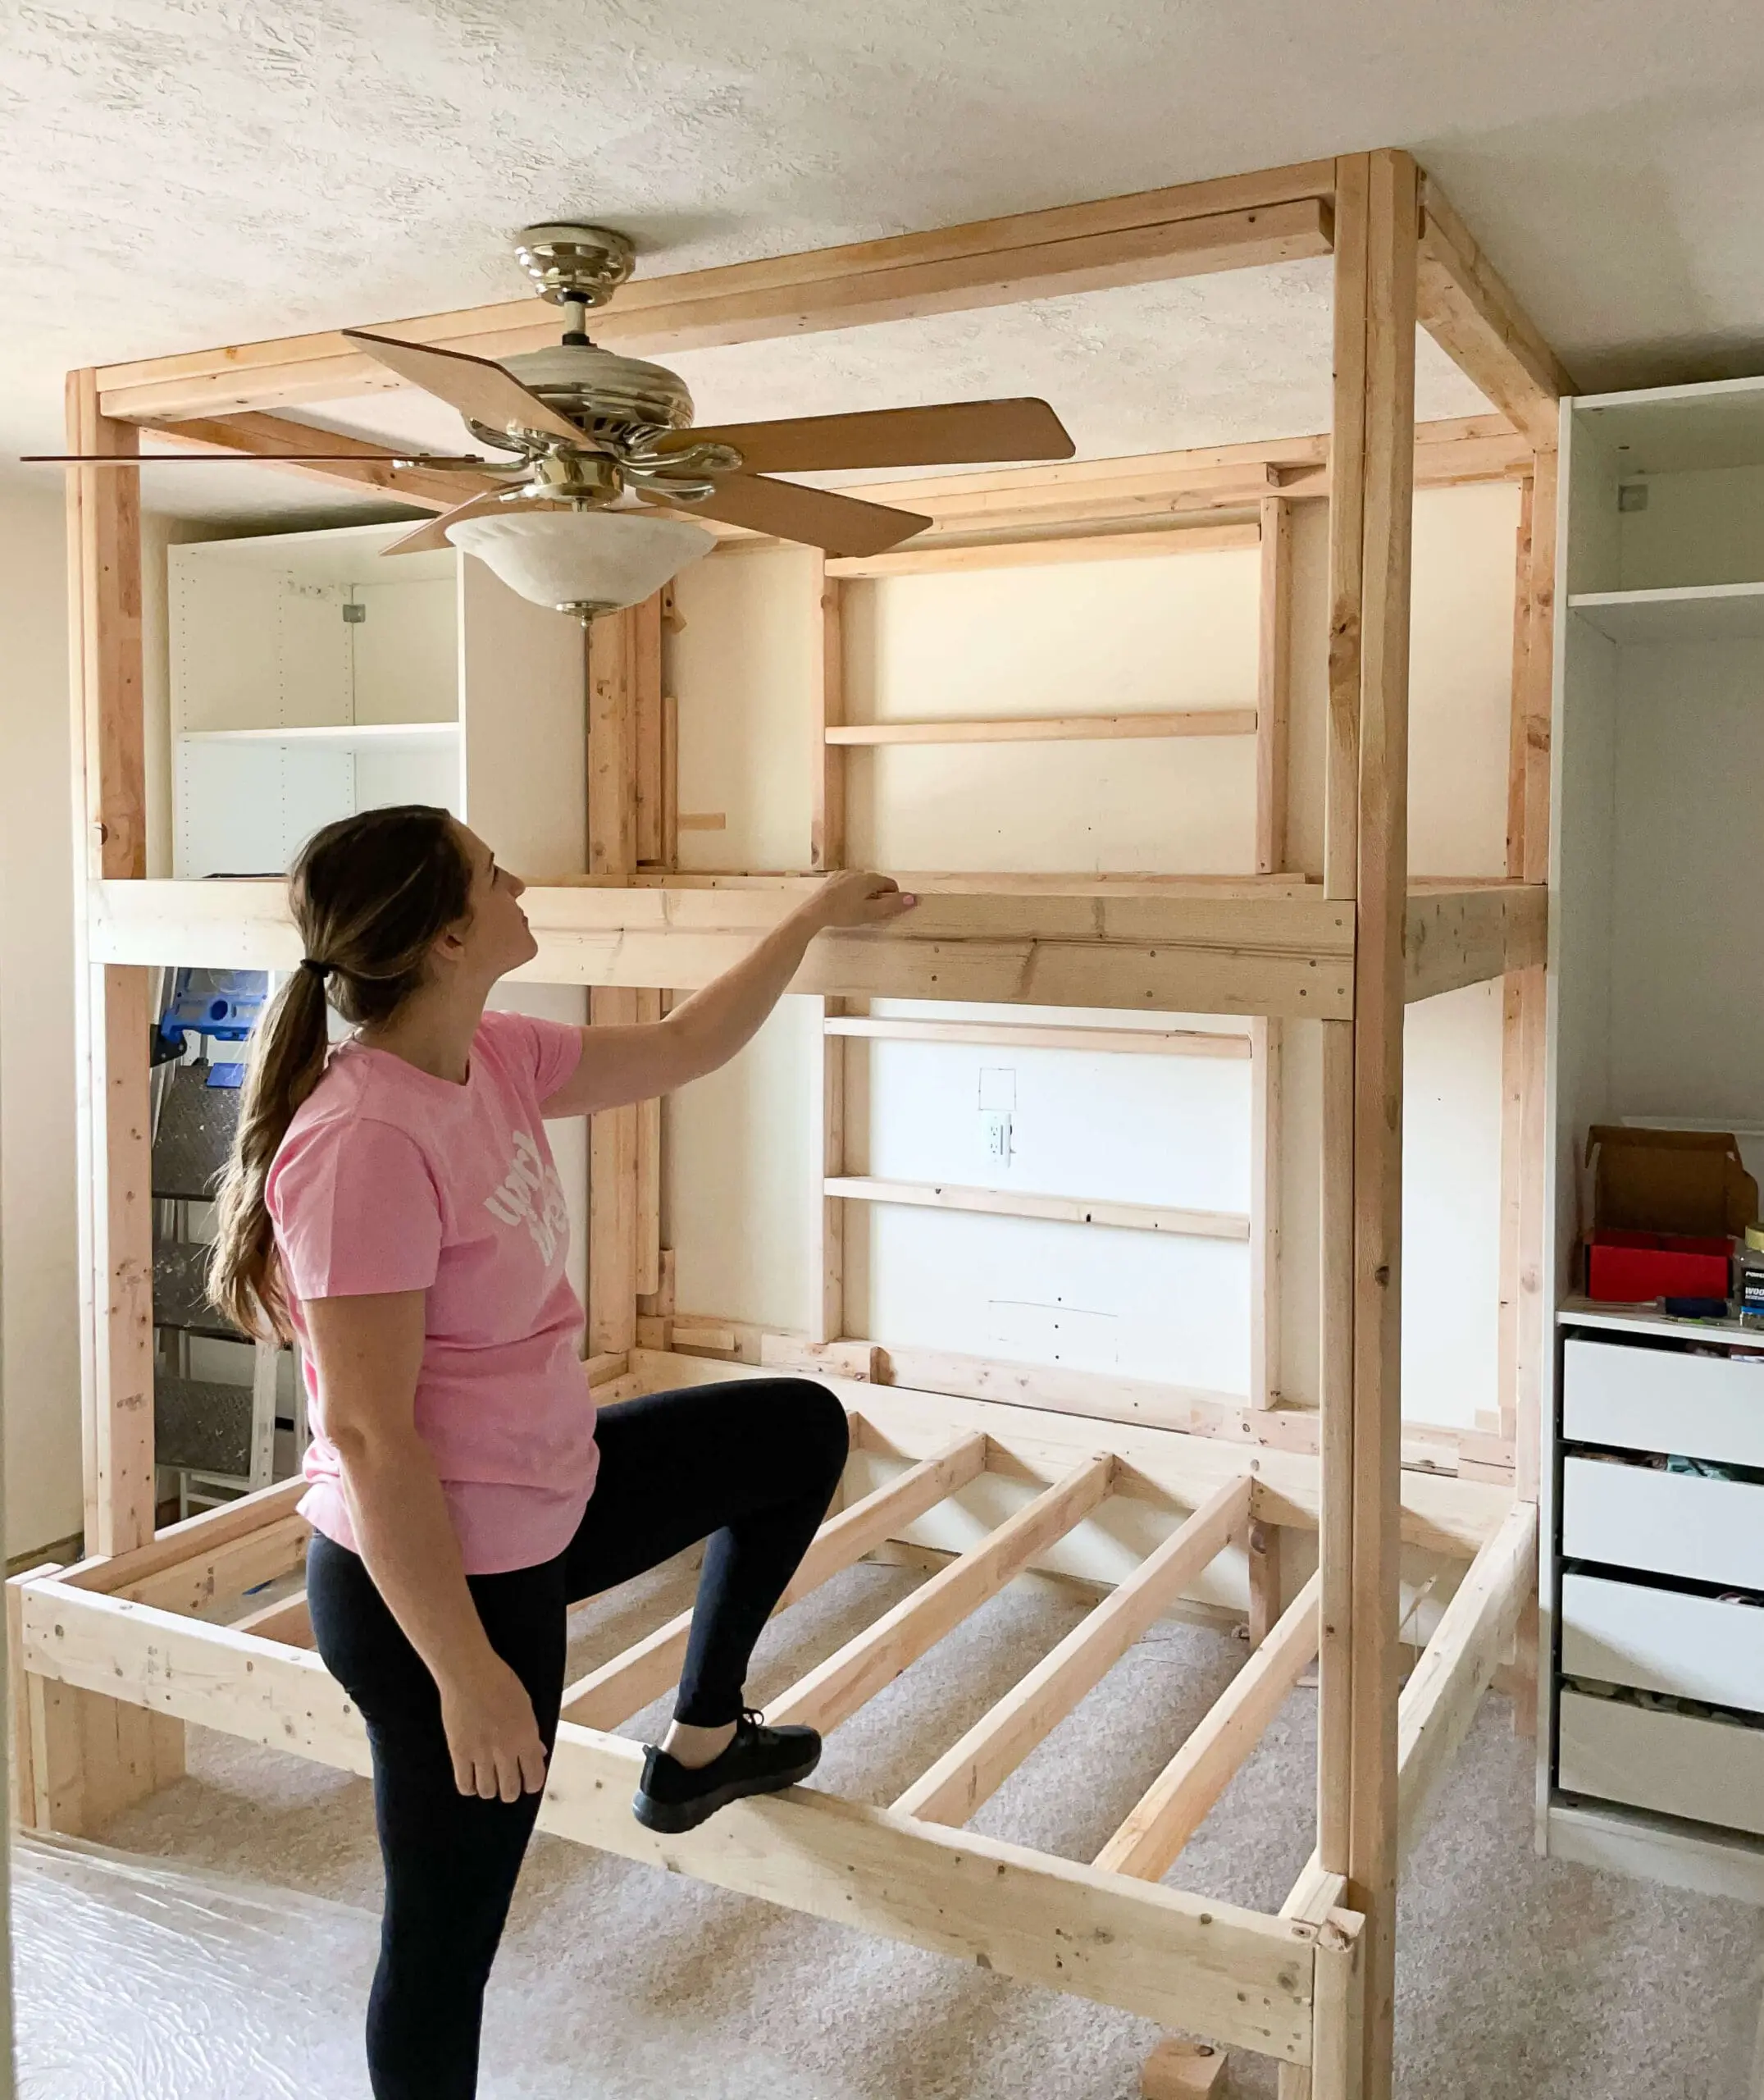
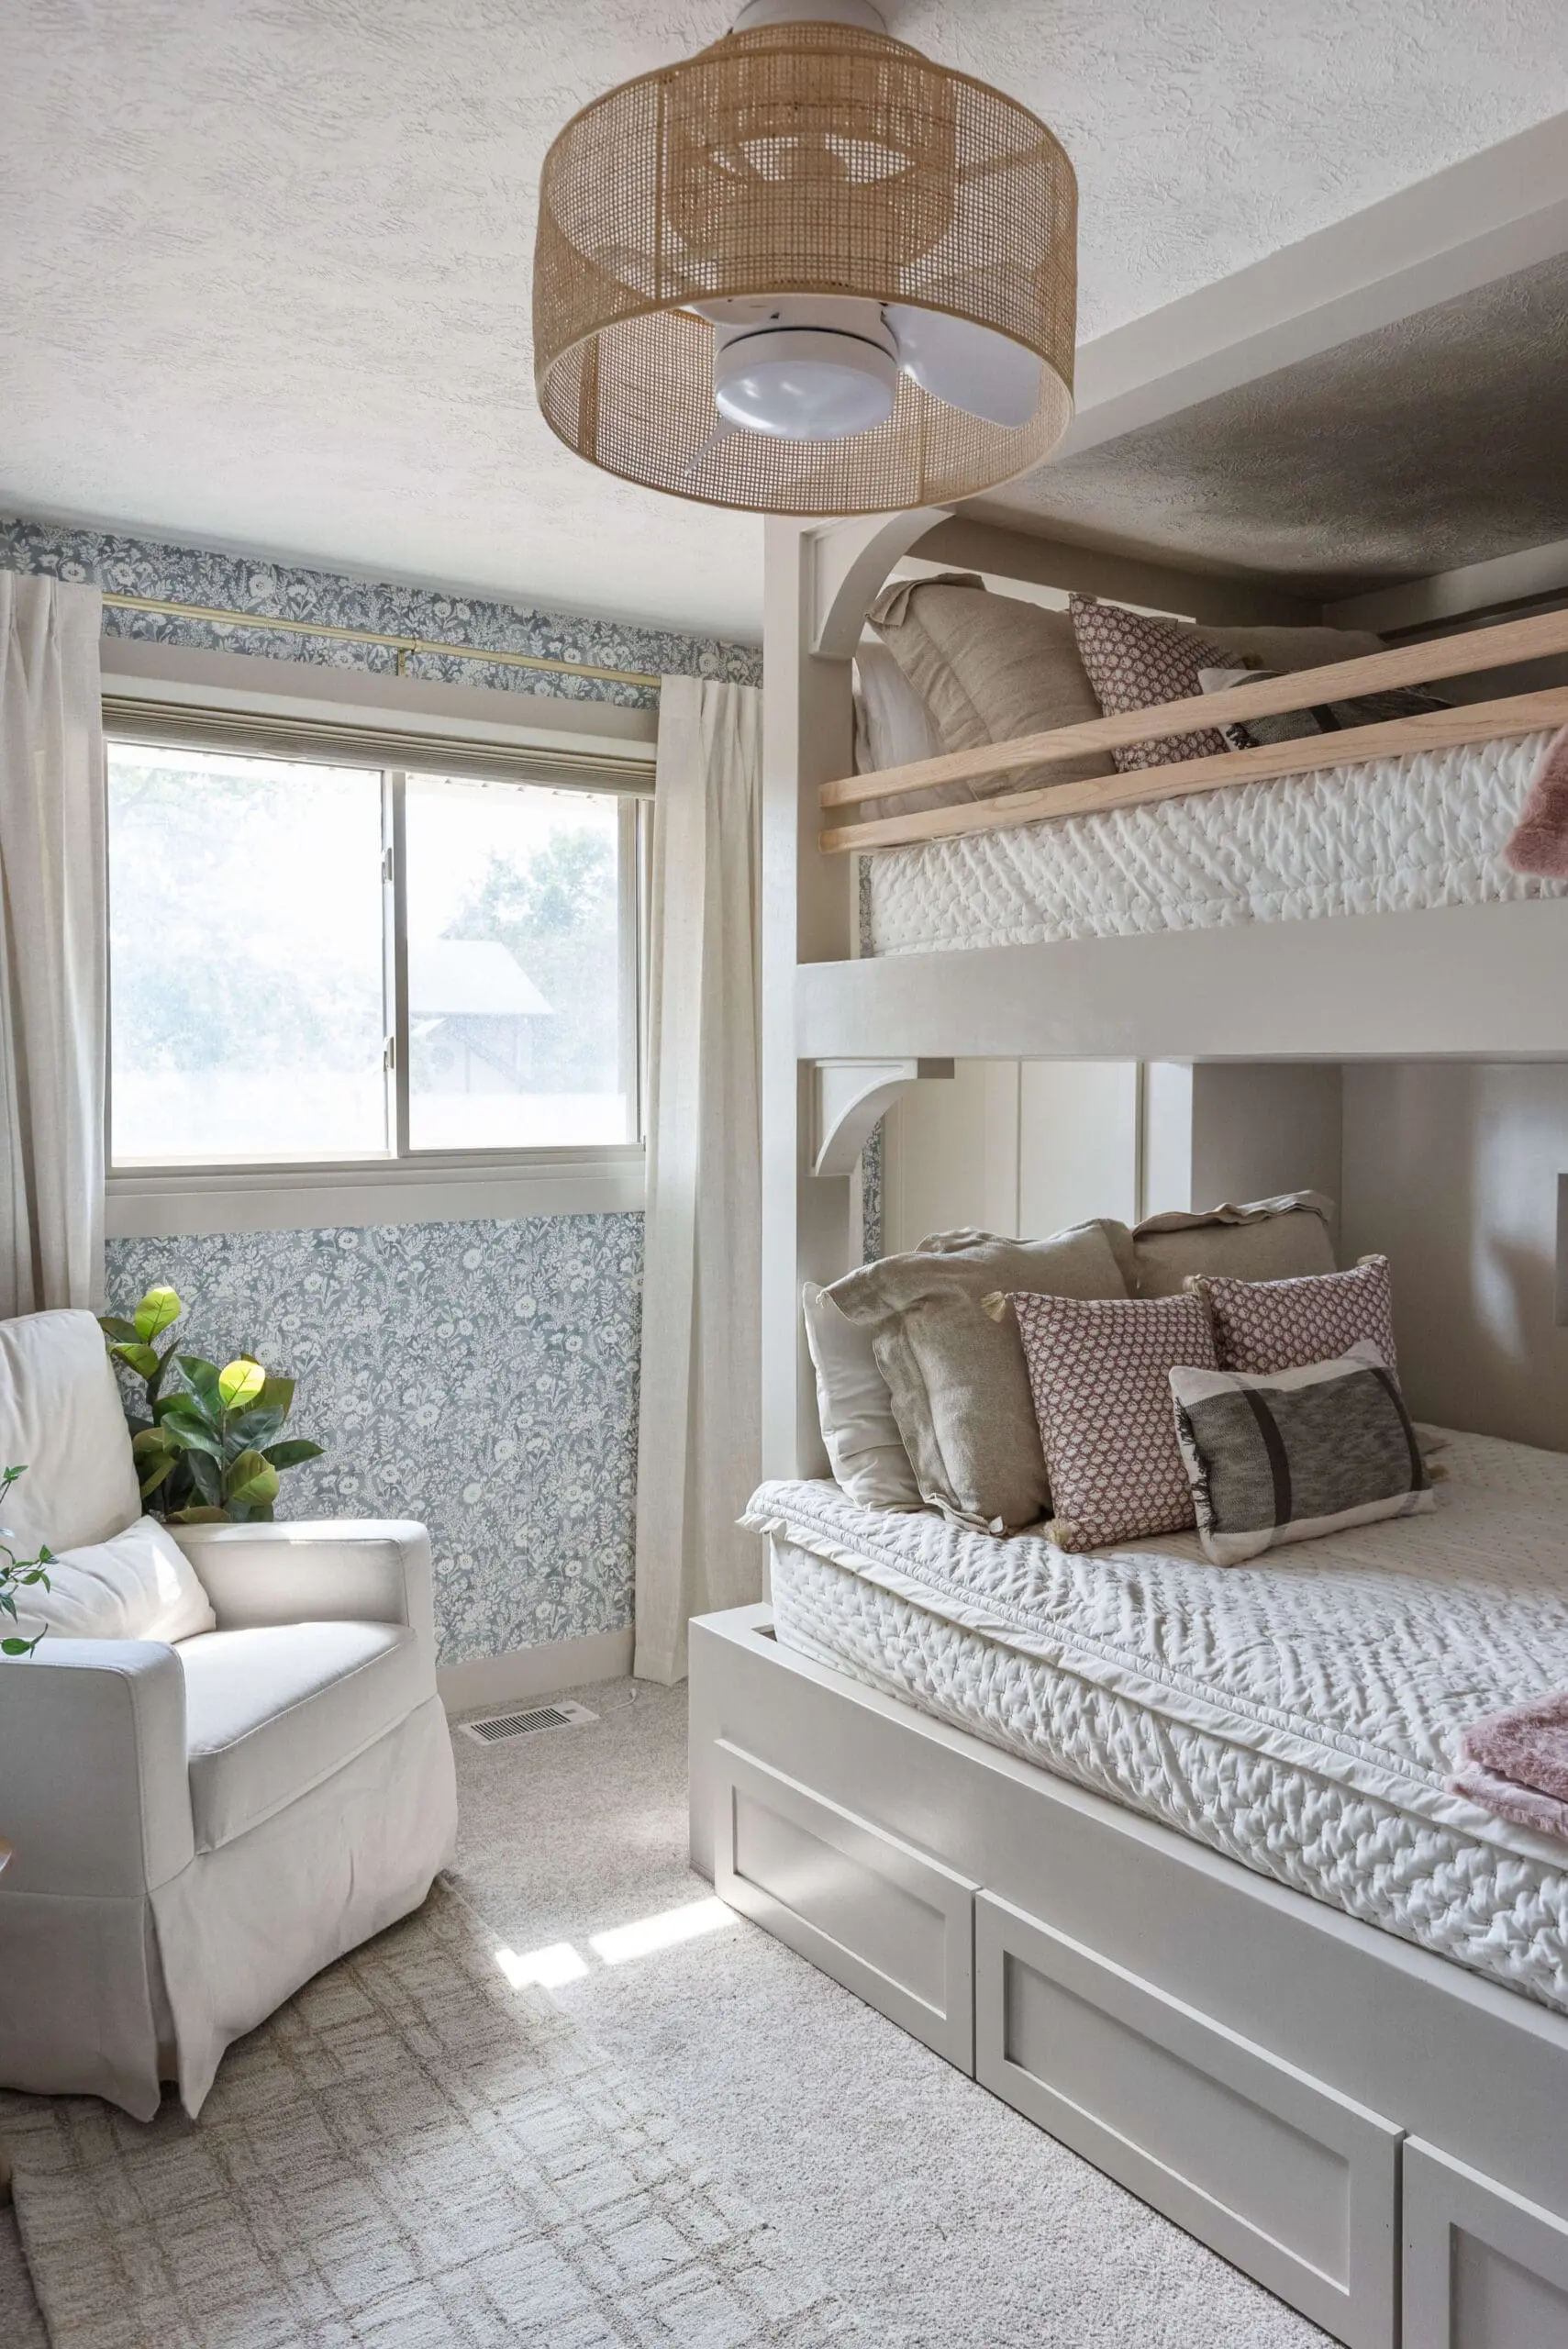
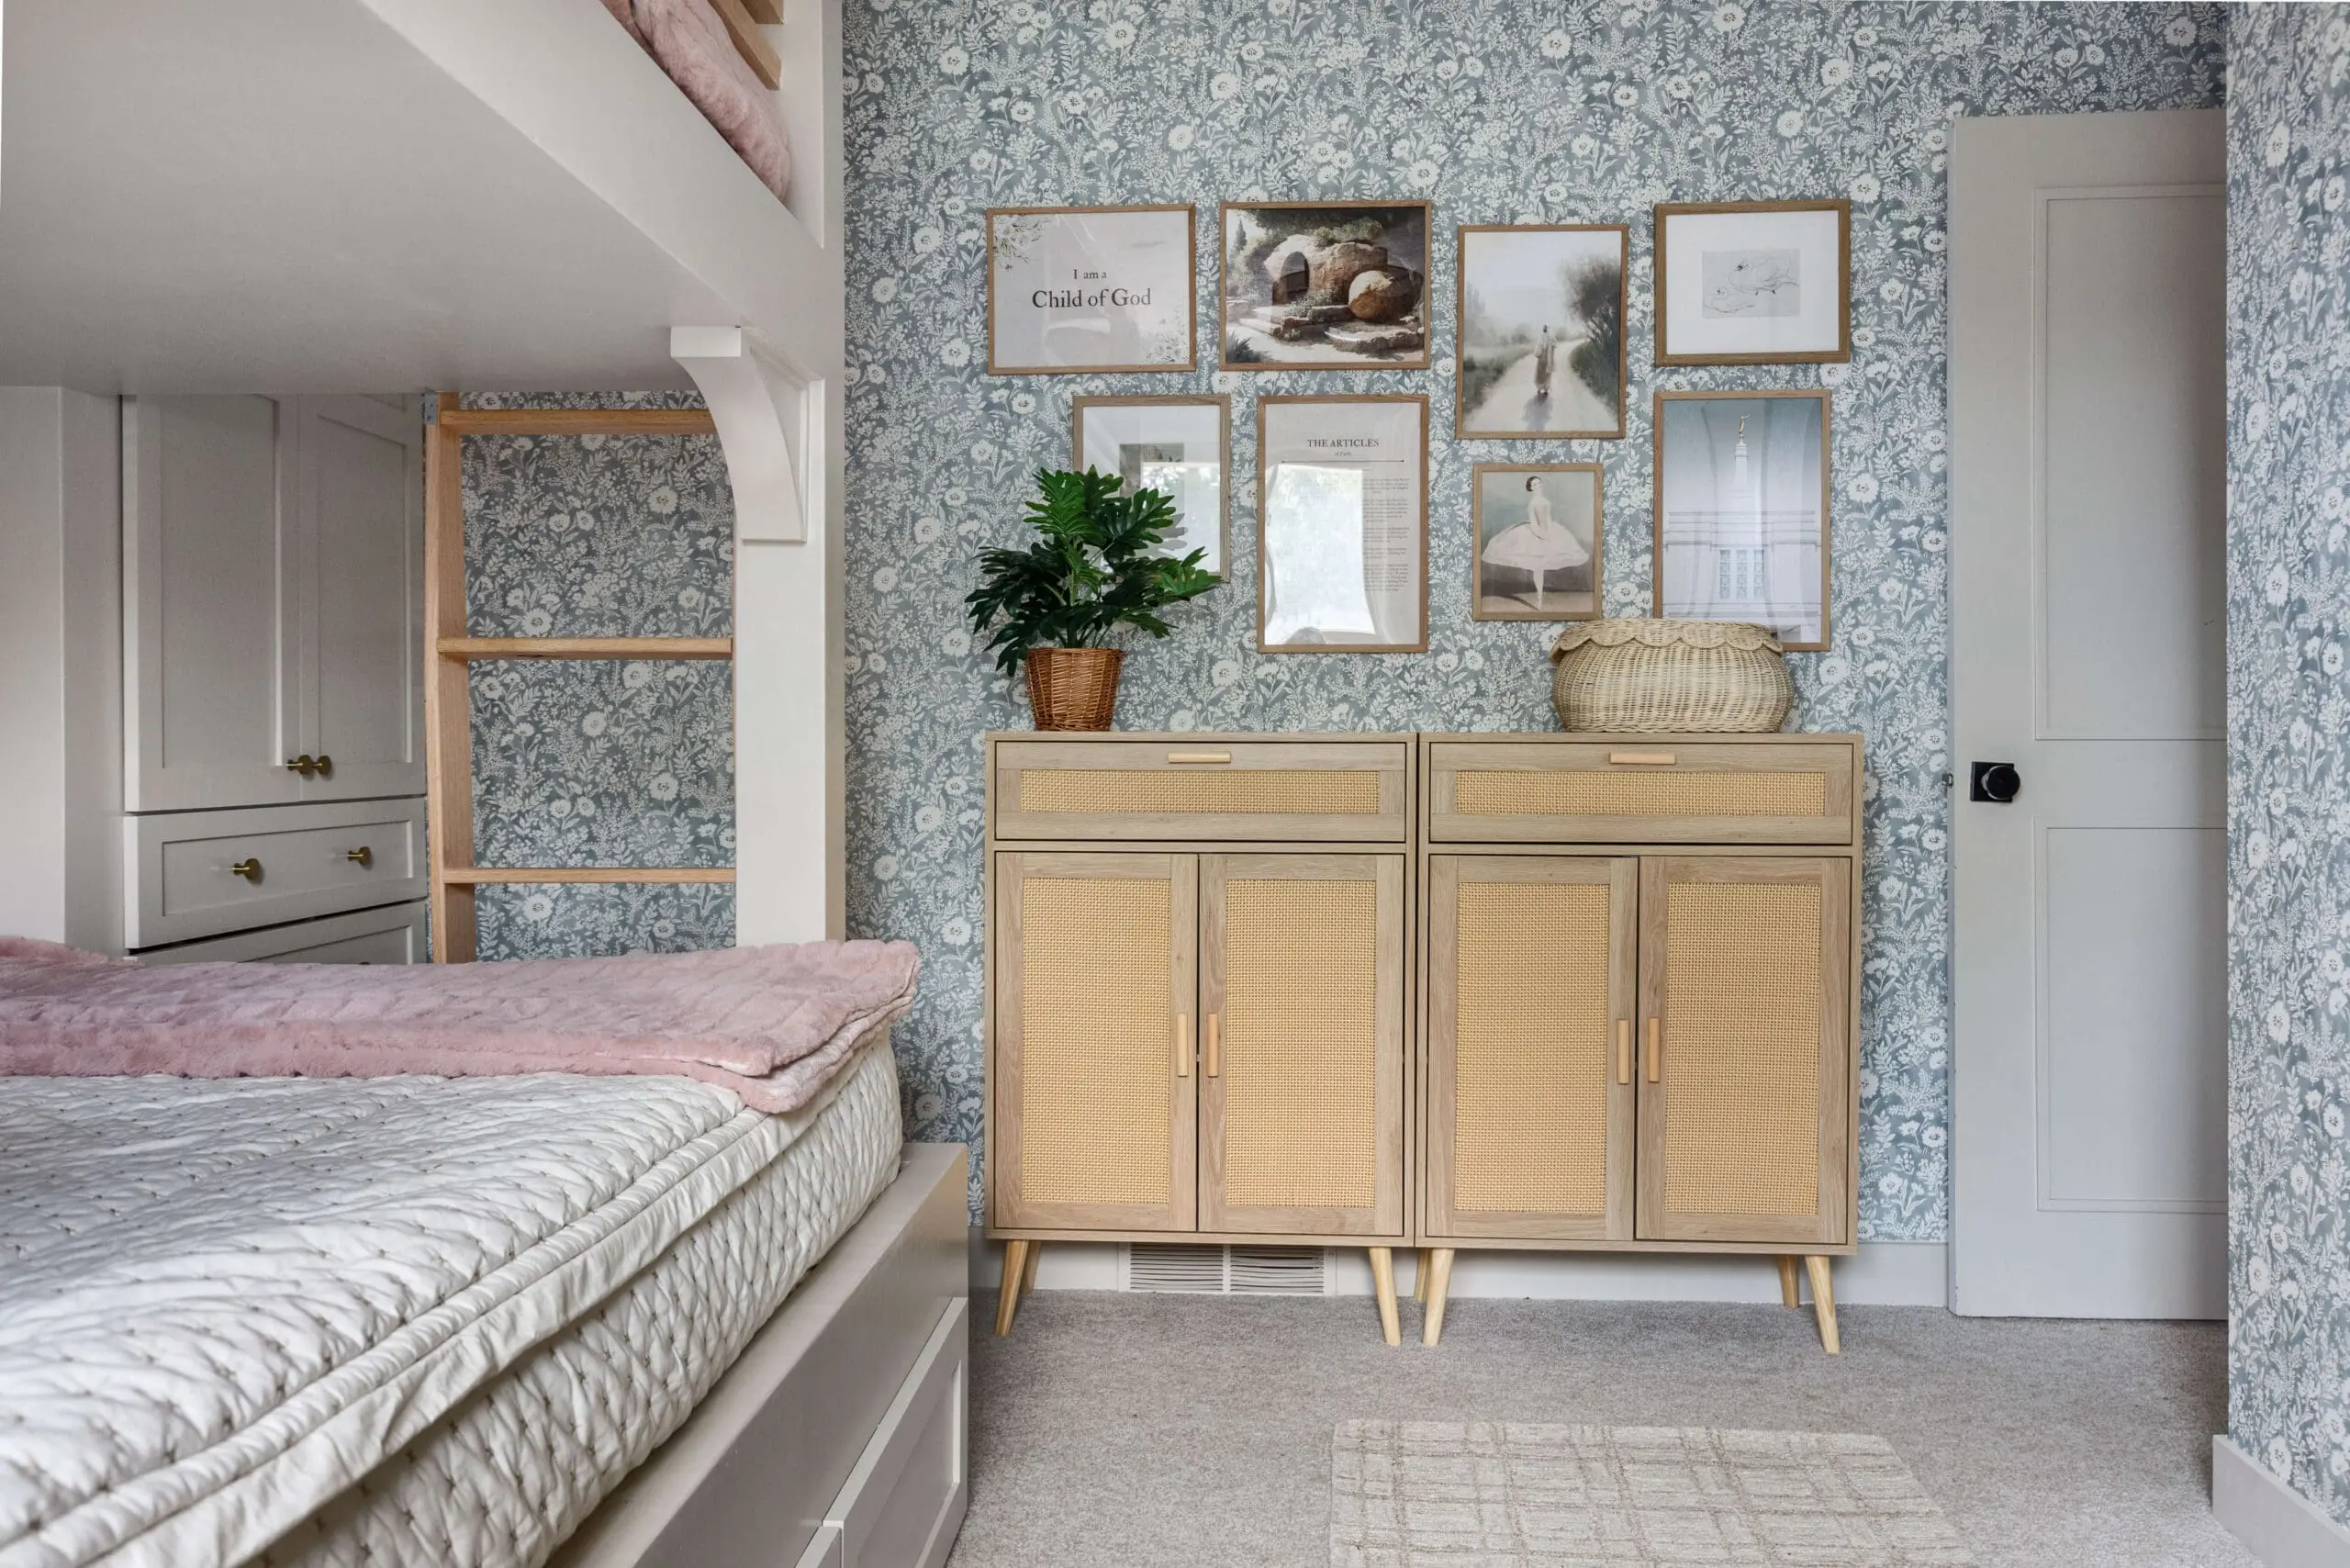
In Part Two of this DIY bunk bed build, I’ll wrap everything with plywood to hide the framing, add safety rails, and finish with decorative touches like trim and corbels. I’ll also paint everything.
I have a separate post showing you how I built a ladder for these bunk beds and links to the gorgeous decor including the wallpaper can be found here.
You can also follow along as I share details on my Instagram. I have a whole highlight dedicated to these DIY bunk beds.

How much did this project cost?
What are the dimensions of the whole set up? Is it a full on top and a queen on the bottom?
Yep – Queen on the bottom and a full on the top.