Freshen your basement with a drop ceiling tile makeover! This project was much easier than I thought it would be, and I’m sharing all the details on how to replace your old, ugly drop ceiling tiles with sleeker, modern tiles I got from Armstrong Ceiling Tile!
Benefits of a Drop Ceiling Tile Makeover
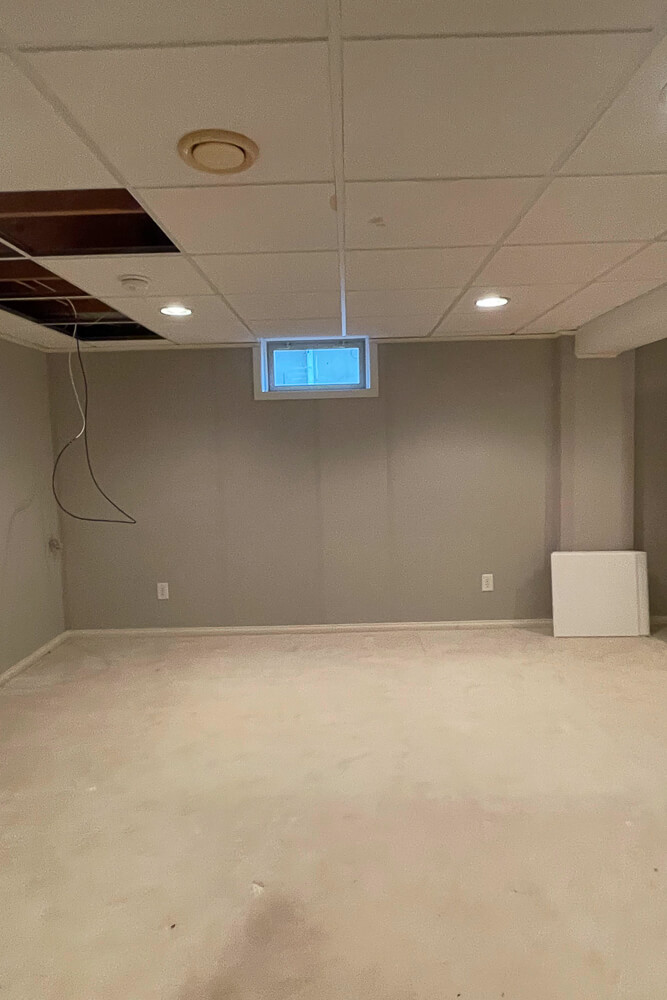
The first thing I said after our initial walk-through of our fixer-upper was, “We are replacing that basement ceiling.” I thought drop ceilings were unattractive, and our new/old basement ceiling was no exception.
BEFORE
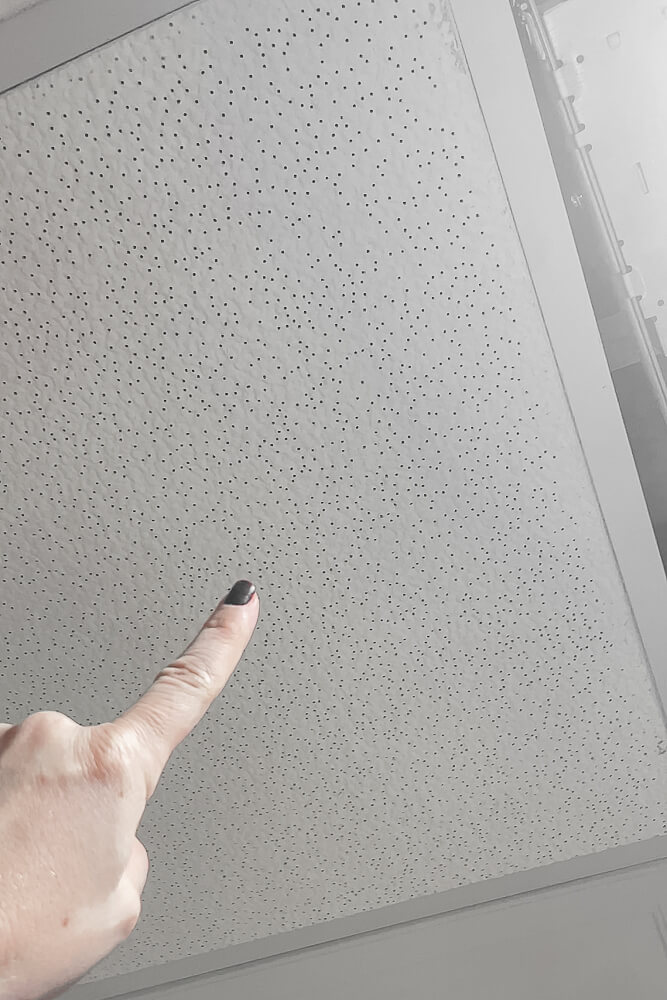
It’s that old style of ceiling tile where when you’re really bored, you can entertain yourself by counting the holes.
But now, I’m singing a different tune. We did a MAJOR kitchen remodel and needed to move plumbing and electrical, and I was soooo grateful we had the ability to remove and replace the tiles. Cutting into ceiling drywall would have been a nightmare. After that experience, I’m a drop ceiling supporter. And so starts our drop ceiling tile makeover journey.
Styles for a Drop Ceiling Tile Makeover
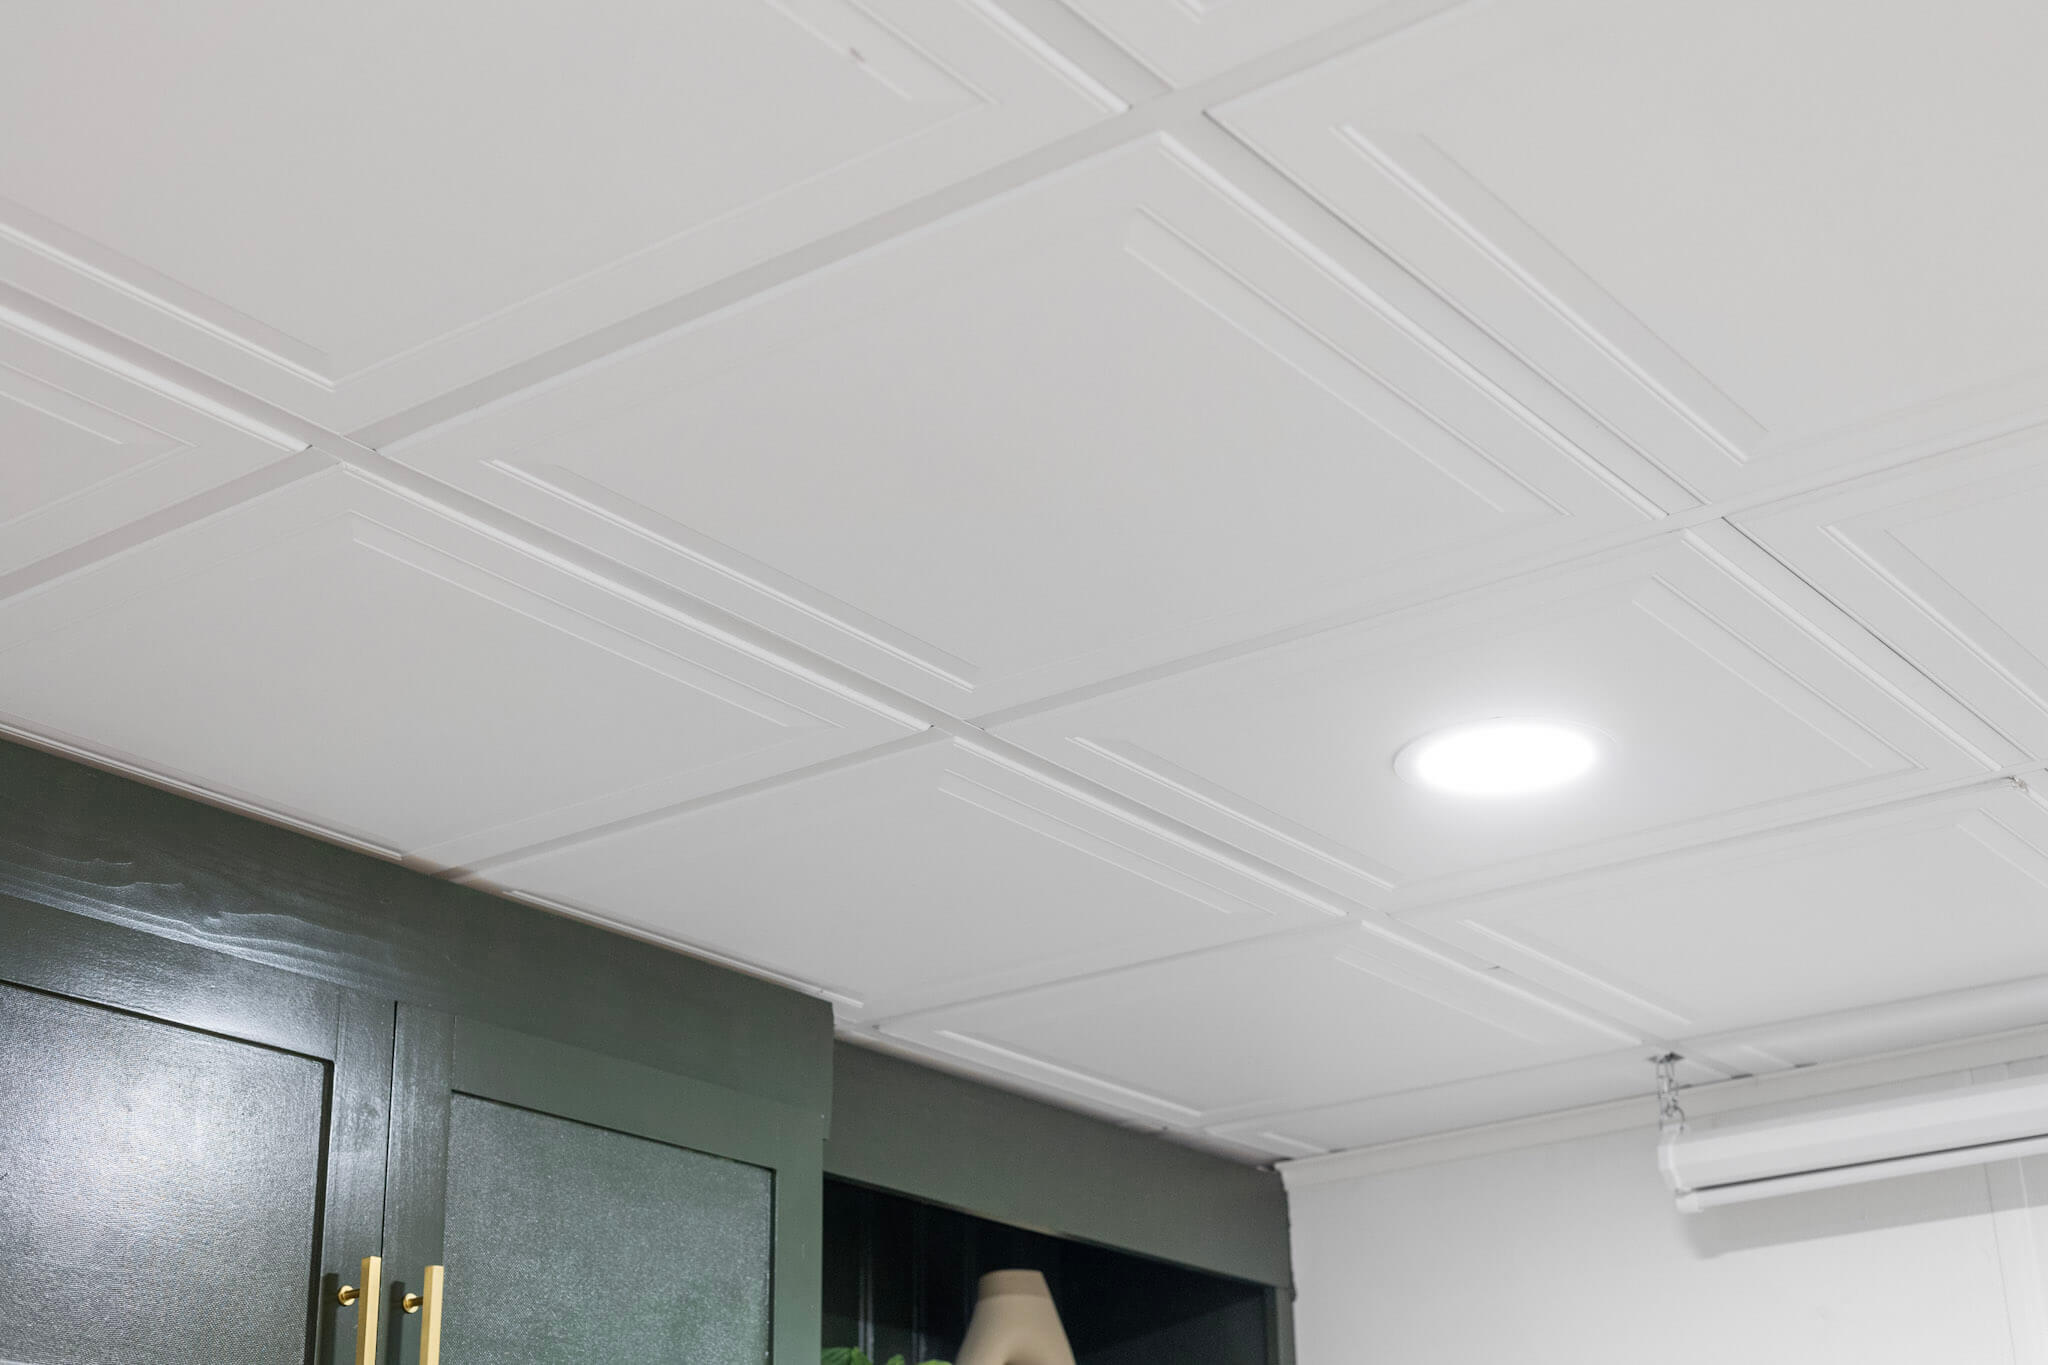
When it finally came time to work on the basement, I started researching drop ceiling tile companies that carried modern looking tile, and I found Armstrong Ceiling Tile. They have a wide variety of styles and sizes to choose from. The style I chose is a 24 x 24 single raised panel.

We measured our ceiling and used Armstrong’s project estimator tool. It made it easy to figure out what styles we were interested in and how much to order. We ordered about 100 tiles and they were shipped out and arrived quickly and safely. They even let you order samples. Definitely utilize their sample offer because it would be very sad to do an entire drop ceiling tile makeover and dislike the results.
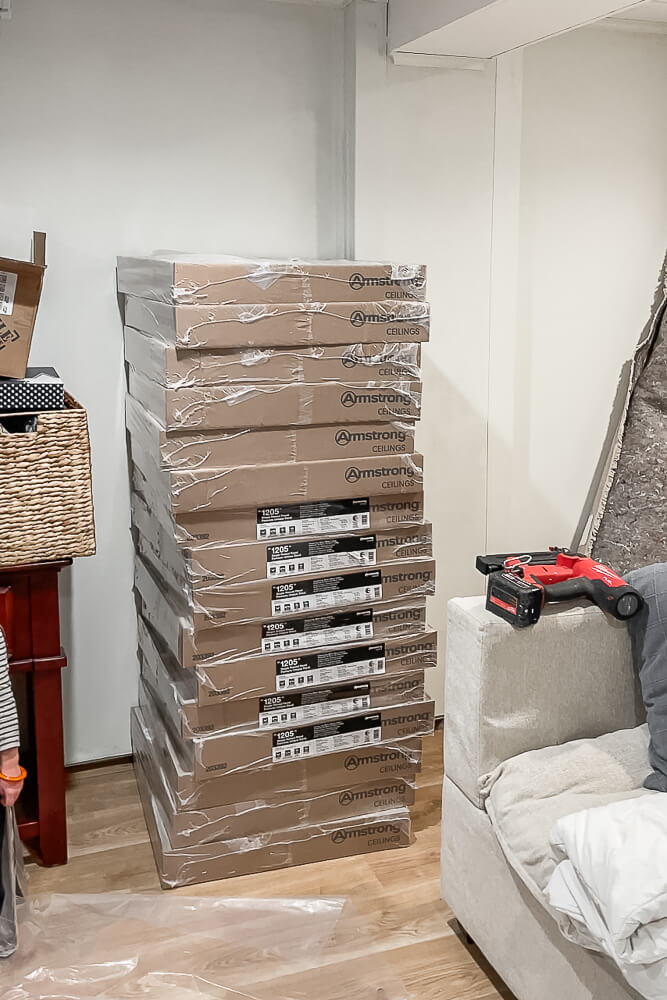
How to Install Drop Ceiling Tiles
The installation process is seriously so easy. Our existing tiles weren’t glued in, and it was as simple as taking one out and putting one in. Armstrong’s ceiling tile is lightweight, but it also provides standard sound dampening, temperature control, and insulation.
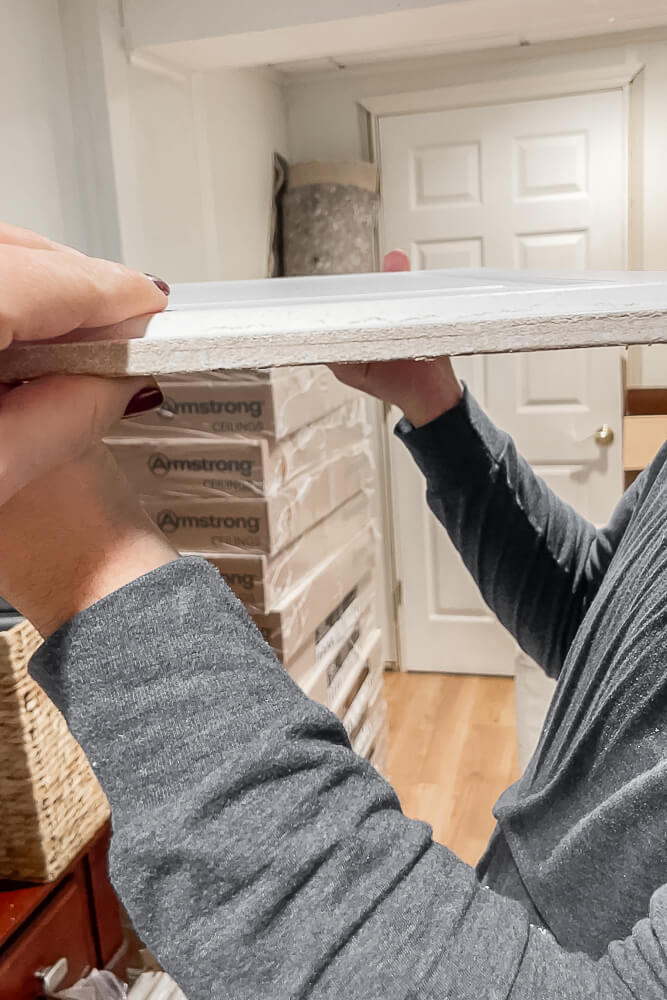
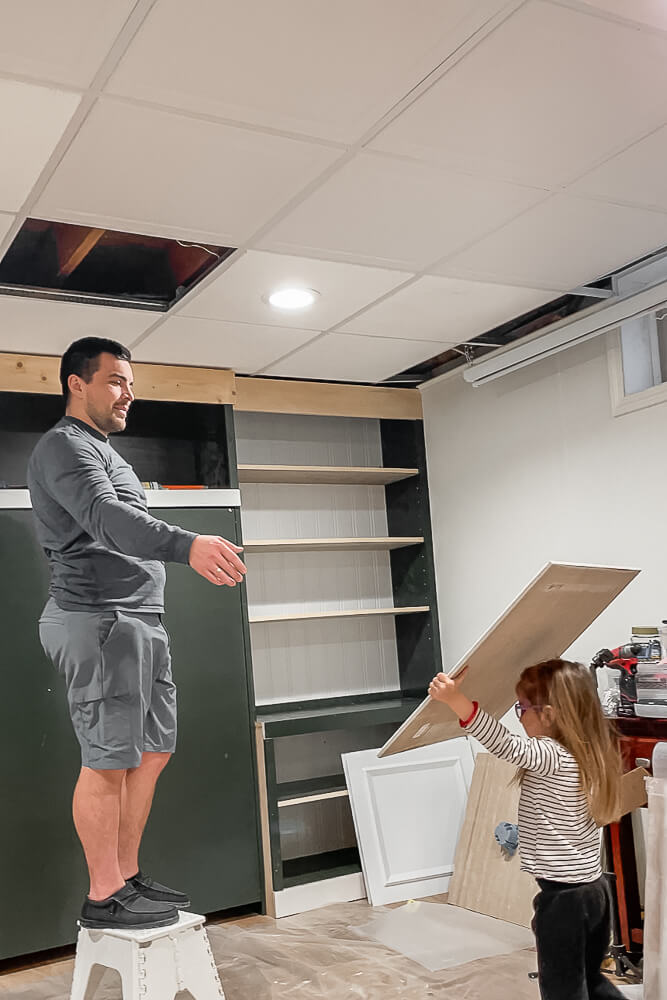
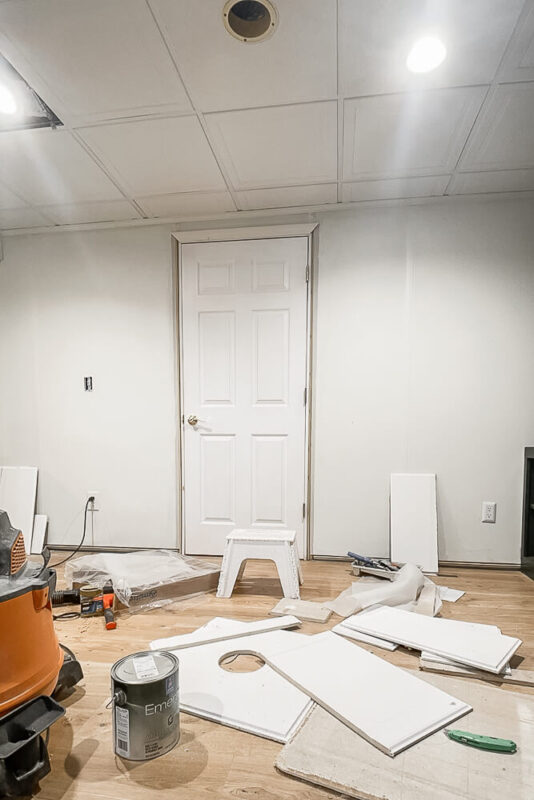
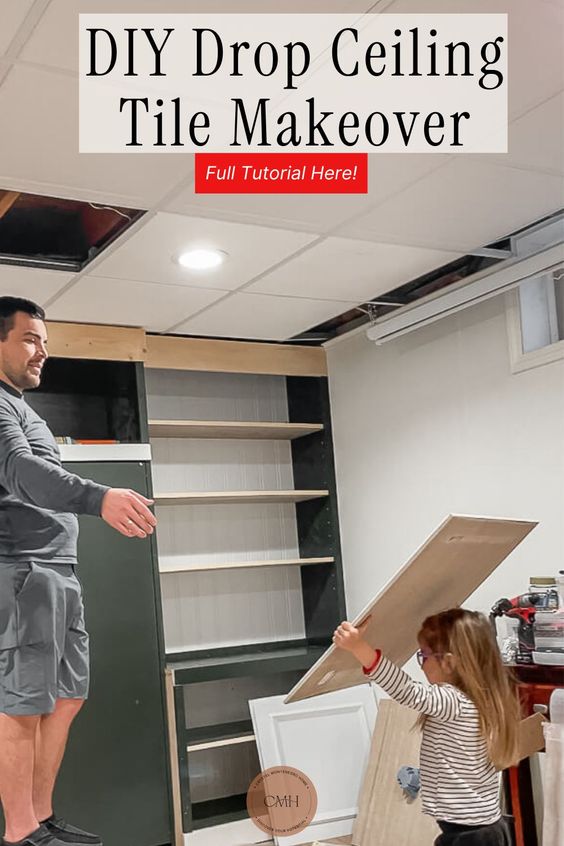
Our girls helped by handing Stuart the tiles so he didn’t have to go up and down the stool.
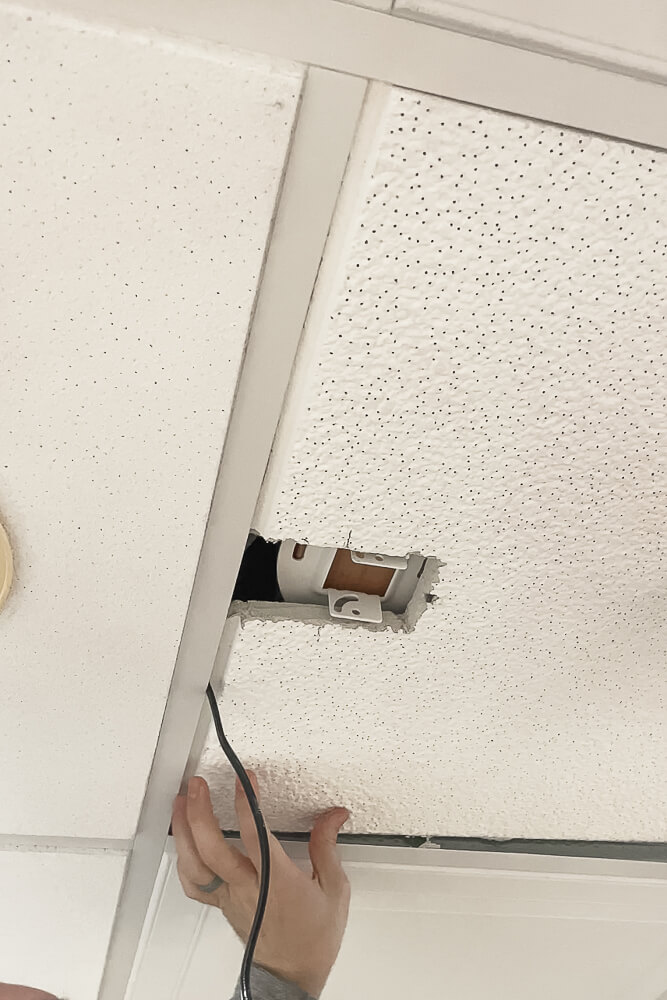
We installed a projector a while back, and so we needed to cut into the new tiles for the wiring. It was easy to use the existing tile as a template, and I used my utility knife to easily cut through the new tiles.
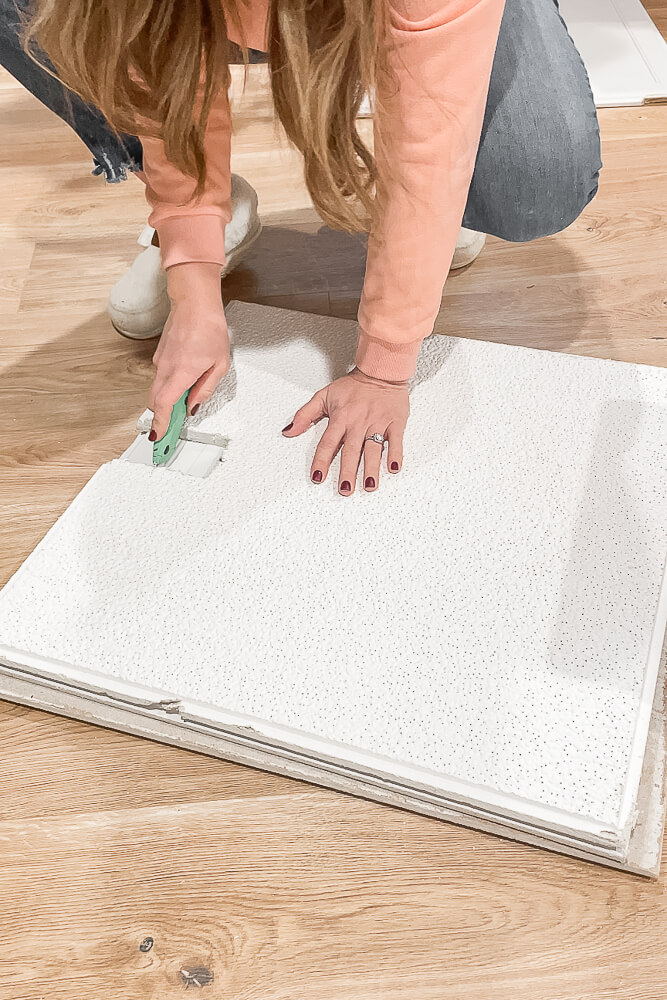
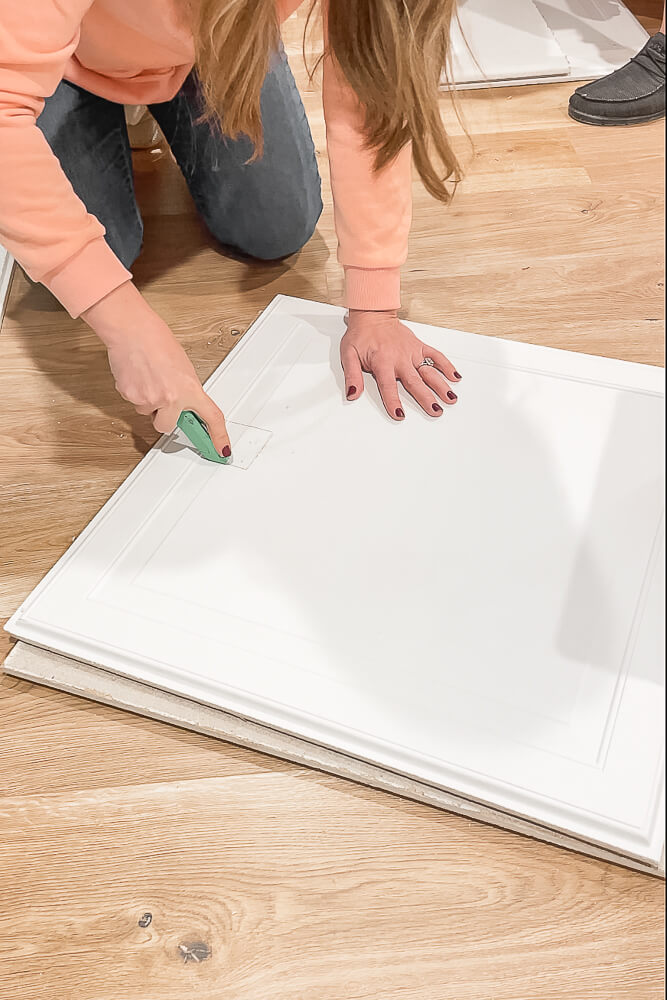
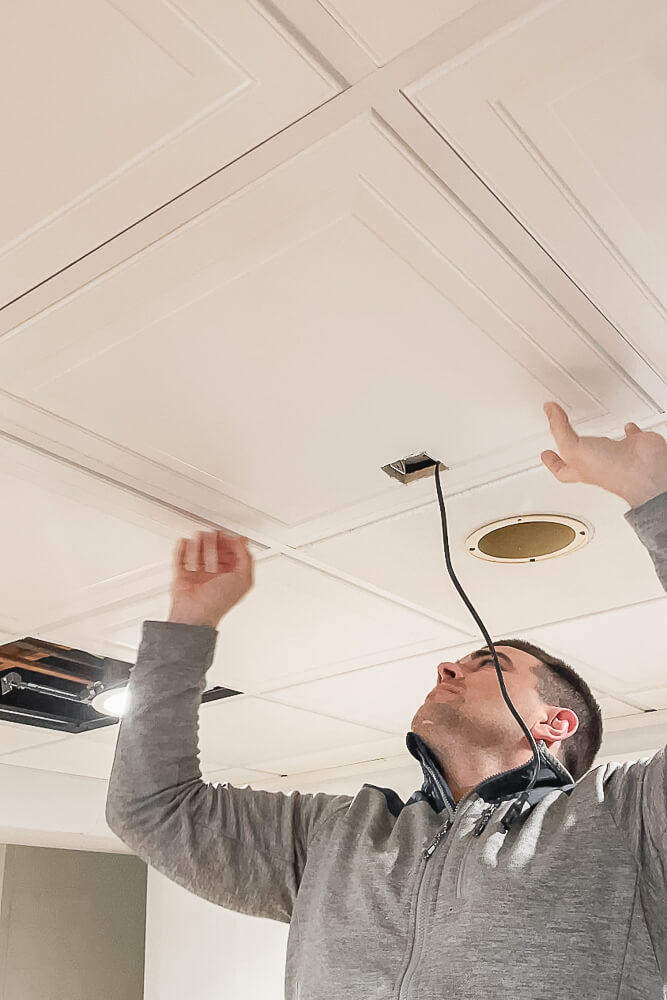
We also used the existing tiles as a template when we got to the outer edges of the room. The Armstrong tiles had to be cut down in order to fit in the existing grid.
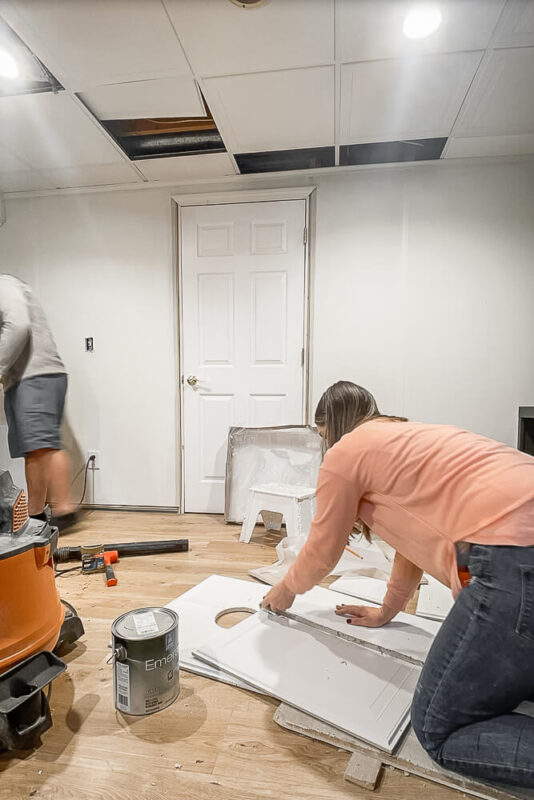
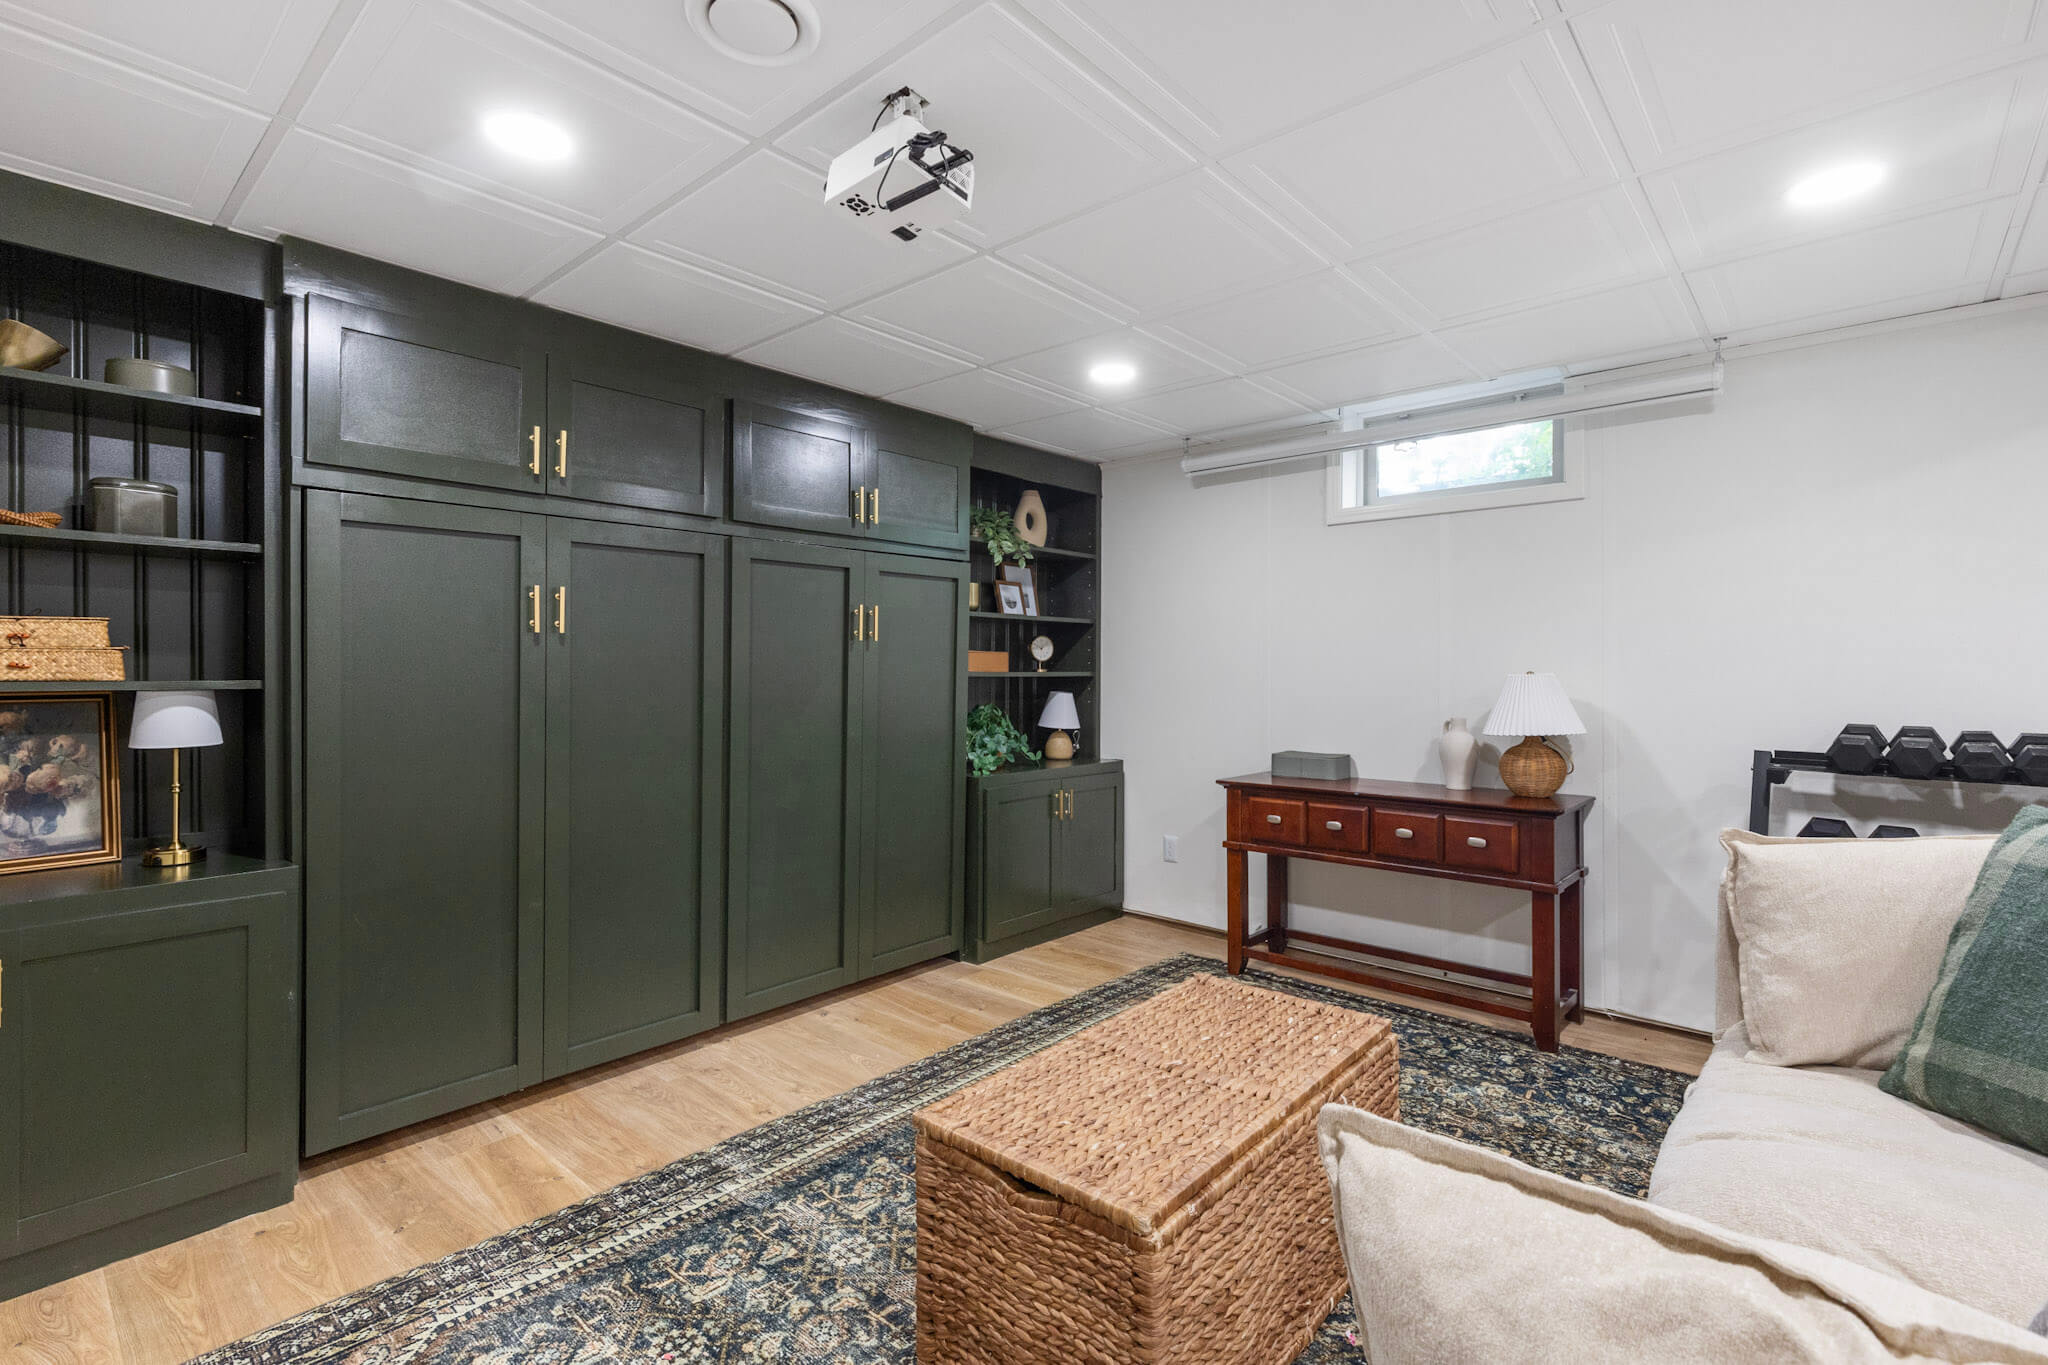
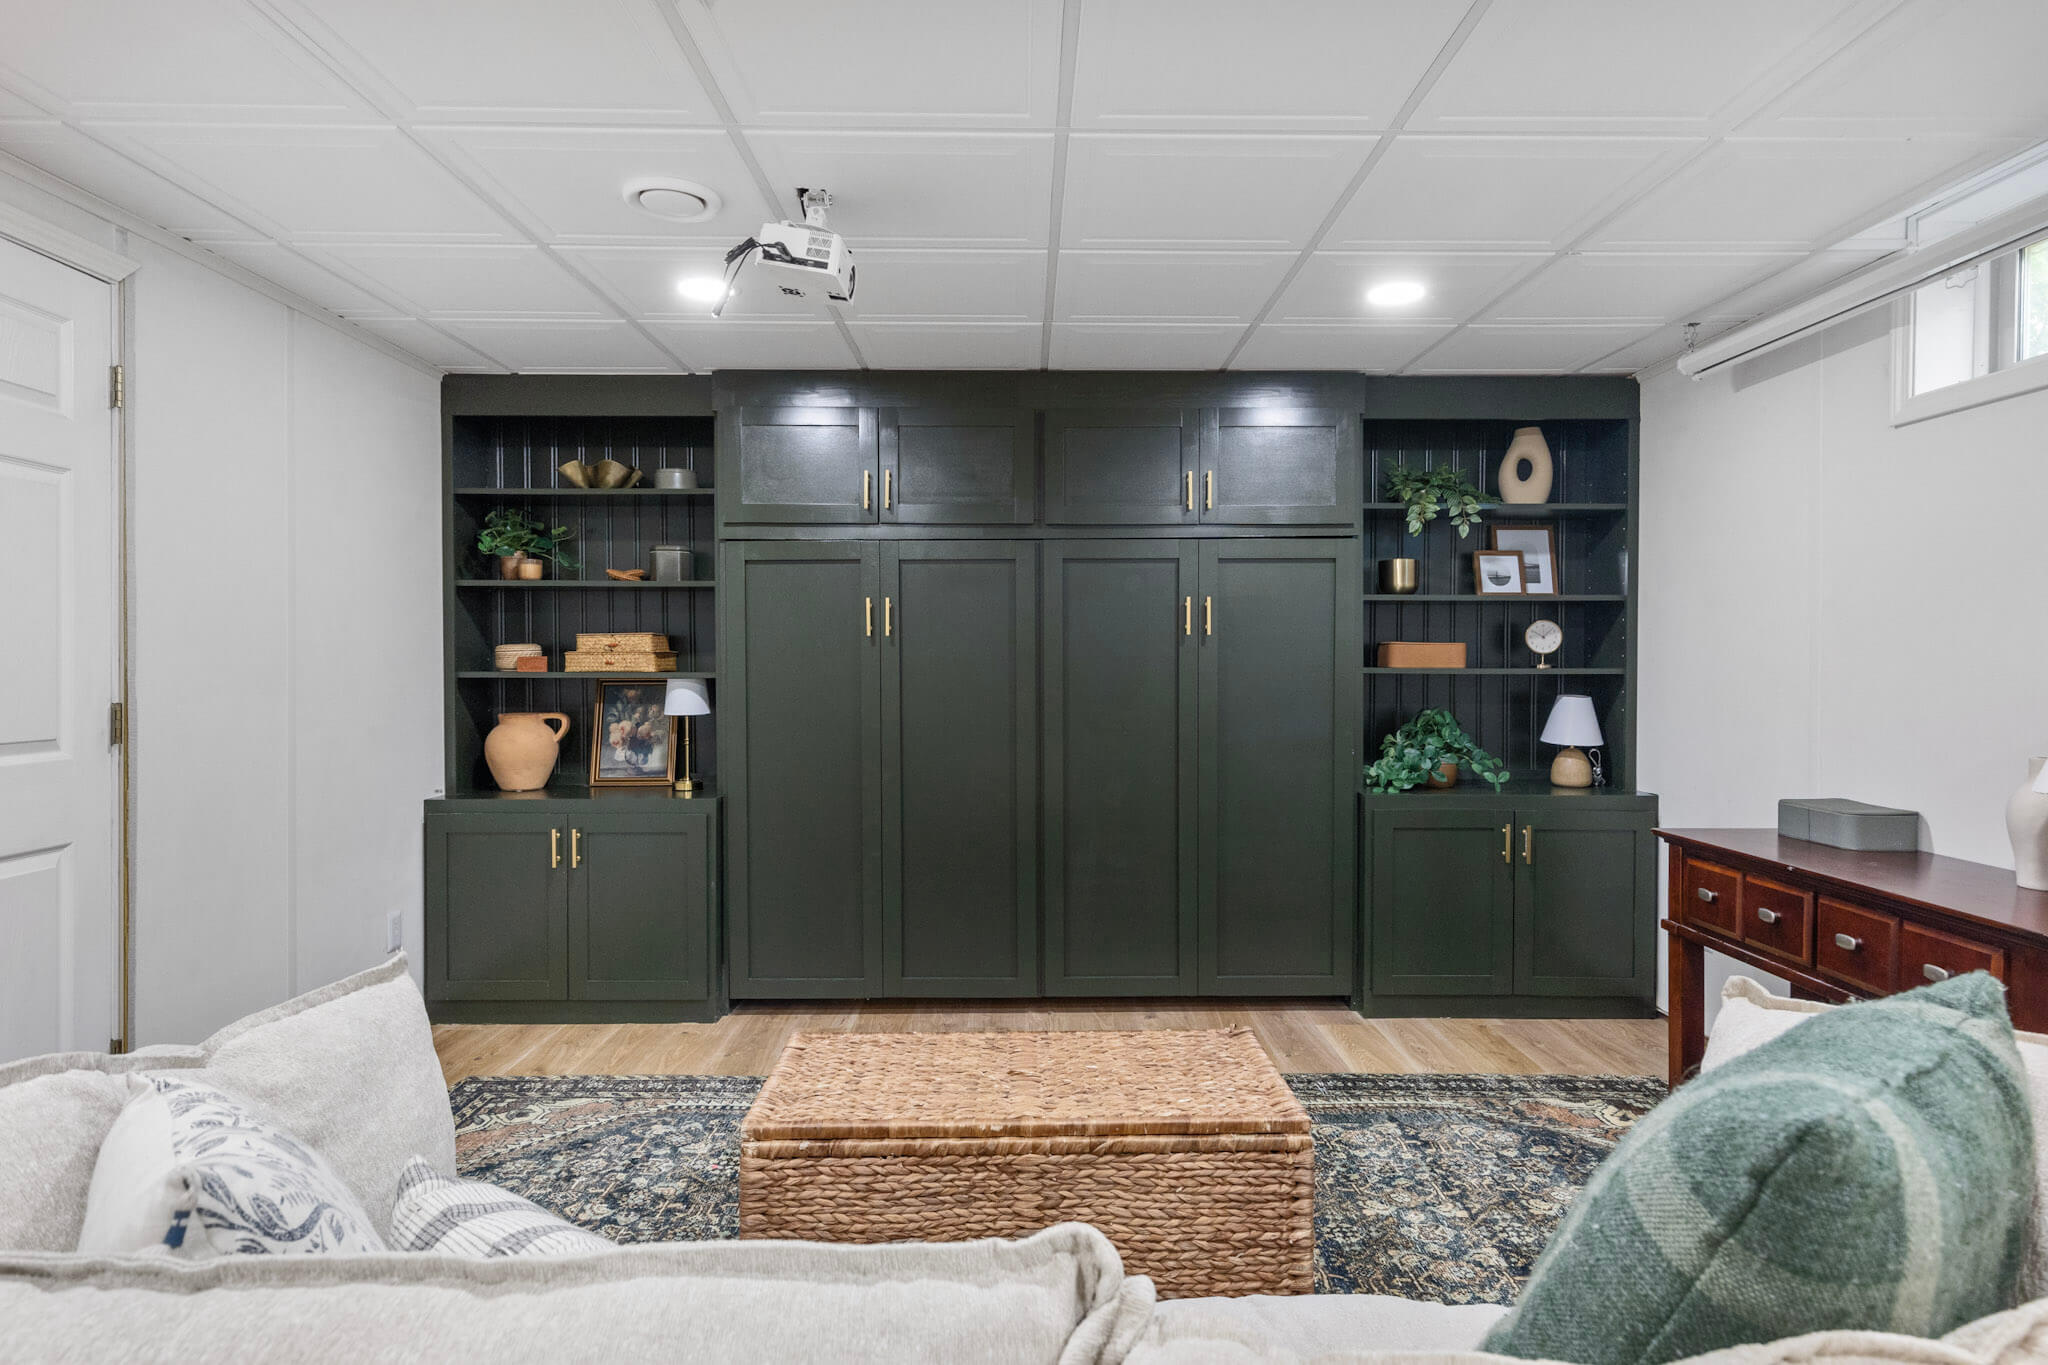
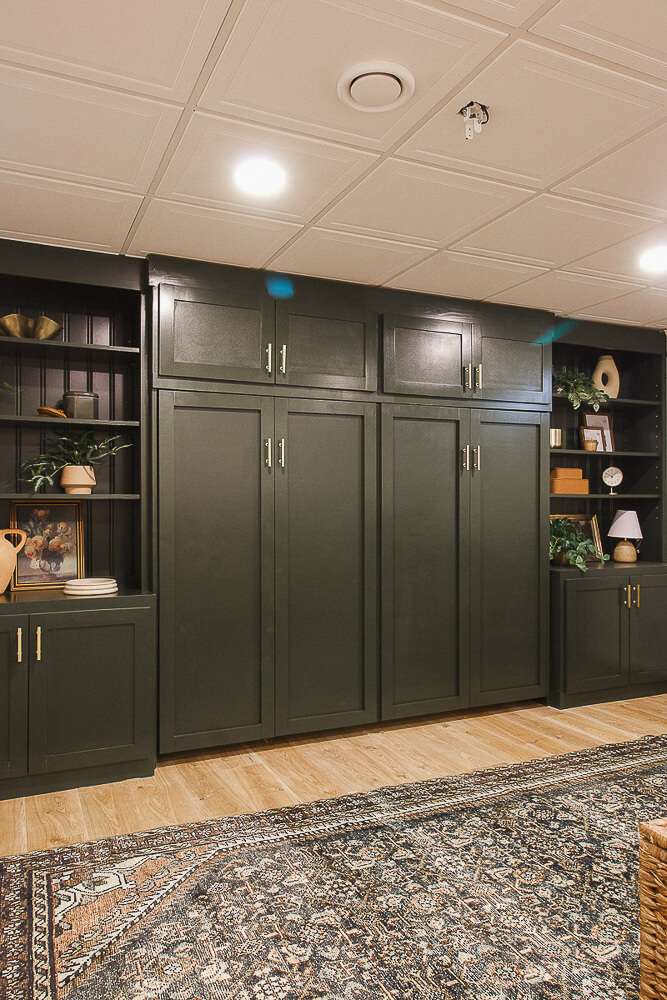
And it’s as easy as that! It took us just a few hours to finish the entire drop ceiling tile makeover. That bed you see is a Murphy Bed which we installed and wrote a blog post detailing the process. It was actually easier than we thought it would be!
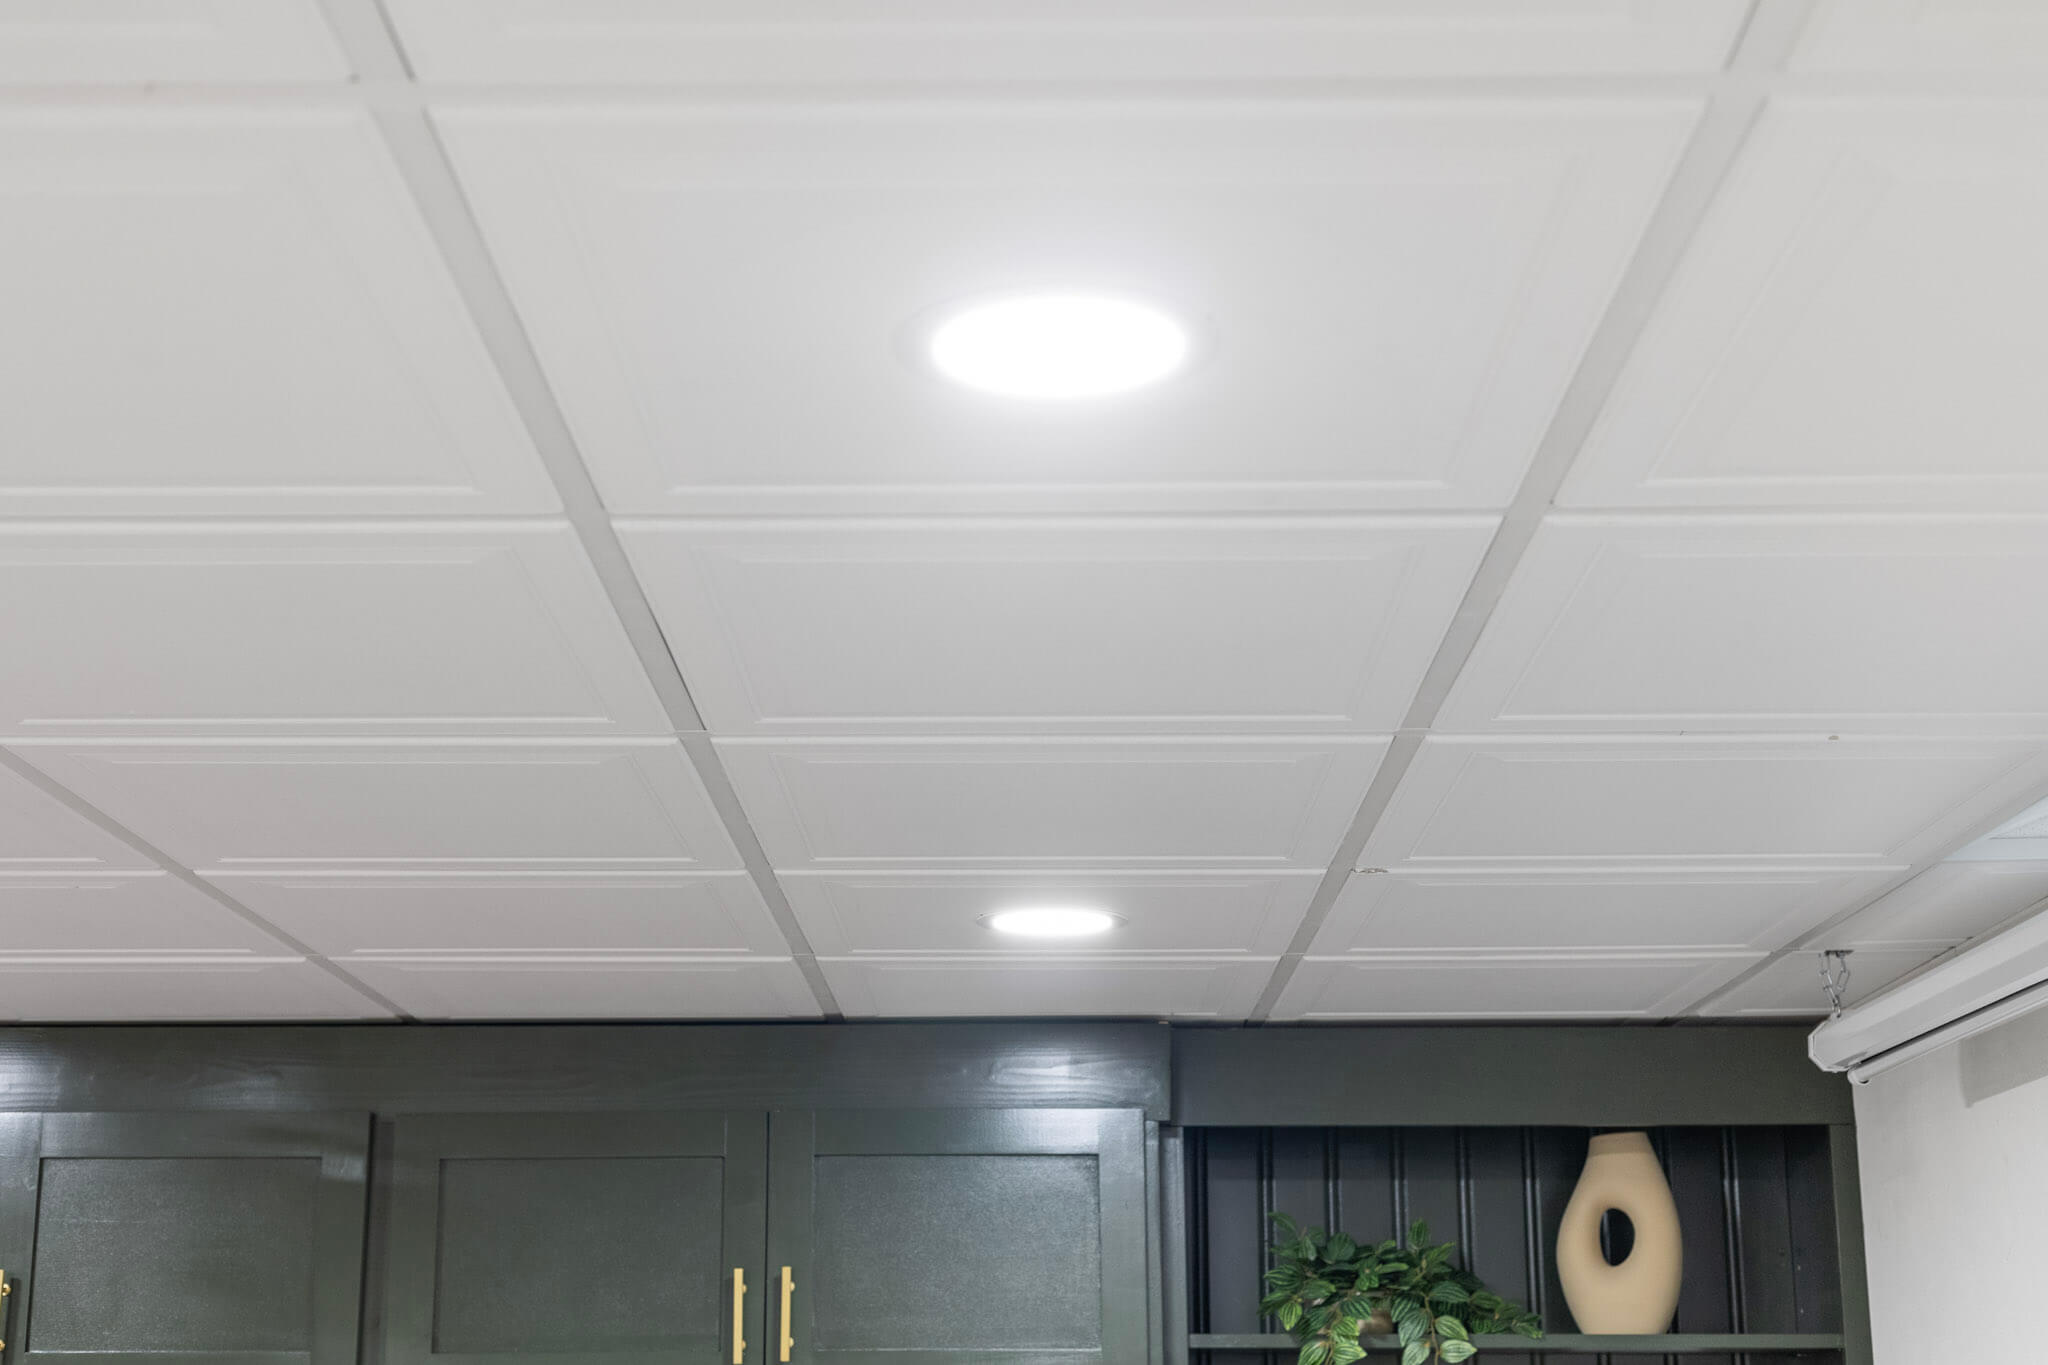
After seeing this transformation, if given the choice, I think we would opt for a drop ceiling in a future basement. The fact that we can have a modern, bright, clean looking ceiling and still be able to access plumbing, electrical, etc, gives me peace of mind. I hope I’ve helped make you a believer as well. Check out all the other styles Armstrong has to offer!
I’ve included all the sources for my Murphy Bed Makeover in the blog post. Most of the items are from Target and are really affordable. I love the color harmony between the greens and the browns. Can you believe it used to look like this?
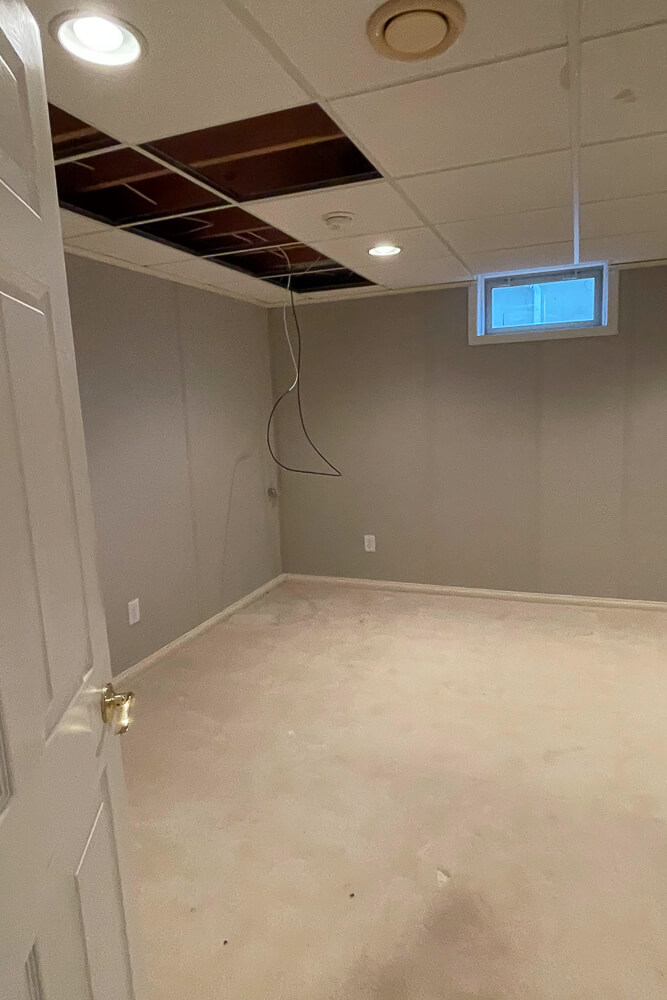
And now look how far it’s come! All the details are in this blog post!
Leave a comment if you have any questions about your own drop ceiling tile makeover. I’m here to help!


Looks good. The price per sqft is steep especially if you have a large ceiling.
It can get pricey but it’s cheaper than putting an actual ceiling in, and less work. Win win!