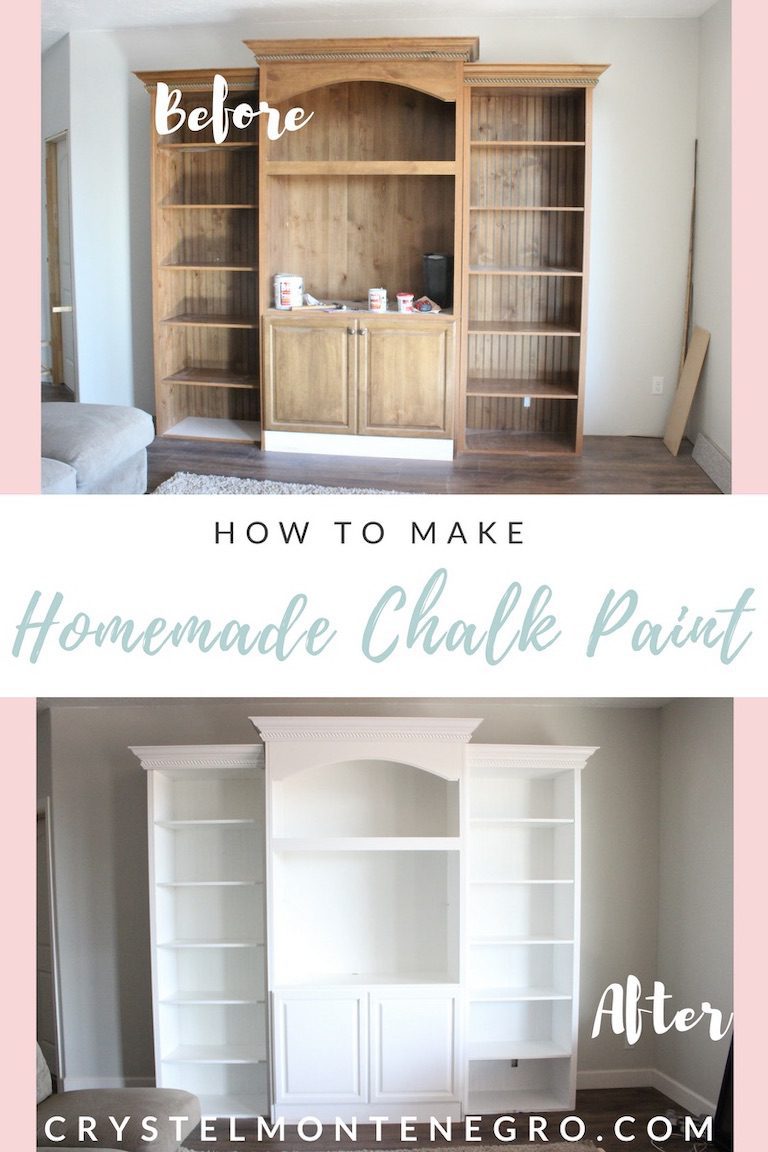
How To Make Homemade Chalk Paint


Updated May 9, 2026
You wanna know what I love about chalk paint? No prep. Yeah, you heard me right. No sanding, no stripping, no priming. You just slap the stuff on whatever you’re painting, cover it with a water based polyurethane and continue on your merry little way.
Okay, so that’s not exactly how painting this entertainment center went, but it was only because this sucker was a BEAST to paint. If I would have been smart, I would have borrowed my sisters paint sprayer and done it in a single day all at once. Instead, I hand-painted what I could each day over the course of about 3 weeks because it was so time consuming and because I have a million other things to do with my time, as mothers usually do. But hey, at least I didn’t have to prep!
So, let me show you how this baby looked about 3 weeks ago.
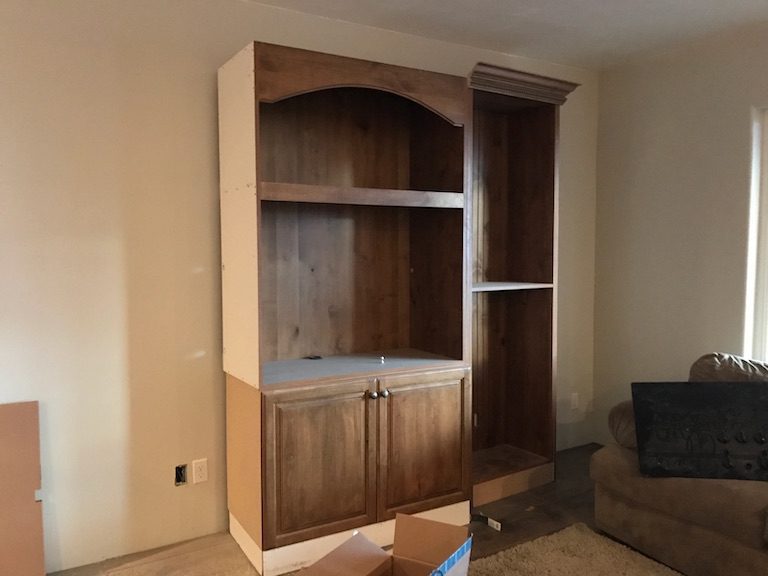
Uh, yeah. No shelves, missing trim, and an entire missing bookshelf. So the story with this is, my sister and brother-in-law moved this from Las Vegas and had to take it apart to fit it. It came as a whole set of home furniture. So, if you notice, the bookshelf on the right doesn’t even really belong to the middle piece. So to make it look like it fit, we wacked off the bottom 6 or 8 inches of the bookshelf and rebuilt the other bookshelf to match. Then put in the shelves and cut and installed the trim. You’d never know, huh? And this all done with a finishing nail gun. Now how ’bout that?
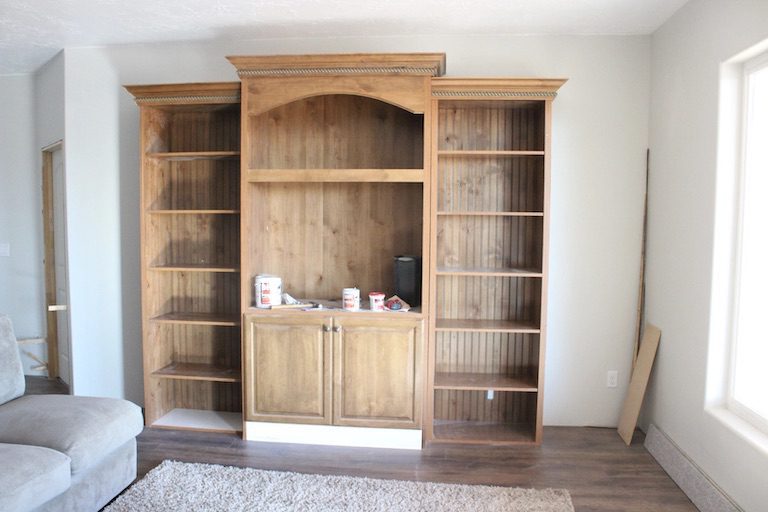
So next came the paint. As much as I like to DIY, I also like to not spend days and weeks finishing one single project, if I can help it. Apparently I couldn’t help it on this one because that’s exactly what happened, although by using chalk paint I did cut a considerable amount of time off of finishing my project because I didn’t have to prep. I had heard that chalk paint also has really great coverage, and I’m sure that is probably true with some brands of paint but the latex paint I used was pretty much as cheap as it gets (the cheapest Glidden paint was what I used) so I still had to do quite a few coats of paint to get it to cover completely. If you’re more into saving time than you are money, then by all means, get the cheap stuff. But if I were to do this again I’d probably invest in some paint with a little better coverage.
Okay, so here’s the recipe for chalk paint:
1/2 cup water
1/2 cup Plaster of Paris
1 cup Latex paint
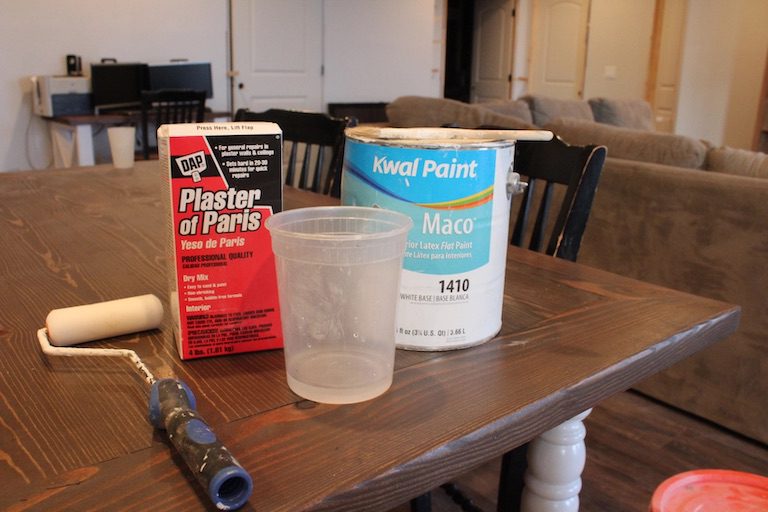
That’s it! That’s all you need to make chalk paint. You probably don’t want to add any more than that, especially to white paint because it might tint the color, but I have seen recipes that use less to decrease the grittiness. I actually used 1/3 cup of water/plaster of paris at first and didn’t really notice a difference in the grittiness when I switched to 1/2 cup. I did feel like it adhered better though and gave it a little better coverage with more plaster of paris. And in the end after the poly coat the grittiness didn’t really matter anyway because it had a nice shiny sheen over it.
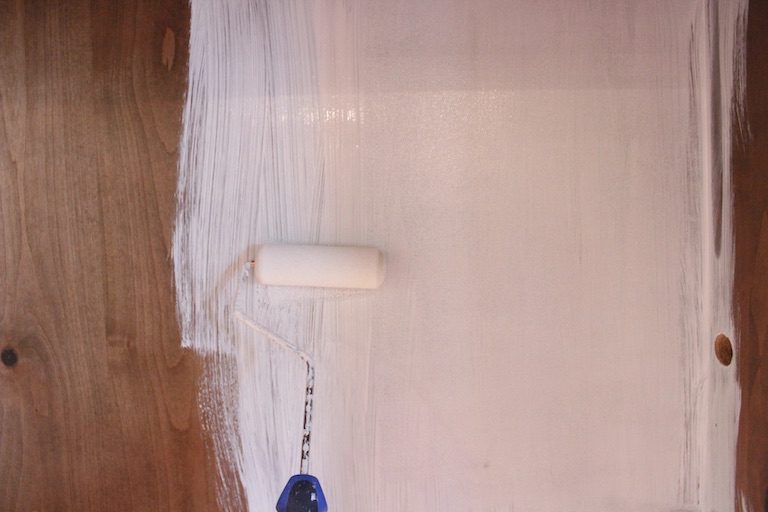
One thing about chalk paint is that you can see the brush strokes pretty easily. If you like that look, congratulations, this will be just a teensy bit easier for you. I can appreciate a little vintage here and there but my personal taste doesn’t allow for too much of it on one piece. I like a more classic sleek look. So, to get rid of the brush strokes I simply used a small smooth foam roller after I applied the paint with my natural bristle brush.
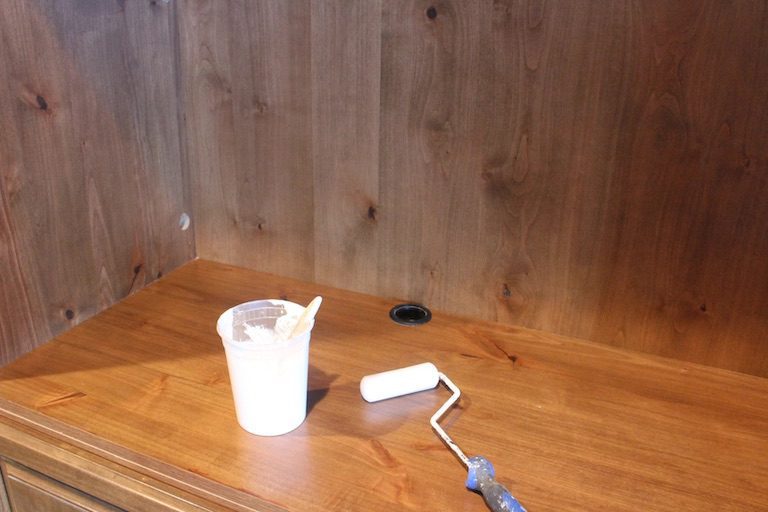
I feel like the paint brush can get the paint on a lot quicker and thicker than just painting it solely with the roller, so I like to use both. Plus with this entertainment center I had all those tricky nooks and crannies that the roller couldn’t reach, and my paint brush fixed that. I’d say they make a good team.
Tip: If you like a nice, smooth finish I would definitely recommend not only using the foam roller brush but also using a low grit sandpaper in between each fully dried coat to smooth it out. I used a 220 grit sandpaper on mine.
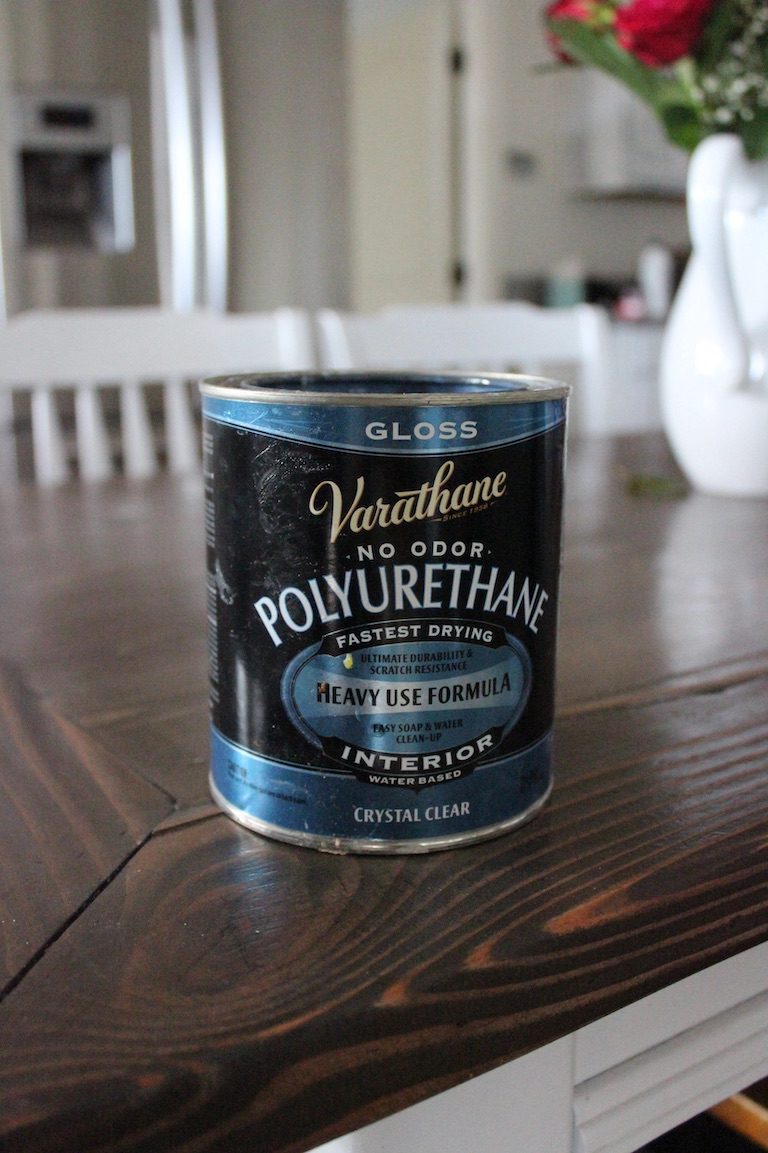
And once you’ve finally got your paint on, the last step would be to protect your paint with a top coat. If you’re painting something white, I definitely recommend using something other than the Minwax clear water based polyurethane because I’ve heard complaints that it gives it a slightly yellow tint. So, to avoid that I used instead the Varathane brand and it worked beautifully! I would also recommend doing a couple of coats of this for extra protection over your newly painted whatever.
**IMPORTANT NOTE: Since this is a latex based paint, you’re going to want to make sure you’re using a water based polyurethane. Otherwise, it may not stick and not sticking = 99 problems.
And finally, the finished product.
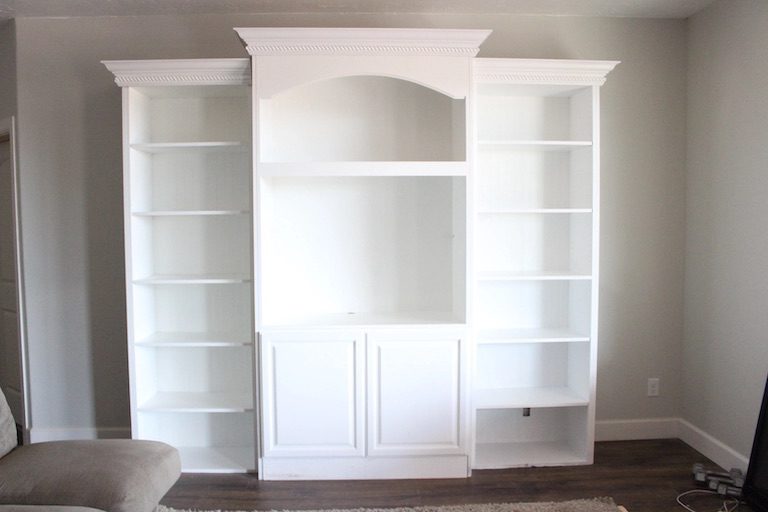
Ahhhhhh. Do you see that? That is what freedom looks like. I really did breathe a sigh of relief when I finally finished painting because it had taken me SO. DANG. LONG. Every time I looked at my half finished project it would just nag and nag and nag at me and plead with me to stop being so busy and pay it some attention. And so I did! Slowly, but surely. And now I can finally do my favorite part, the decorating! You had better believe there will be a post up on that. Or maybe even a couple. Stay tuned!
Until next time,
XOXO
~Crystel