Looking for the easiest royal icing recipe for decorating gingerbread houses? You’re in the right place! When you’re decorating gingerbread houses, a tub of store-bought frosting is just not going to cut it. It’s delicious, but it’s too soft and fluffy for decorating and not sticky enough for holding candy on. The secret to those crisp white lines and candy that actually stays put is royal icing.
Royal icing is thicker than regular frosting and dries fast and hard, which is exactly what you want for decorating and building gingerbread houses. It is strong enough to glue candy to vertical surfaces and sturdy enough to hold your whole house together. BUT… I have a little trick that makes assembling the houses even easier, and I’ll share it in just a minute.

So what is the difference between a royal icing recipe you make at home and the tub of frosting from the grocery store?
For decorating, outlining, and adding details, royal icing wins every single time.
The good news is that this royal icing recipe is so simple to make. You only need a few basic ingredients:
That is it. Three ingredients and you are in business.
This royal icing recipe will come together in less than 10 minutes!
An electric mixer is a MUST here. I use my Bosch mixer, but another stand mixer or even a handheld mixer will work great. Mixing royal icing to the right consistency by hand would be a serious workout and feat of human strength.


Once you’ve finished the royal icing recipe, the real fun begins. I like to scoop some into smaller bowls, so I can tint the icing different colors. A little gel food coloring goes a long way.
From there, everything goes into bags for easy decorating. You can use:
Piping bags make it so much easier to get clean lines for brick patterns, roof shingles, icicles, and little wreaths around the windows.
I make this royal icing recipe every year when we throw our gingerbread house decorating party, and it’s one of my favorite Christmas traditions. Kids, cousins, friends, grown-ups, everyone gathers around the table with trays full of candy and bags of royal icing.

The super secret shortcut: we use graham crackers instead of baking gingerbread. I supply stacks of graham crackers, guests bring a myriad of candy and other decor, and everyone gets creative designing their own house. For more party details, check out my post – How to Throw the Best Gingerbread House Party.
Not only does using graham crackers save me time, it also makes the houses more customizable. People can make tall houses, wide cottages, boats, trains, whatever their imagination comes up with, just by cutting and rearranging crackers.
Since these houses are mostly for display and no one is really going to eat them, we assemble everything with hot glue guns. It sounds a little wild at first, but it makes the assembly so fast and so sturdy. Walls go up in seconds, roofs stay put, and then all the royal icing can be used just for the fun decorating.

One last pro tip that makes a huge difference: If you want to do any fancy piping on your house, decorate the pieces while they are still flat on the table, before you assemble your gingerbread house. So much easier!
Thick, sturdy royal icing that works like edible glue for gingerbread houses. Perfect for outlining, piping details, and holding candy in place all night long.
3 large egg whites, room temperature
or about 1/3 cup pasteurized liquid egg whites
1/2 teaspoon cream of tartar
4 cups powdered sugar, sifted
Gel food coloring, optional
Whisk egg whites and cream of tartar
Add the 3 large egg whites and the 1/2 tsp cream of tartar to the bowl of a stand mixer fitted with the whisk attachment. Mix on medium speed until the mixture is foamy.
Slowly add powdered sugar
Turn the mixer to low and add the 4 cups of powdered sugar a little at a time so it does not puff out of the bowl. Scrape down the sides as needed until all of the sugar is incorporated.
Beat until very thick and glossy
Once the sugar is fully mixed in, increase the speed to medium high and beat for another 5 to 7 minutes. The icing should look thick, shiny, and hold stiff peaks when you lift the whisk. This extra mixing time is what gives royal icing its strength.
Adjust the consistency if needed
For assembling houses, keep the icing very stiff. If it’s too stiff, you can add a few drops of water at a time to thin it out. If it gets too thin, mix in a little more powdered sugar.
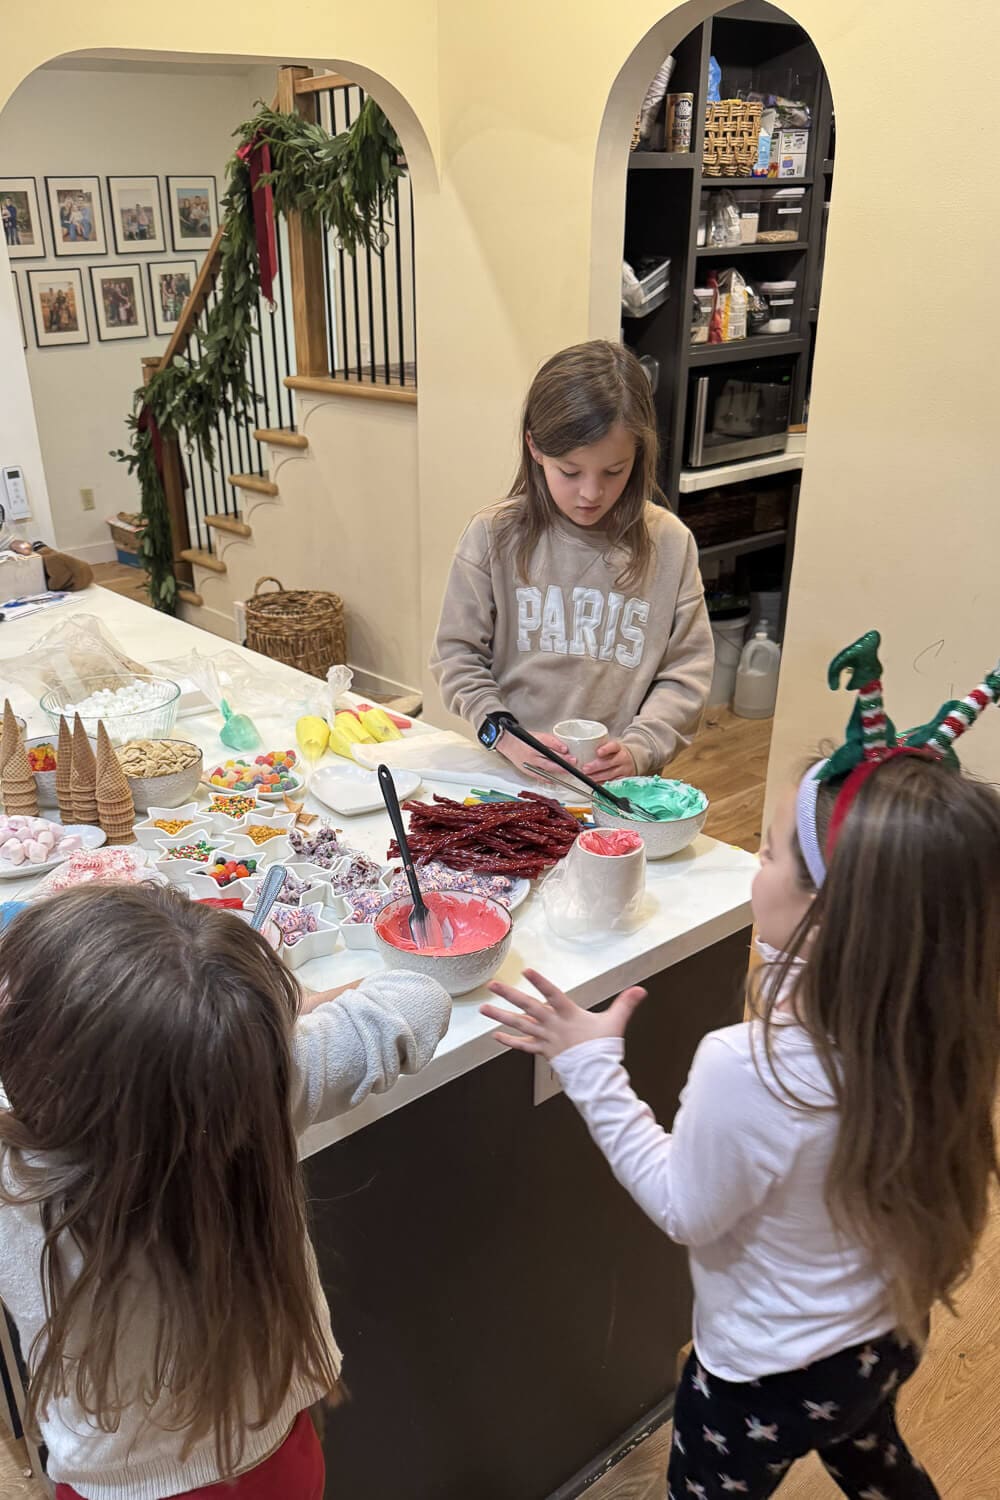
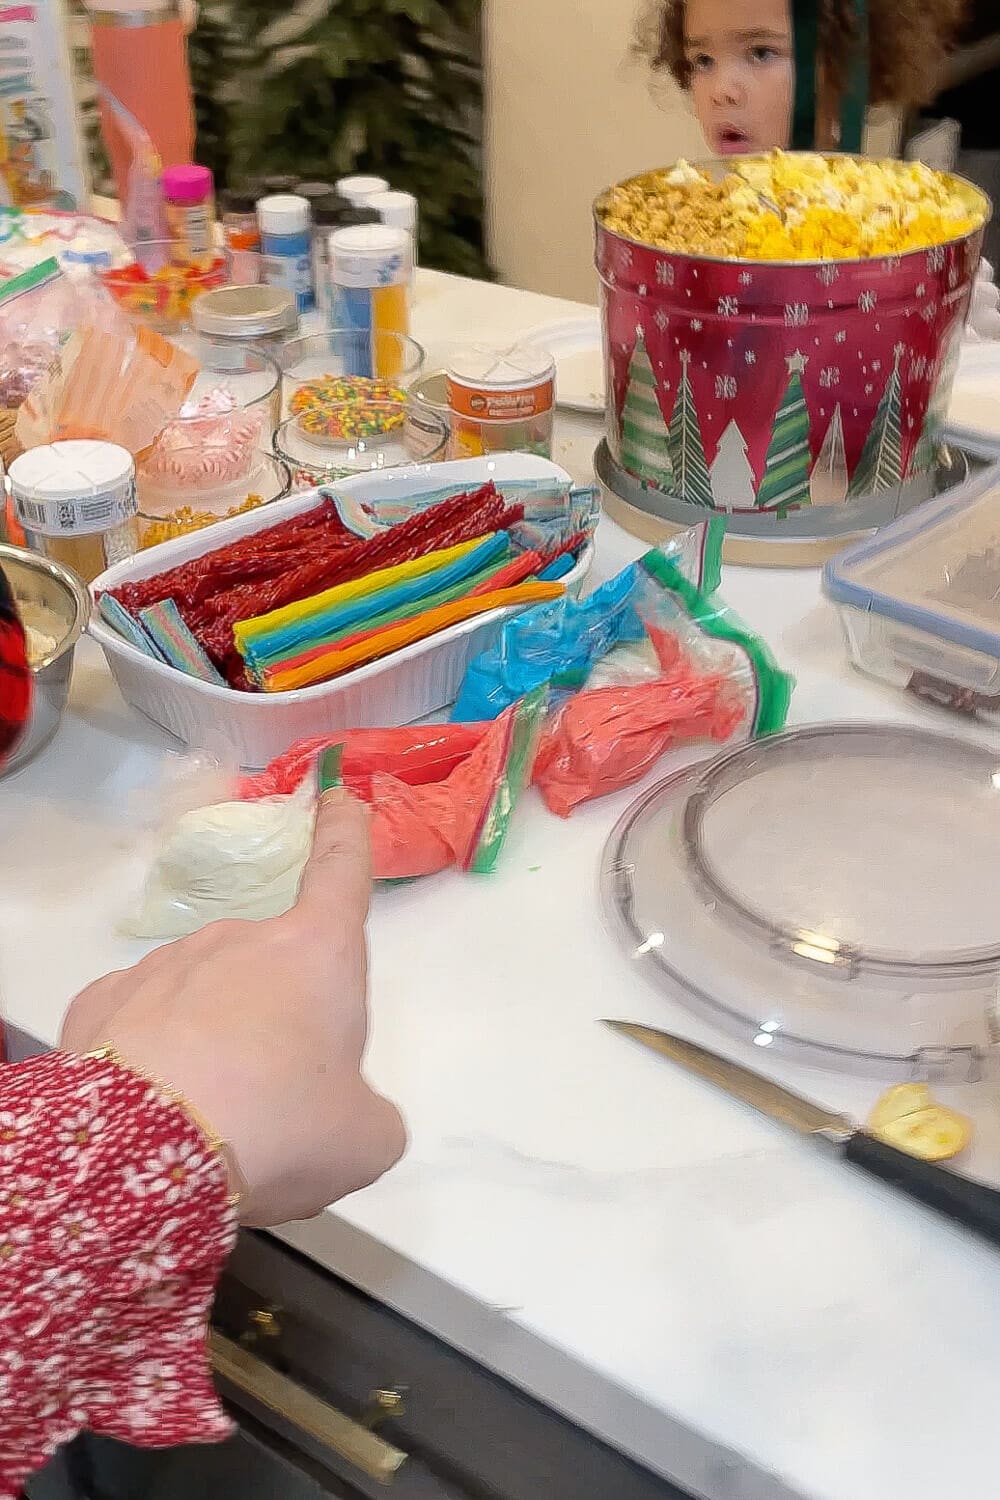
Tint and transfer to piping bags
Divide the icing into small bowls and tint with gel food coloring as desired. Spoon into piping bags or zip top bags and twist the tops closed so it does not dry out. Snip a small opening in the tip when you are ready to decorate.
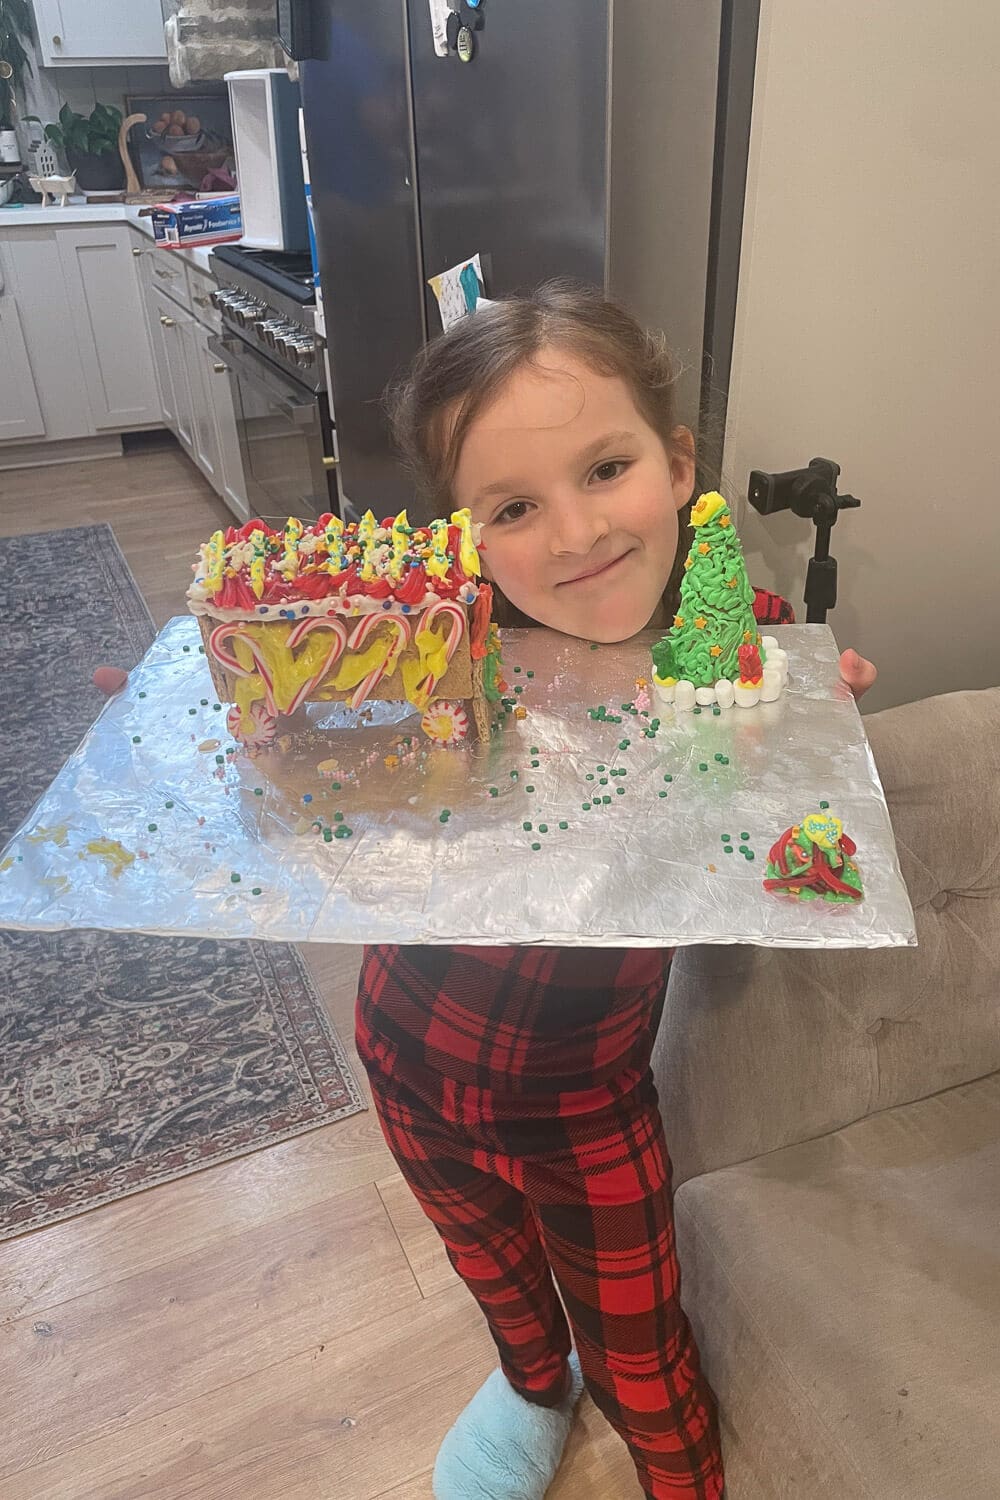
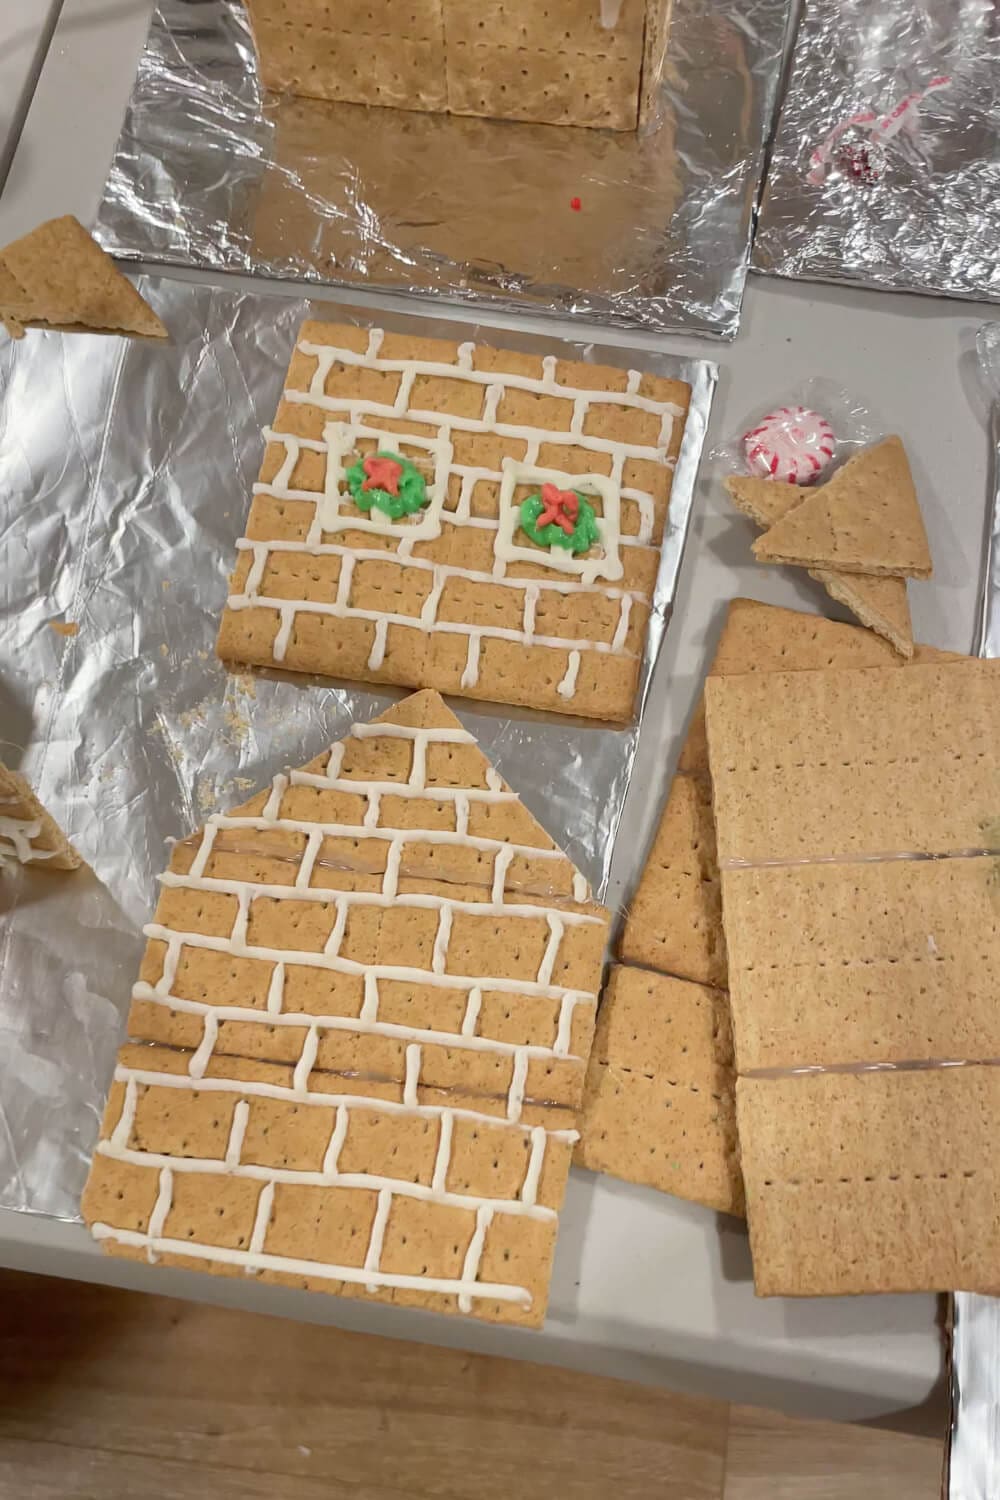
This recipe makes about 3 cups of icing, enough to decorate roughly 4 to 6 small graham cracker houses, depending on how heavy you are with the details.
An electric mixer is important here. I use my Bosch (and love it!), but any stand mixer or even a sturdy handheld mixer will work.
Press plastic wrap directly onto the surface of the icing if it needs to sit for a while, so it does not crust over in the bowl.


If you are planning a gingerbread house decorating party or want to start a new family tradition, make sure you save this royal icing recipe.
Pin the image below to your Christmas or holiday baking board on Pinterest so you can find it when December rolls around. That way you will have the recipe, the party tips, and the pro tricks for decorating the house pieces while they are still flat, all in one spot.
The best icing for gingerbread houses is royal icing made with egg whites, powdered sugar, and cream of tartar. It starts out thick and pipeable, then dries hard so your walls, roof, and candy decorations stay in place instead of sliding off.
You can, but it will not work nearly as well. Store-bought frosting stays soft and fluffy, which is great for cakes and cupcakes, but it is too slippery for building and decorating gingerbread houses. Royal icing is much thicker and dries quickly, which gives you clean lines and strong “glue.”
If you are worried about raw eggs, use pasteurized liquid egg whites from a carton. They are treated to kill bacteria and are a great alternative option for royal icing.
You can make royal icing 1 to 3 days in advance. Store it in an airtight container with plastic wrap pressed directly onto the surface, and keep it at room temperature. When you are ready to decorate, give it a good stir and add a tiny splash of water if it feels too stiff.
Royal icing dries quickly, which is great on the house, but not as fun in the bowl. Keep piping bags twisted closed when you are not using them and cover any extra icing with a damp paper towel or plastic wrap pressed right onto the surface.