

Updated August 7, 2025
The first thing we did when we moved into our new house wasn’t unpacking boxes or painting a wall. It was installing a dog door in the wall for our pup, Coco. She’s used to coming and going as she pleases, and this quick upgrade gave her the freedom she loves, without us constantly playing doorman. We installed a wall-mounted dog door that goes right through the drywall and exterior siding, and I’ll show you how we did it!
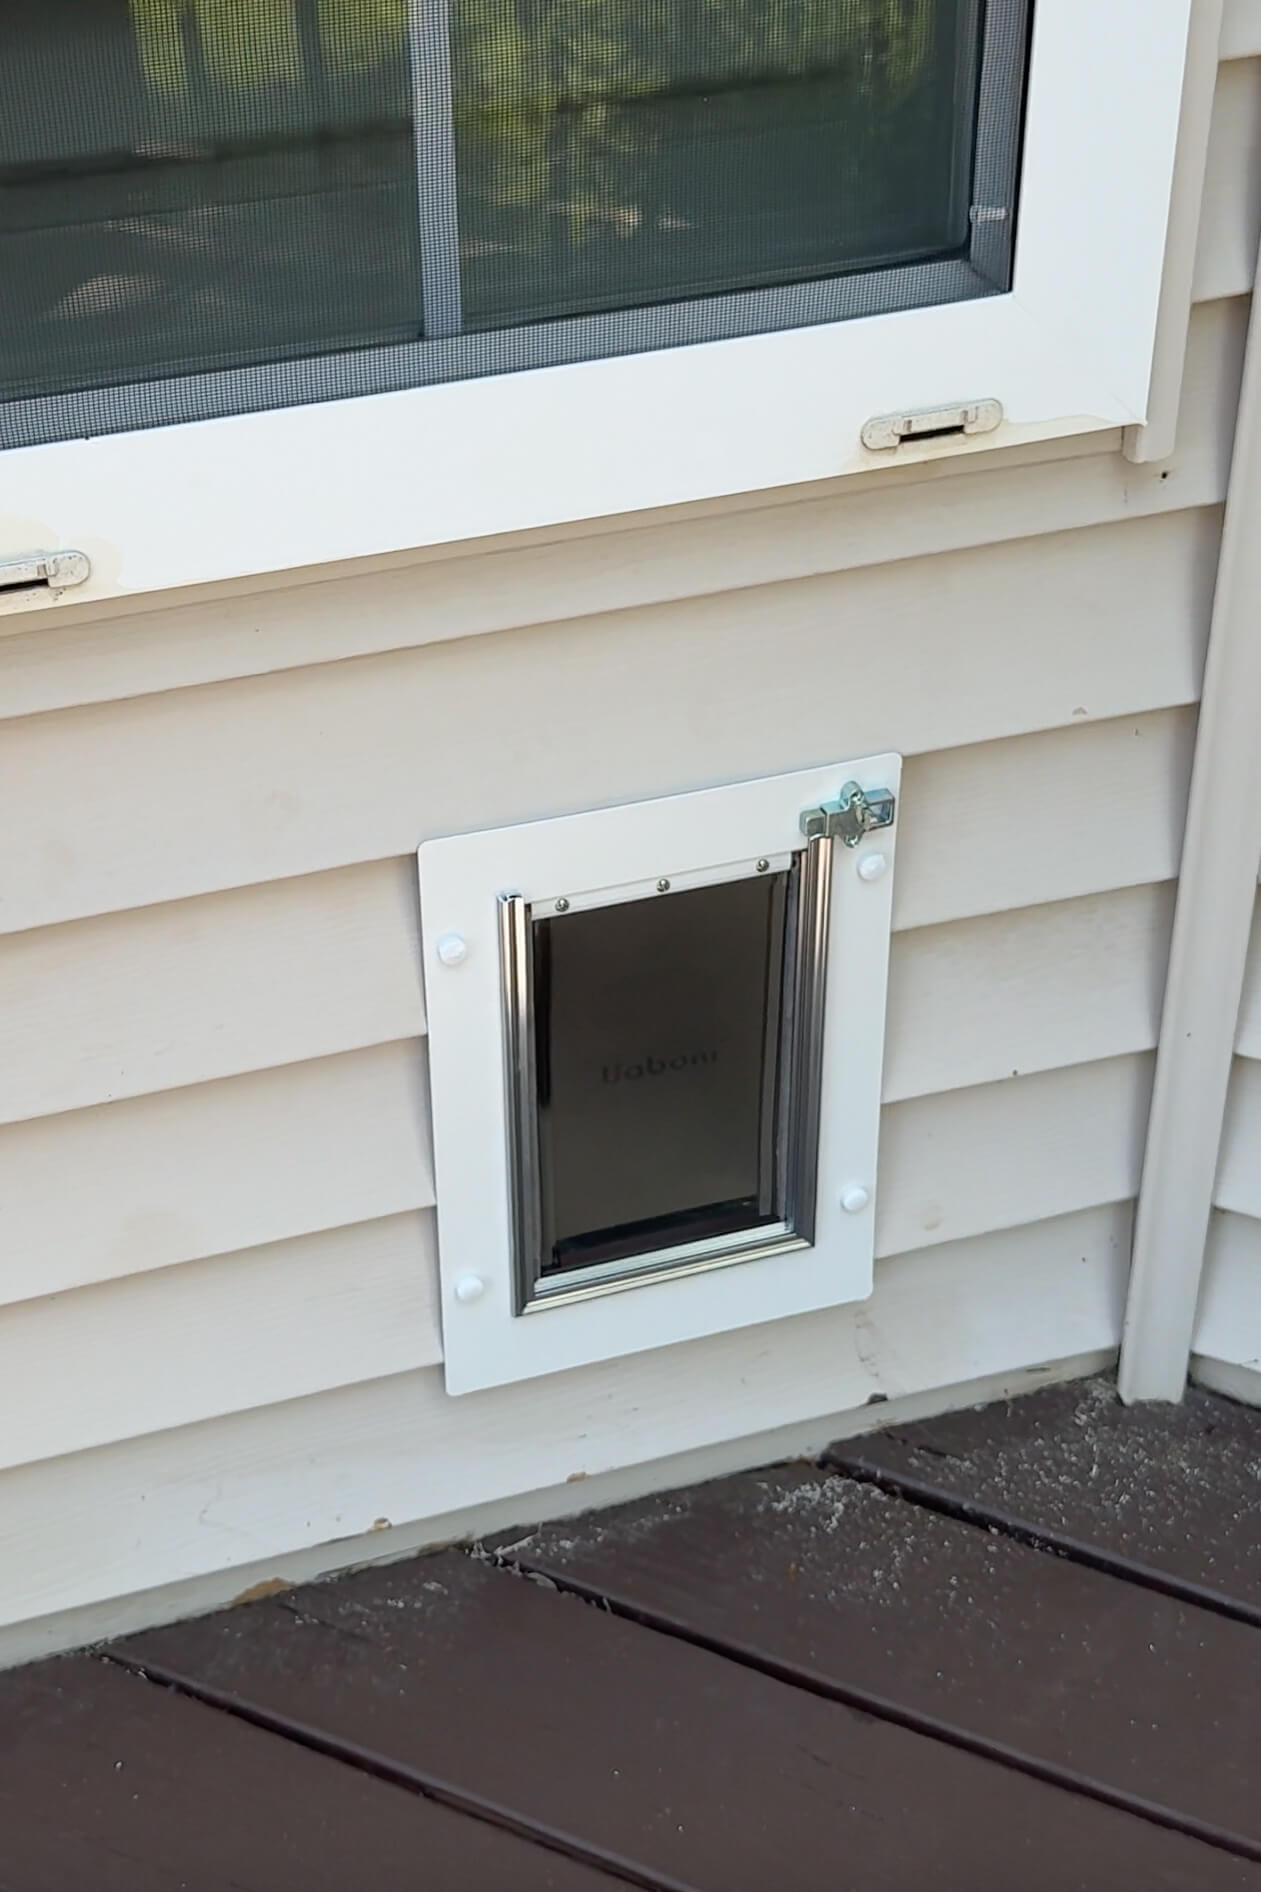
Table of Contents
- Tools and Materials for Installing a Dog Door in the Wall
- Choosing the Right Spot for Your Dog Door in the Wall
- Marking and Cutting the Opening
- Installing the Dog Door in the Wall
- Final Result: A Clean, Functional Dog Door
- Our First DIY Project in the New House
- 📌 Save This Project for Later
- FAQ: Installing a Dog Door in the Wall
Tools and Materials for Installing a Dog Door in the Wall
- Wall-mounted dog door kit (we got this one)
- Oscillating multi-tool
- Stud finder
- Drill
- Level
- Tape measure
- Pencil
- Caulk (exterior-grade, for sealing)
- Caulk gun
Choosing the Right Spot for Your Dog Door in the Wall
Before you start cutting, you’ll need to carefully choose where to install your dog door in the wall. Make sure the spot is:
- Free from electrical wires, plumbing, or outlets
- Wide enough to fit between wall studs (use a stud finder to check)
- Easily accessible for your dog on the inside and the out
We picked a section of wall just by the back door where Coco already hangs out. We held the dog door up to the wall and checked the height to make sure she could step through it comfortably.
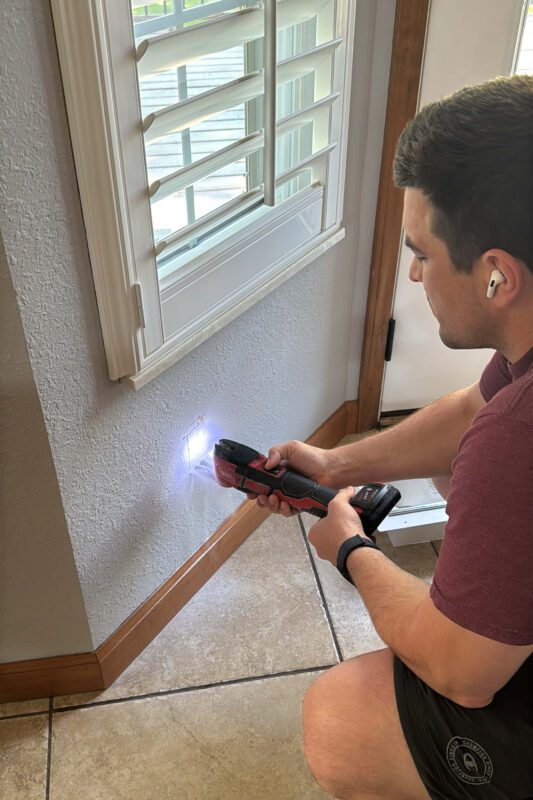
Marking and Cutting the Opening
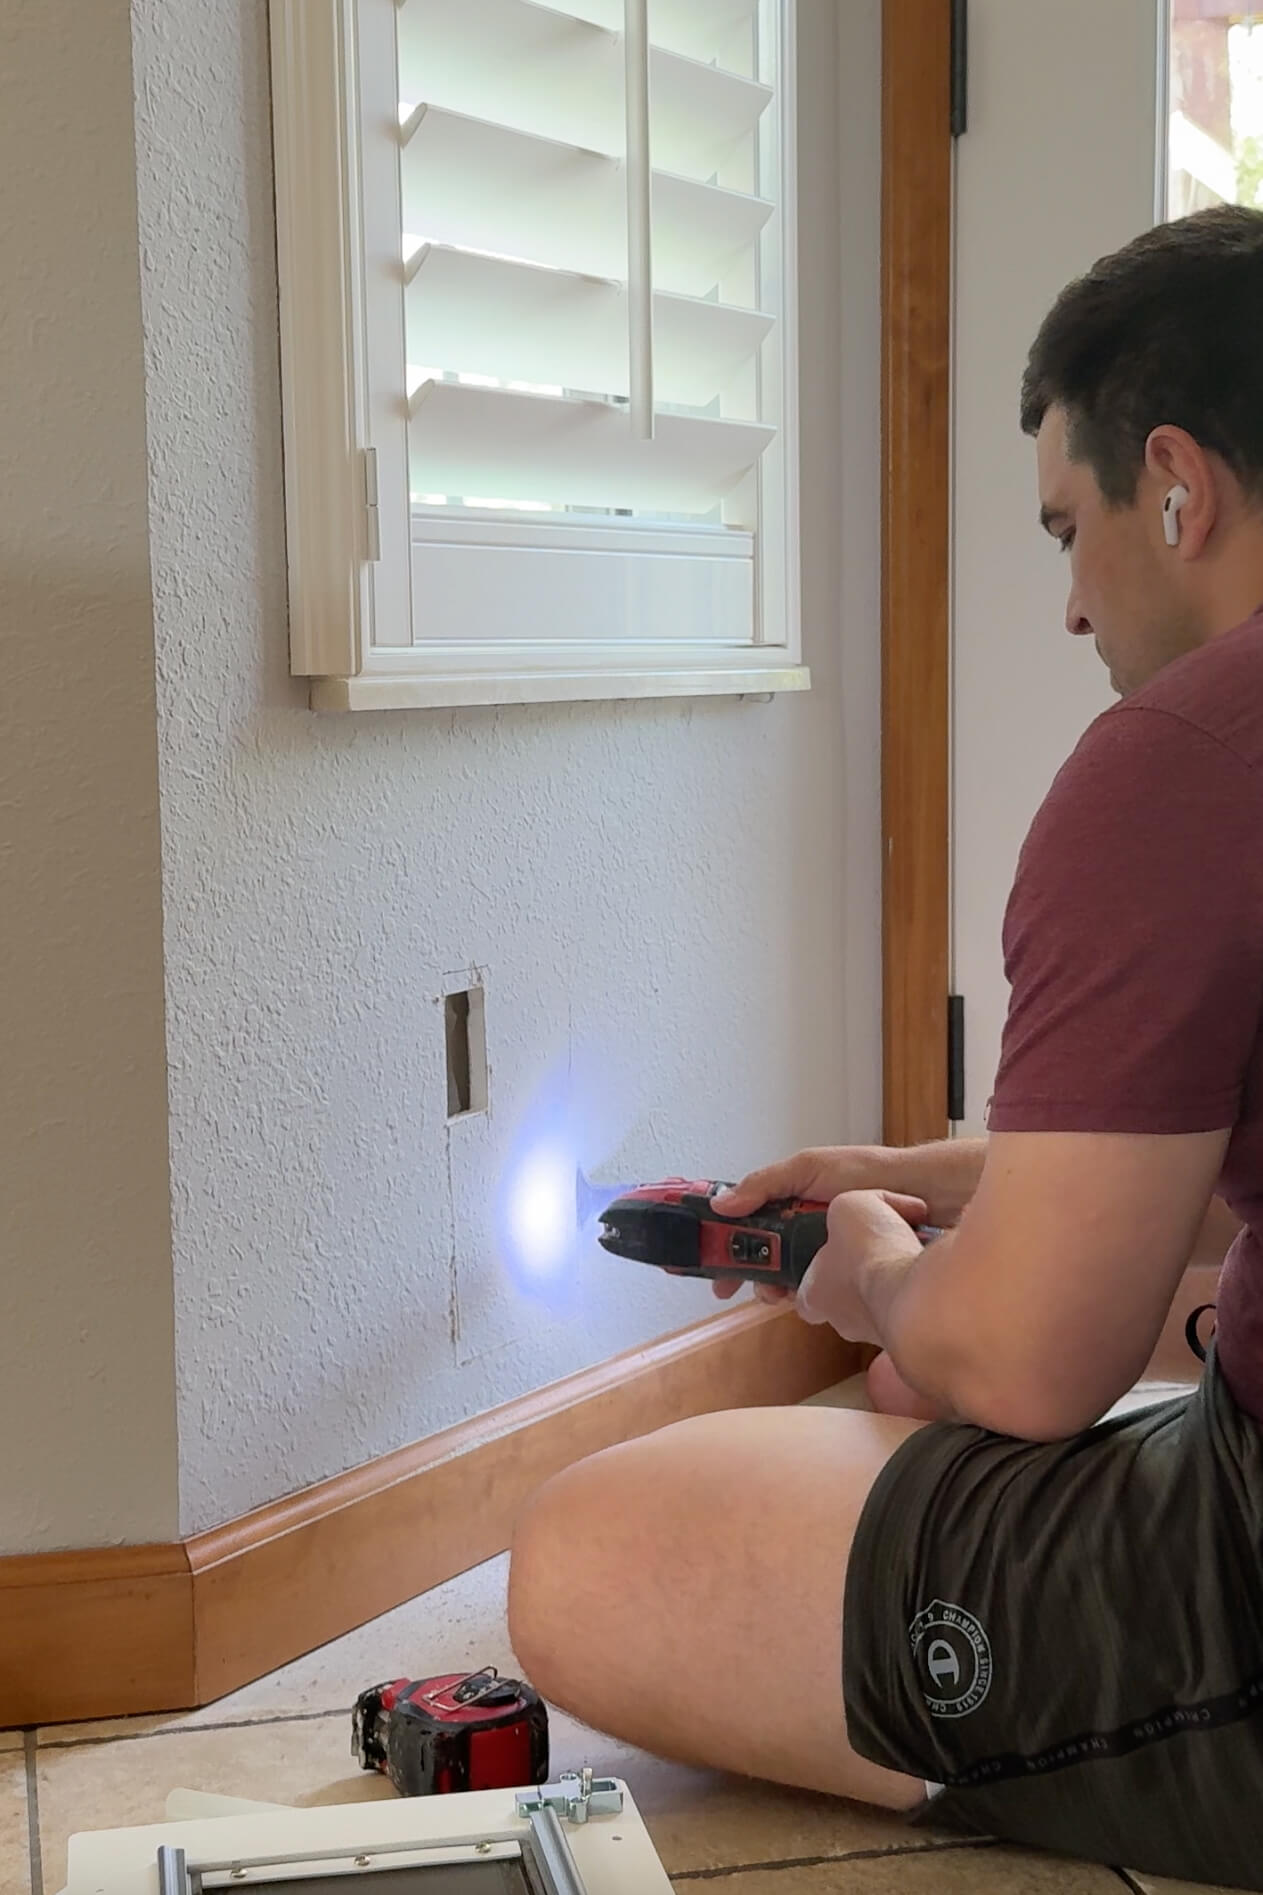
Once we’d confirmed the placement, Stuart grabbed our multi-tool and started cutting. Before creating the full opening, it’s a good idea to just cut a small test hole. This way, you can double-check for studs, wires, or other surprises inside the wall cavity. It’s a quick step that can save you a huge headache later.
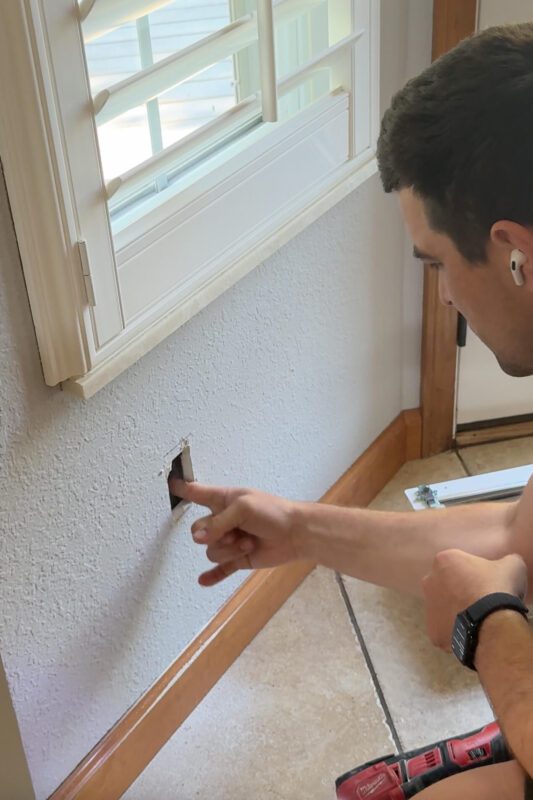
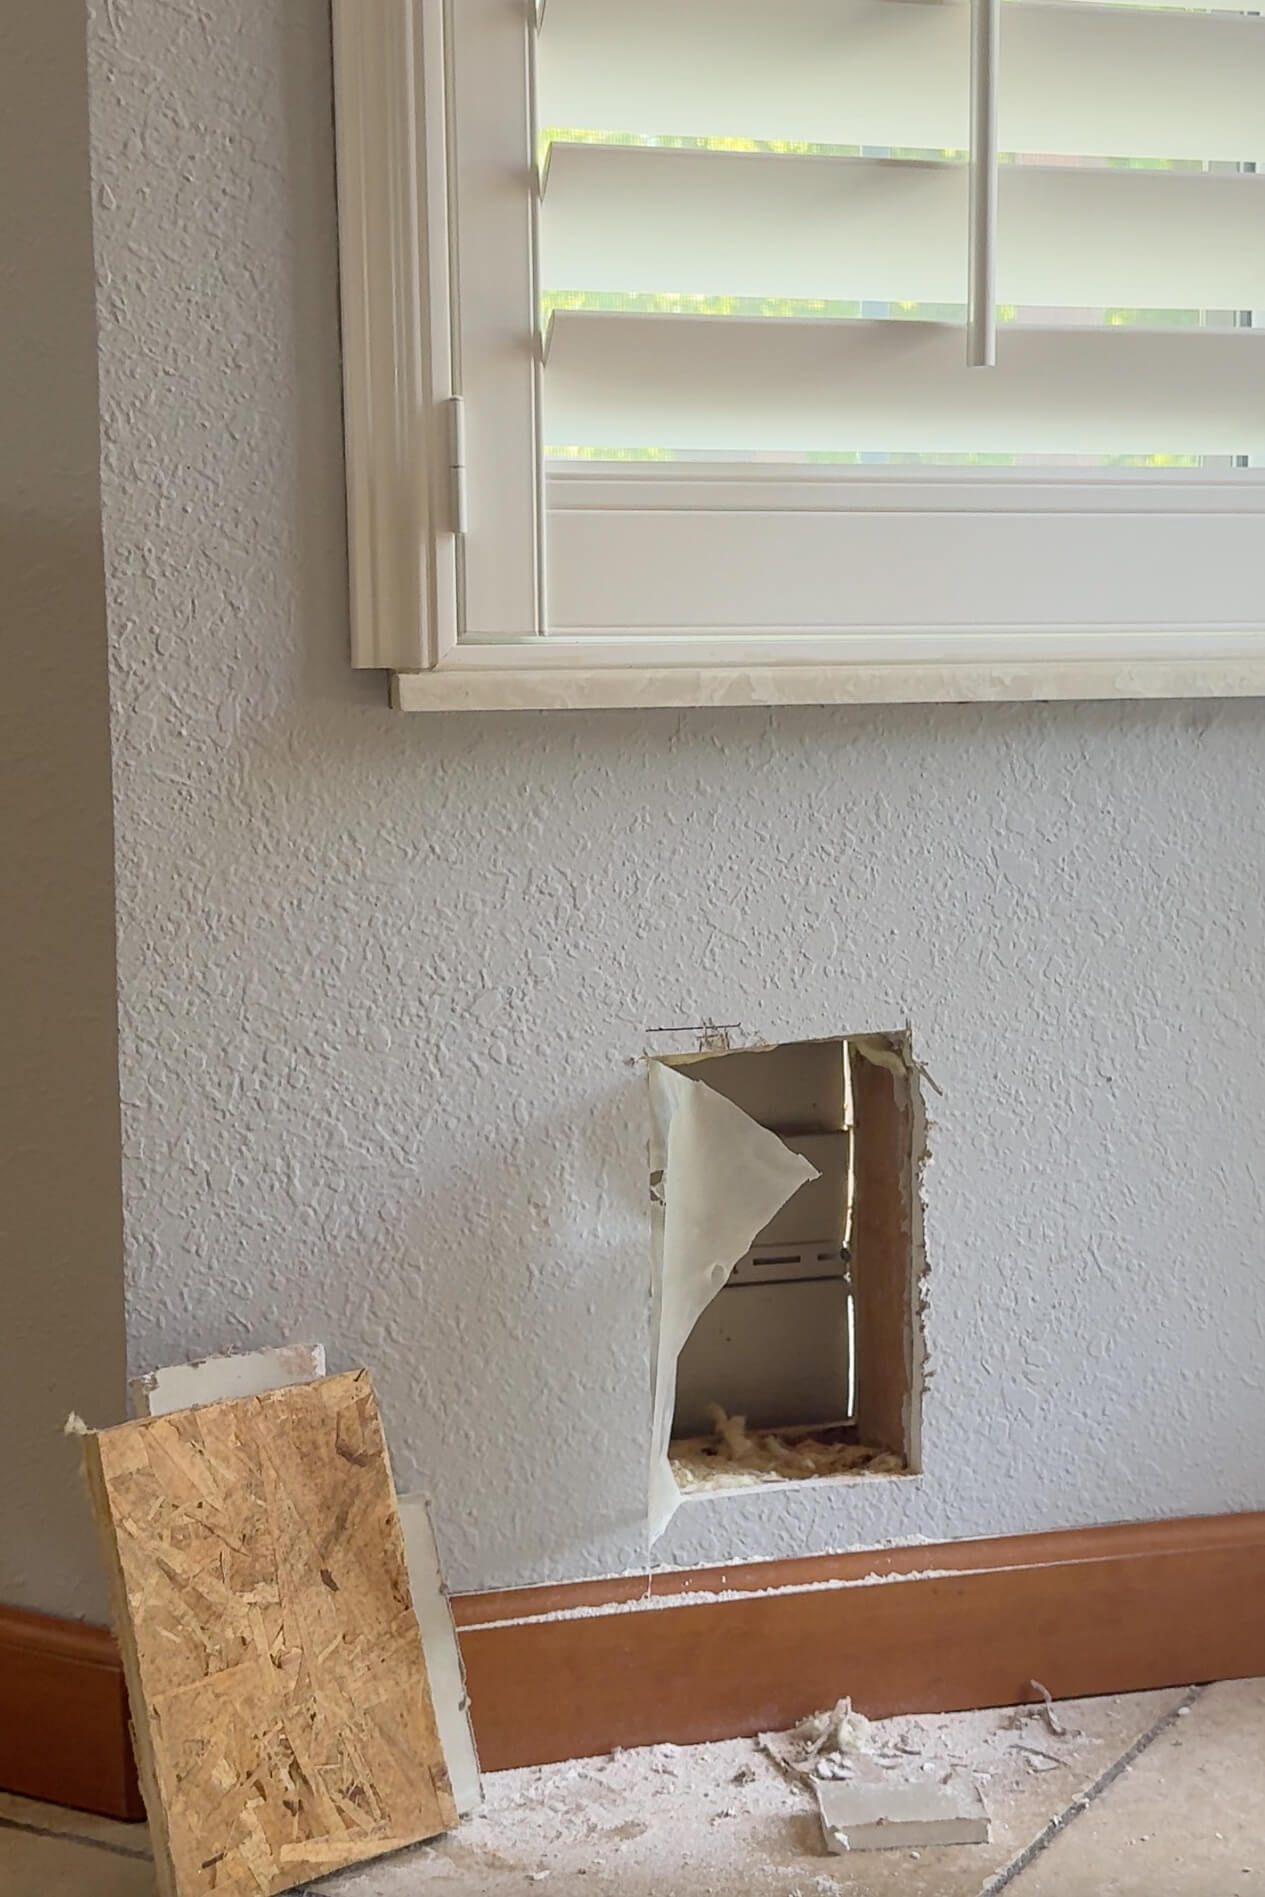
Once you know you’re in the clear, use the multi-tool to cut out the full opening in the drywall. A small level comes in handy for making sure that your hole is straight. Stuart used the interior hole as a guide for cutting a matching hole on the outside. At this point, we had a clean tunnel straight through the wall-perfect for installing the dog door.
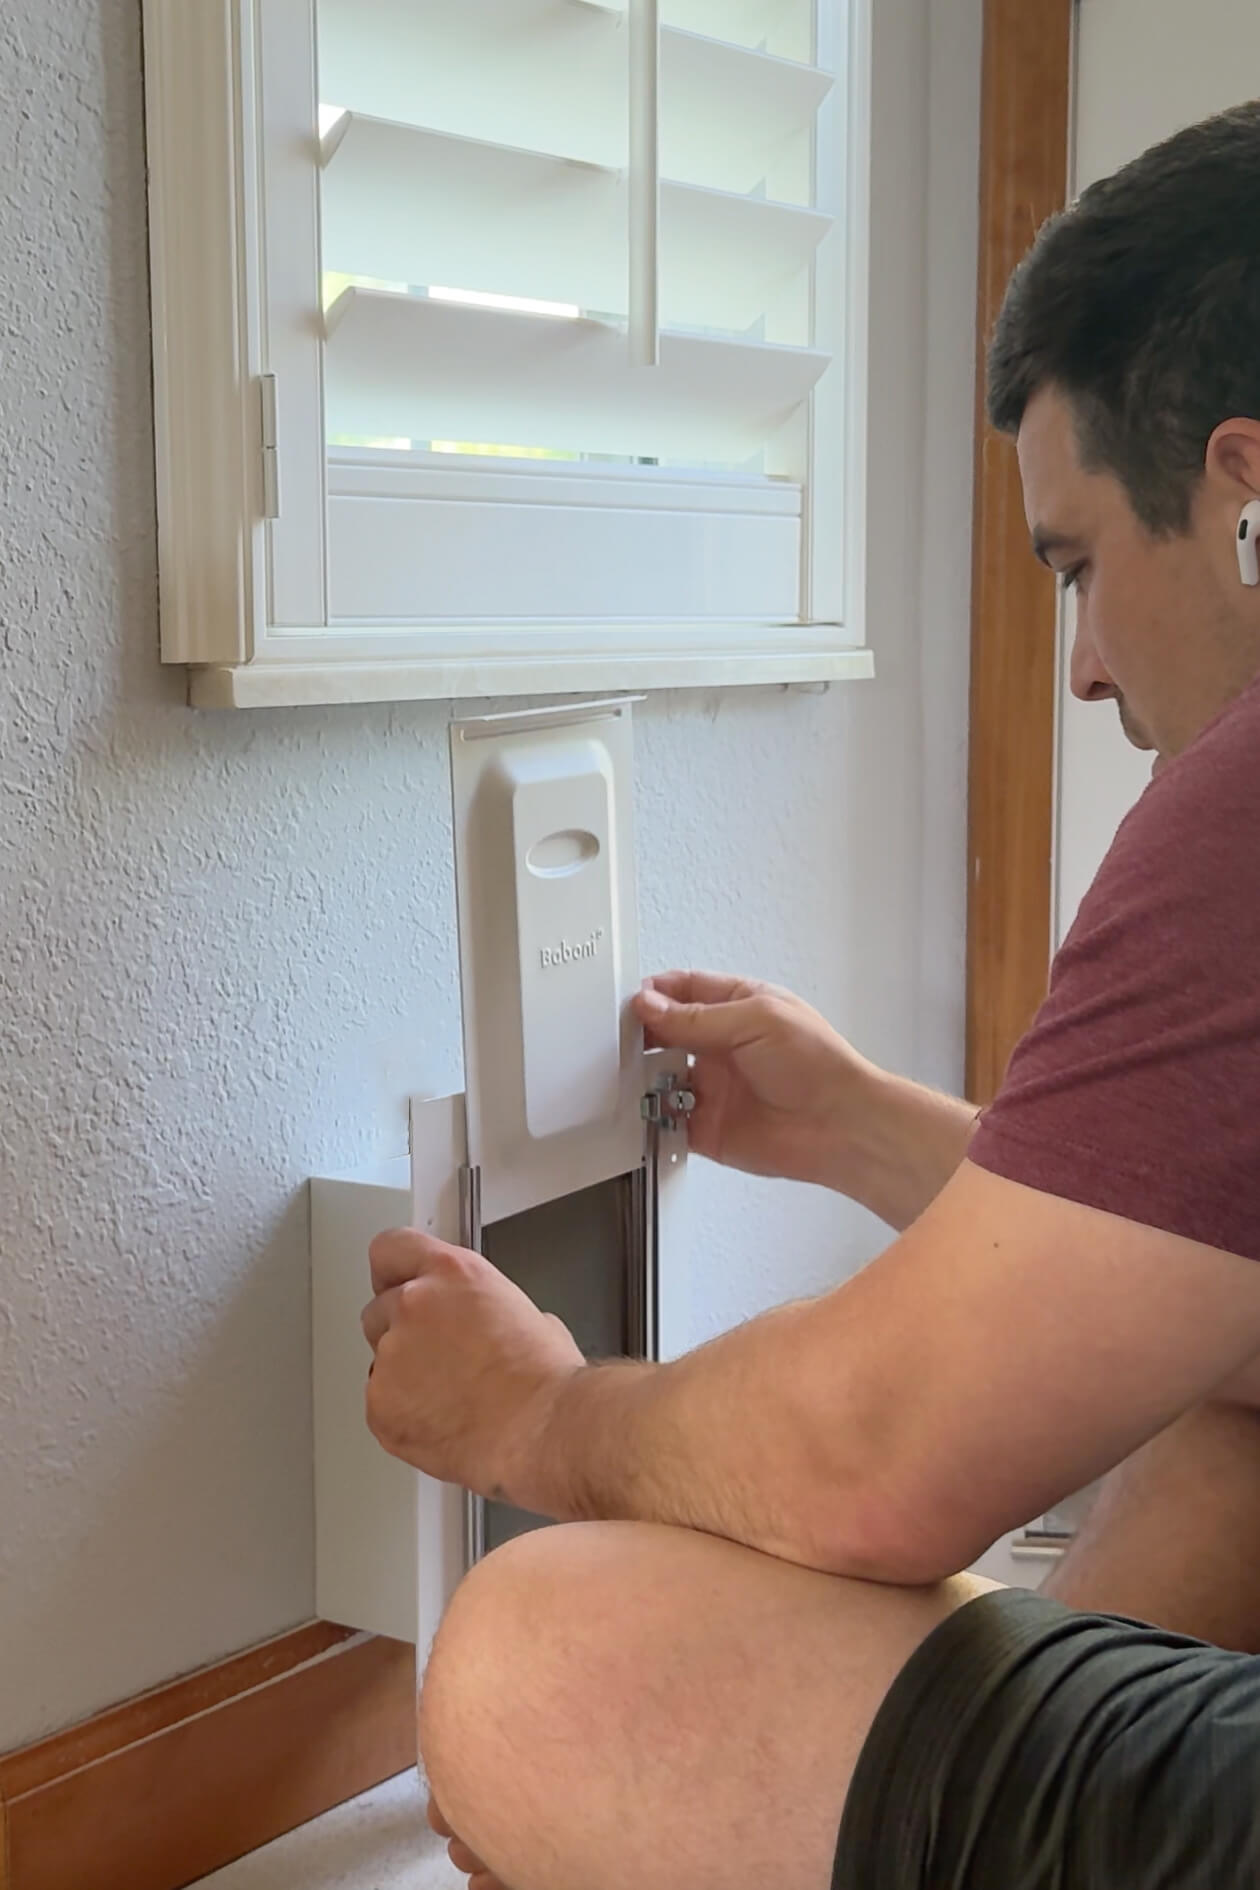
Installing the Dog Door in the Wall
Right as we hit the install phase, I had to step away to tend to a fussy baby-so I didn’t catch any footage of my husband finishing the job. But I’ve included the graphic from the manufacturer so you can see how all the pieces fit together.
The interior panel of the dog door goes inside the house, and the exterior panel attaches outside. The two pieces come together and form a tunnel. Before installing the exterior panel, run a bead of exterior sealant around the outer edges to seal out air, moisture, and pests. Then screw everything in place with your drill and make sure the flap swings freely.
It’s really that simple. The wall-mounted dog door kit that we ordered comes with everything you need for mounting, and the installation instructions are easy to follow, once you do the hard part of cutting the hole in your wall.

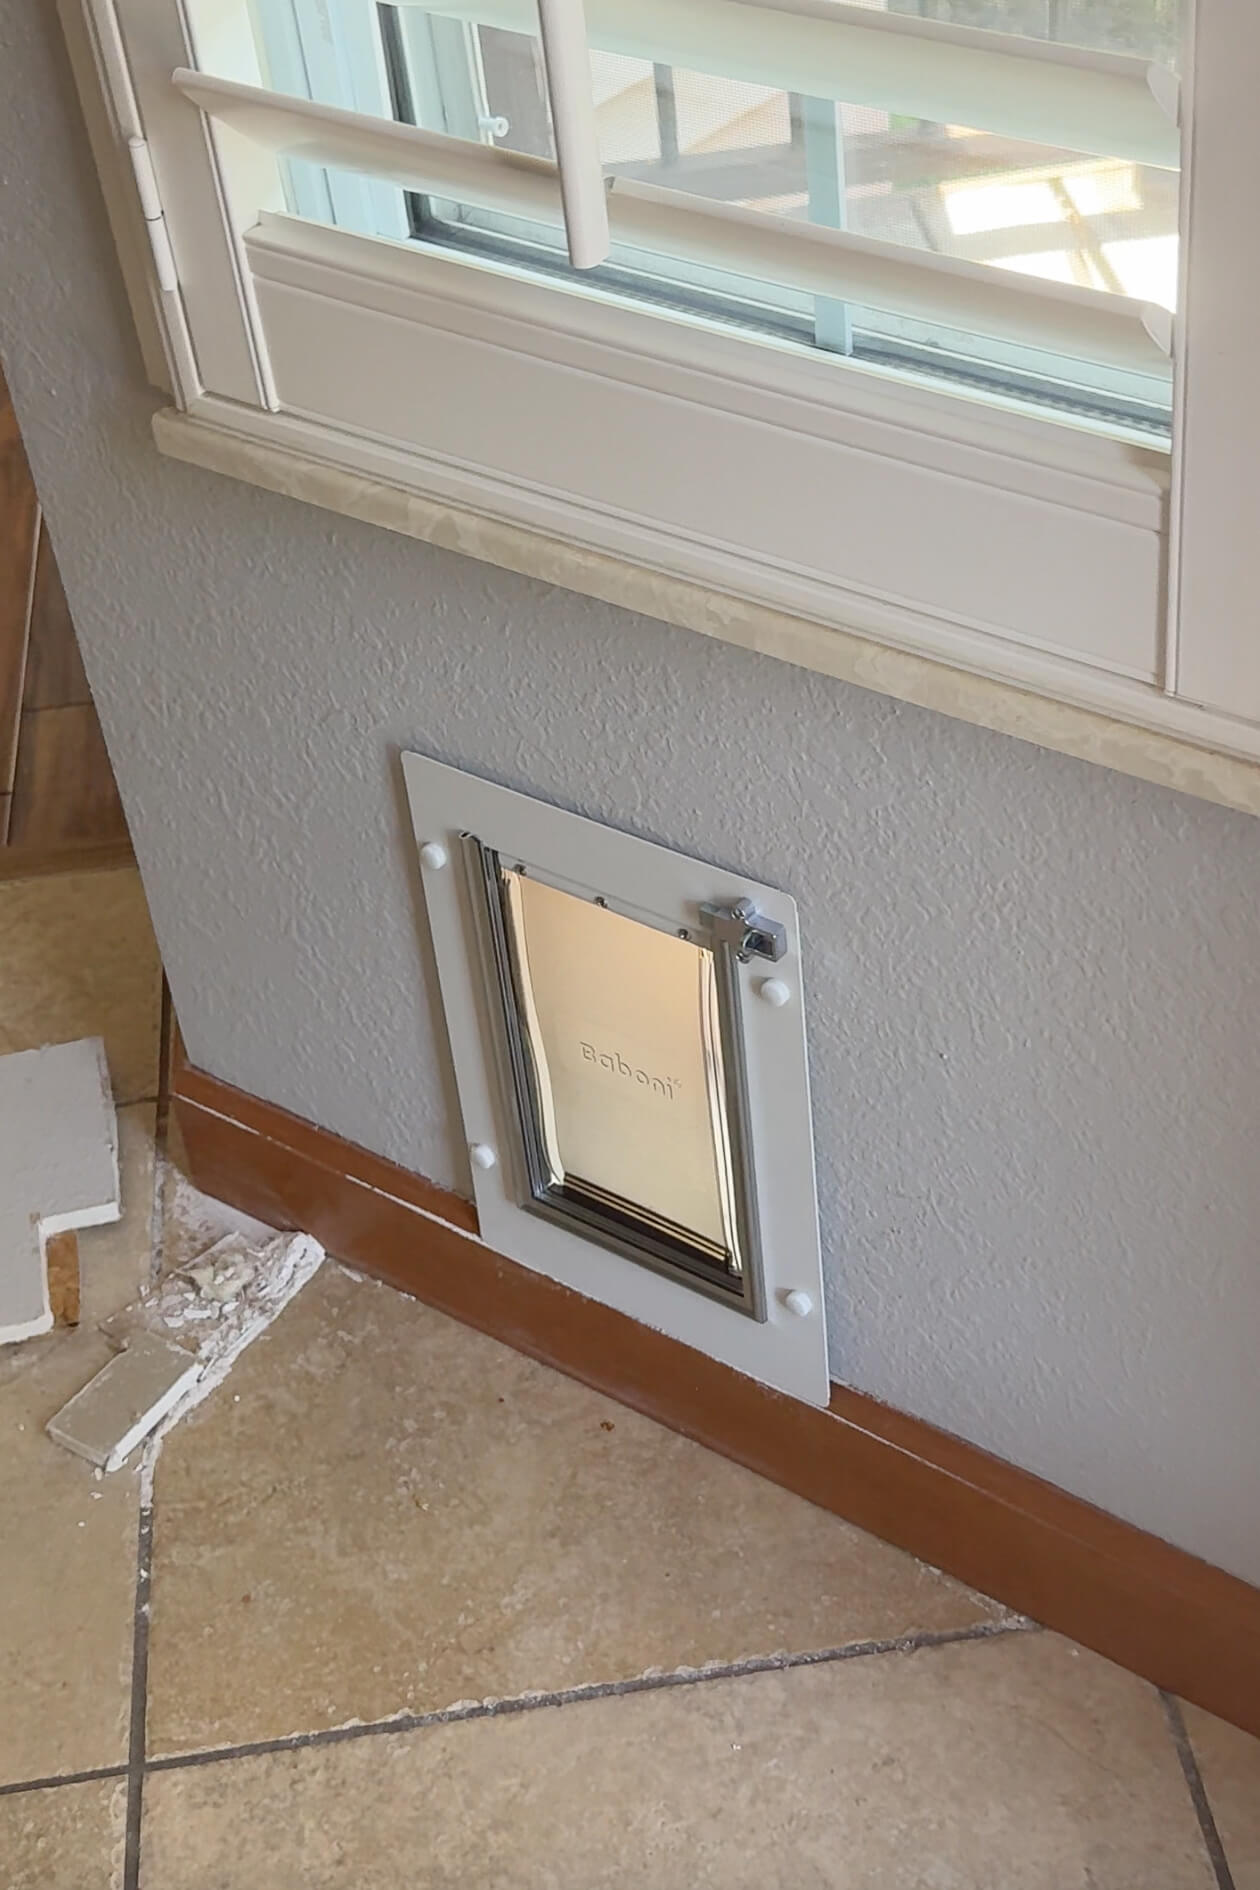
Final Result: A Clean, Functional Dog Door
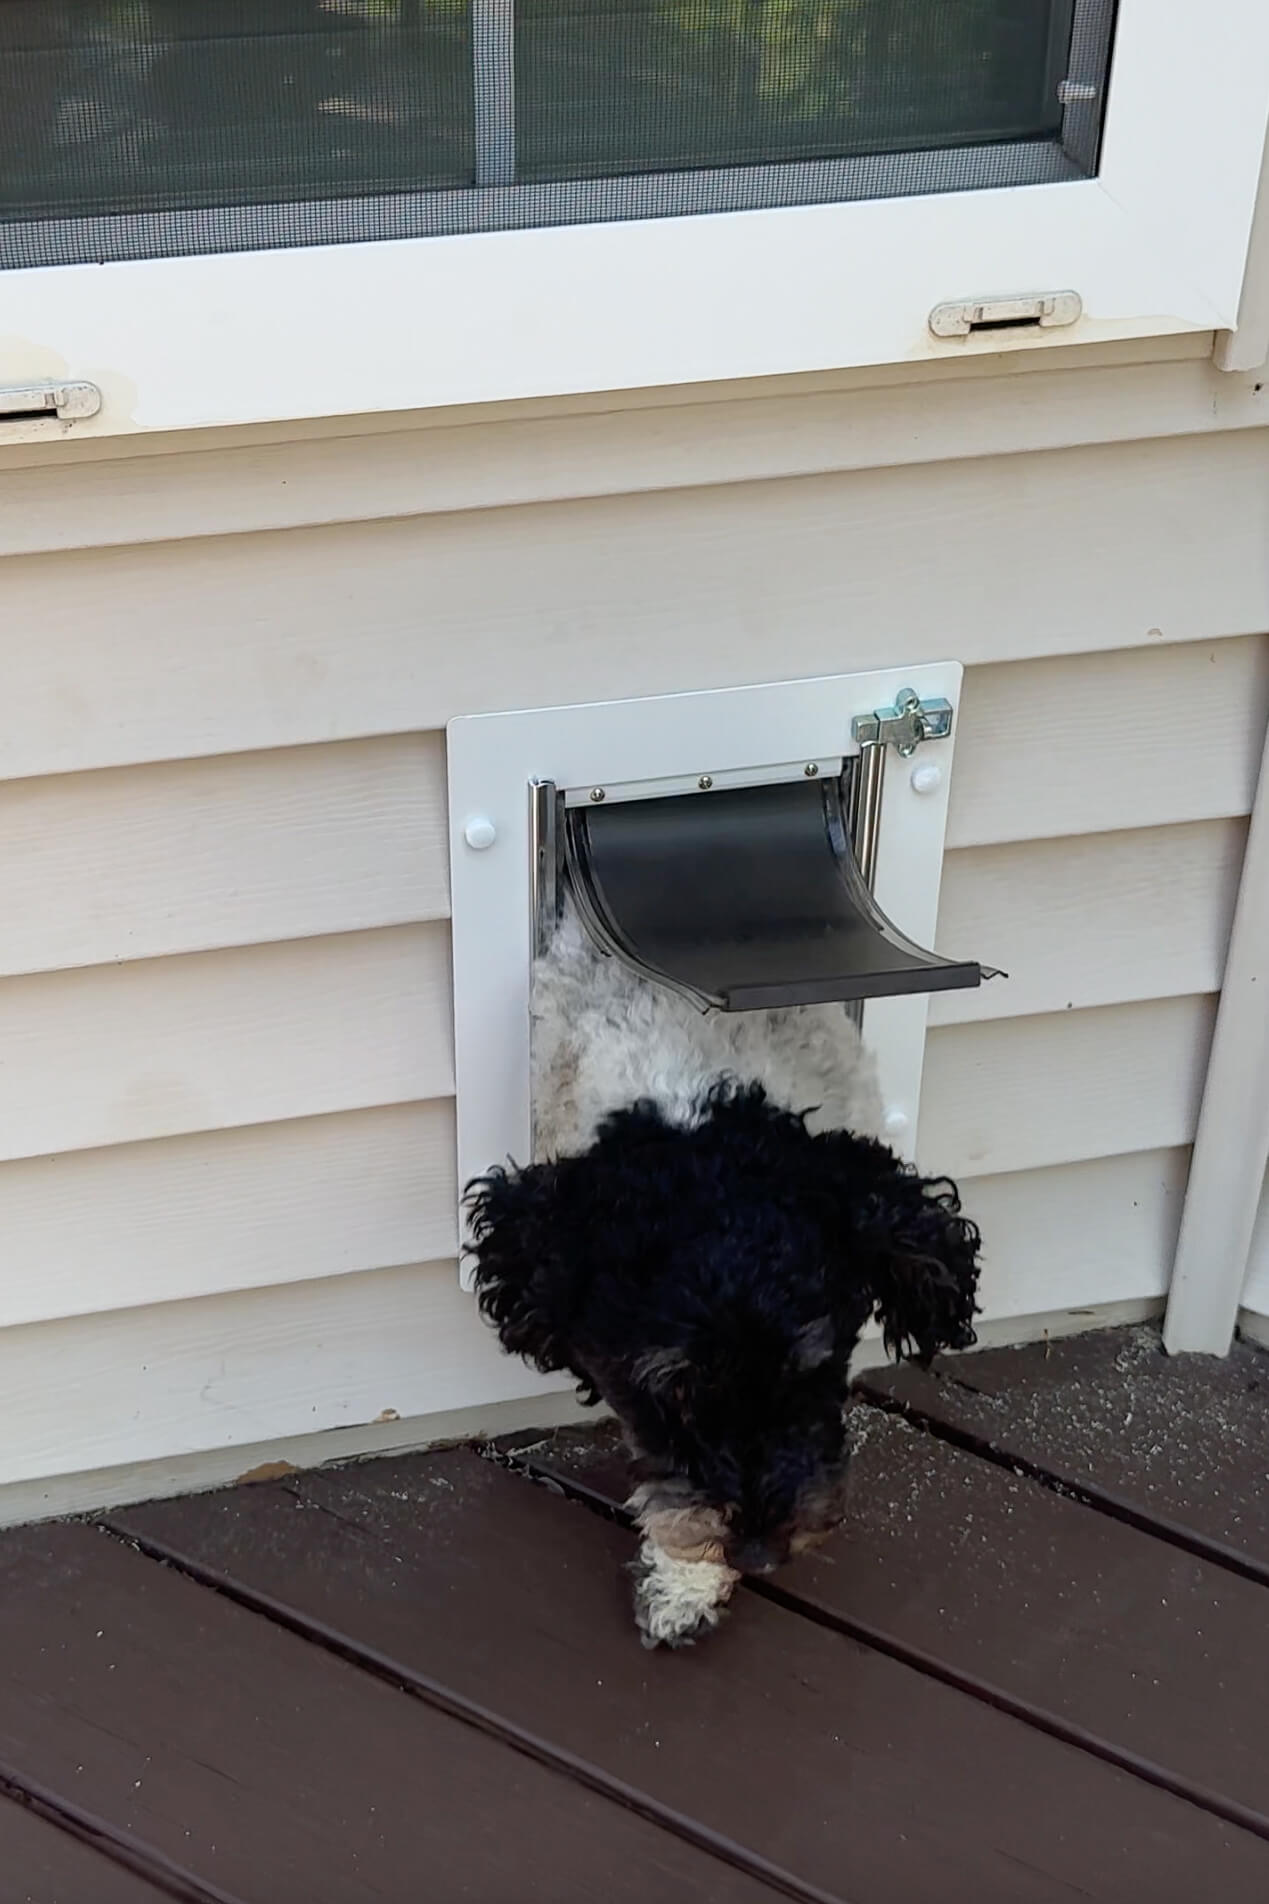
The finished dog door in the wall looks clean, functions perfectly, and blends in really well both inside and outside. I could not be happier with the result!
Coco used it right away, and now she goes in and out whenever she wants, without us having to open and close the back door 47 times a day.
Our First DIY Project in the New House
This was actually the very first DIY project we tackled in our new home, and it’s already made life so much easier. We’ve got a long list of DIY renovations coming-big, small, and everything in between.
If you haven’t seen it yet, I have a full video tour of the new house posted here. And if you want to follow along with all the real-time updates, follow me on Instagram to see our DIY journey unfold.
📌 Save This Project for Later
FAQ: Installing a Dog Door in the Wall
Yes, absolutely! Just make sure to avoid electrical wiring, plumbing, and wall studs. A wall-mounted dog door kit is made specifically for this purpose.
Use a bead of exterior-grade caulk around the frame before installing the exterior panel. This keeps out moisture, drafts, and pests.
At minimum, you’ll need a stud finder, oscillating tool, level, and drill. Your dog door kit should include mounting hardware and templates.
Choose a wall your dog can access from both sides and confirm there are no wires or studs in the way. Use your dog’s shoulder height to help guide placement.
