

Updated August 7, 2025
When we moved into our new house, the primary bathroom had the lowest toilet I’ve ever seen. It felt like something straight out of a kindergarten classroom – definitely not ideal for full-grown adults. We’ve replaced a few toilets in past homes, so this felt like the perfect opportunity to walk through the steps of how to install a toilet for anyone tackling it for the first time.
If you’ve never replaced a toilet before, don’t worry – it’s not as intimidating as it sounds. This post walks you through exactly how to install a toilet step-by-step. This is a beginner-level DIY project that only took my husband about 30 minutes to do.
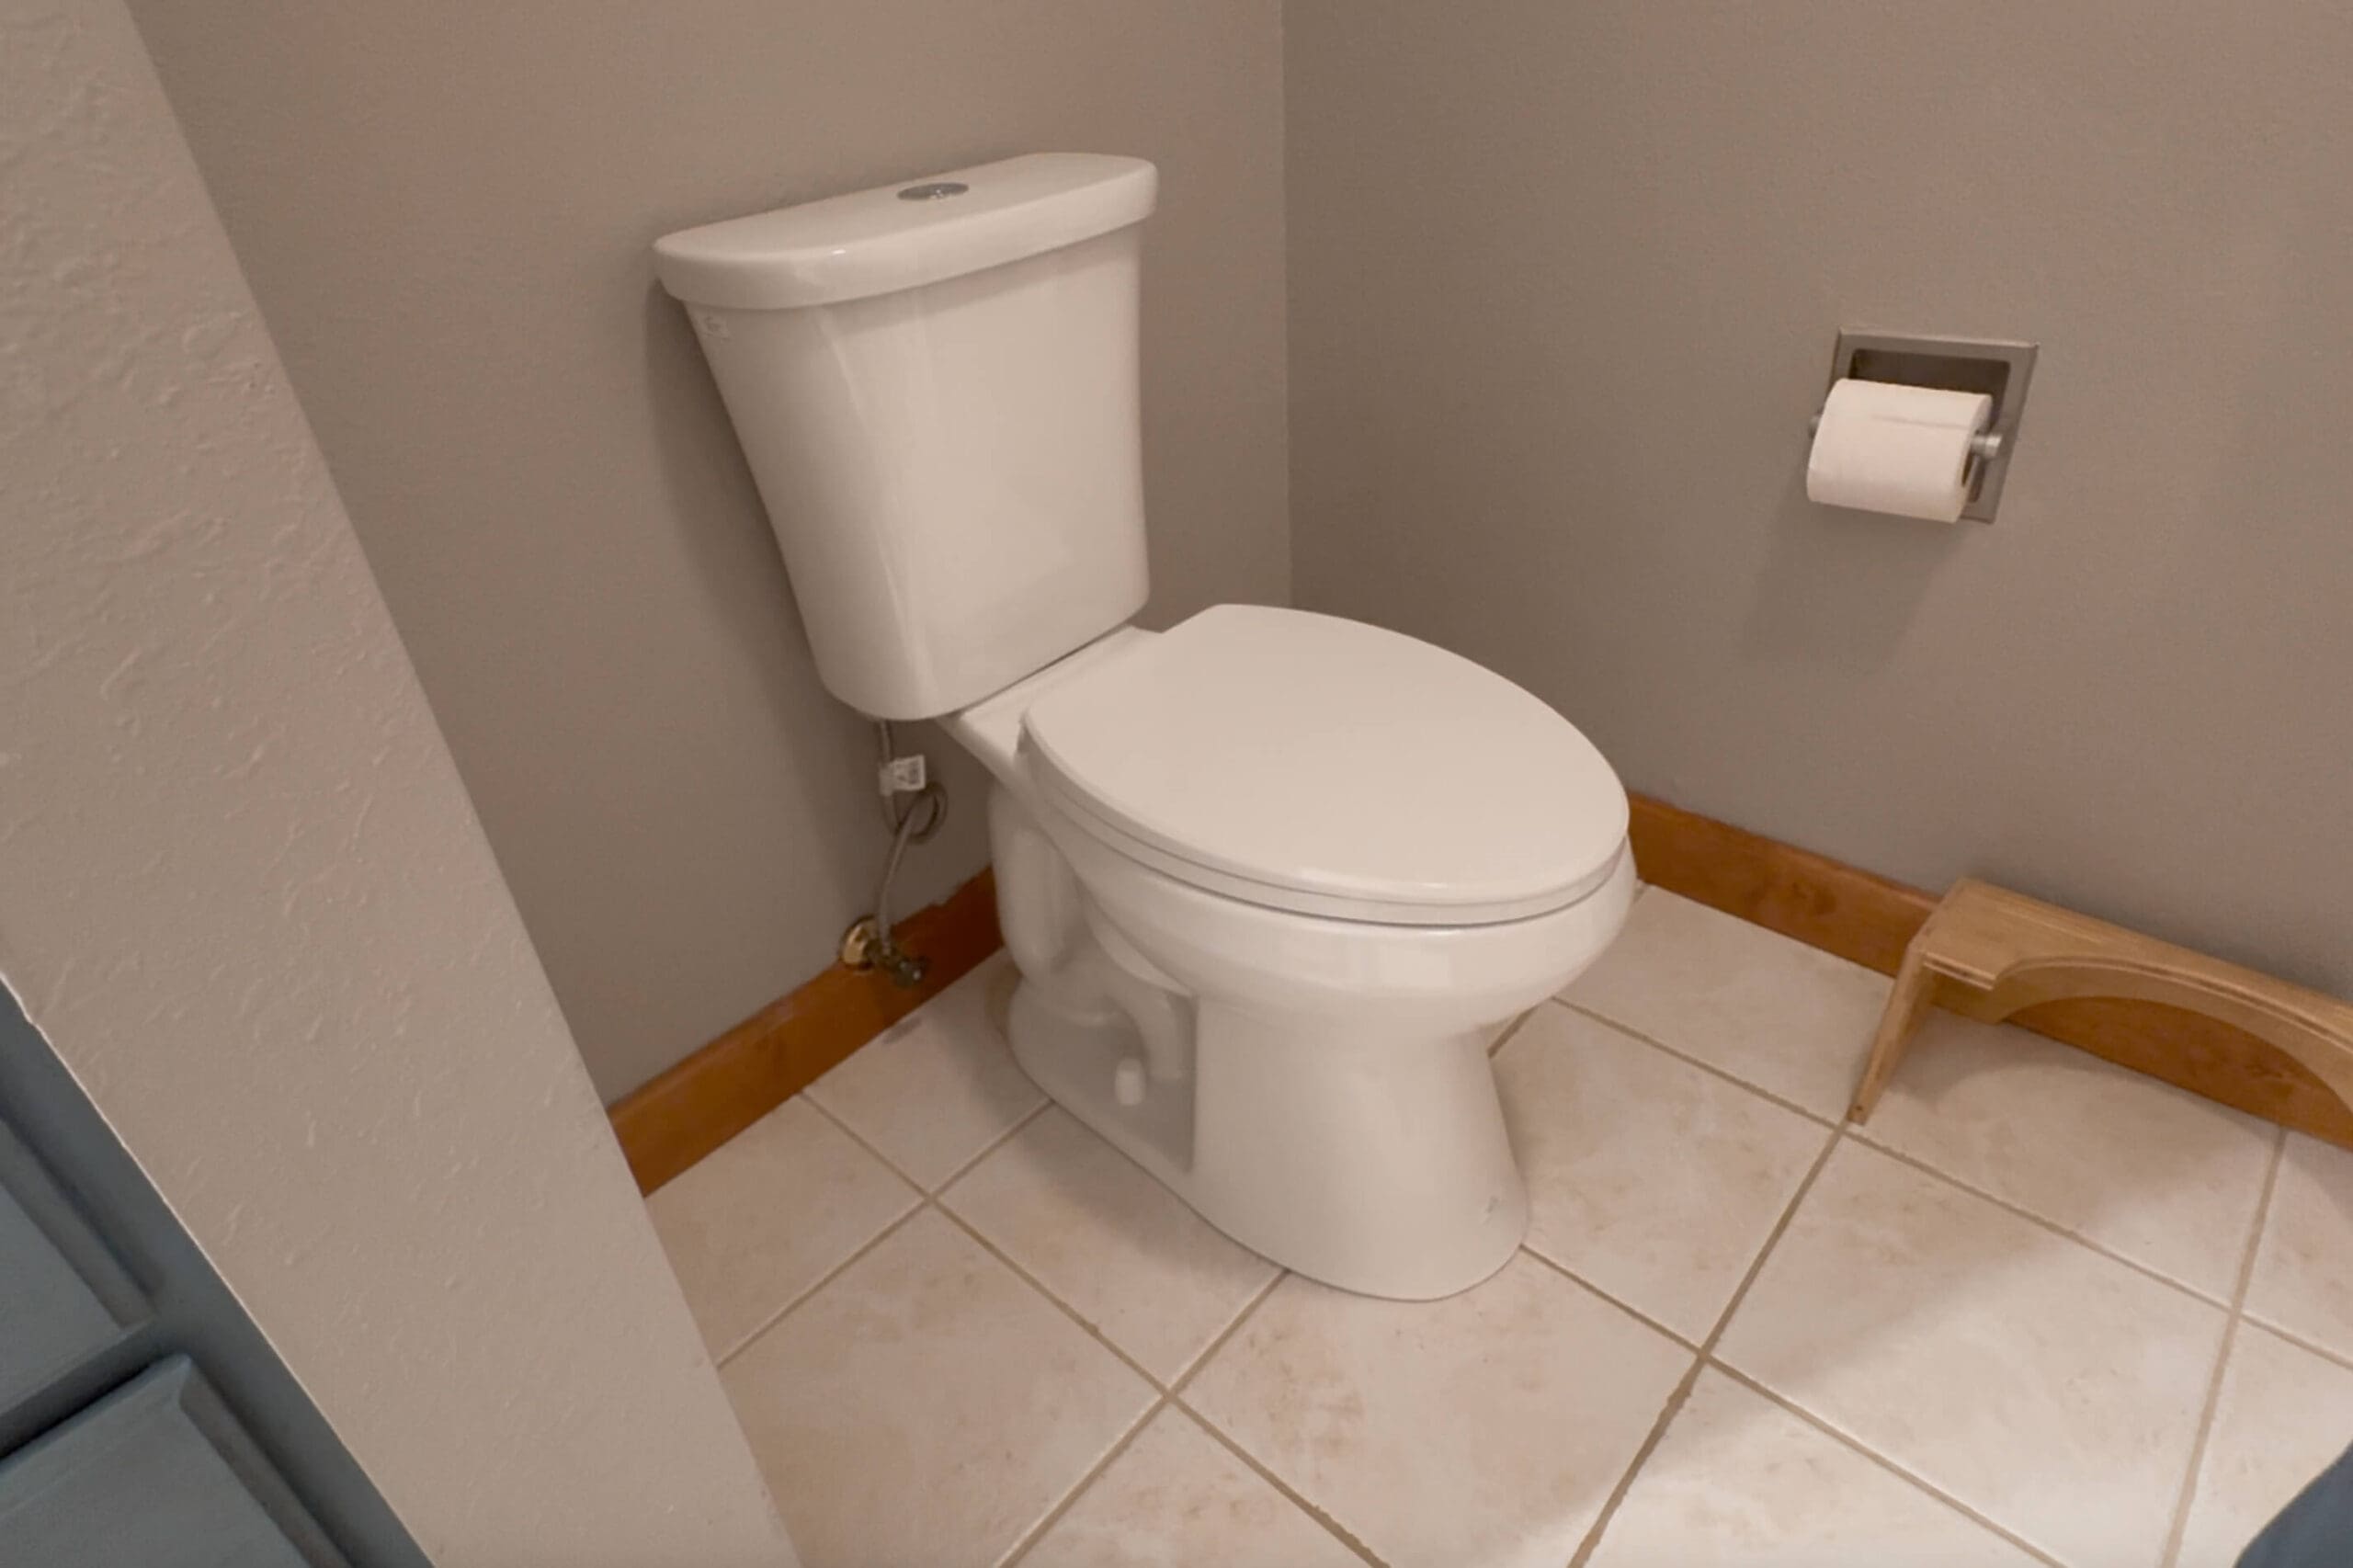
Table of Contents
- What You’ll Need for Installing a Toilet
- Step 1: Shut Off the Water
- Step 2: Disconnect and Remove the Old Toilet
- Step 3: Remove the Old Wax Ring and Flange Bolts
- Step 4: Install the Closet Bolts and Wax Ring
- Step 5: Set the New Toilet in Place
- Step 6: Reconnect the Water Supply and Test
- Step 7: Install the Toilet Seat
- Final Thoughts on How to Install a Toilet
- 📌 Save This DIY Toilet Install for Later
- FAQs About How to Install a Toilet
What You’ll Need for Installing a Toilet
Here’s a quick list of tools and supplies that made our DIY toilet install go smoothly:
- Adjustable wrench
- Screwdriver
- New toilet (this is the one we bought)
- Wax ring
Step 1: Shut Off the Water
First up, when you are going to install a toilet, you’ve gotta stop the water flow. Turn the shutoff valve clockwise (located on the wall, near the base of the toilet). Then flush a few times to drain out the tank and bowl. If needed, you can use an old towel or a wet/dry shop vacuum to get the rest of the water out of the old toilet.
Step 2: Disconnect and Remove the Old Toilet
Your toilet is secured in two spots: the water supply line and the bolts at the base. Start by using a wrench to disconnect the water line from the bottom of the tank. It might drip a bit, so have a towel or bowl handy.
Next, pop off the decorative caps at the base and unscrew the bolts. If they’re stuck or rusty, try a little WD-40 or gently tap them with your wrench. Once the bolts are off, rock the toilet back and forth, just enough to break the seal, then lift it straight up and set it aside.
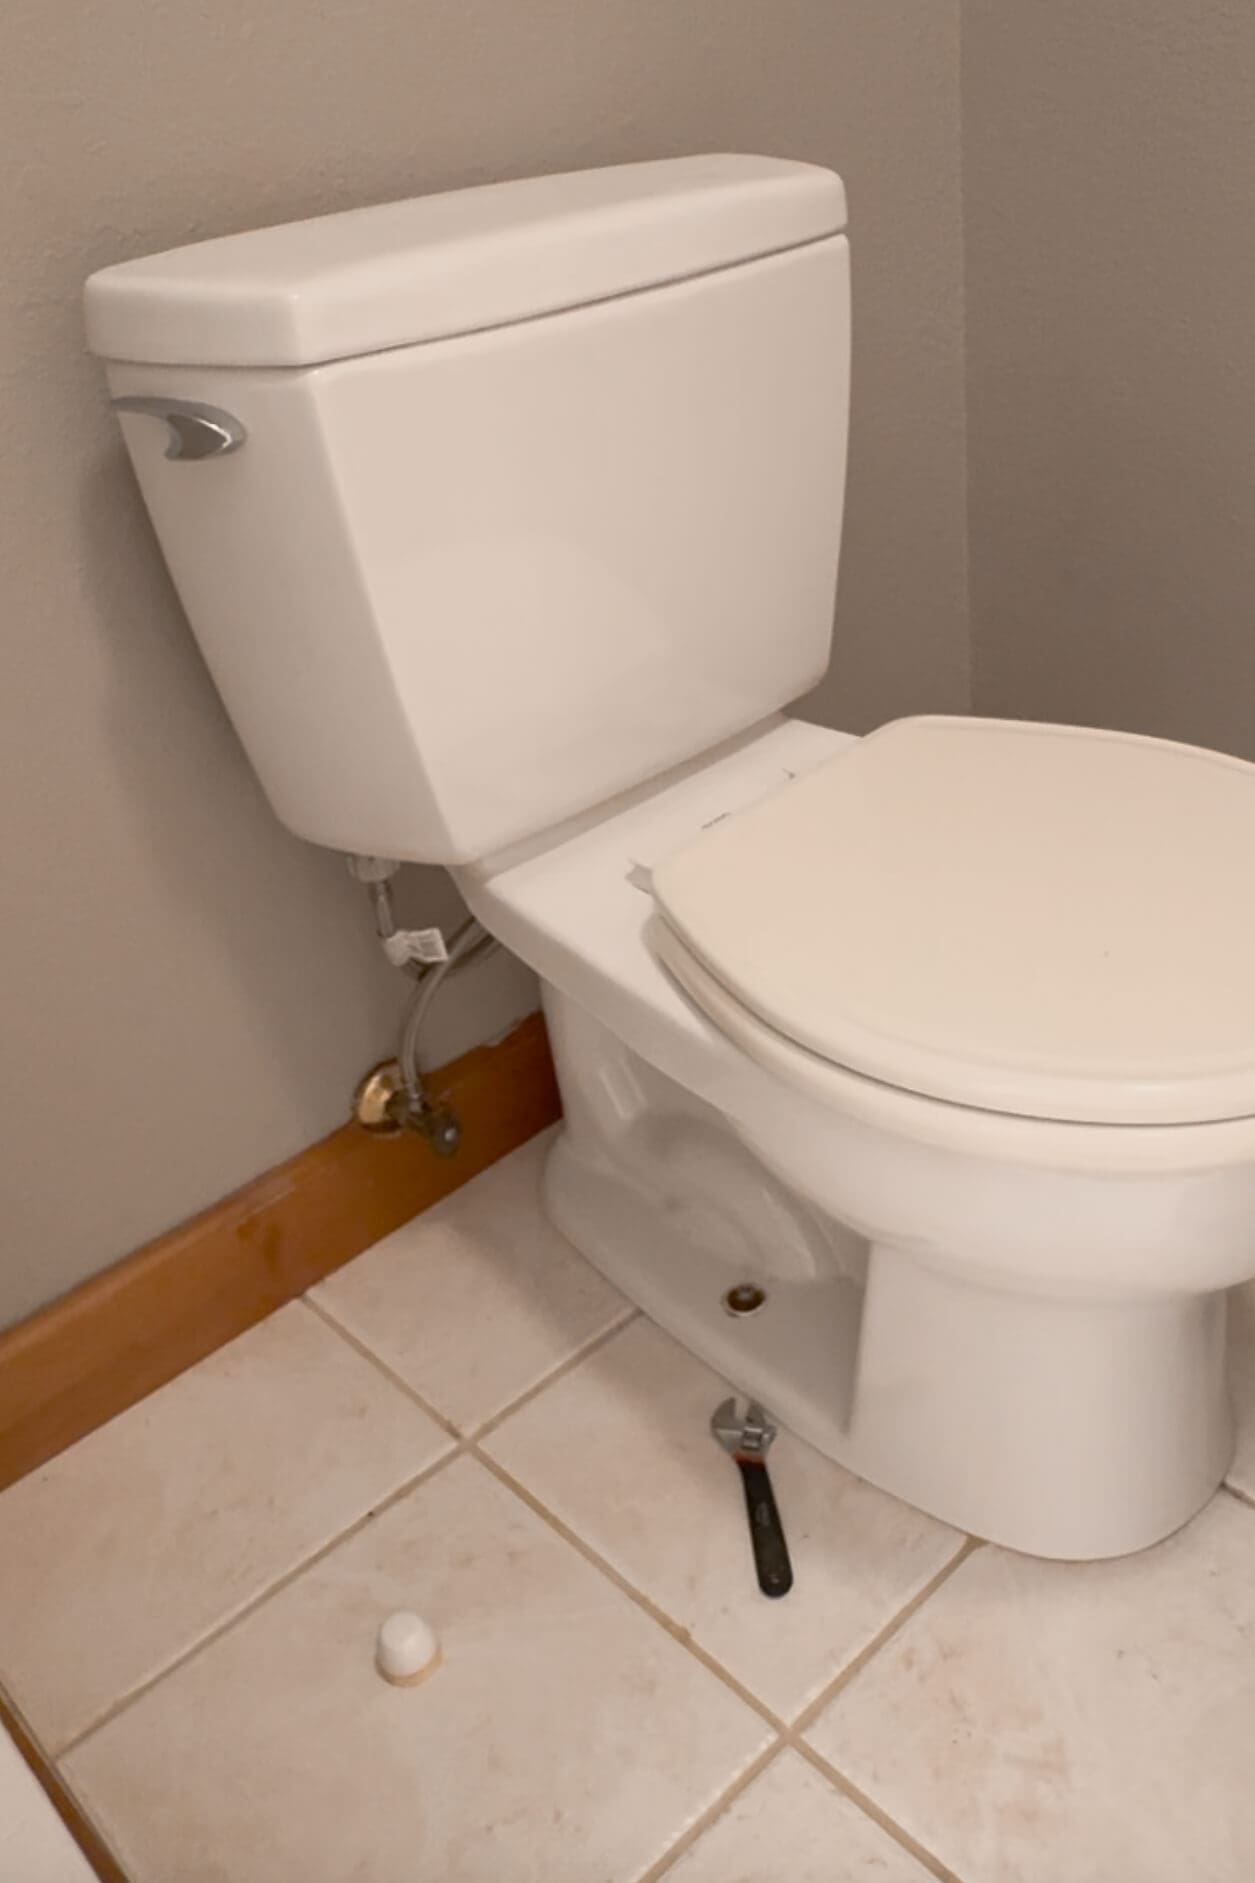
Pro tip: Toilets are heavier than they look. If you’re working solo, you can separate the tank from the bowl to make lifting easier.
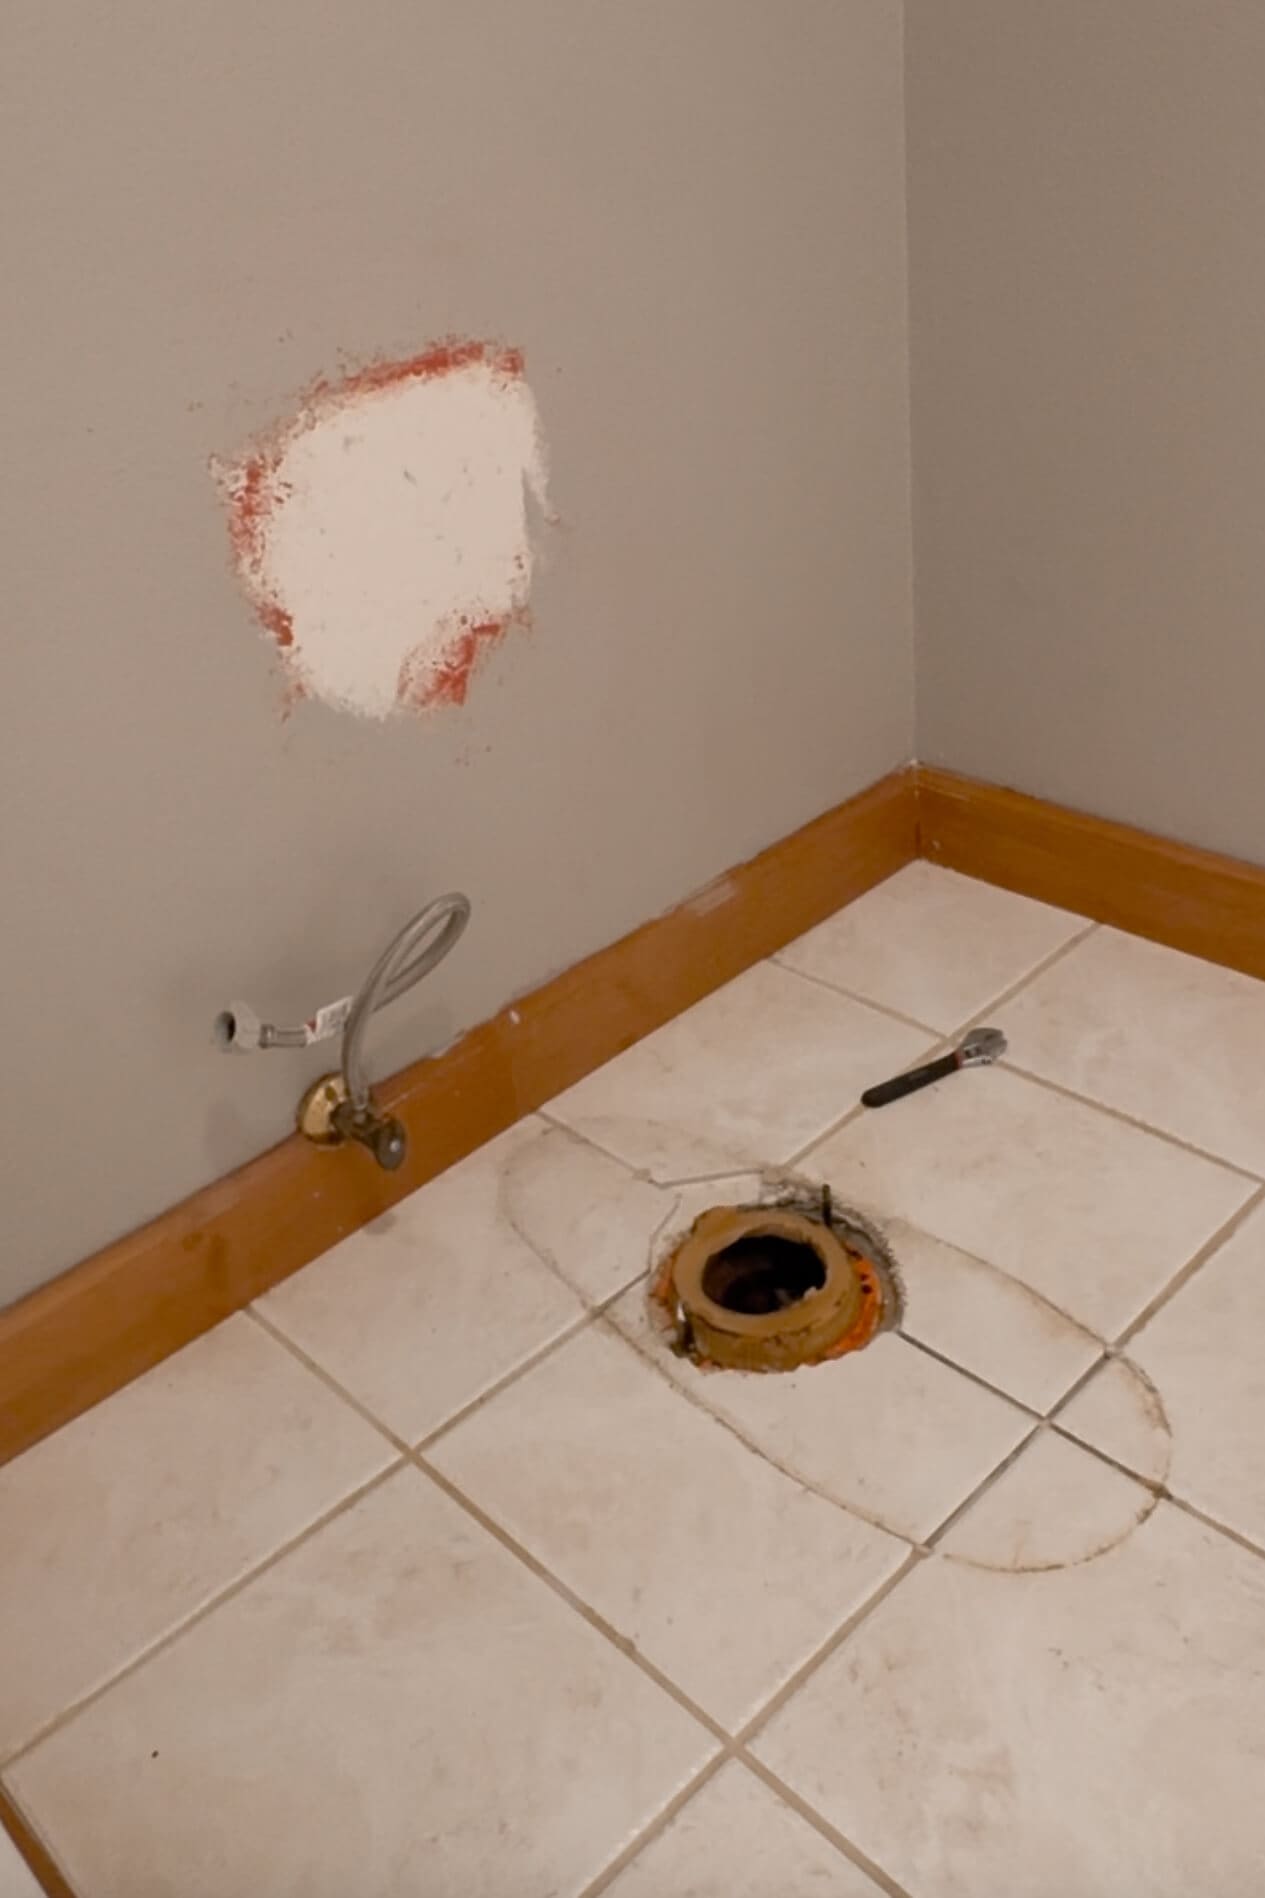
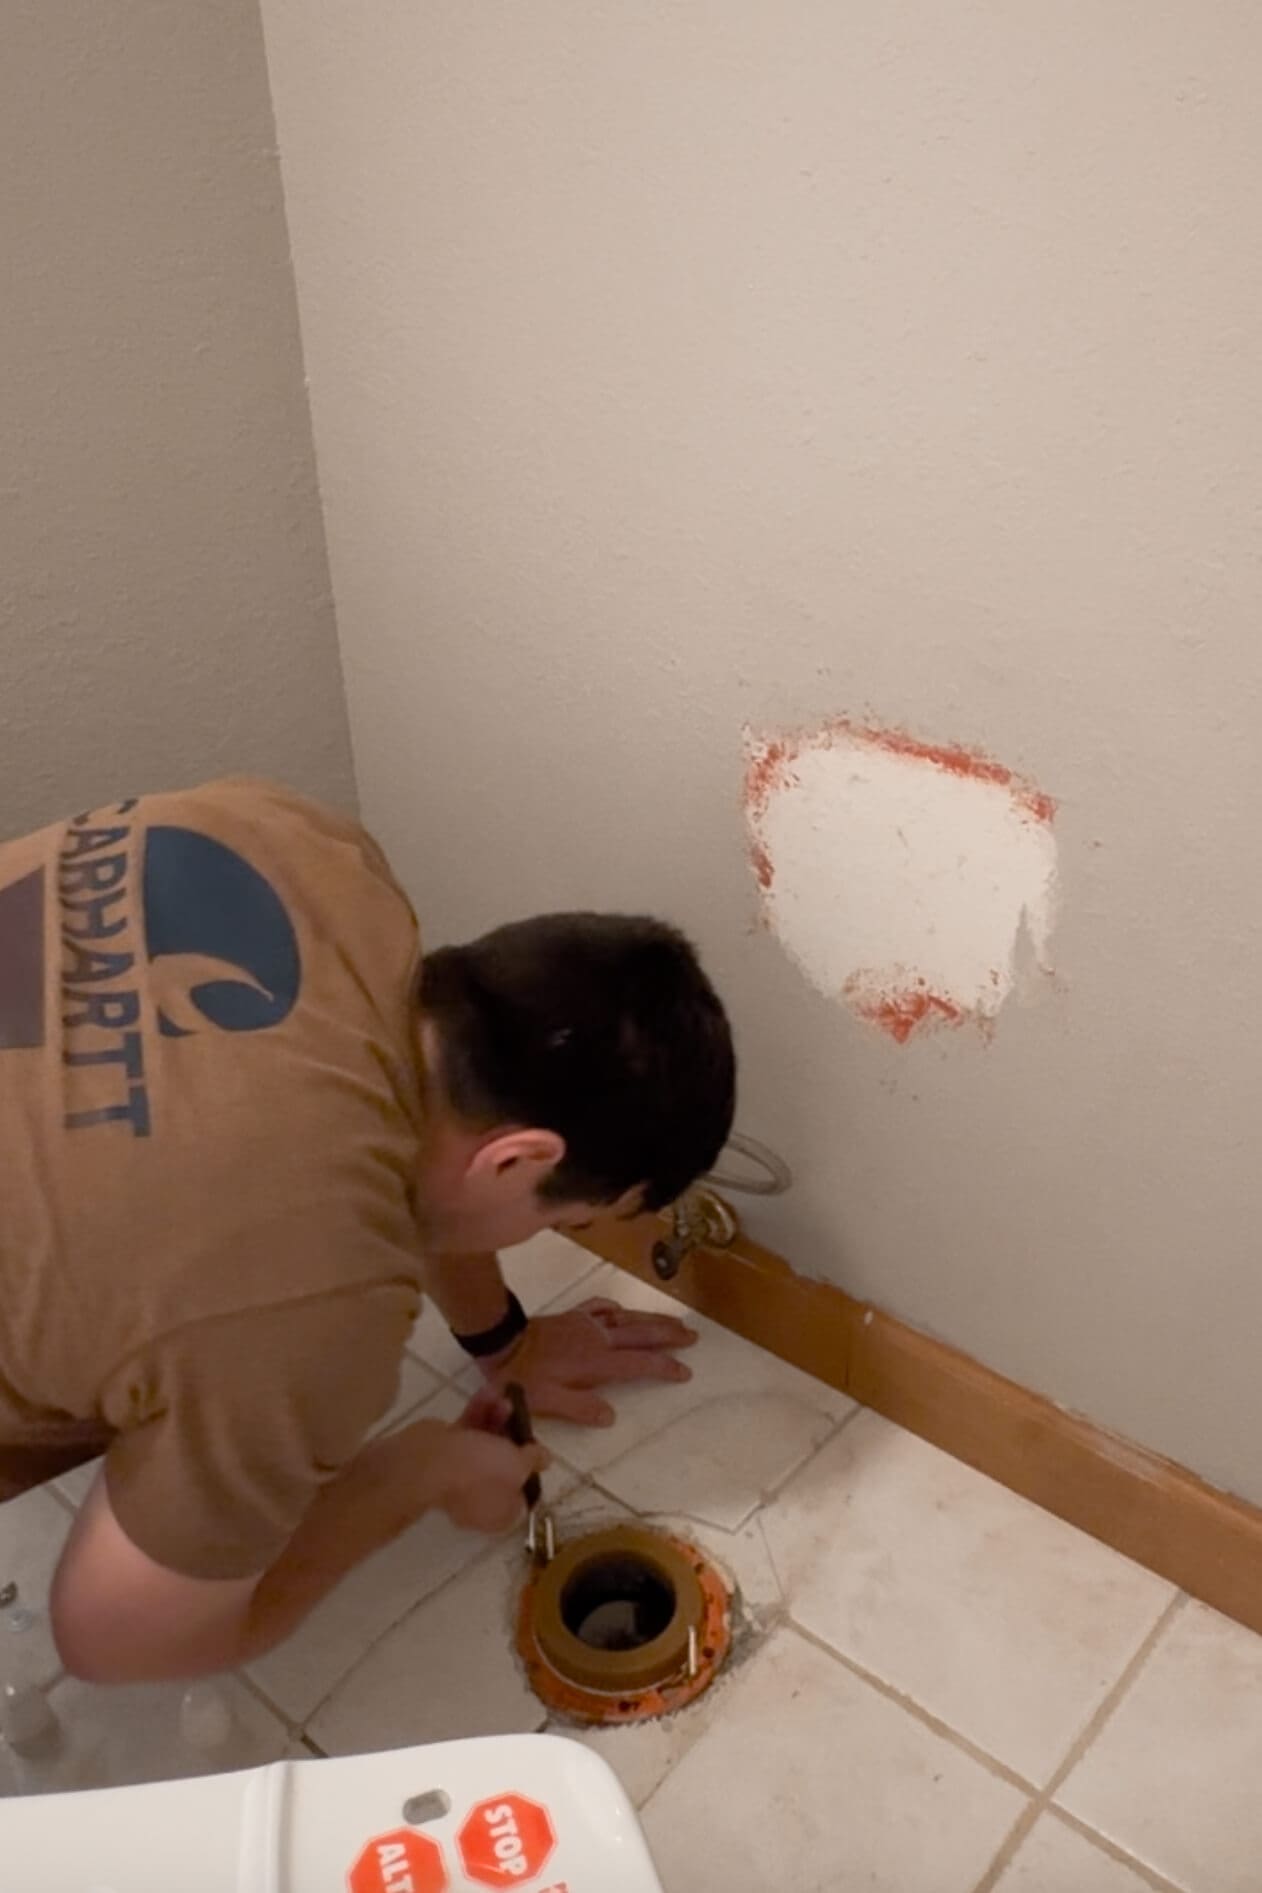
Step 3: Remove the Old Wax Ring and Flange Bolts
This is the grossest part of installing a toilet, but also one of the most important. You don’t want to reuse anything from the old toilet – start fresh. Remove the old bolts from the flange, then get rid of the old wax ring. Stuart was able to grab ours with some toilet paper and pull it right off, but if yours is more stubborn, use a putty knife to scrape it away.
While you’re down there, check the toilet flange (the piece around the drain pipe that your toilet anchors to). If it’s cracked or damaged, you’ll need to repair it before moving on. Luckily, ours was still in great shape, so we could move forward with installing the toilet.
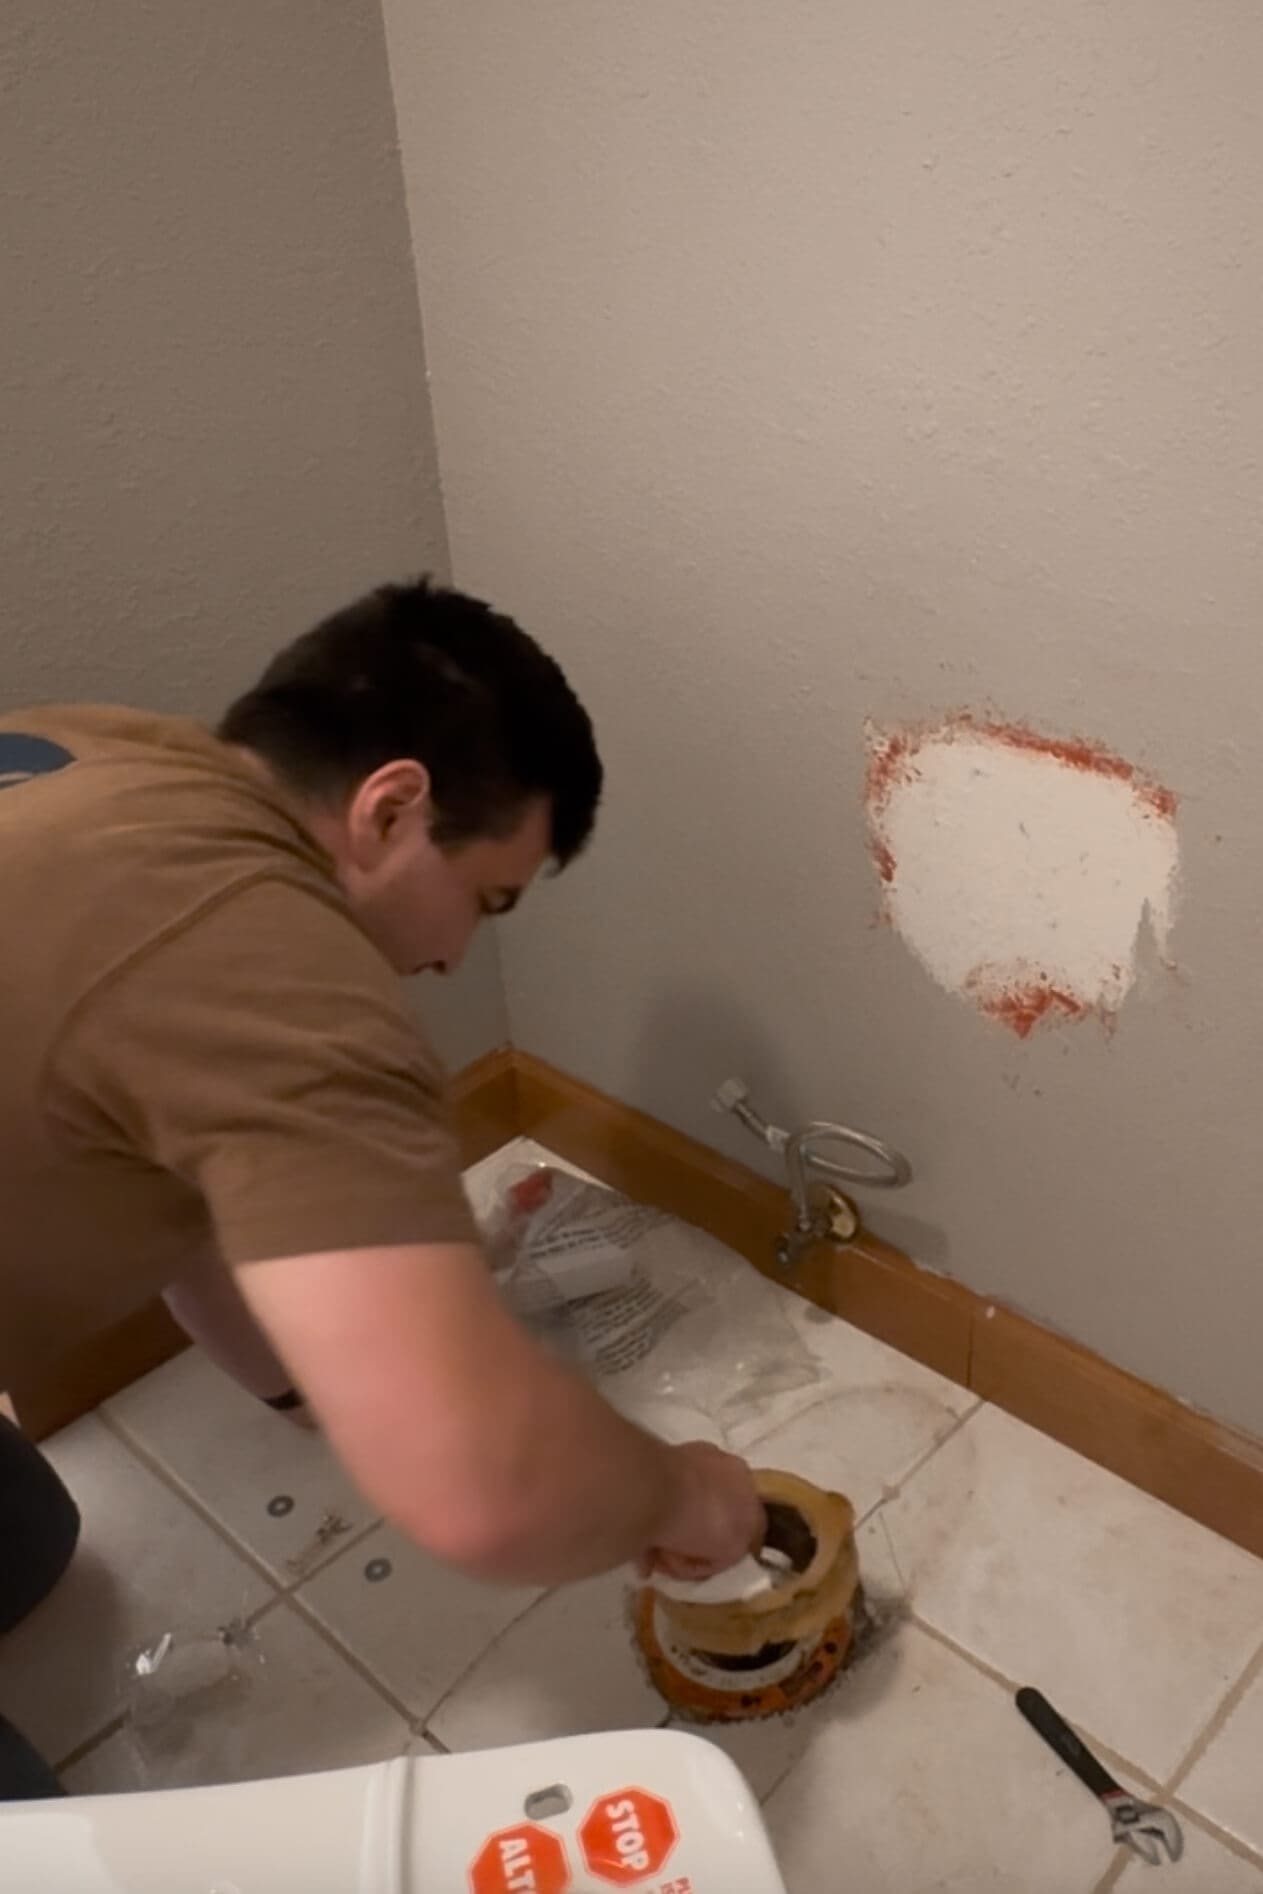
Step 4: Install the Closet Bolts and Wax Ring
Now, we can install the new closet bolts (typically will come with your new toilet) into the slots on the toilet flange. Then press your new wax ring onto the flange.
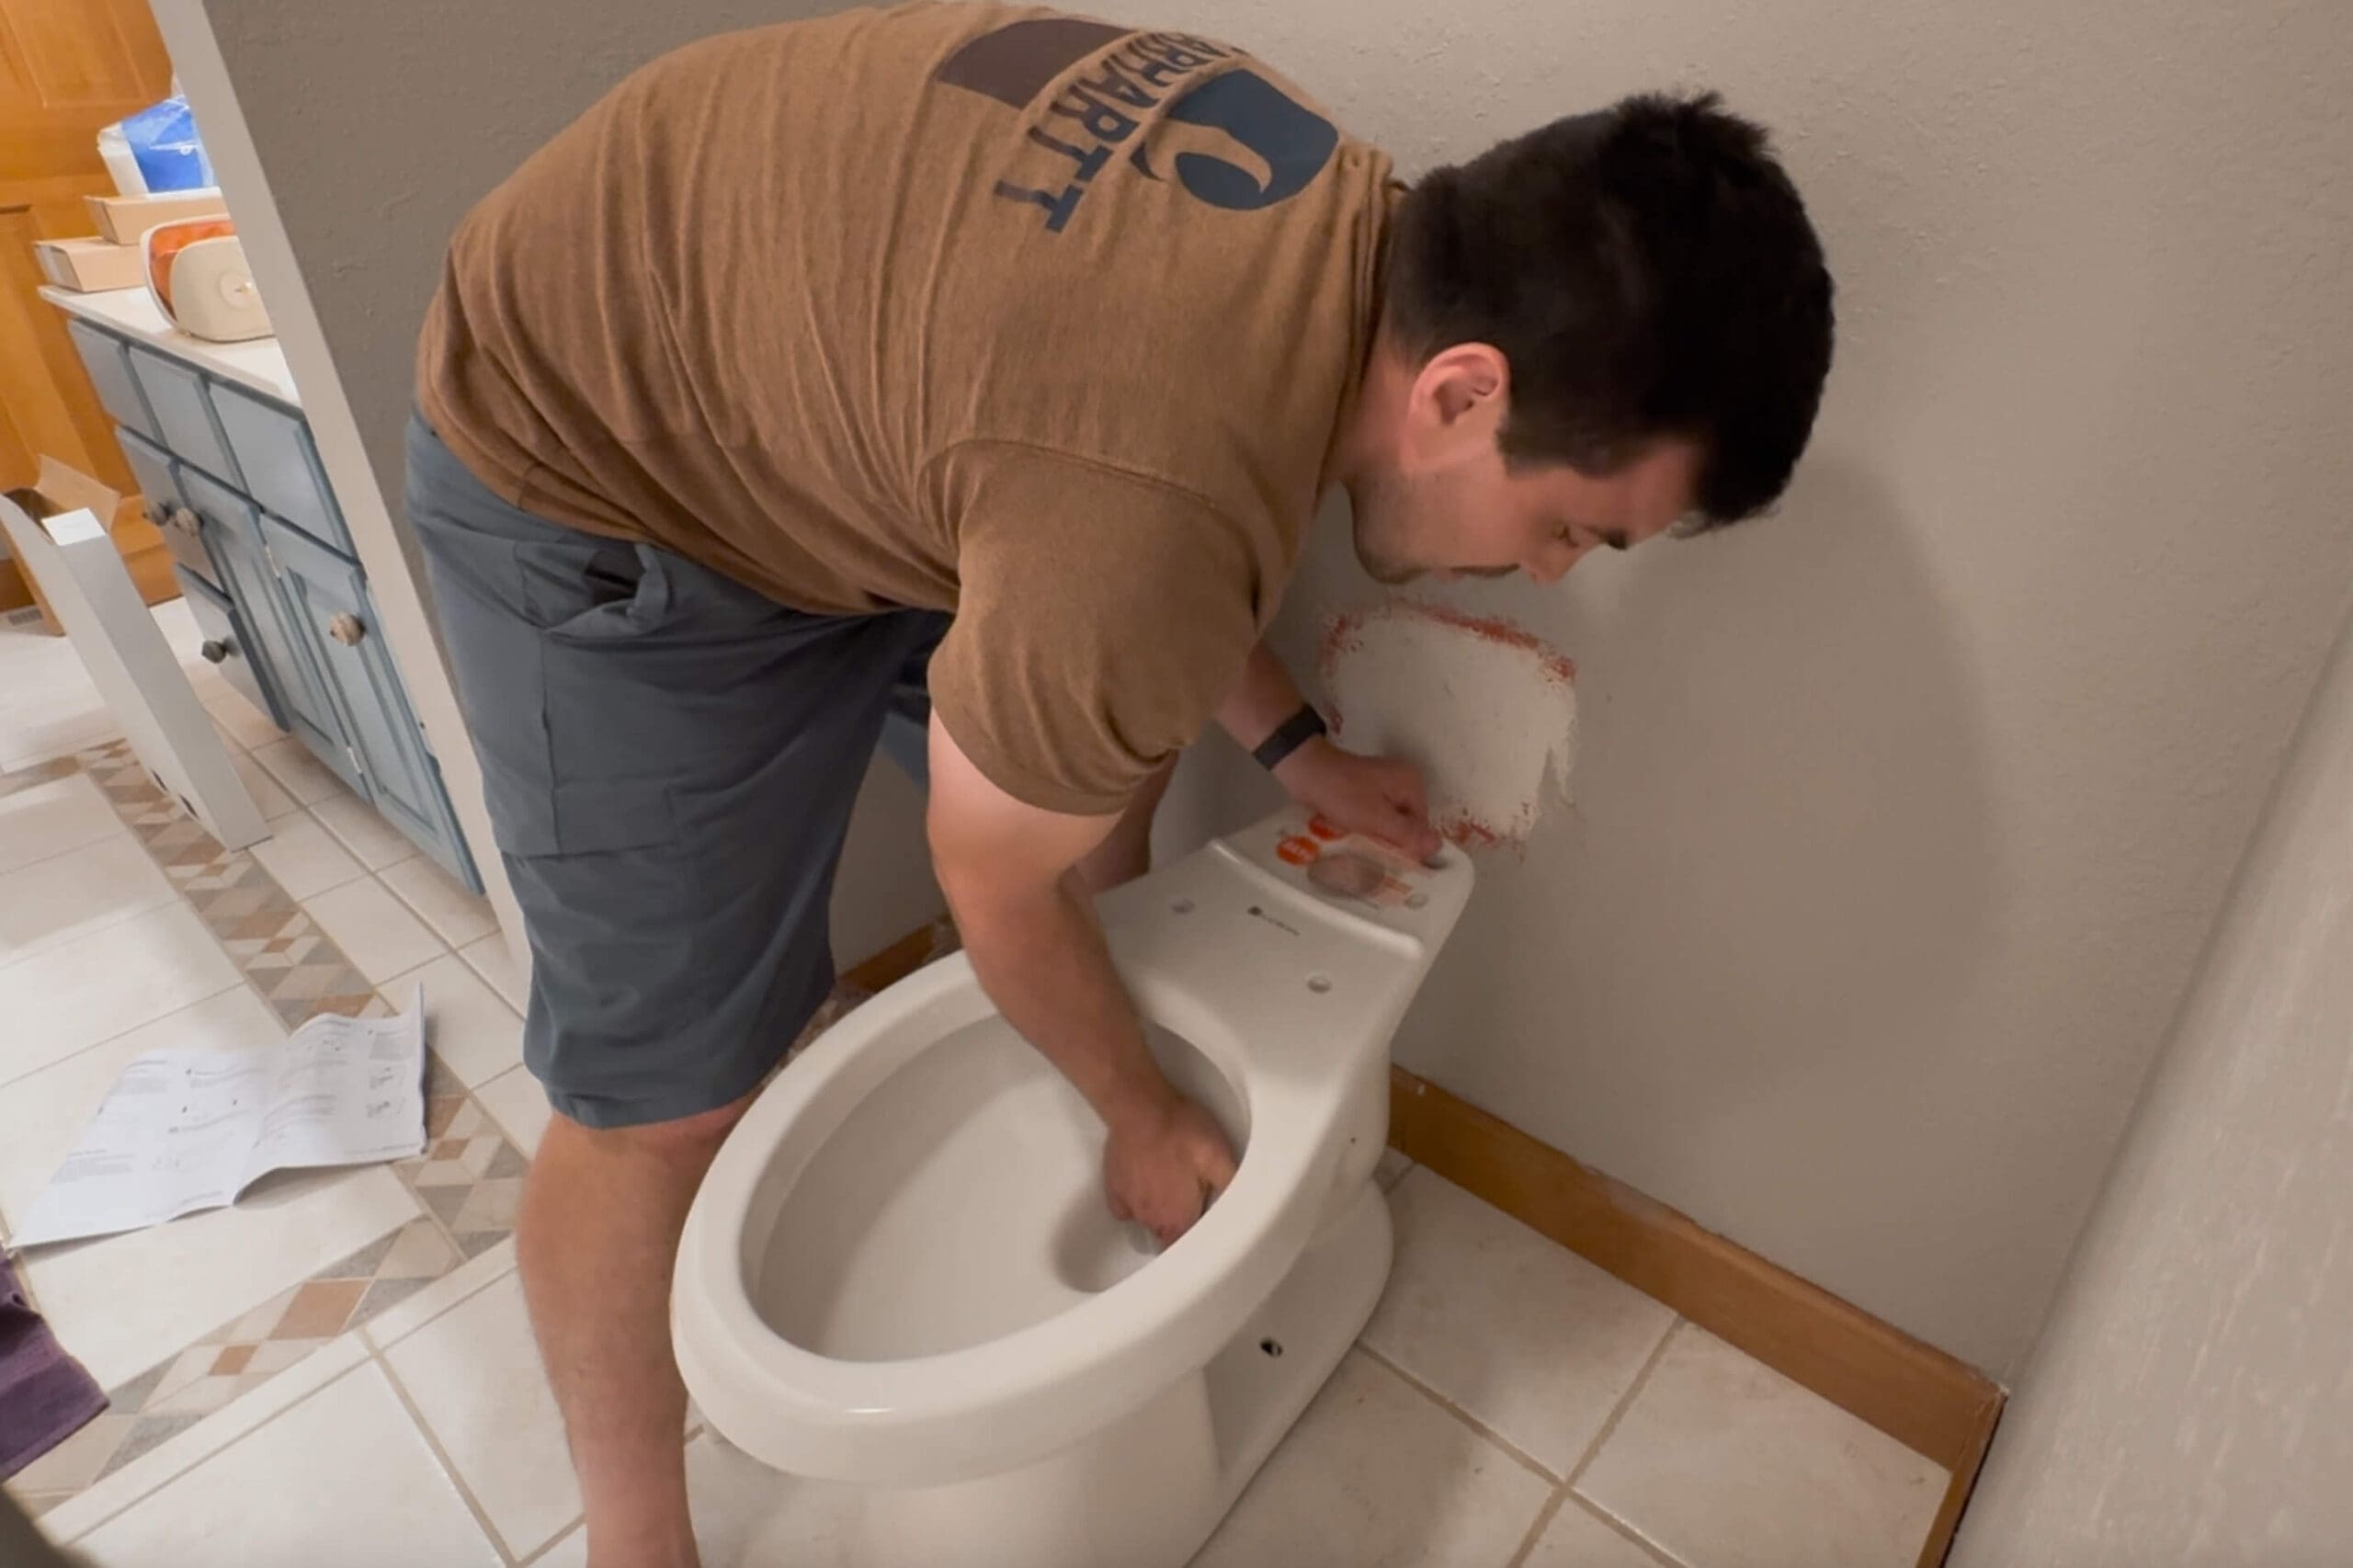
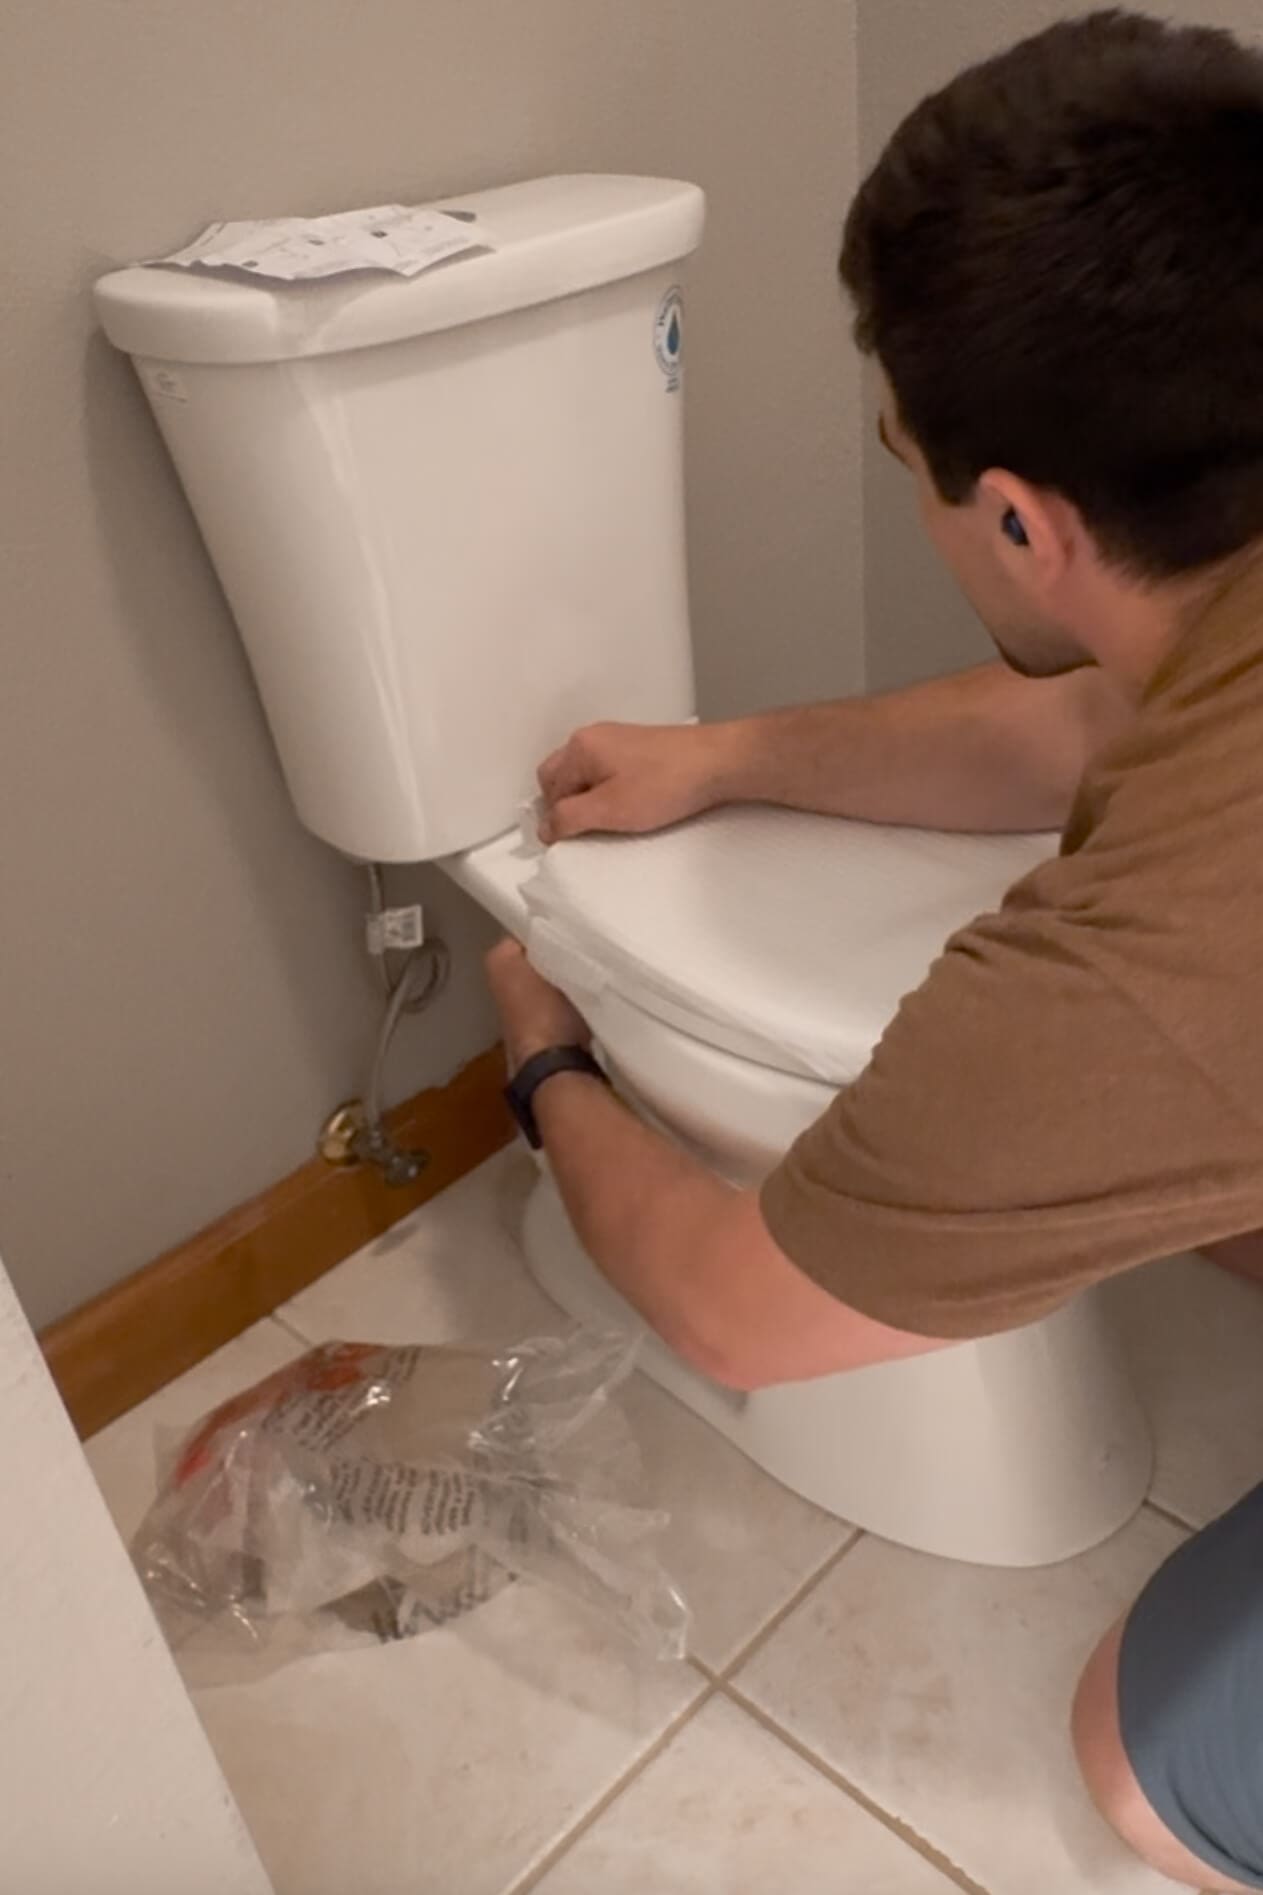
Step 5: Set the New Toilet in Place
Once that is done, it’s time to carefully lower the new toilet onto the bolts, lining them up with the holes in the base. Press down gently to compress the wax ring and create a seal. Add the washers and nuts at the toilet base, then tighten them evenly, switching sides as you go. Don’t overtighten – you don’t want to crack the porcelain.
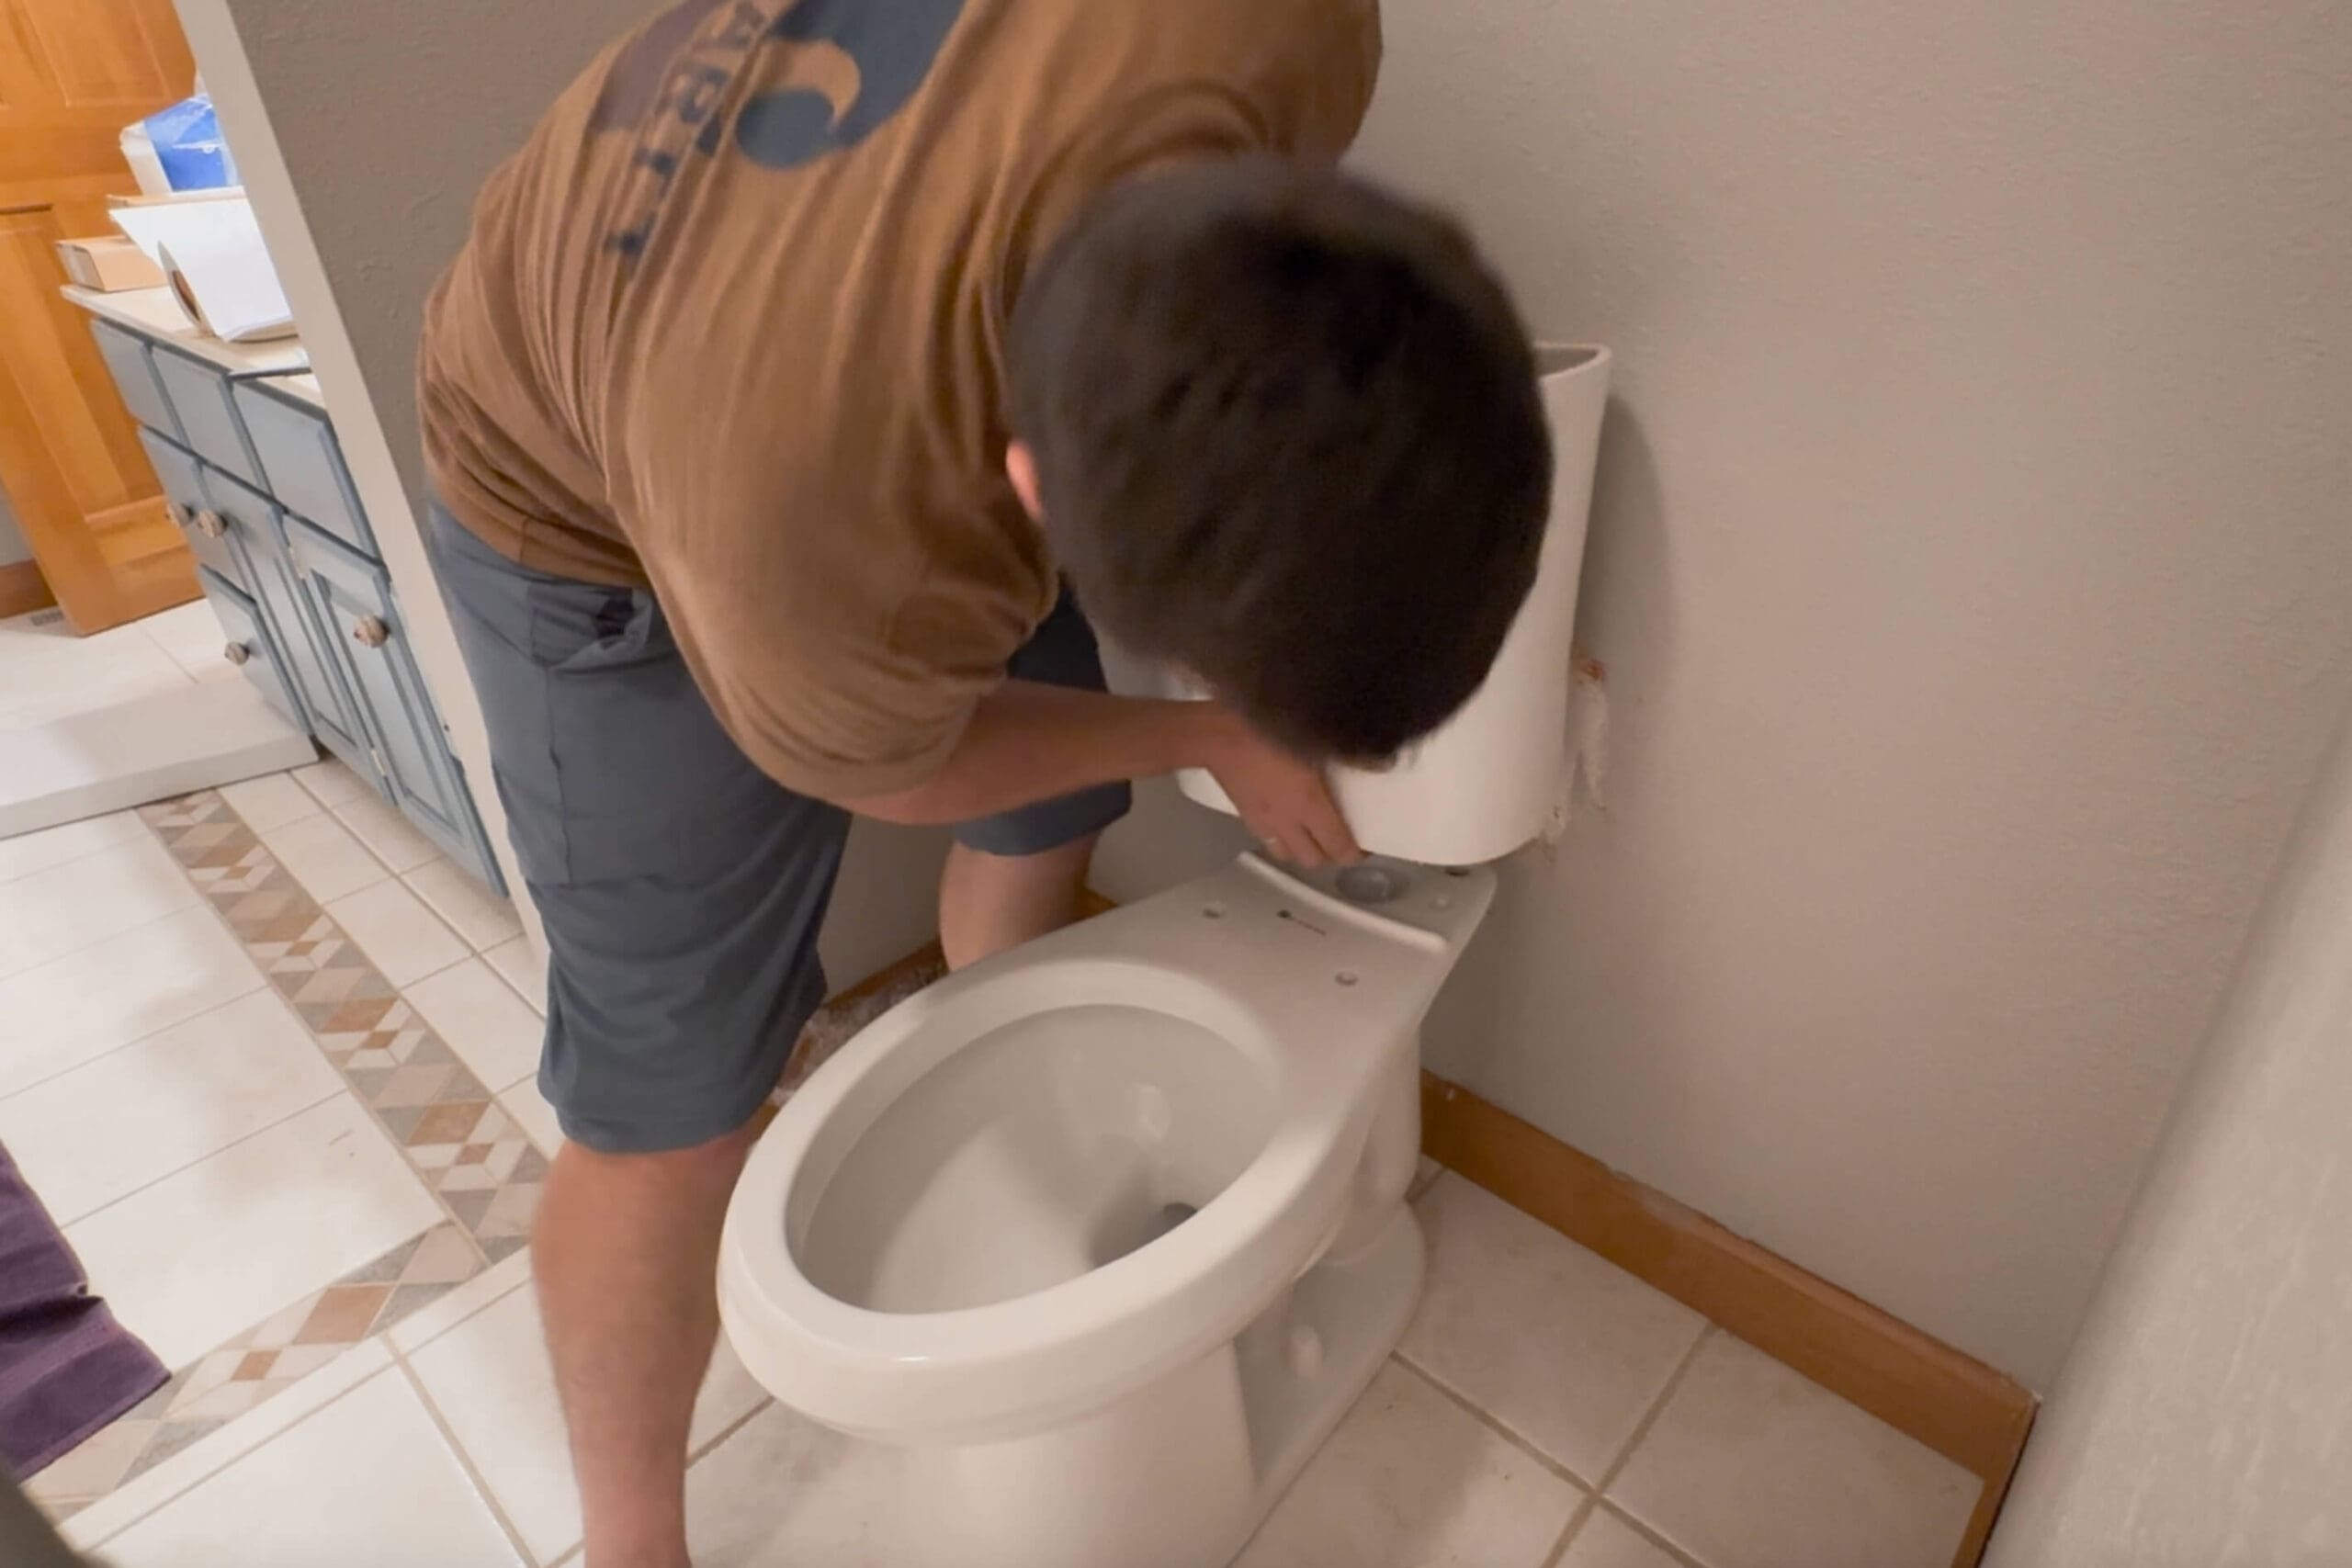
If your new toilet came in two pieces, now’s the time to attach the tank to the bowl. This usually involves a couple of bolts and rubber washers. Just follow the instructions that come with your toilet. Seeing that shiny new toilet in place is the best part of installing a toilet! So satisfying!
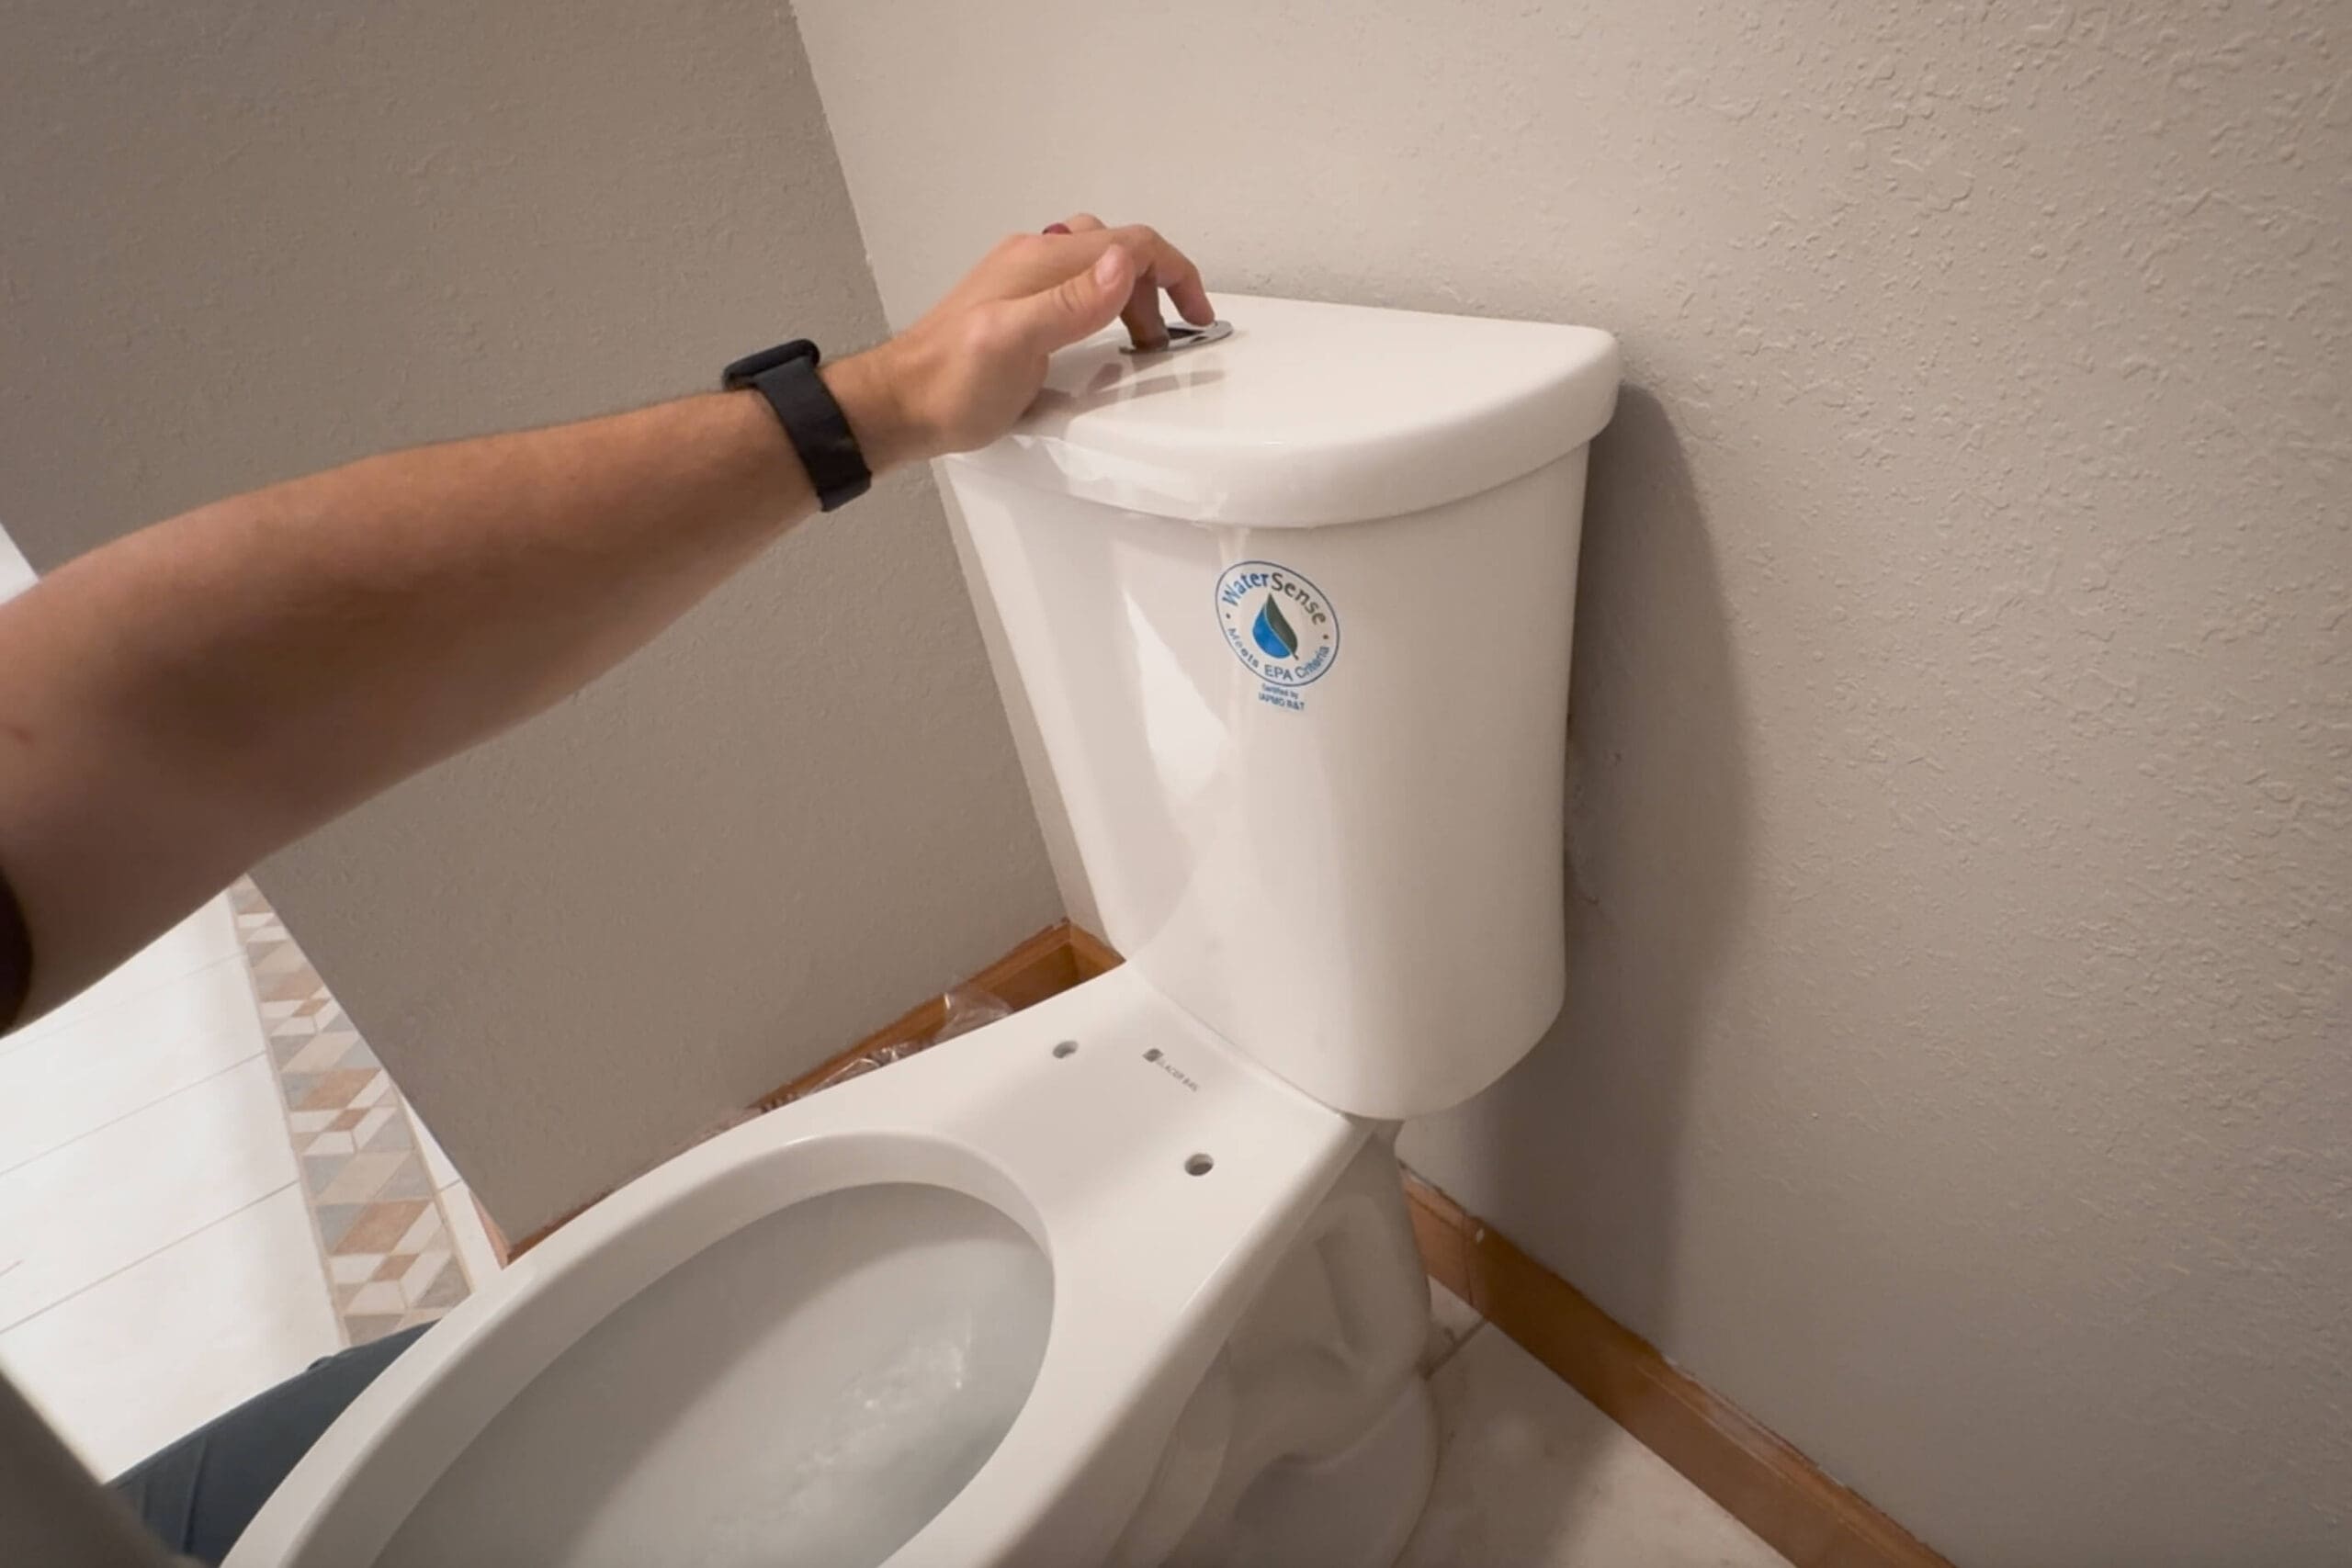
Step 6: Reconnect the Water Supply and Test
With your new toilet installed in place, it’s time to reattach the water supply. Screw the water supply line back onto the fill valve at the bottom of the tank. Open the shutoff valve and let the tank fill up. Keep an eye out for leaks around the base and at the water line.
Step 7: Install the Toilet Seat
The last step to installing a toilet is adding the seat. Follow the instructions that come with your new toilet, but it’s usually as simple as lining it up with the holes on the back of the bowl, inserting the plastic bolts, and tightening them down with a screwdriver or wrench.
Final Thoughts on How to Install a Toilet
This wasn’t the most glamorous DIY ever, but it was a solid win. Now we’re not awkwardly hovering on a too-low toilet every day, and that alone makes it feel worth it.
We still plan to remodel this entire bathroom down the road, but swapping the toilet gives us an immediate upgrade without a ton of effort. If you’ve been wondering how to install a toilet and whether it’s something you can handle – this is one of those projects that’s totally beginner-friendly and makes a noticeable difference right away.
Want to see more of our DIY projects around here? You can check out our full new house tour for a look at what we’re starting with and a sneak peek at my renovation plans. Follow along on Instagram to catch all the behind-the-scenes chaos as we DIY our way through every room. We’ve already started tearing out walls around here. It’s going to be a fun transformation.
📌 Save This DIY Toilet Install for Later
FAQs About How to Install a Toilet
For most DIYers, installing a toilet takes about 30-60 minutes. It depends on whether you run into any issues like stuck bolts or a damaged flange.
Yes! Replacing a toilet is totally doable as a beginner DIY project. As long as you follow step-by-step instructions and have the right tools, it’s a straightforward task.
Absolutely. You should never reuse a wax ring. Always replace it with a new one to ensure a proper seal and prevent leaks.
You’ll need a wrench, screwdriver, a new wax ring, and possibly a putty knife or WD-40. A wet/dry vacuum can also help remove leftover water from the old toilet.
