

Updated July 18, 2025
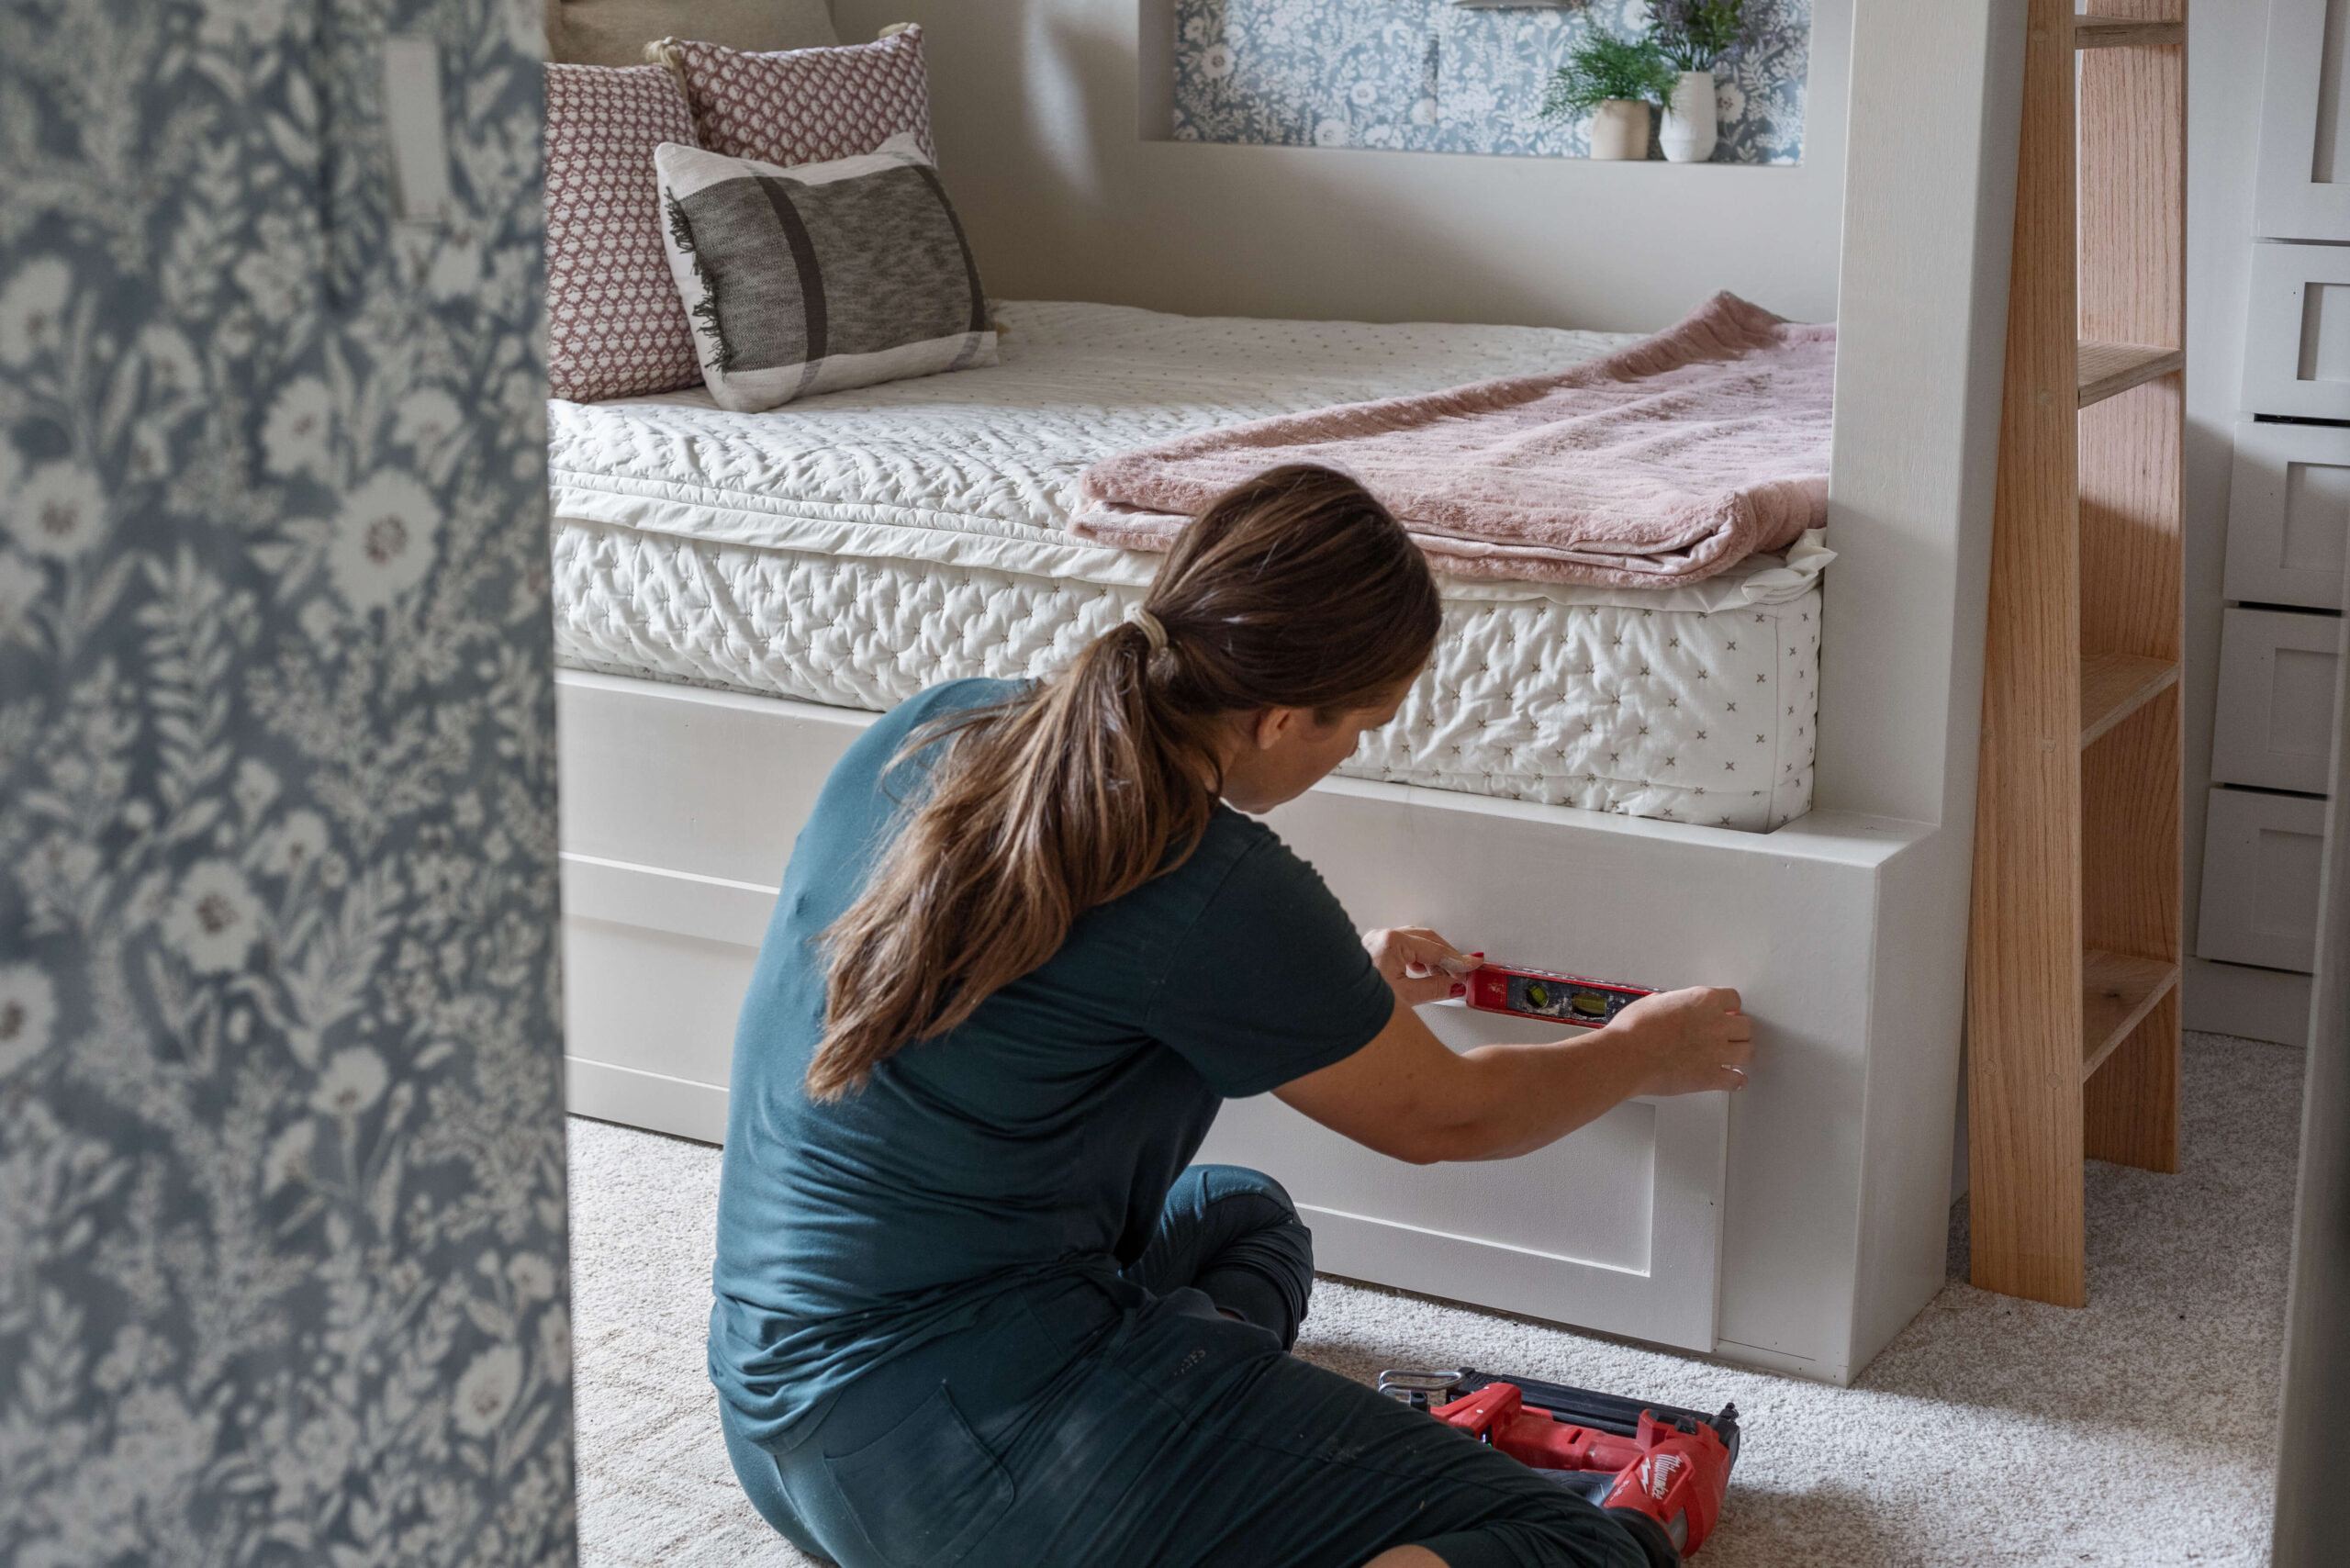
I finally finished the girls’ bunk beds, and I’m so excited to reveal their room to you! I had a specific vision in mind—a queen-size bed on the bottom, a full-size on top, and lots of storage. Mission accomplished! The girls’ bunk beds turned out even better than I imagined—higher quality, prettier, and perfectly customized to fit their bedroom wall.
In part one of this project, I built the frame for the girls’ bunk beds and installed storage drawers underneath. I also modified and attached IKEA Pax units on each side.
In part two, I wrapped the girls’ bunk beds in plywood, filled the seams, installed safety rails, and painted everything in Accessible Beige.
Afterward, I built a beautiful oak ladder to complete the look. Now, it’s time to dress up the girls’ bunk beds and finish decorating their room!
Hanging Wallpaper
Building the girls’ bunk beds was just one part of this full room makeover. With the bed done, it was time to add the finishing touches, like wallpaper!
If you follow me on Instagram or read my blog, you know we’ll only be in this house for another year. I want to make it easy for future owners to remove the wallpaper, so I primed the wall first using an 18-inch roller, which made quick work of it.

Once the primer dried, I hung the wallpaper. I measured the pieces, cut them slightly larger, then activated the pre-pasted adhesive by dunking the paper in water.


Using a laser level, I lined up each sheet and smoothed out any air bubbles, working my way around the room, starting with the trickiest part—the alcove by the door. I tackled that first while I was feeling motivated.

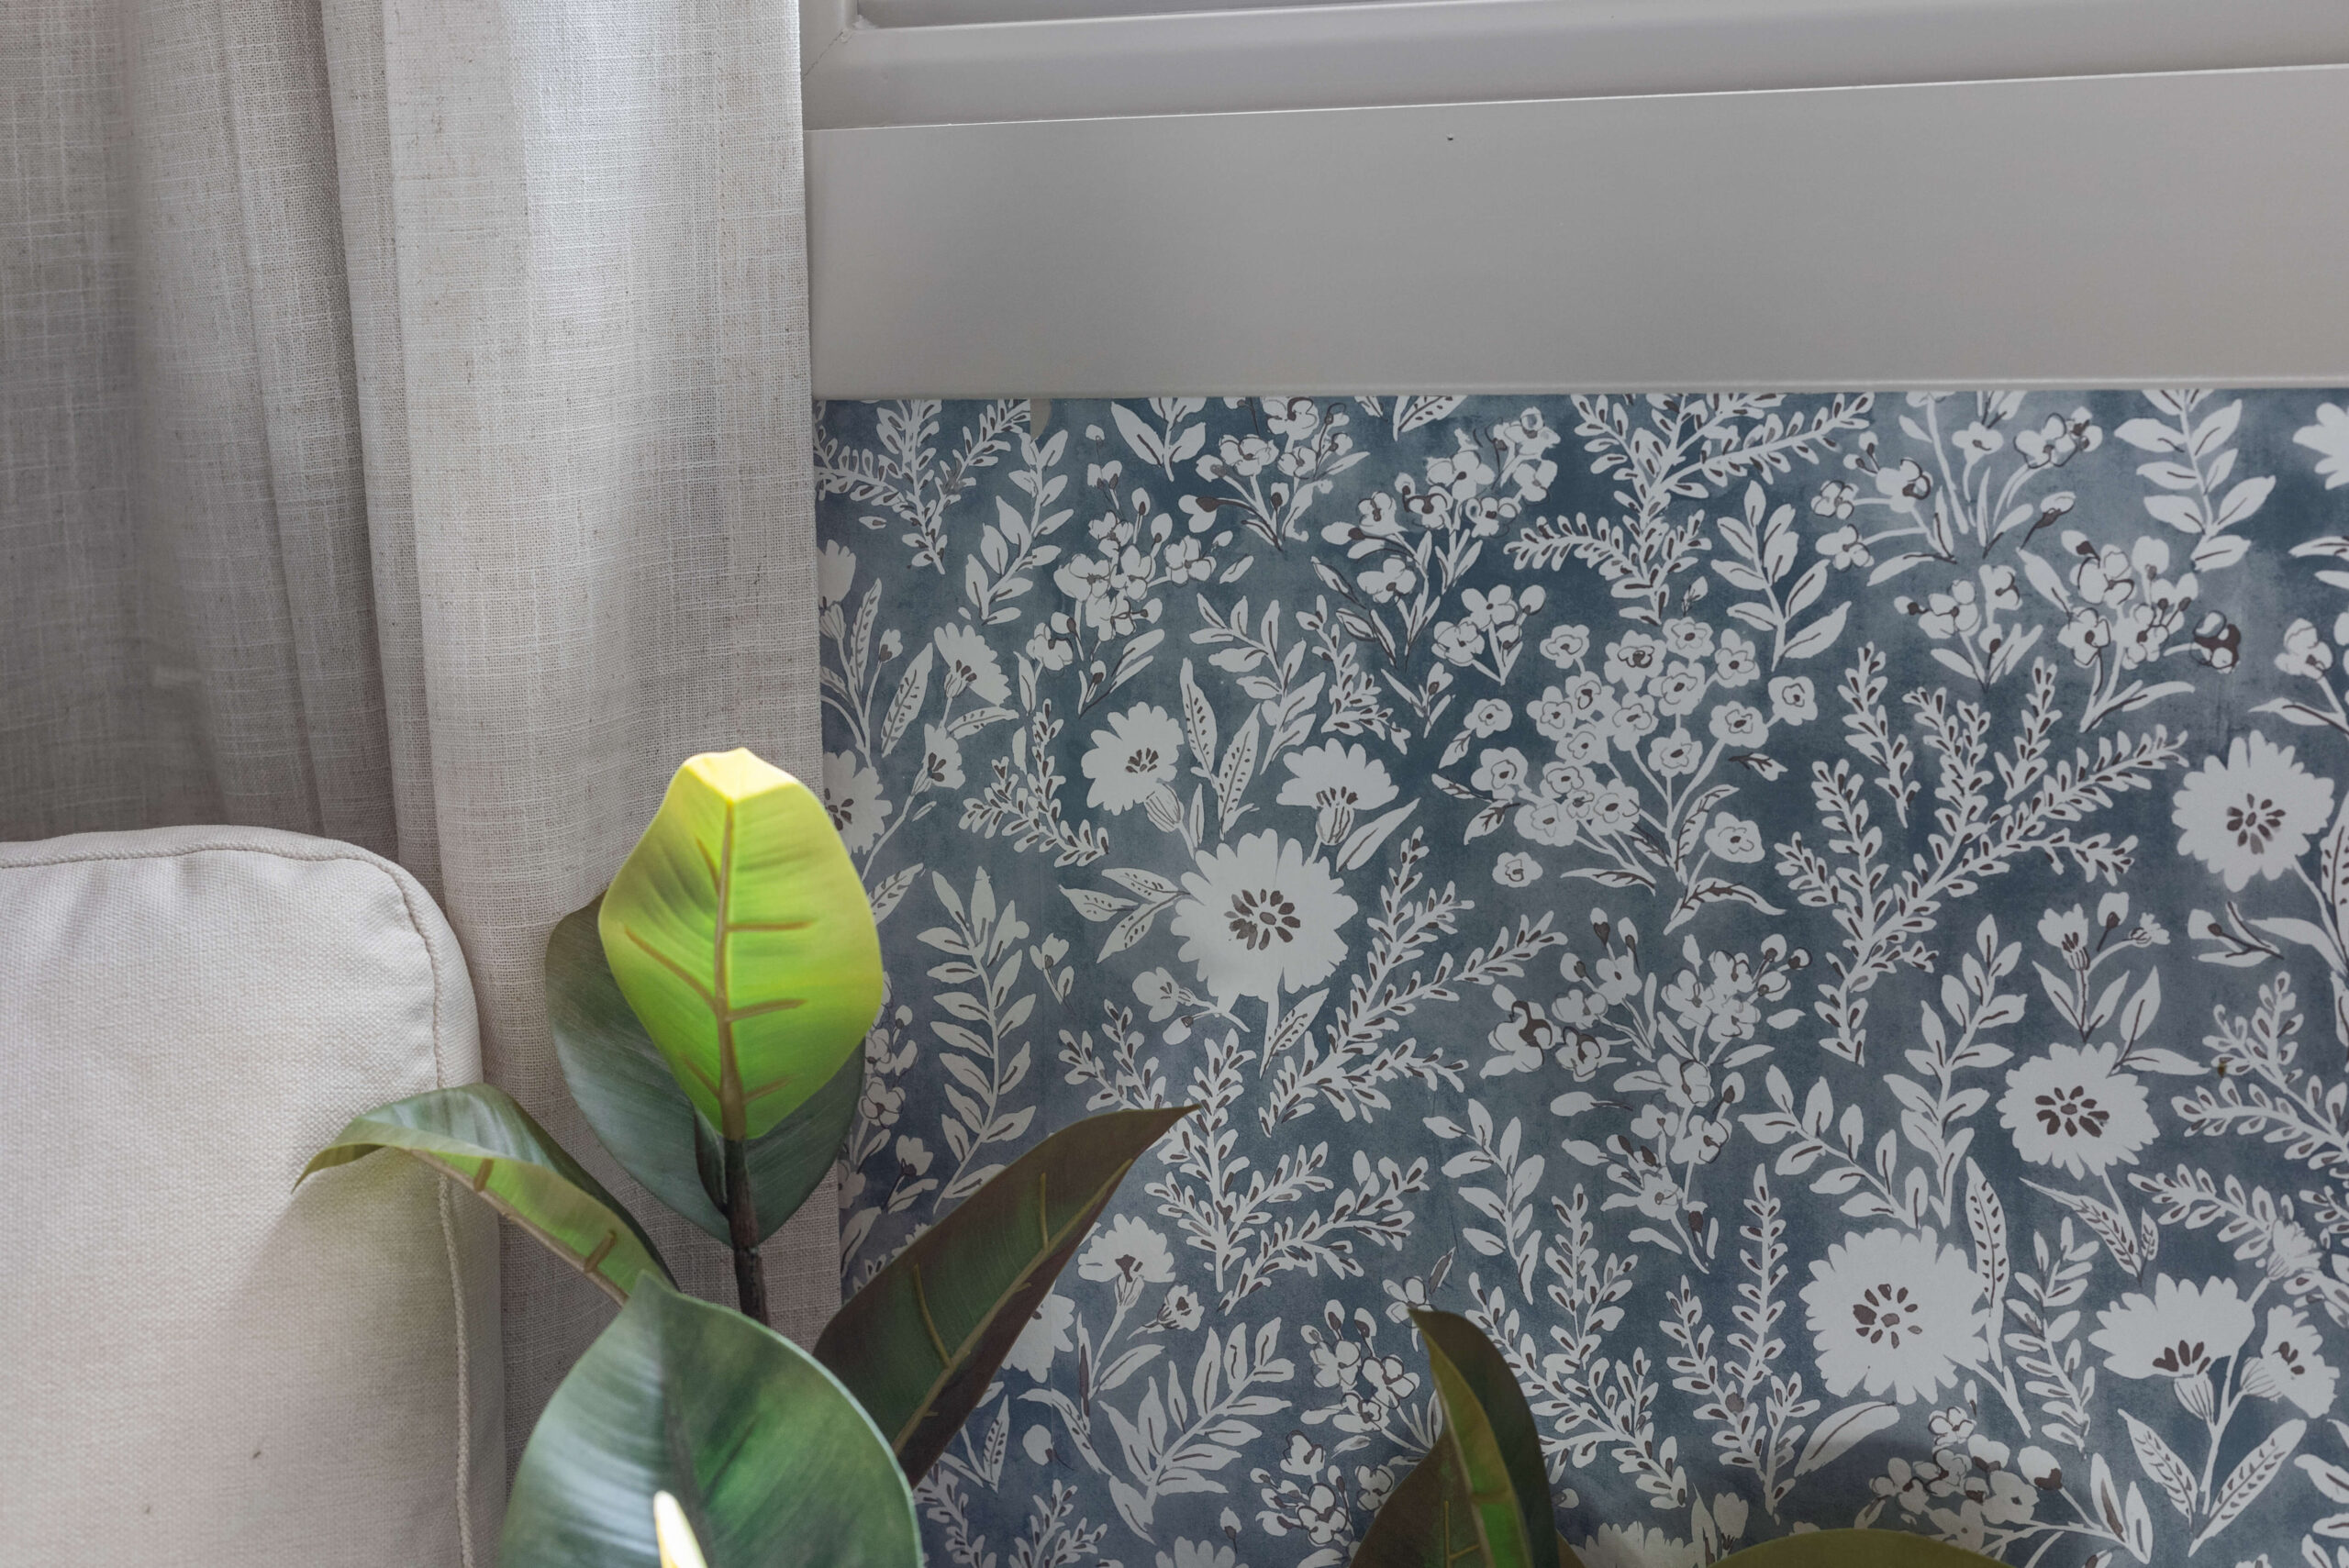
Here’s a closeup of the wallpaper just so you can see how gorgeous this print is. It pairs perfectly with the Accessible Beige paint color.
Covering Wall Plates with Wallpaper
After wallpapering the room, I covered the switch plates and outlet covers with the extra wallpaper using tacky spray.

I cut a piece of wallpaper slightly larger than the plate, sprayed the back, and pressed it onto the front. Then I made diagonal cuts at the corners and wrapped the excess around the back.
If it’s having trouble sticking, add more tacky glue.

And voila! Look how good these look! So much better than putting basic white plates over gorgeous wallpaper.

After reattaching the outlet covers, I used a three-prong plug to punch out the holes. These wallpapered plates blend seamlessly into the walls—so much better than plain white ones!

To protect my wallpaper, I added clear rubber wall protectors behind the door knobs to prevent damage.

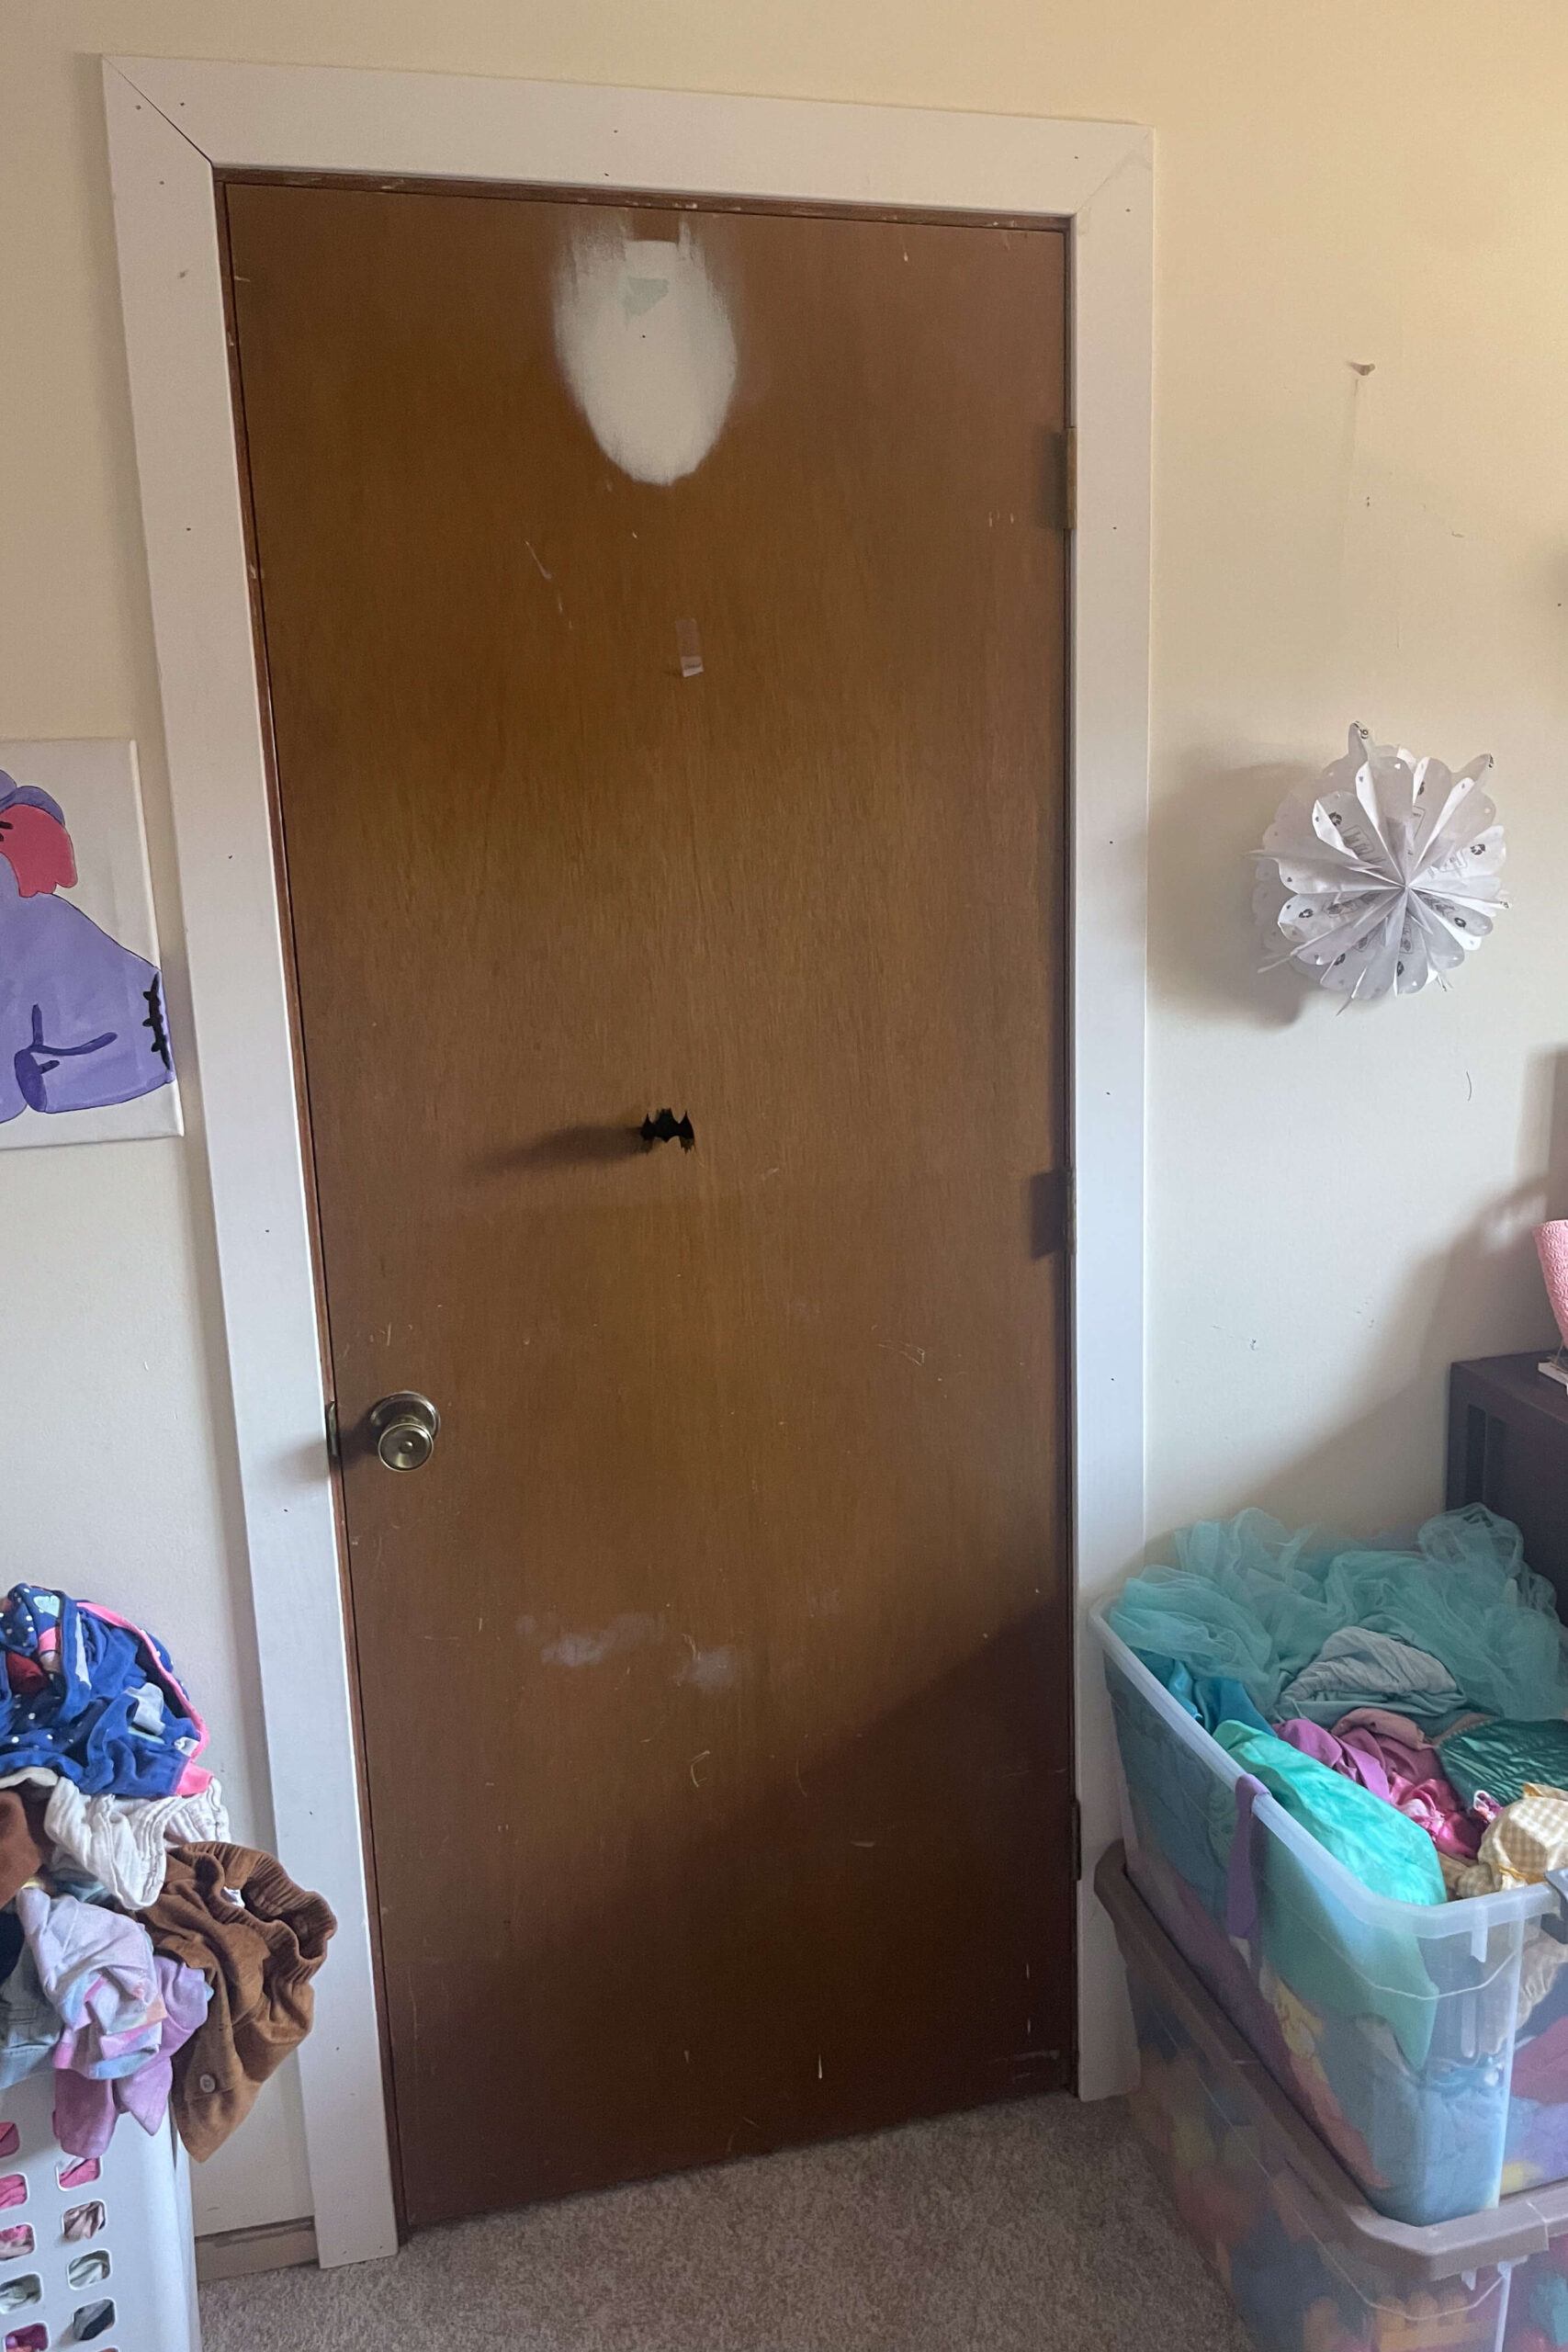
Changing Door Hardware
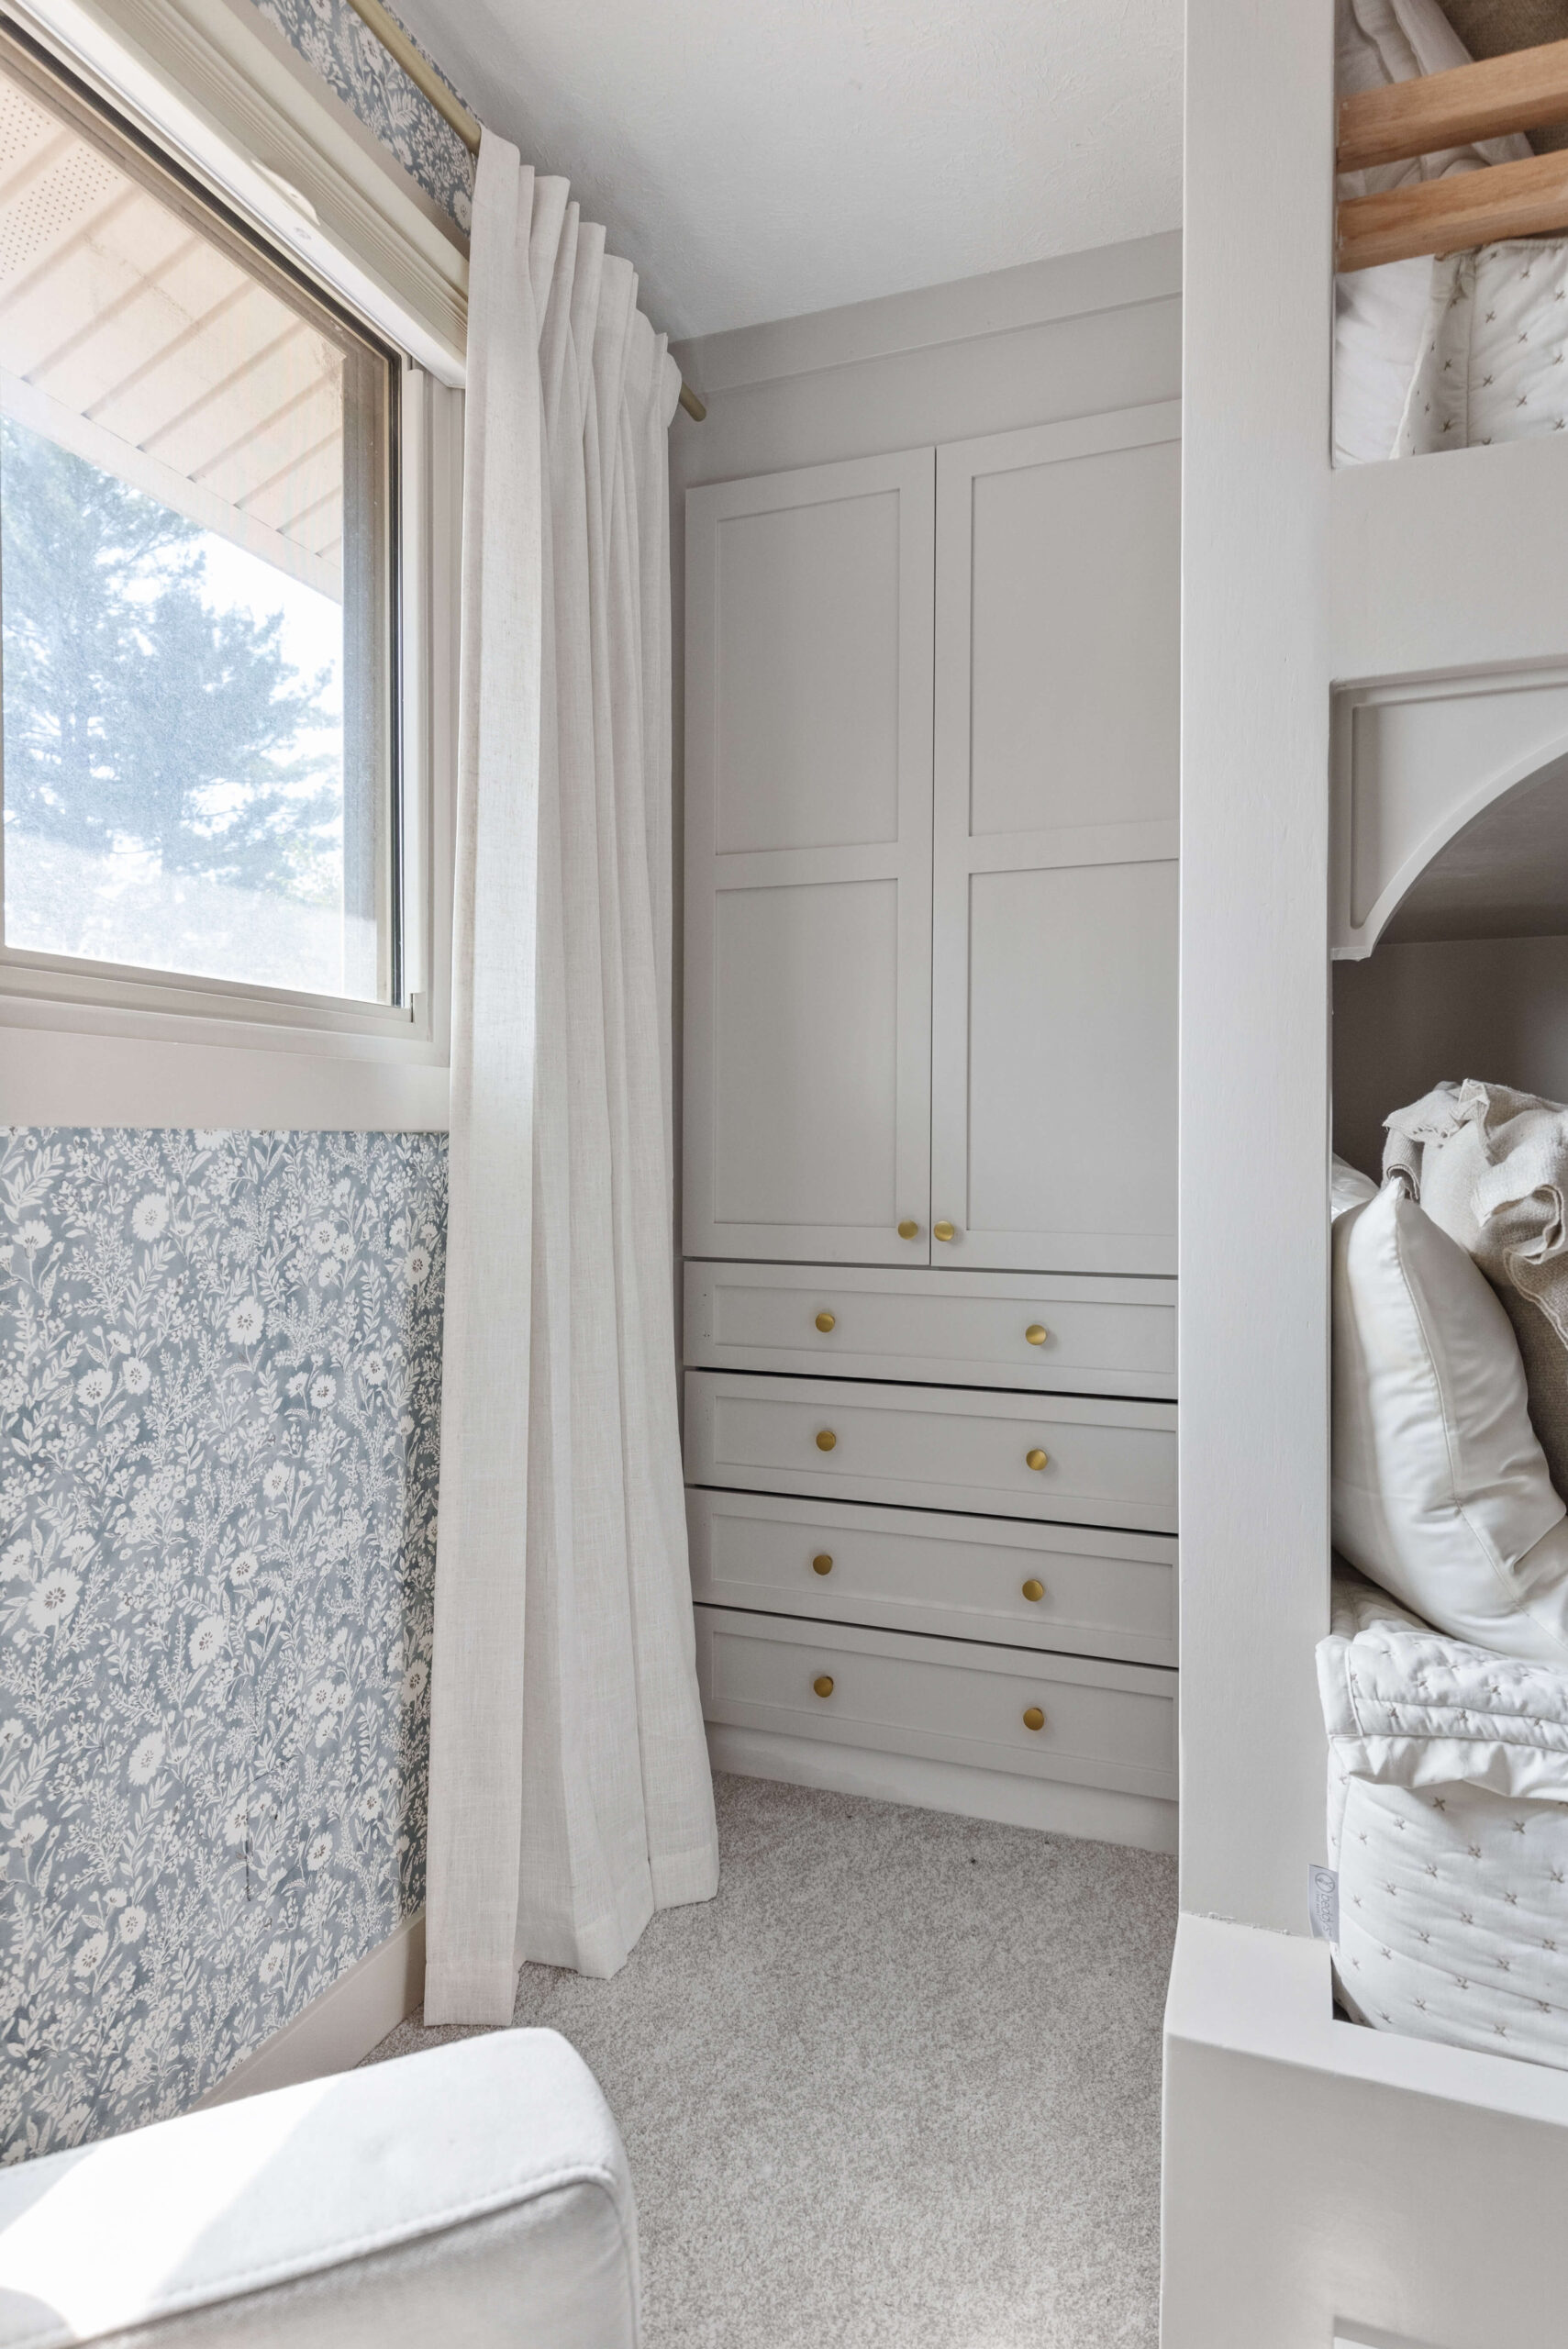
The closet door looked basic before the room makeover, but I gave it new life by painting it, along with the window trim and baseboards, in Accessible Beige. Even a hollow core door can look great with a fresh coat of paint and a stylish new handle. I’ve been adding these modern black knobs throughout my house, and they look amazing here too!

Decorating the Girls’ Room
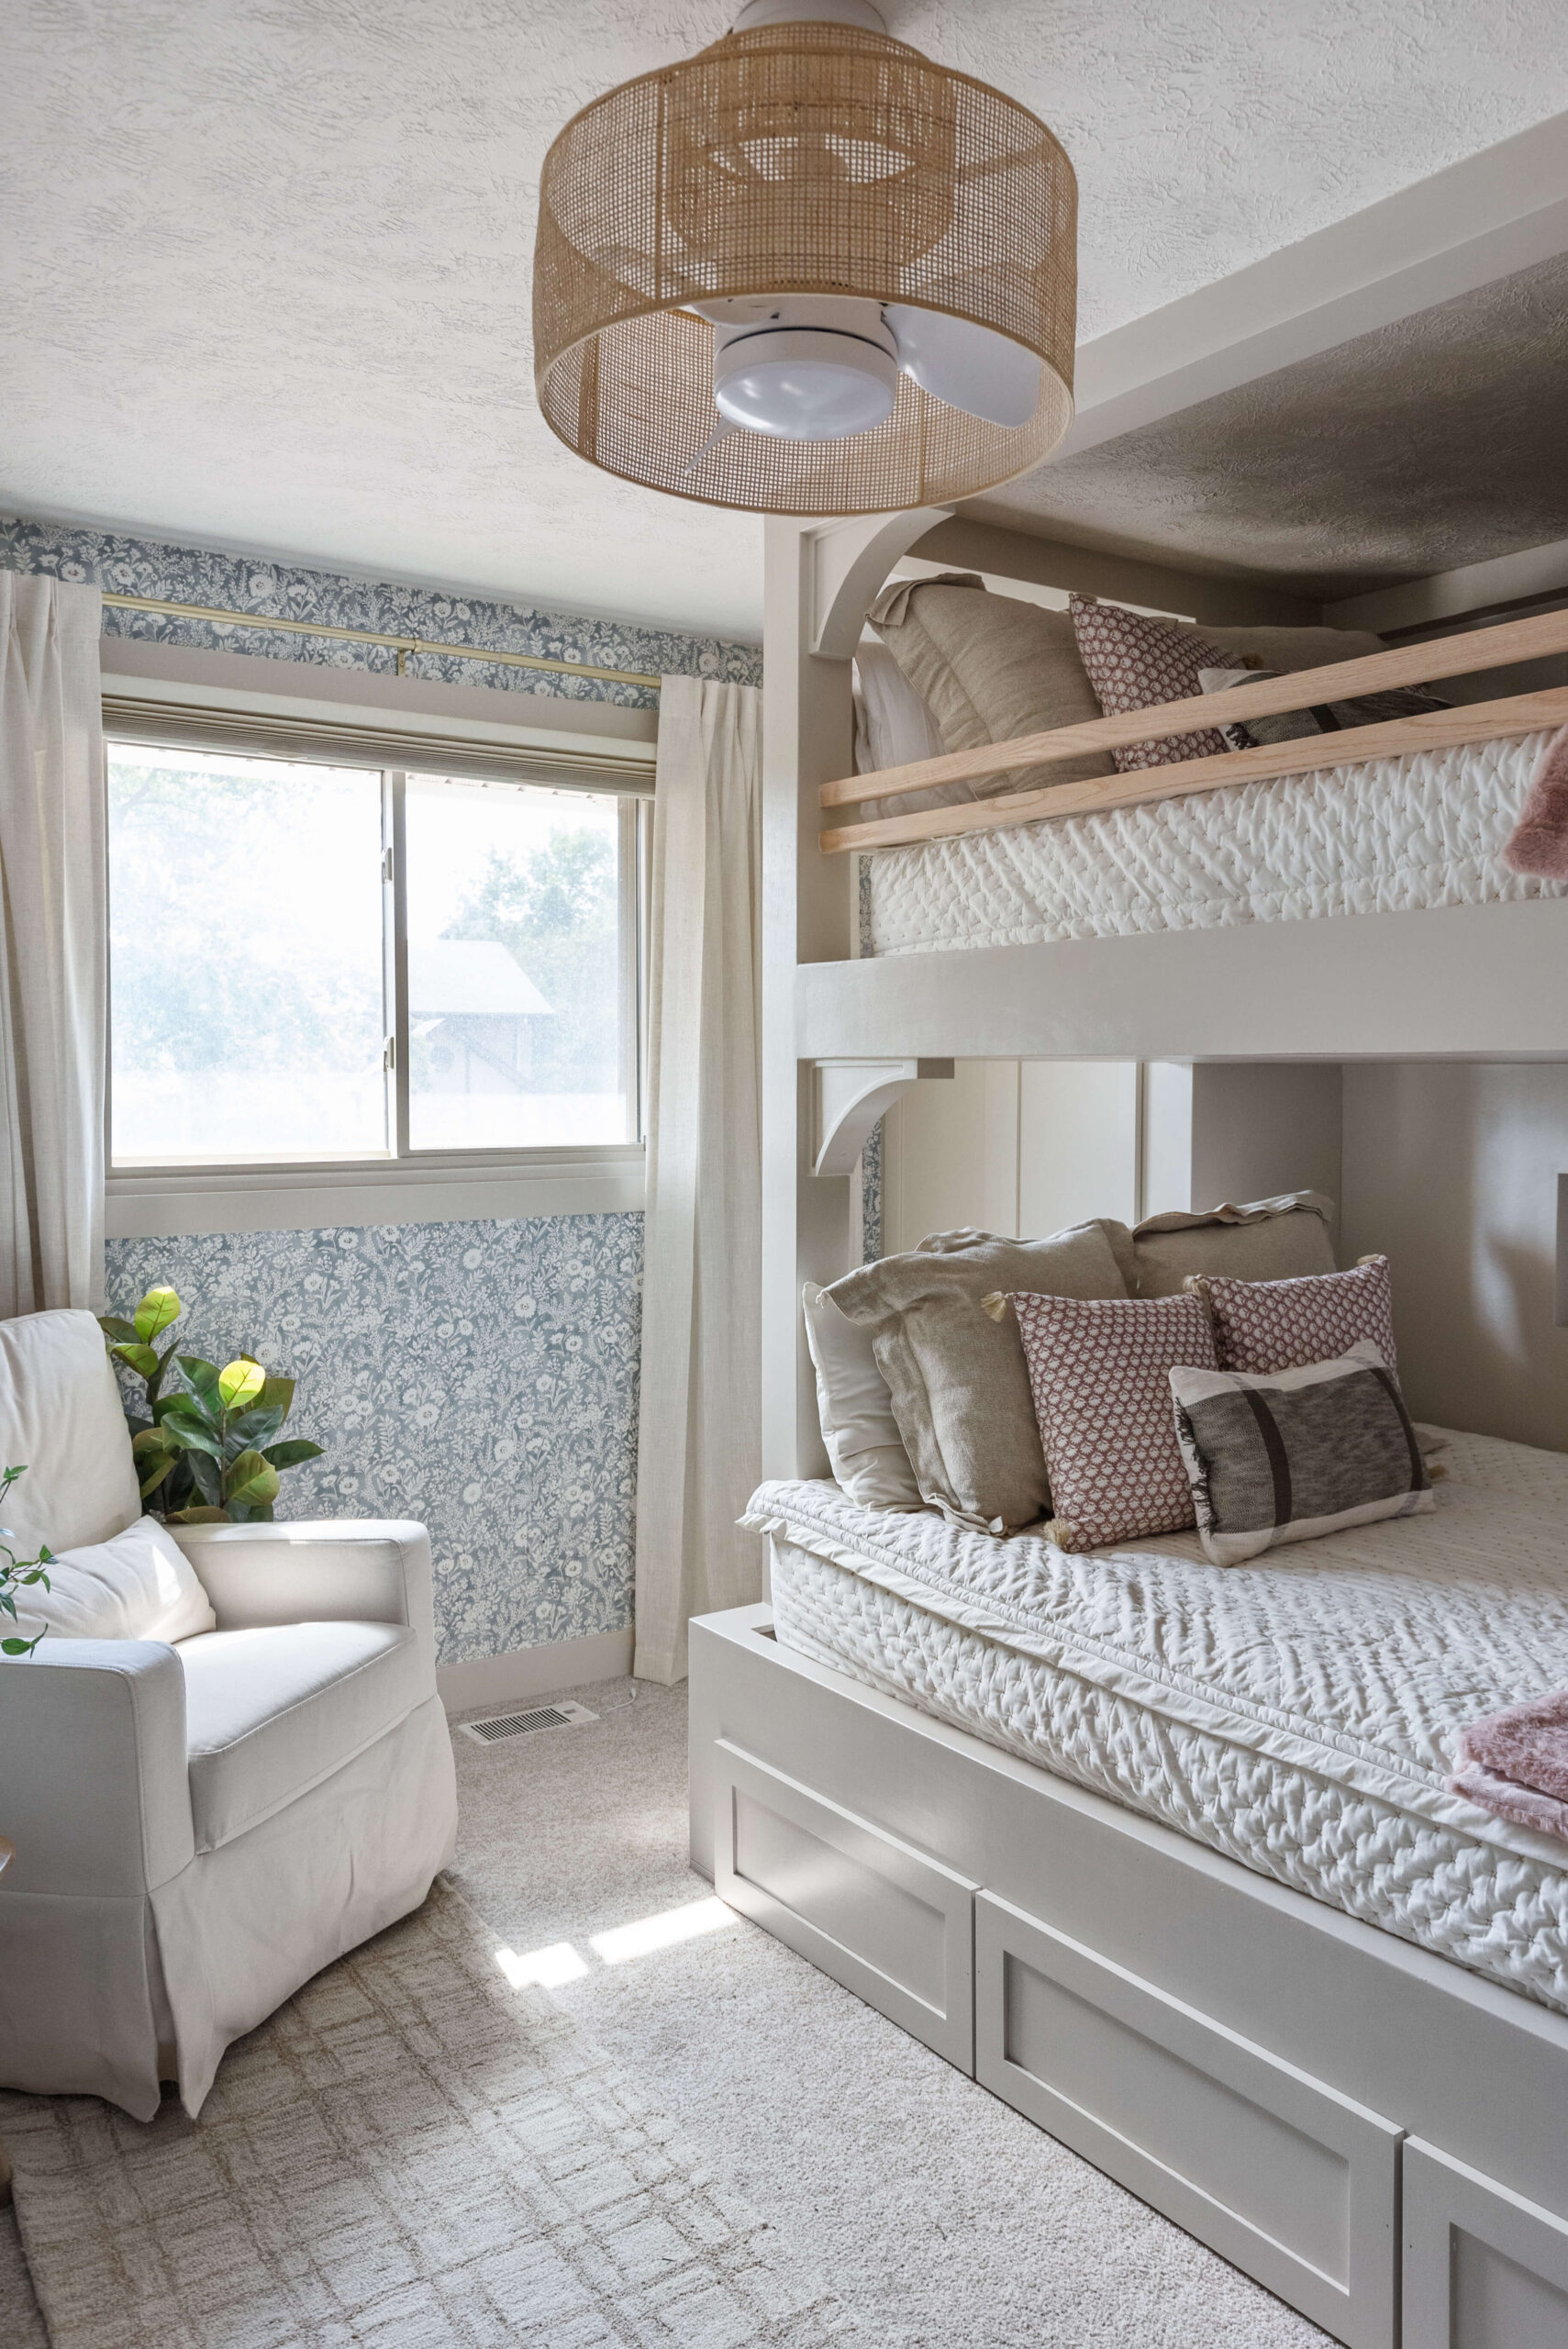
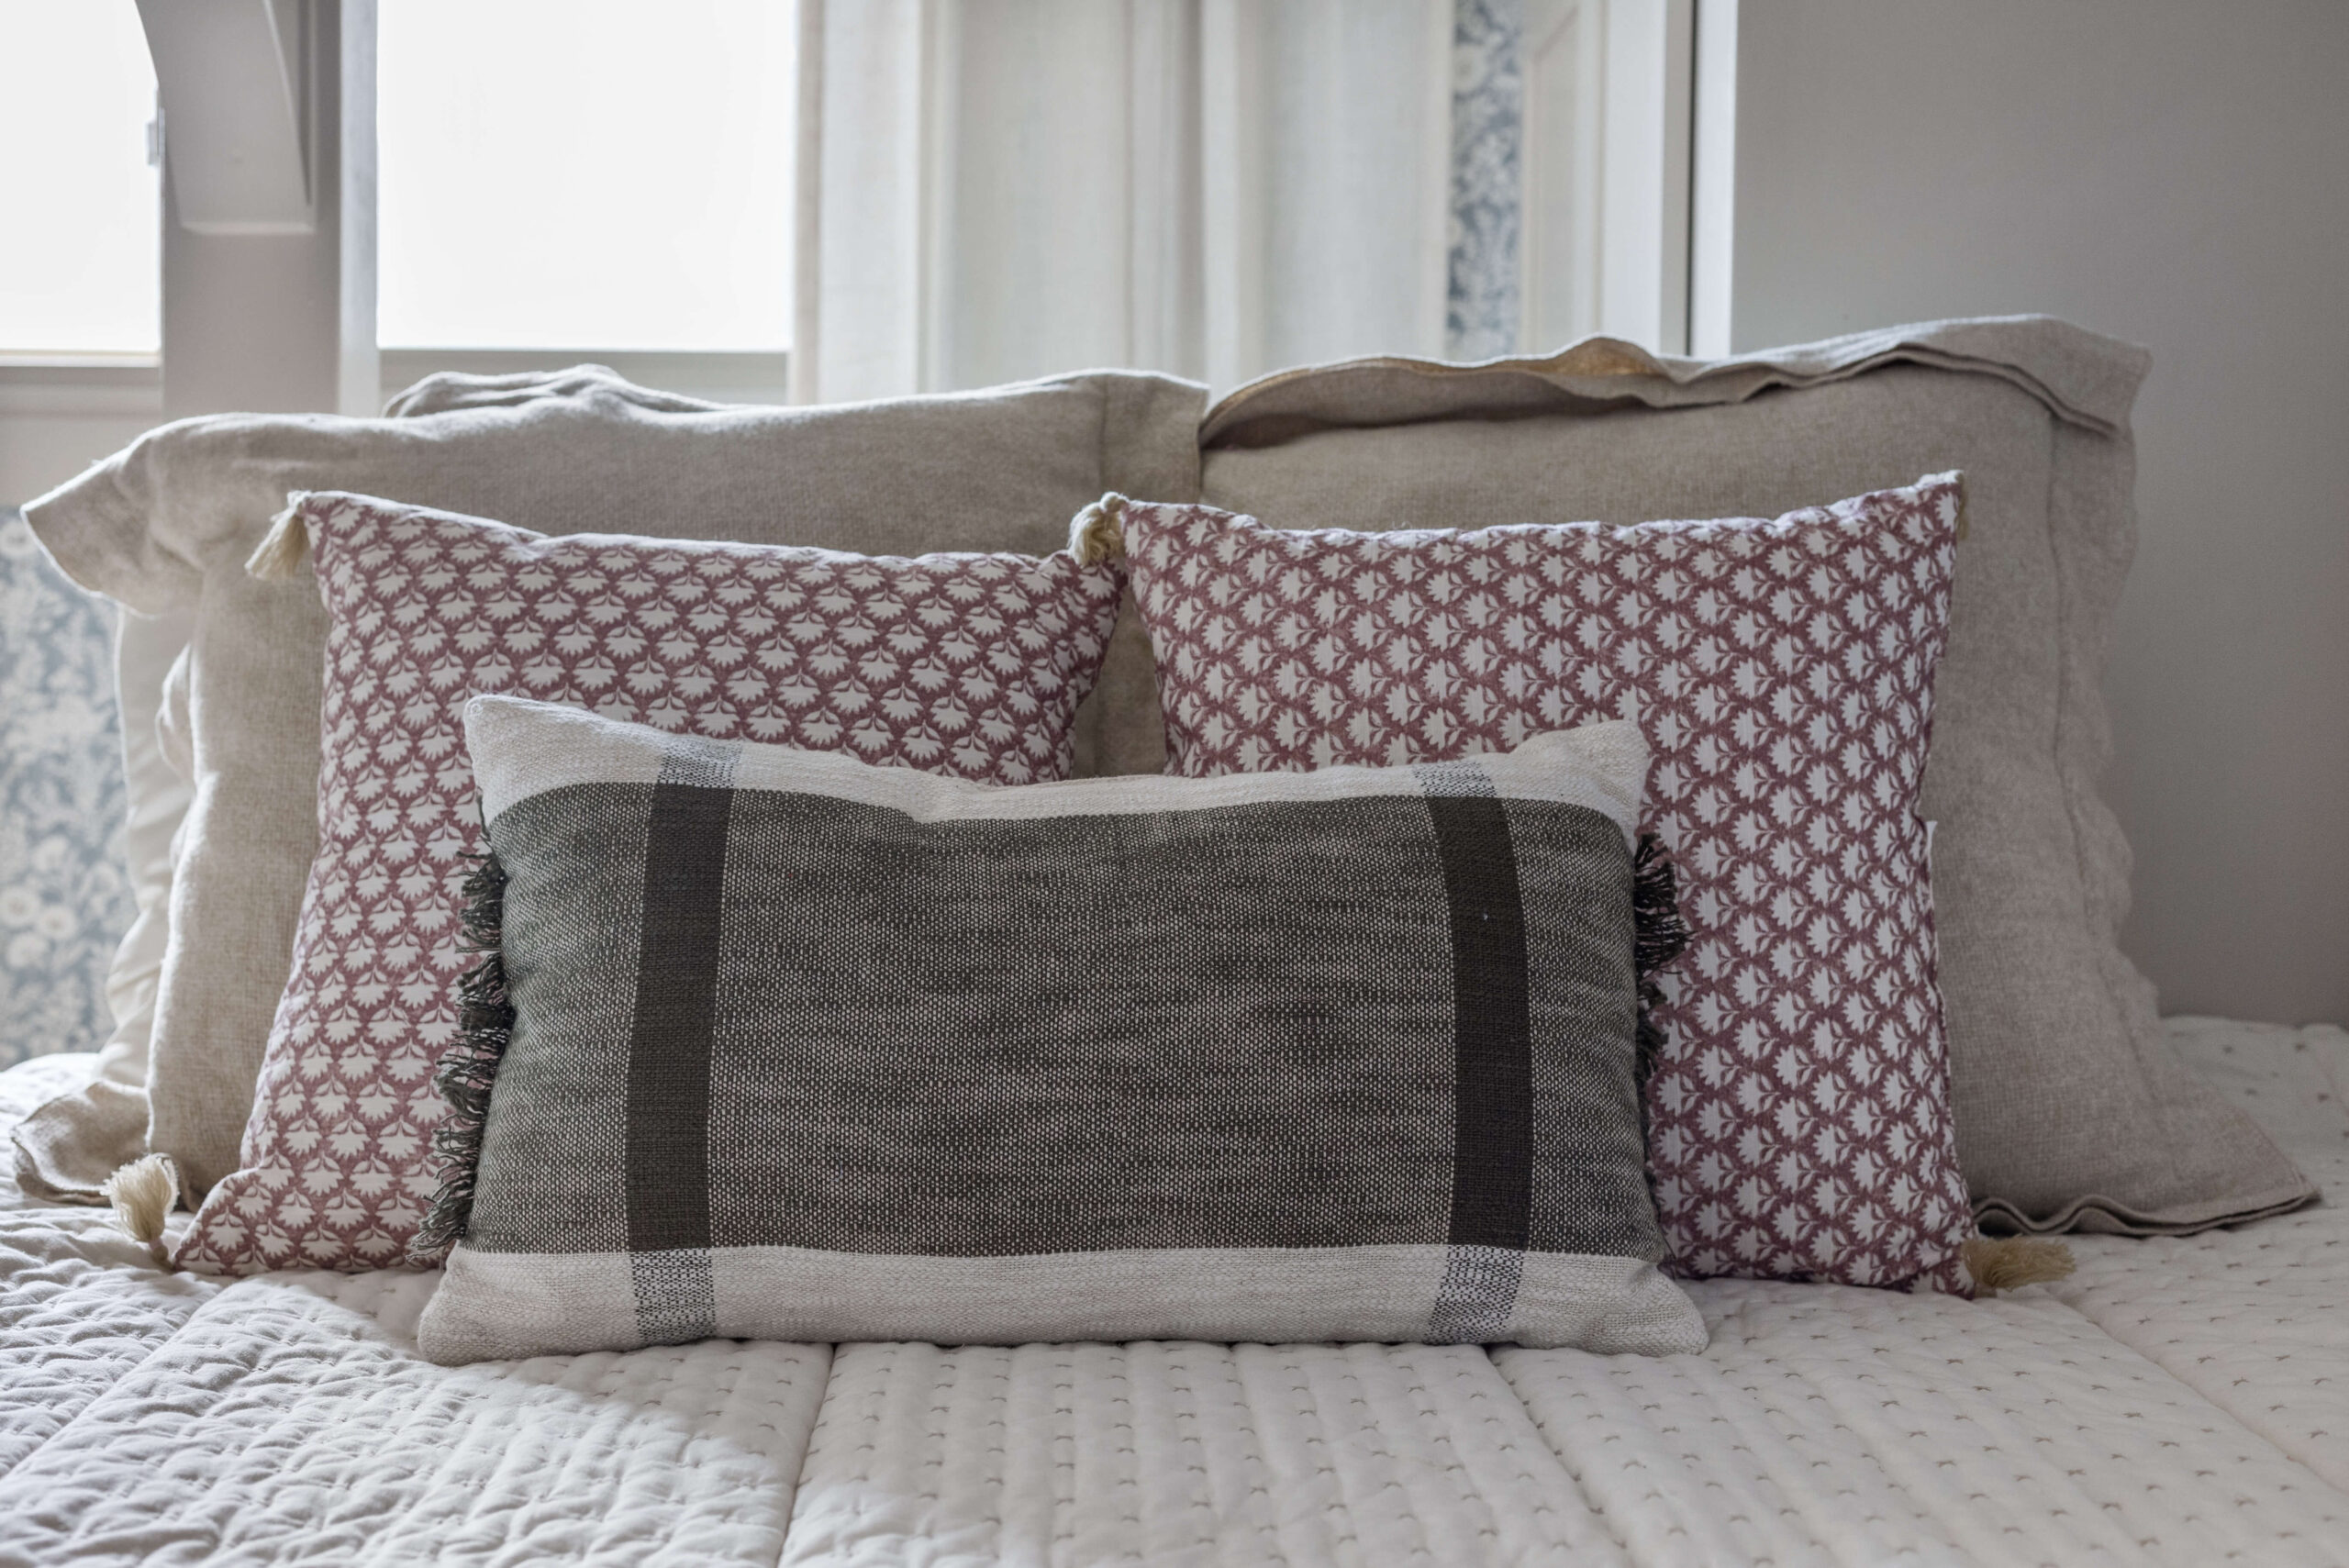
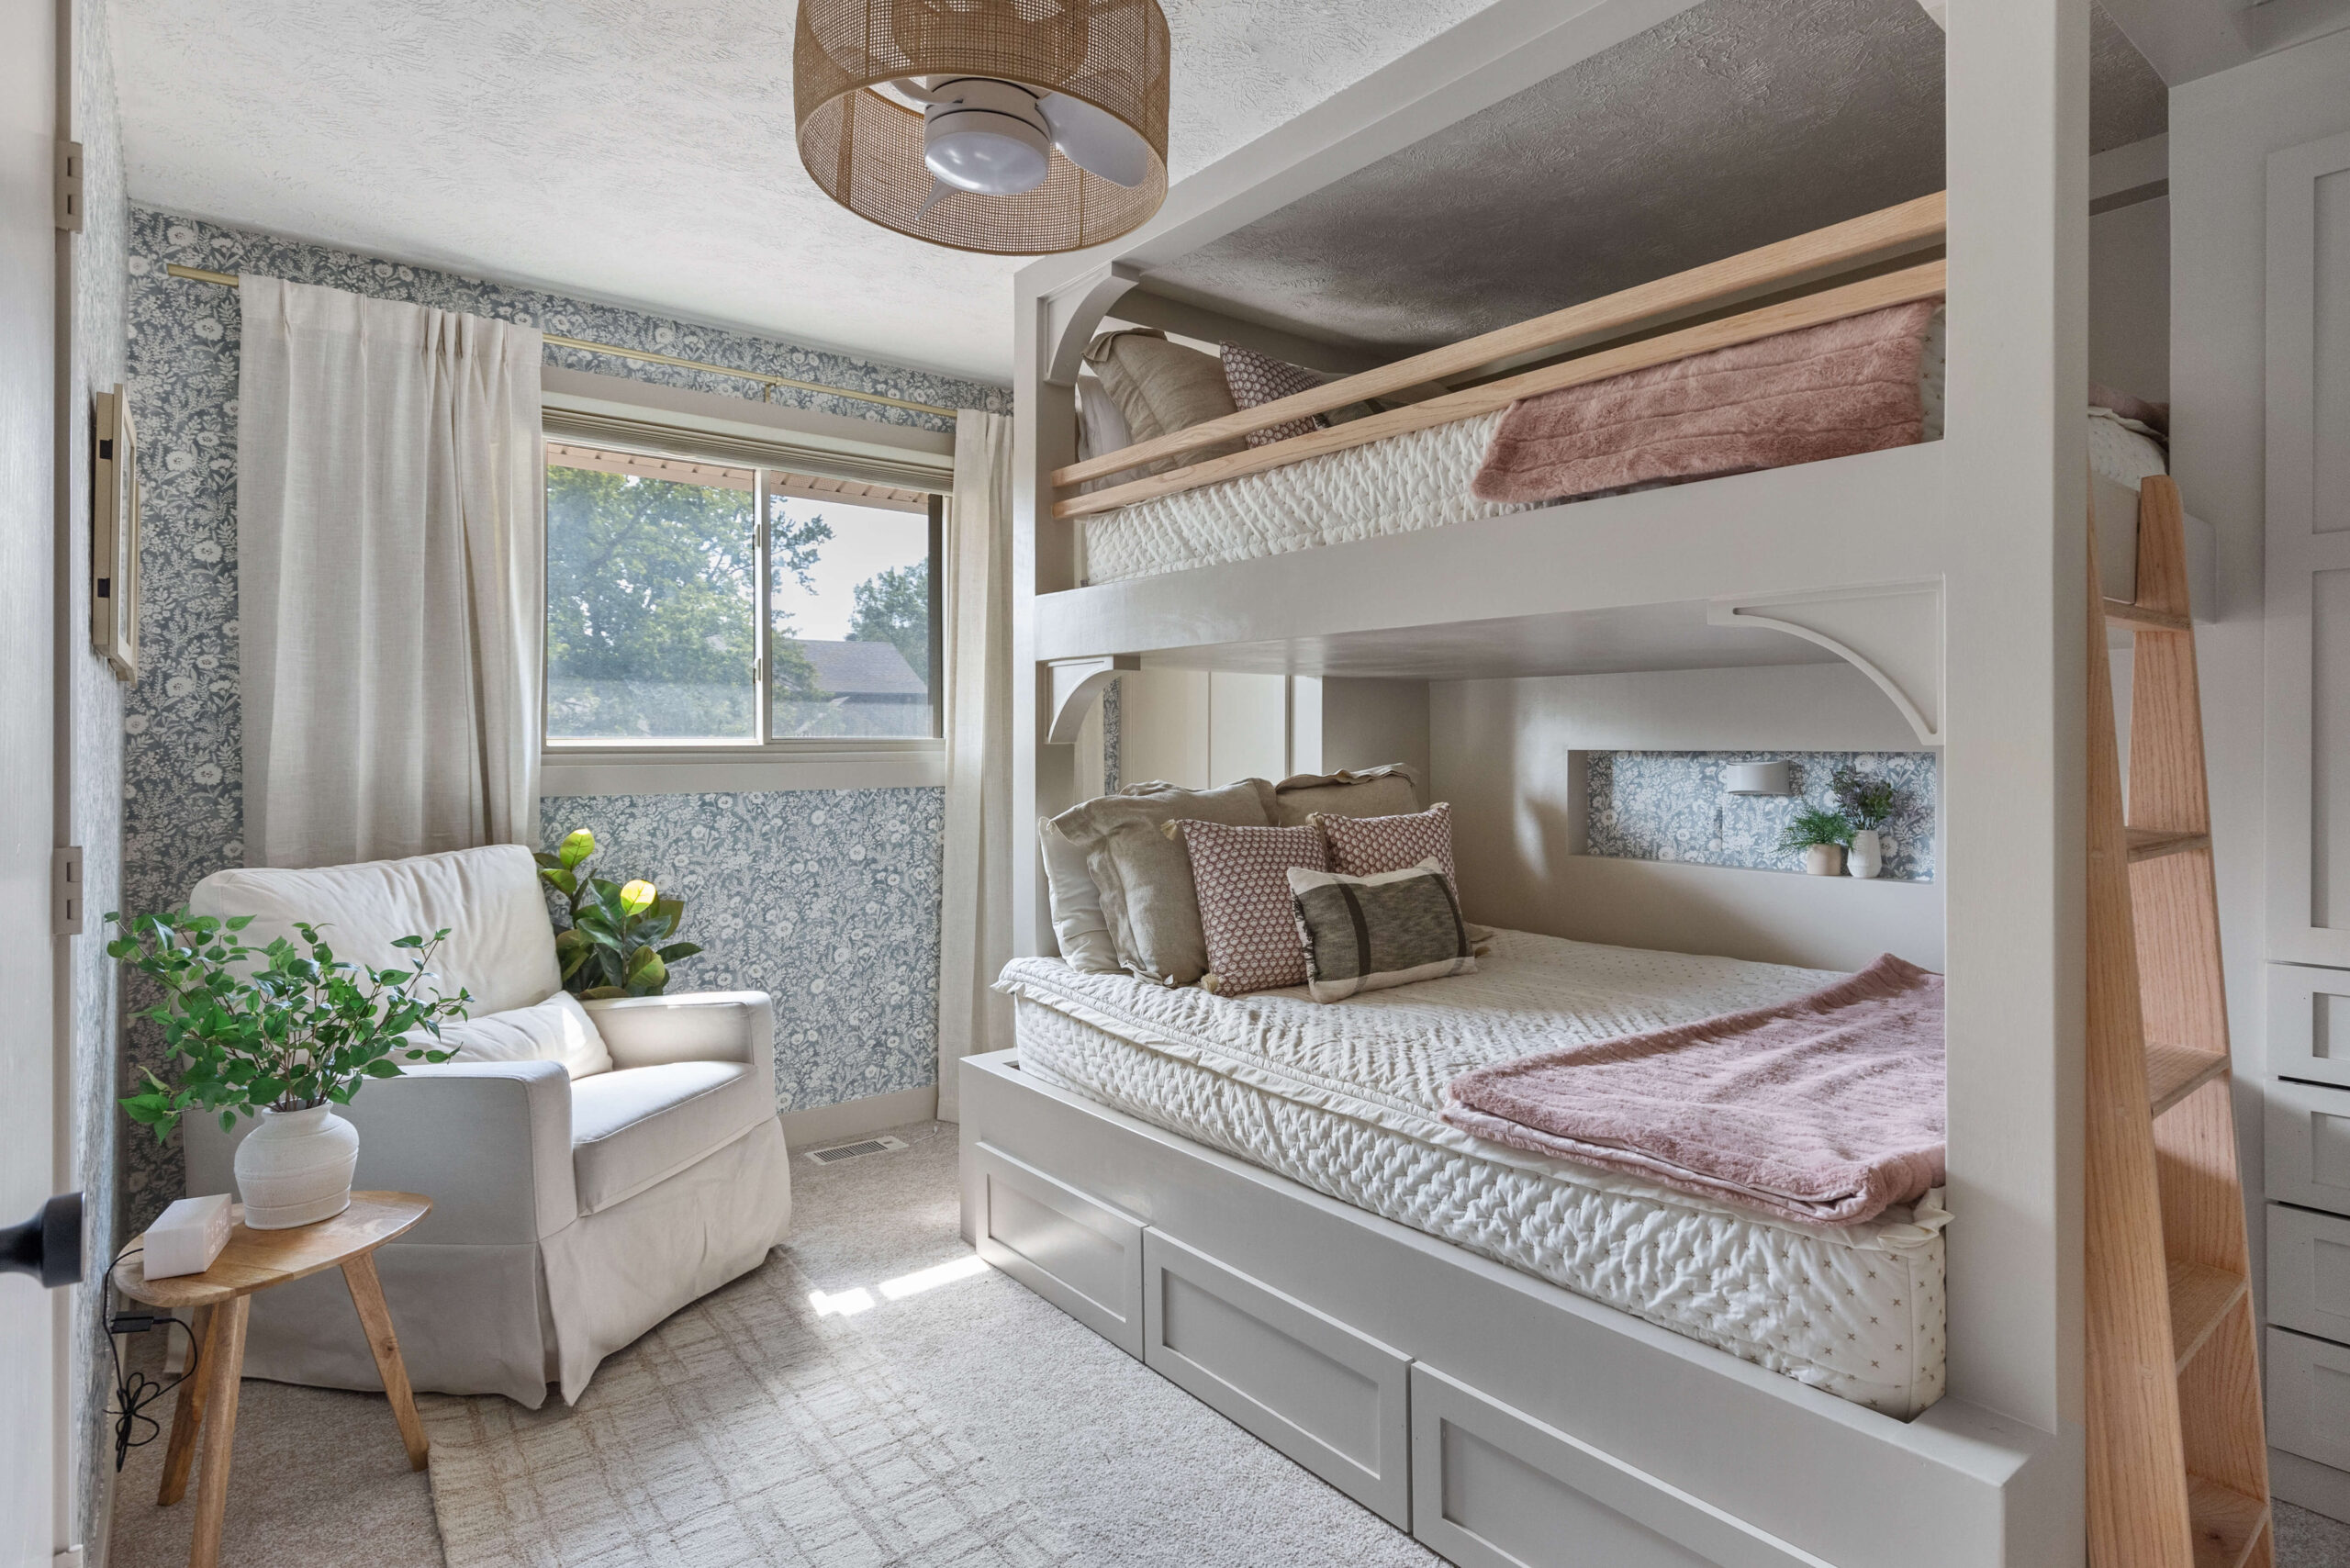
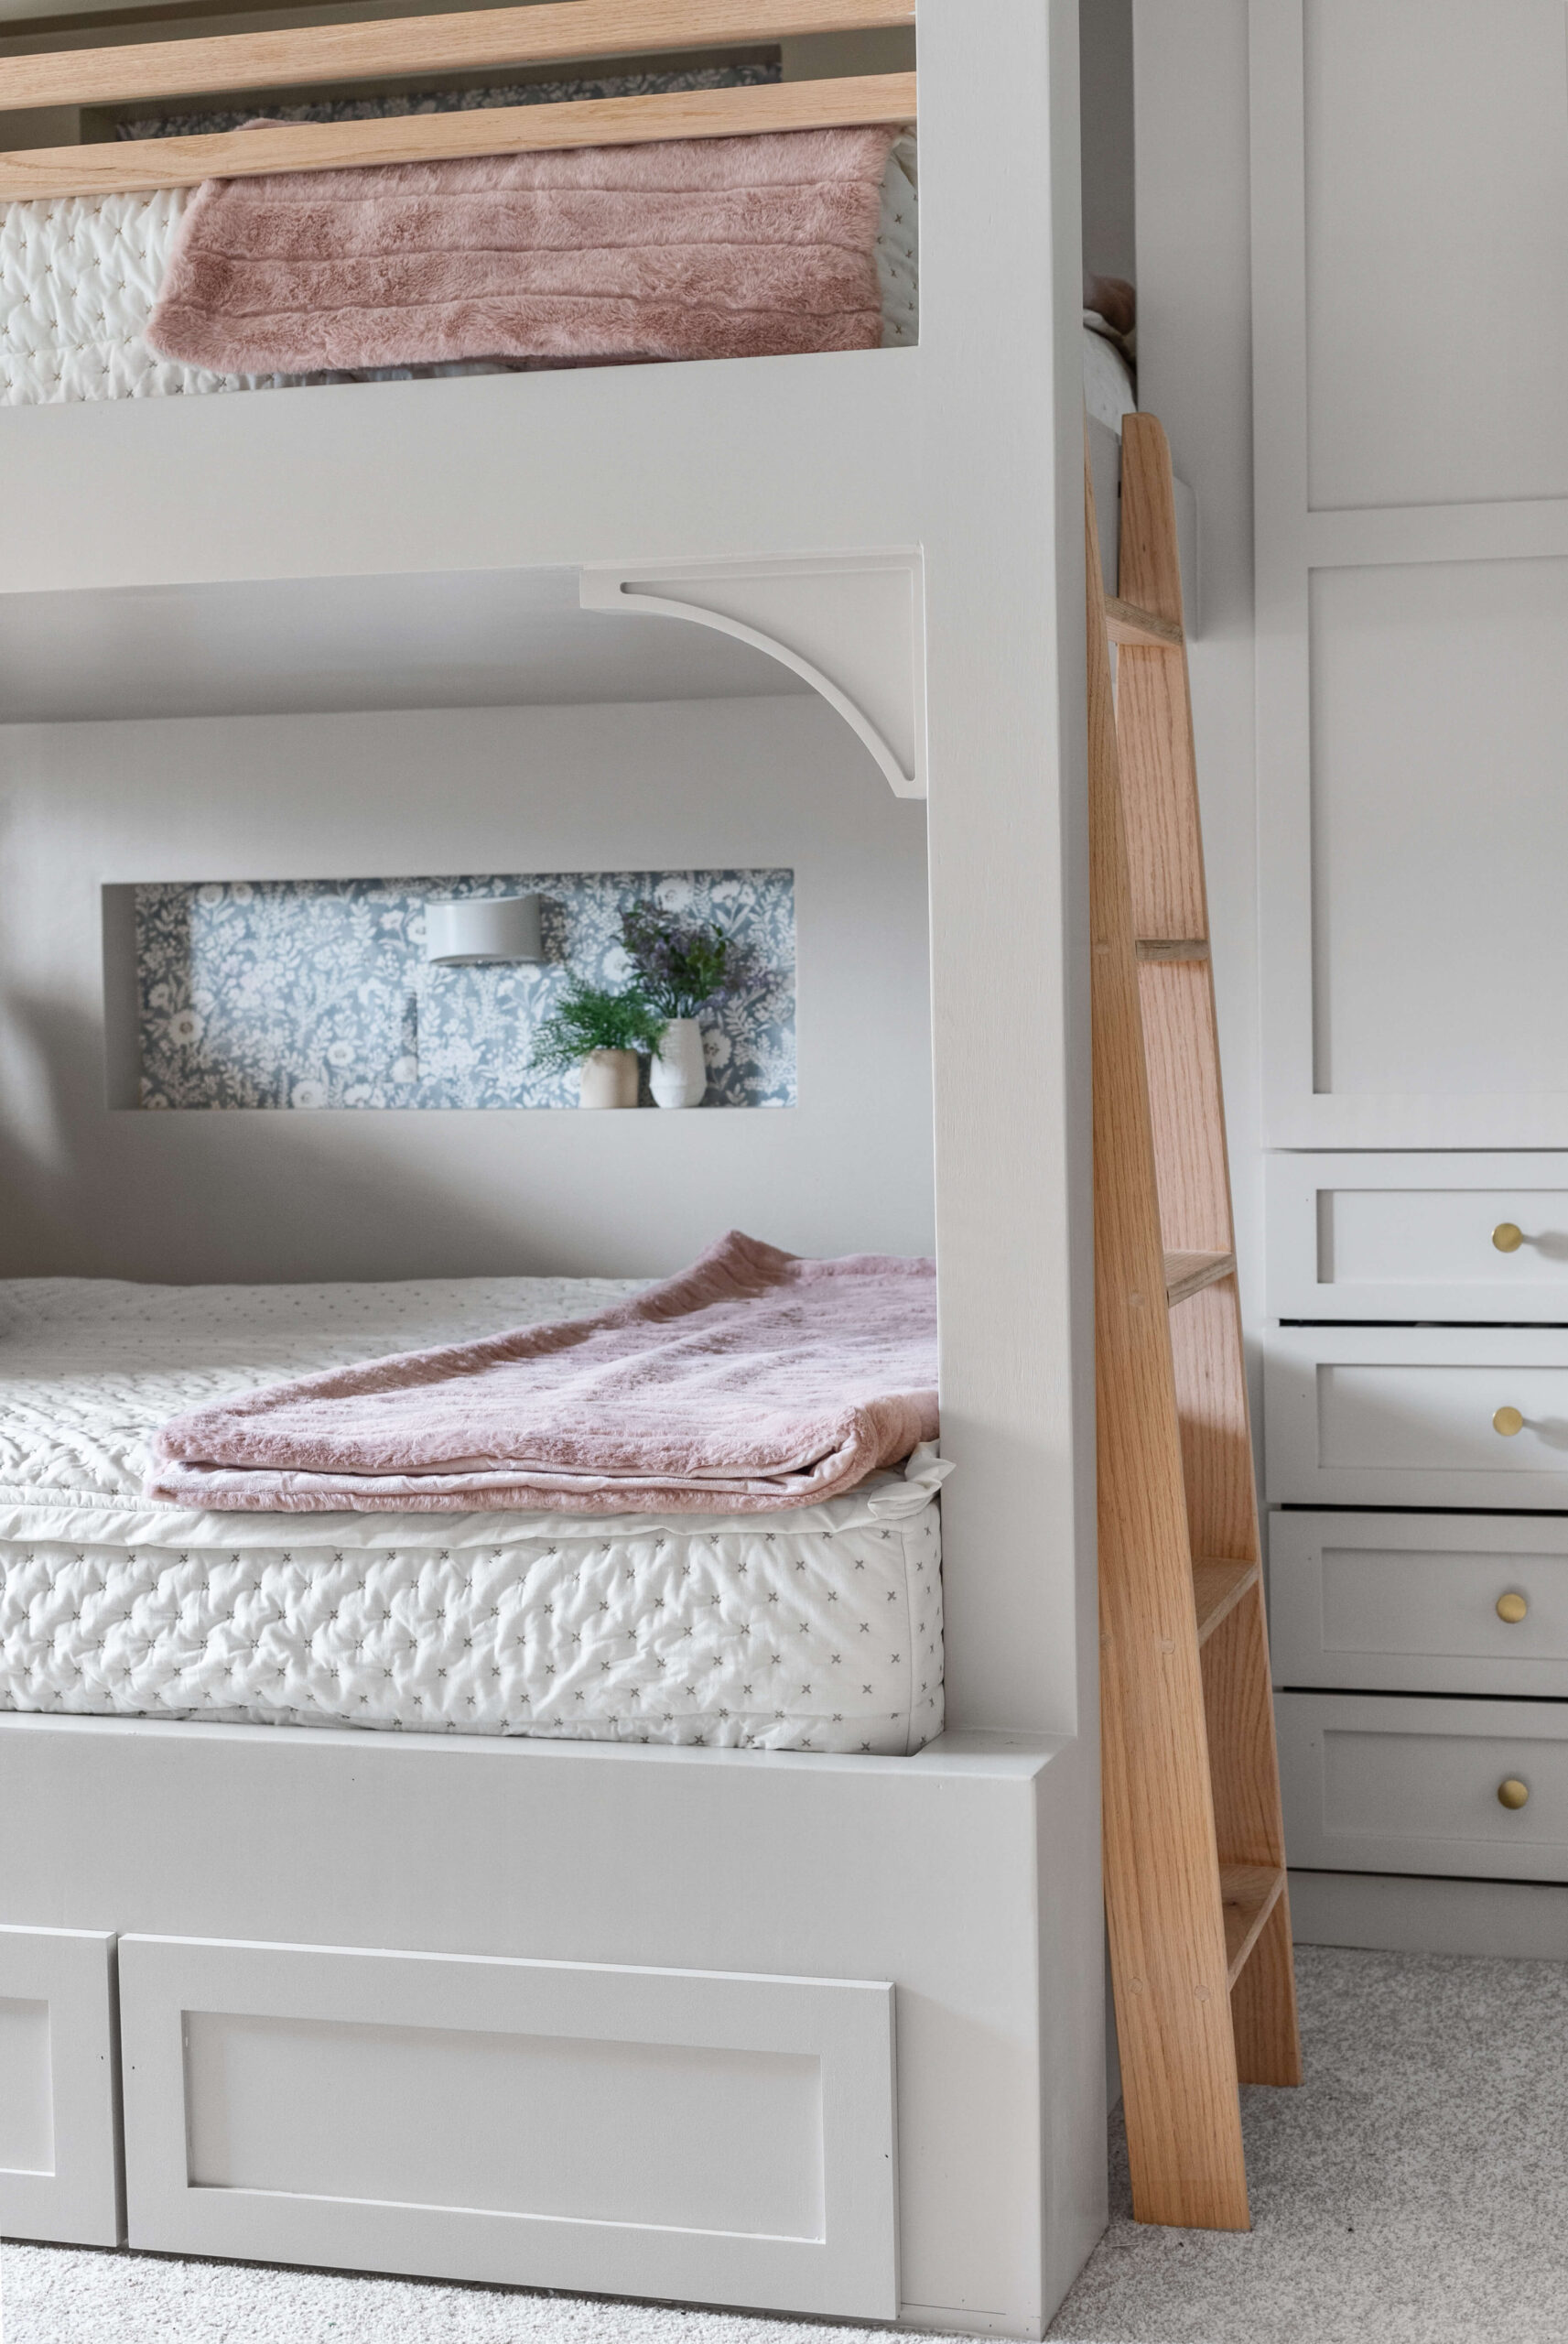
Now, let’s take a tour of the finished room, starting with the girls’ bunk beds themselves. I’m obsessed with the bedding! Beddy’s sets are a game changer for bunk beds, and the simple, pretty pattern I chose makes it easy for the girls to zip up their beds each morning.
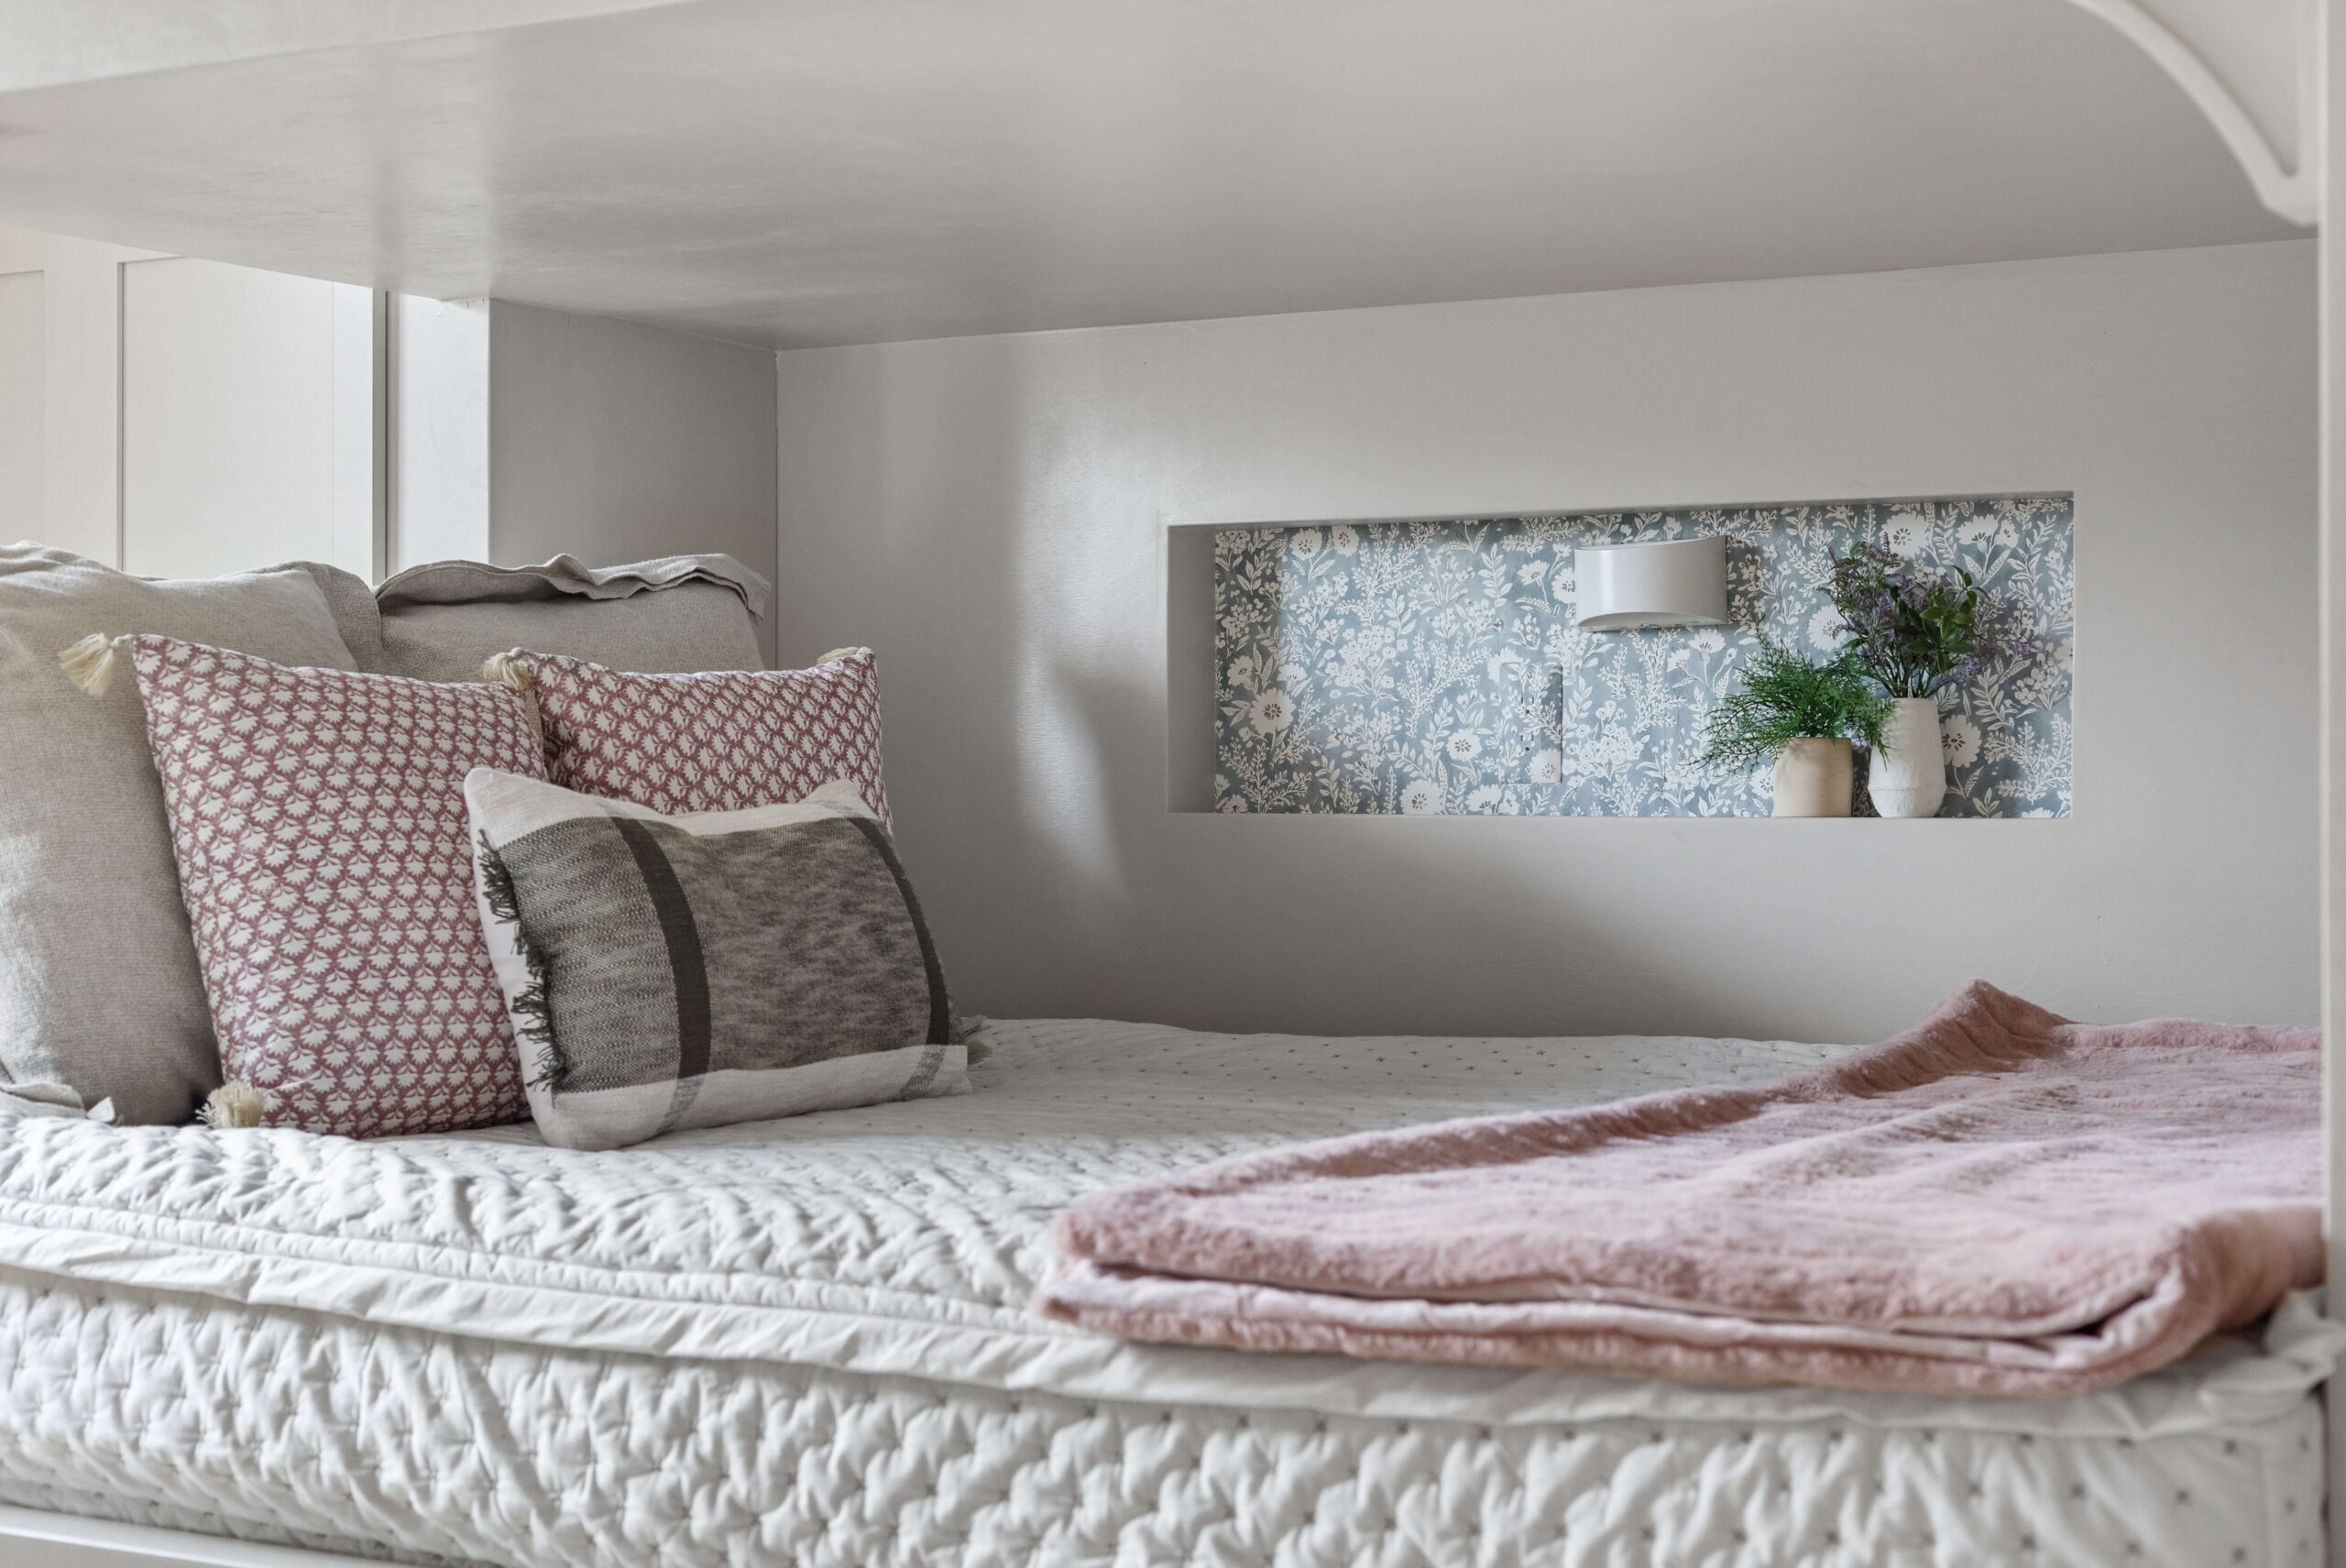
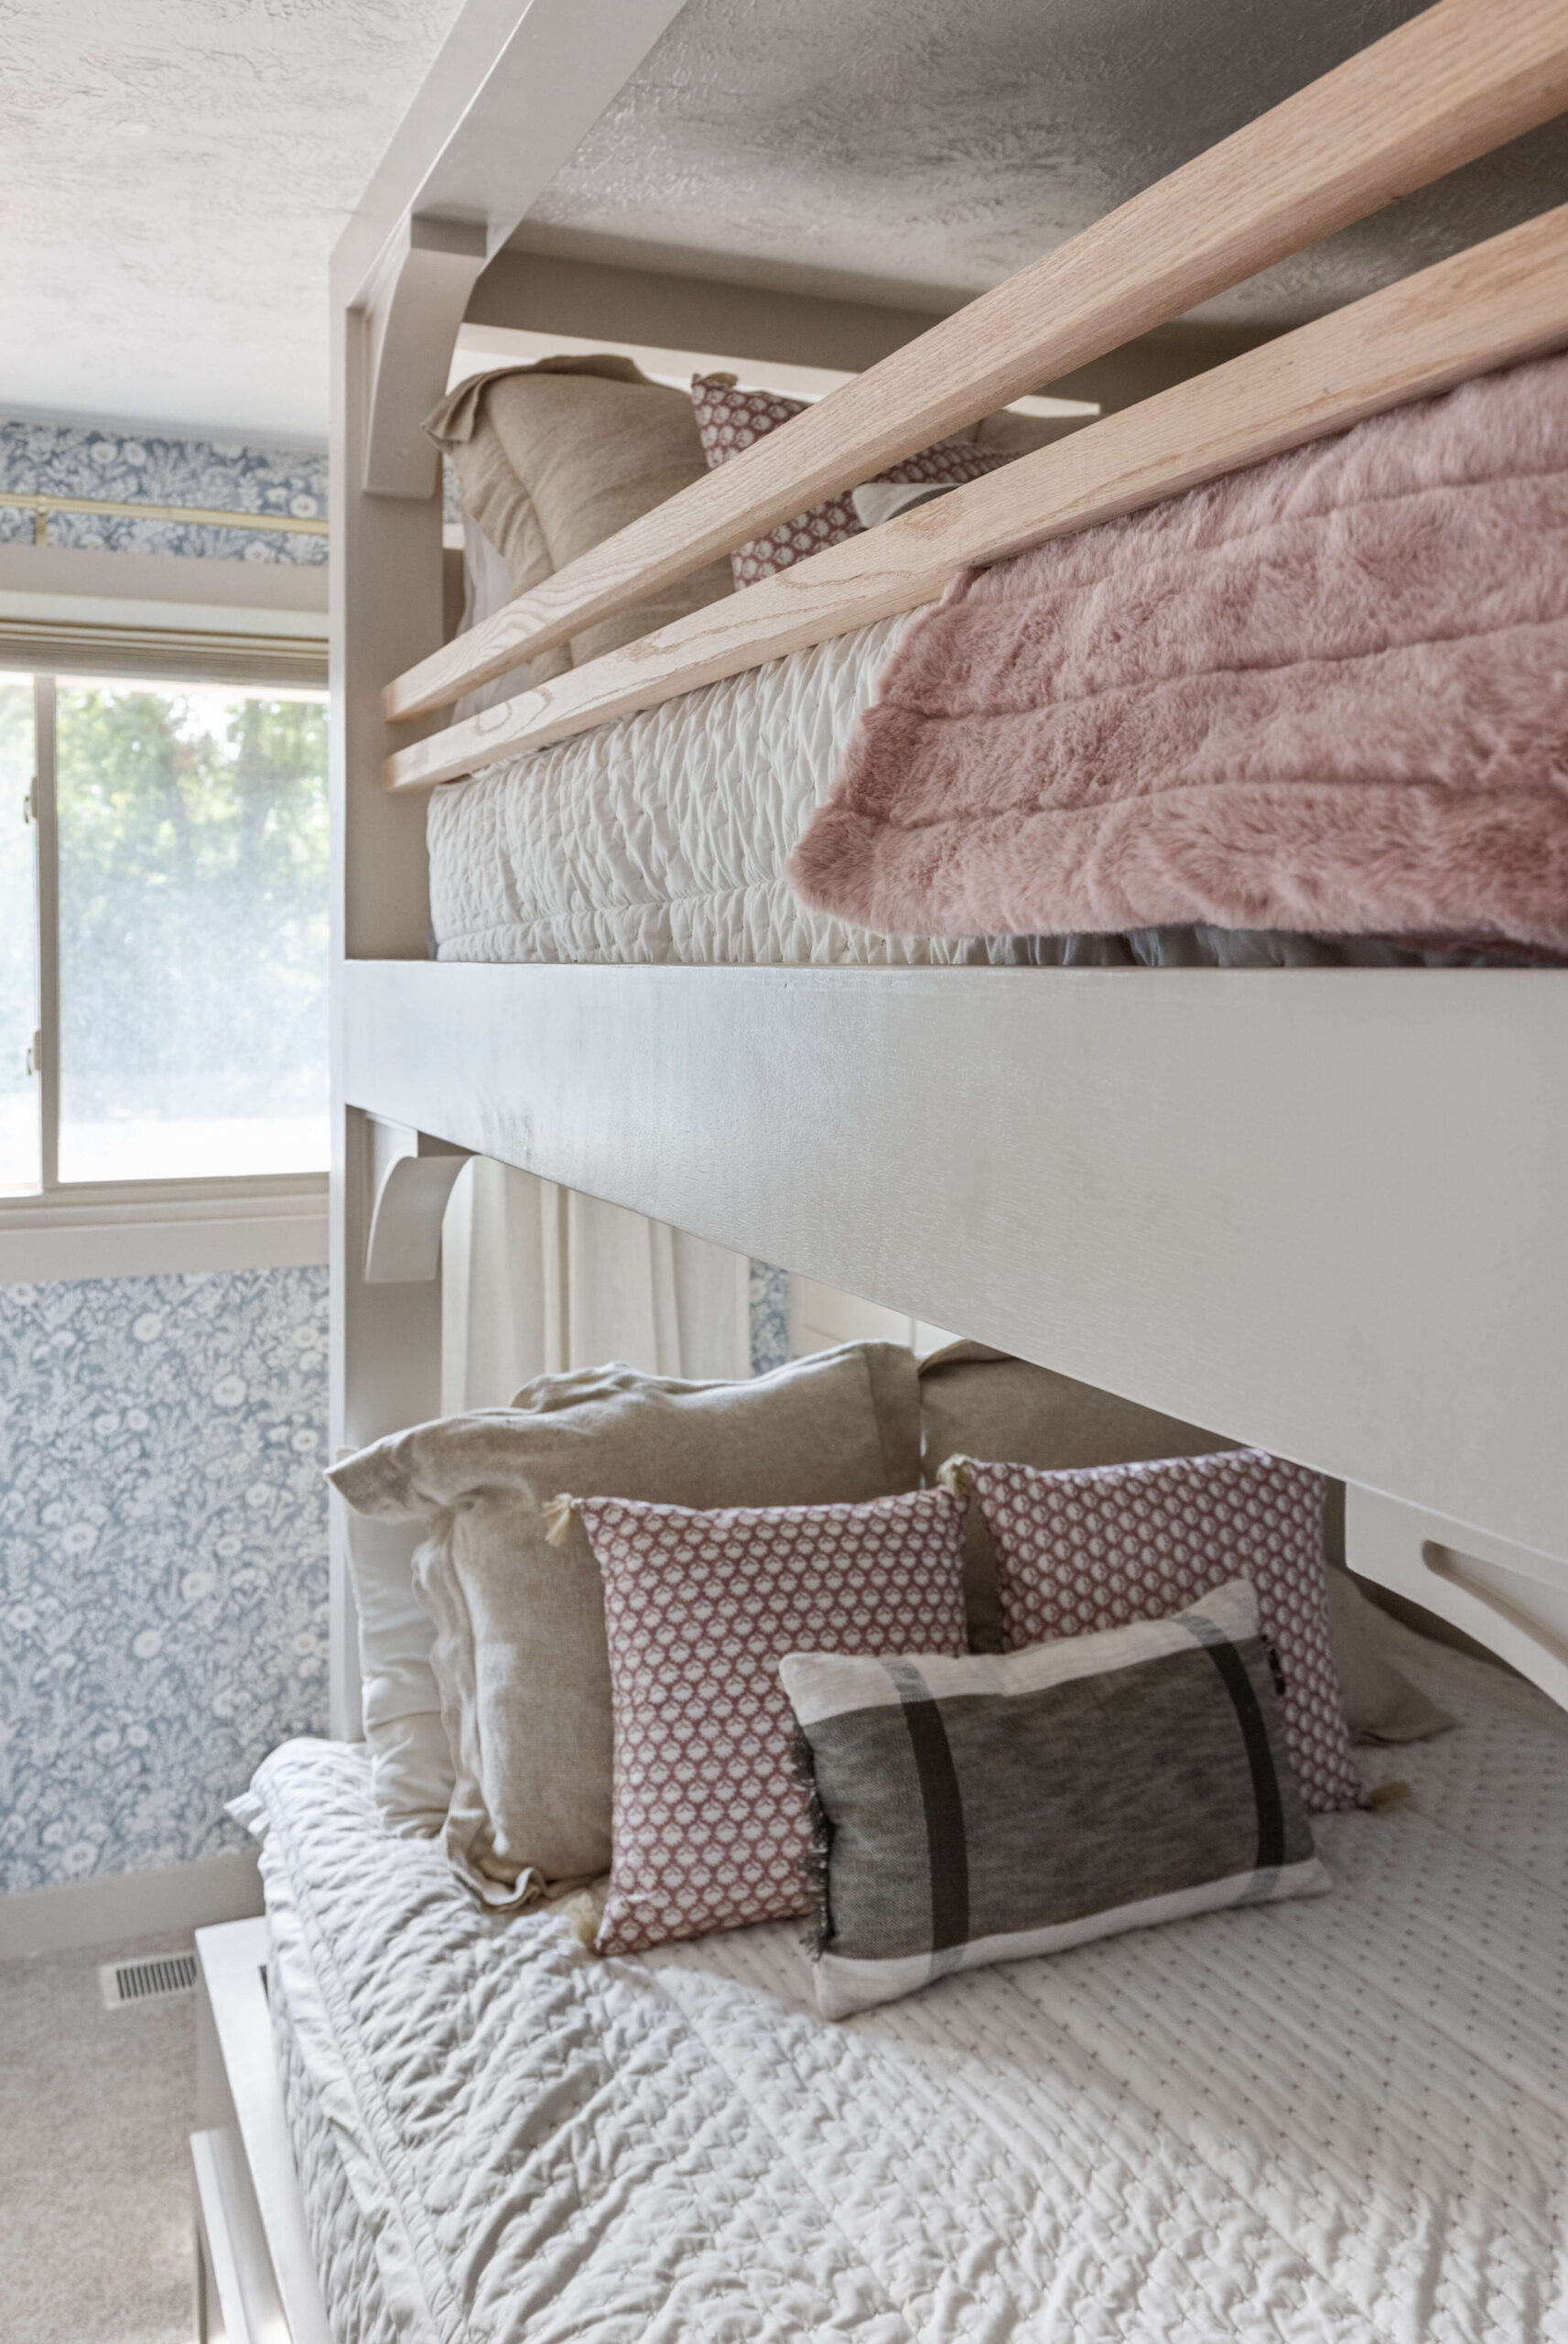
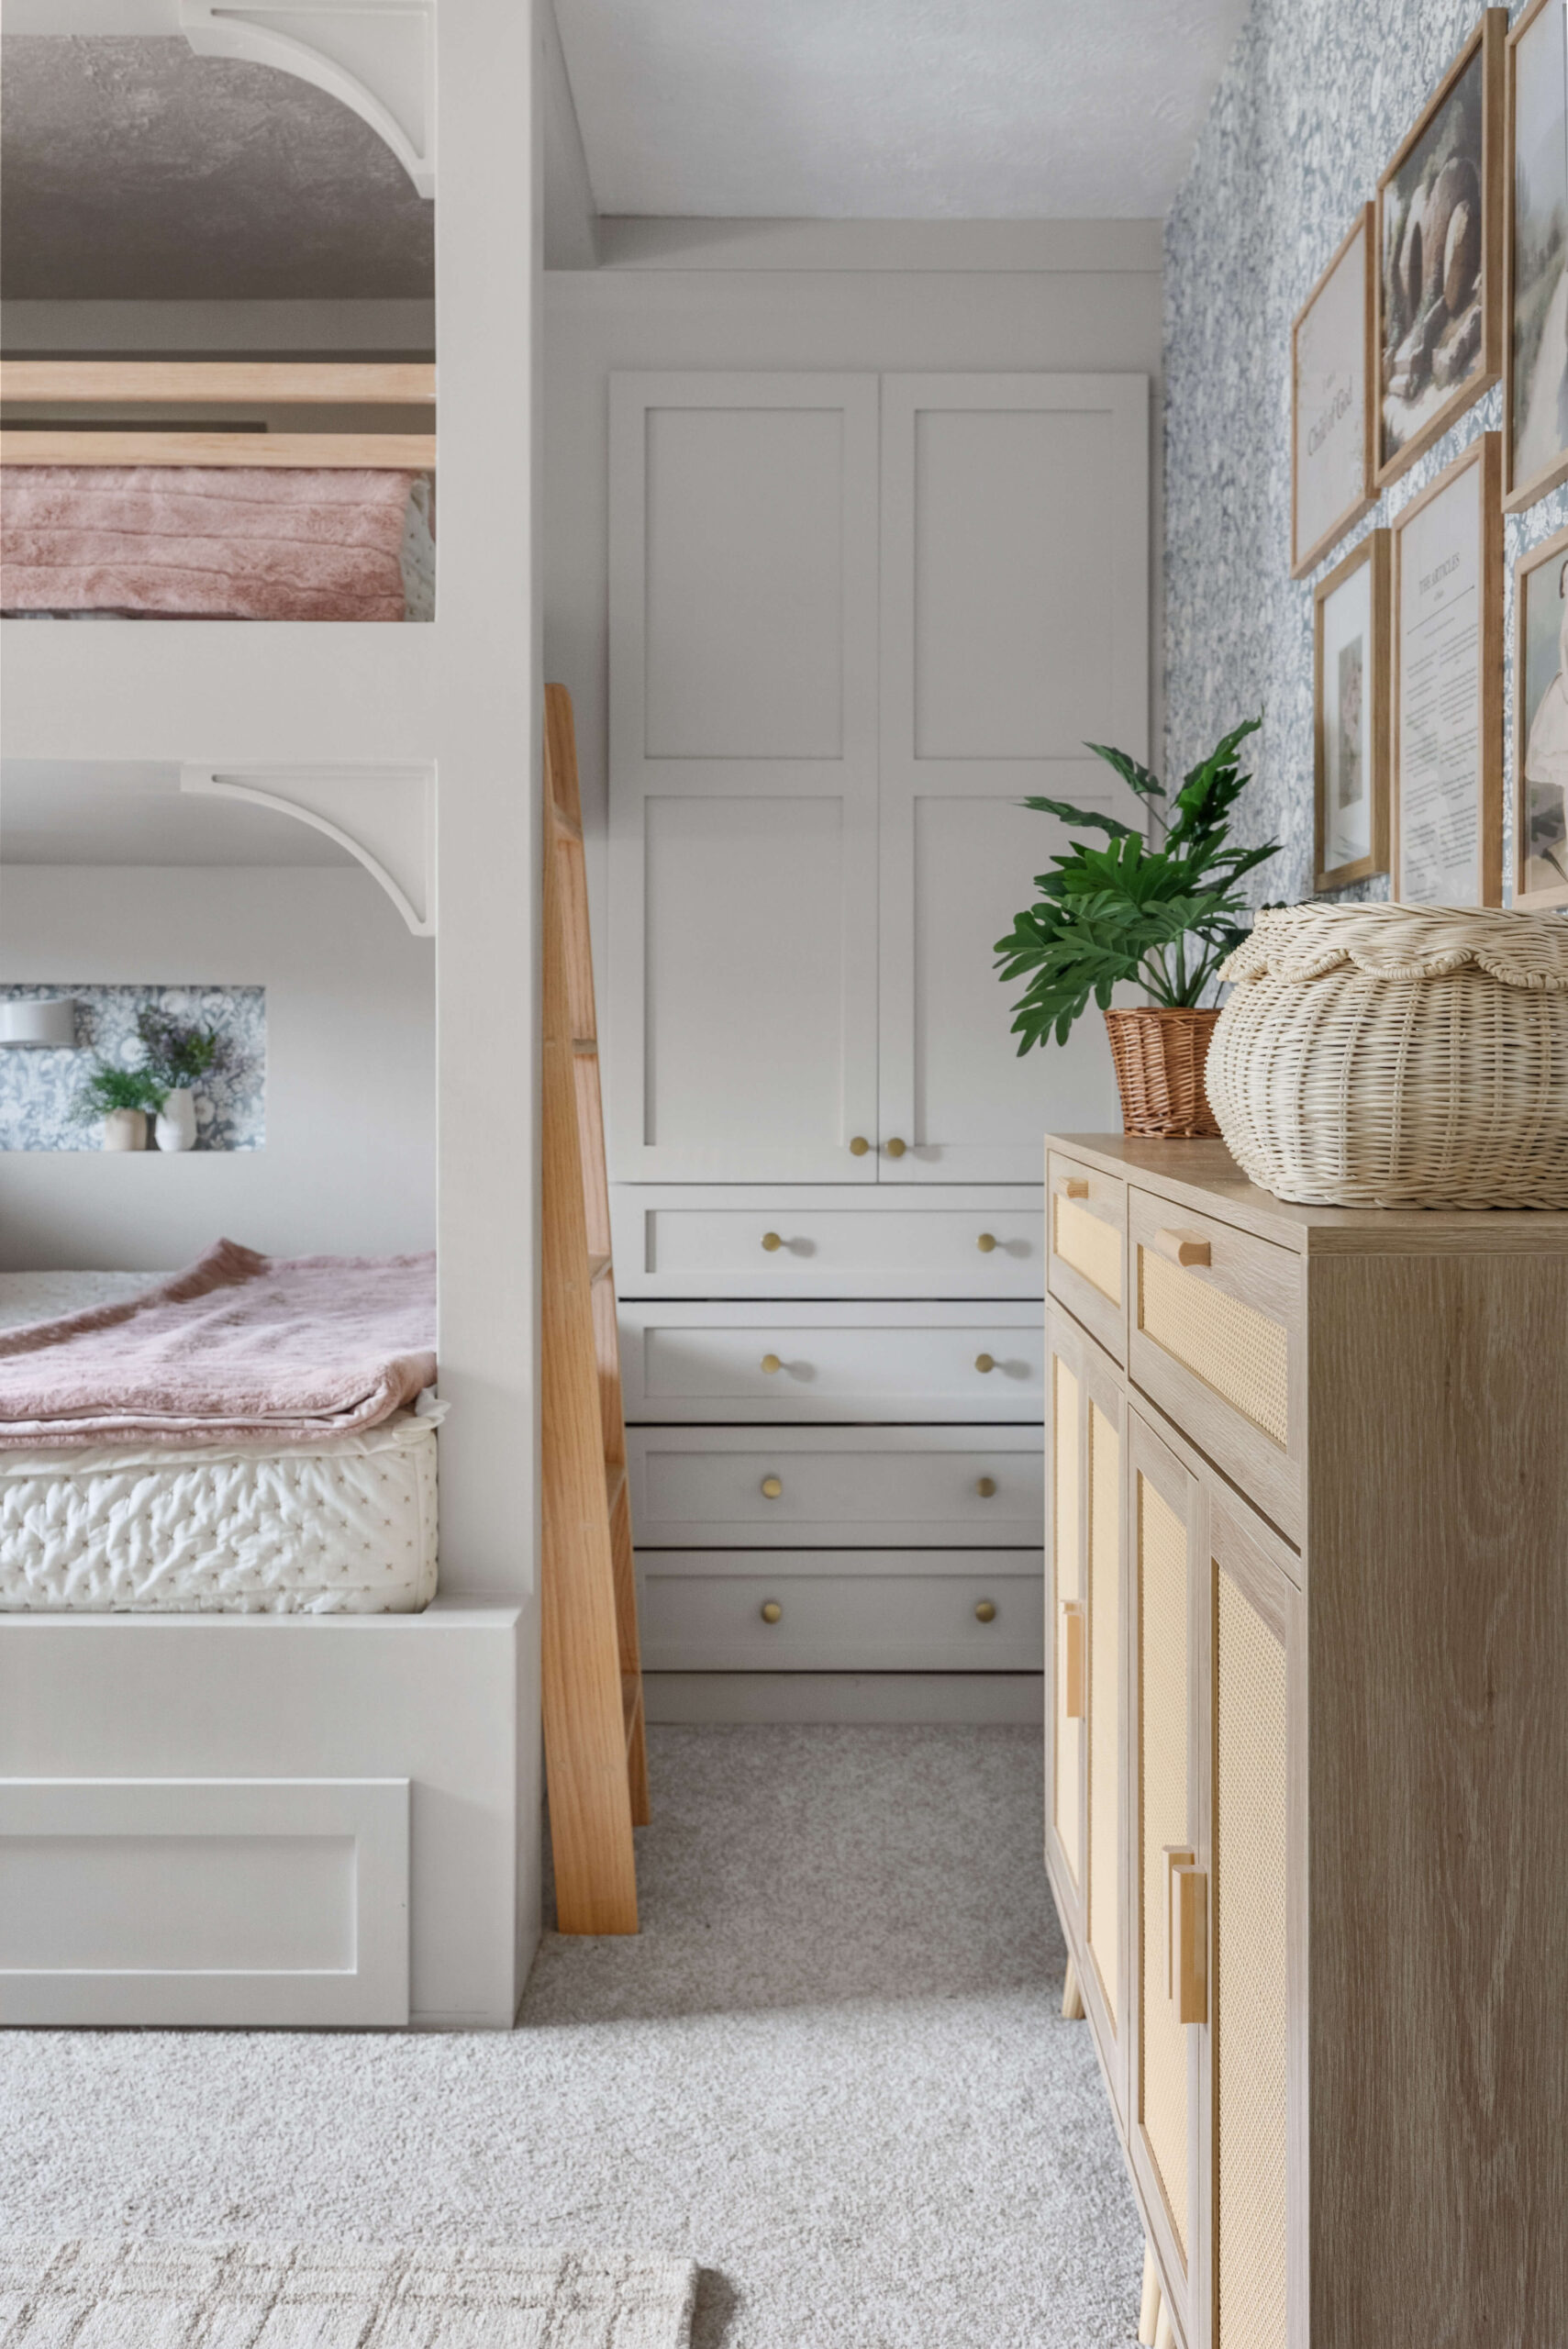
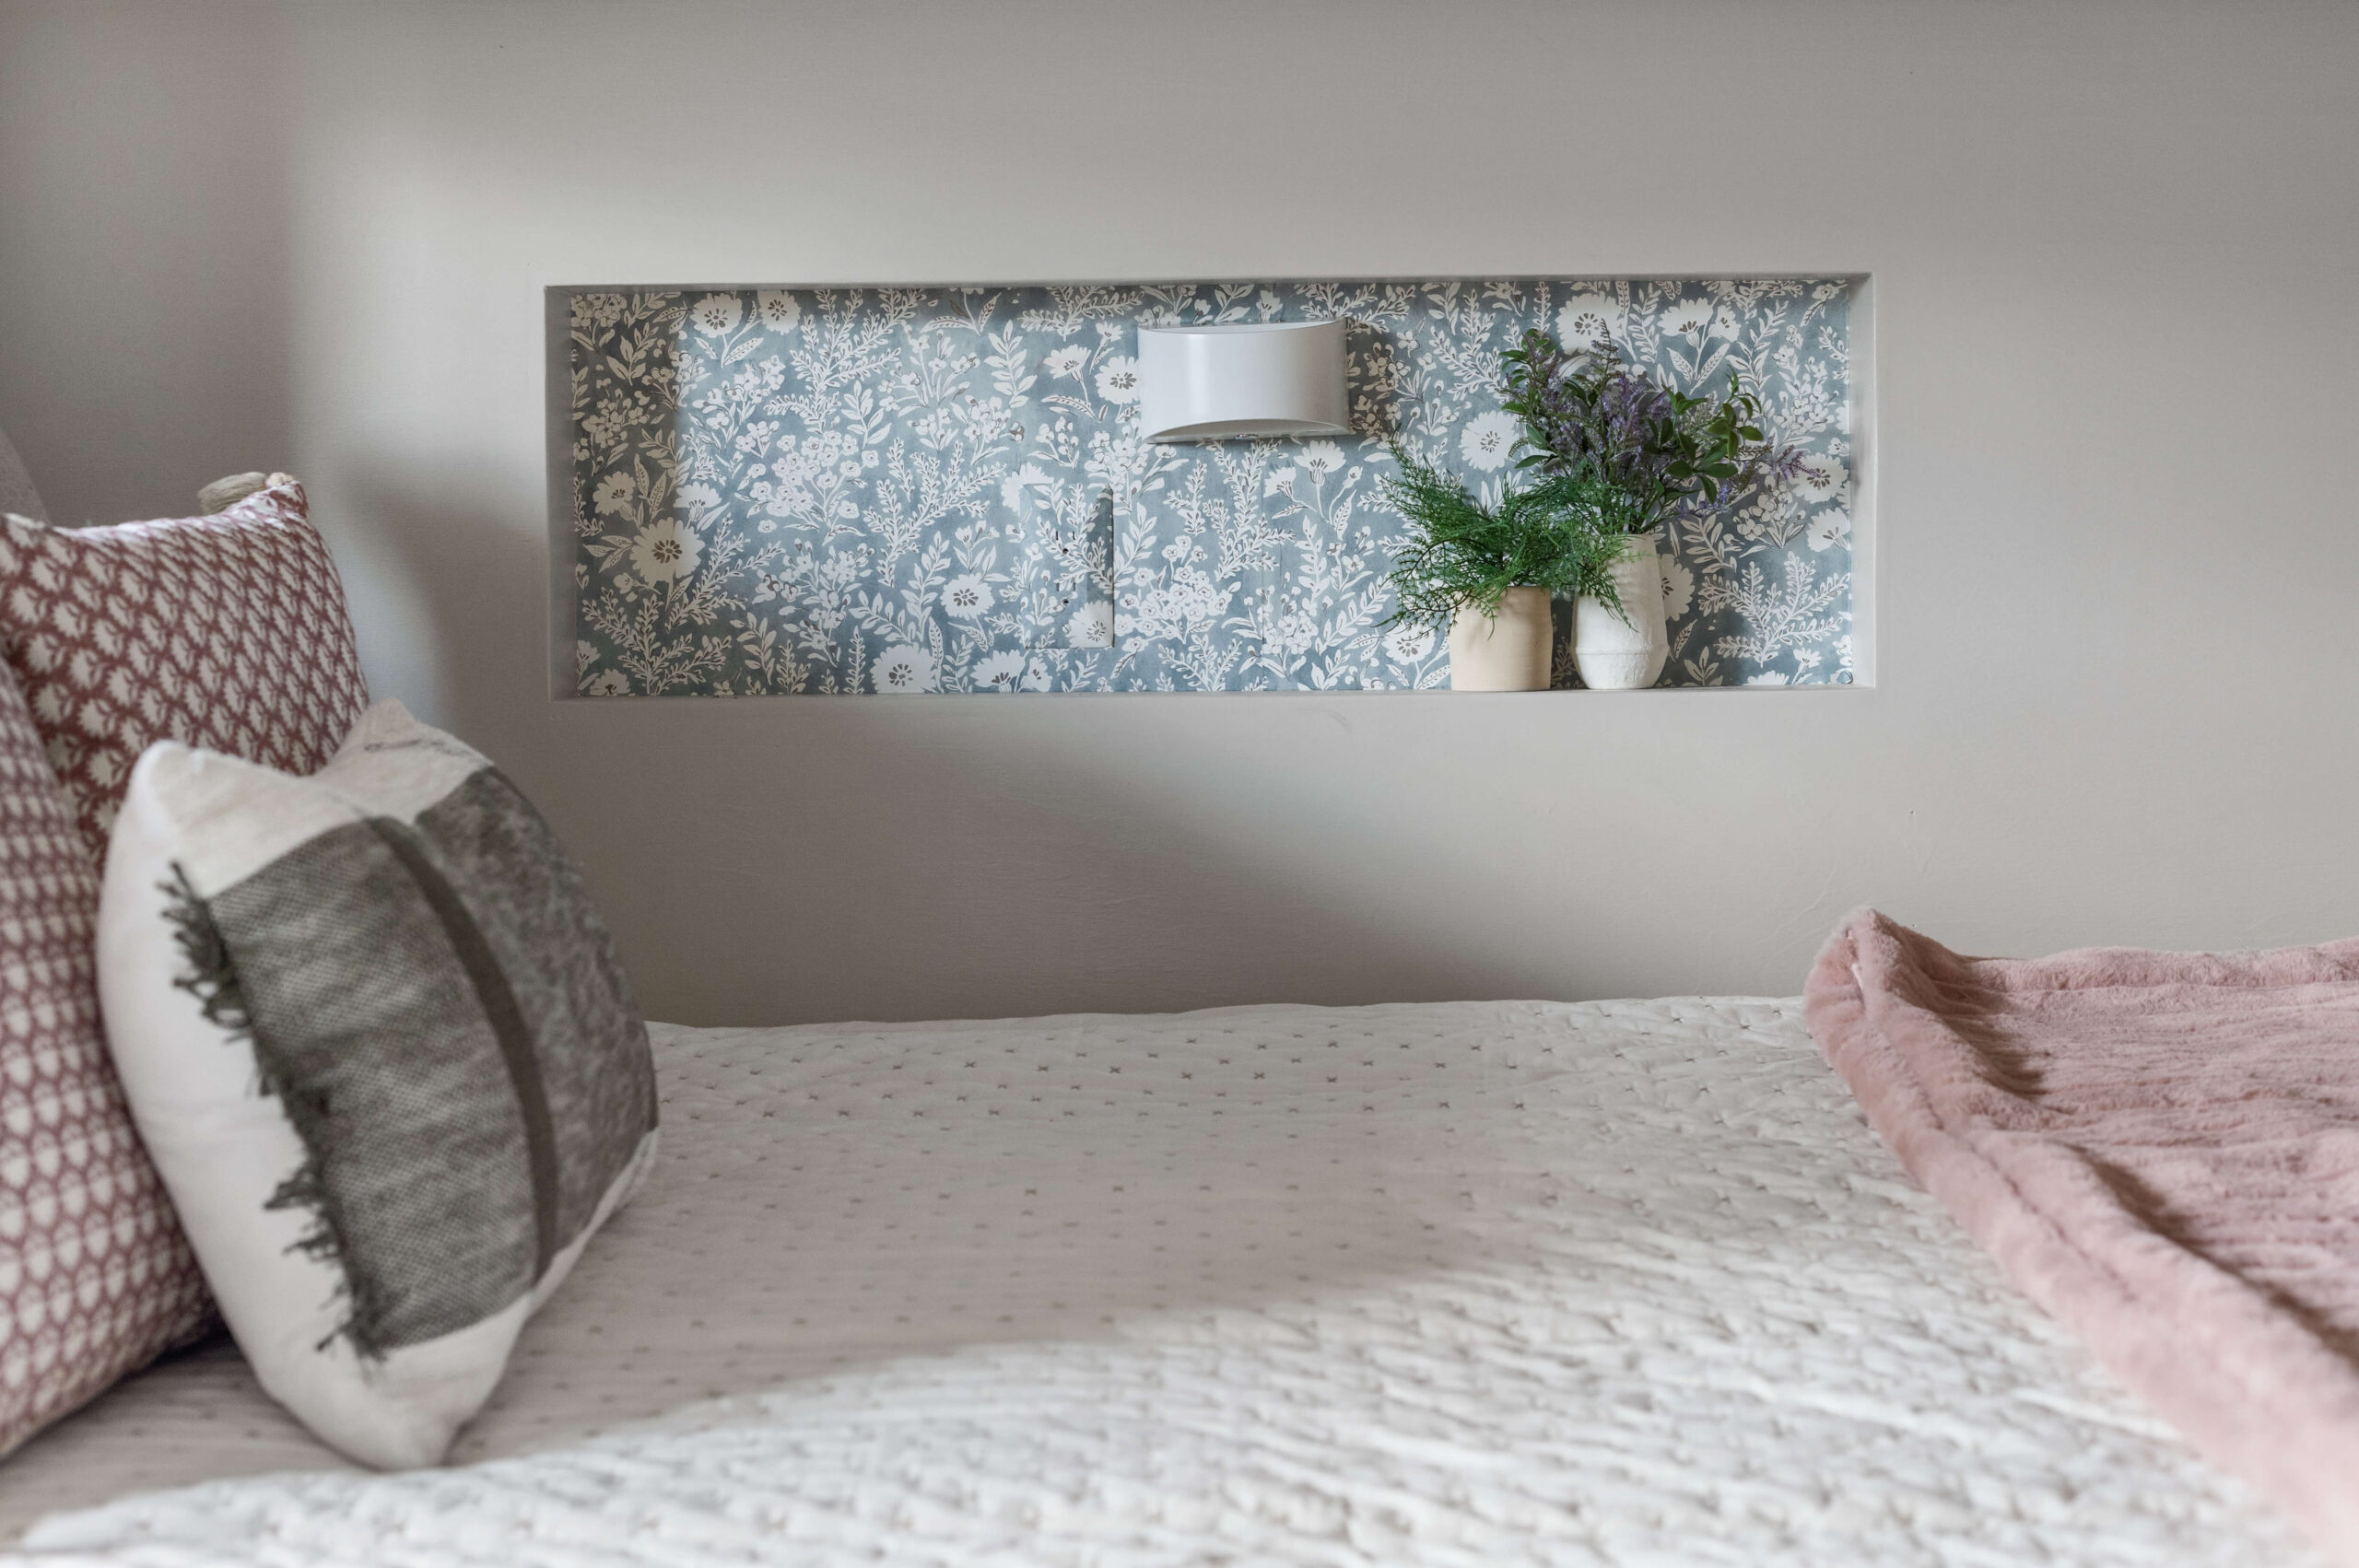
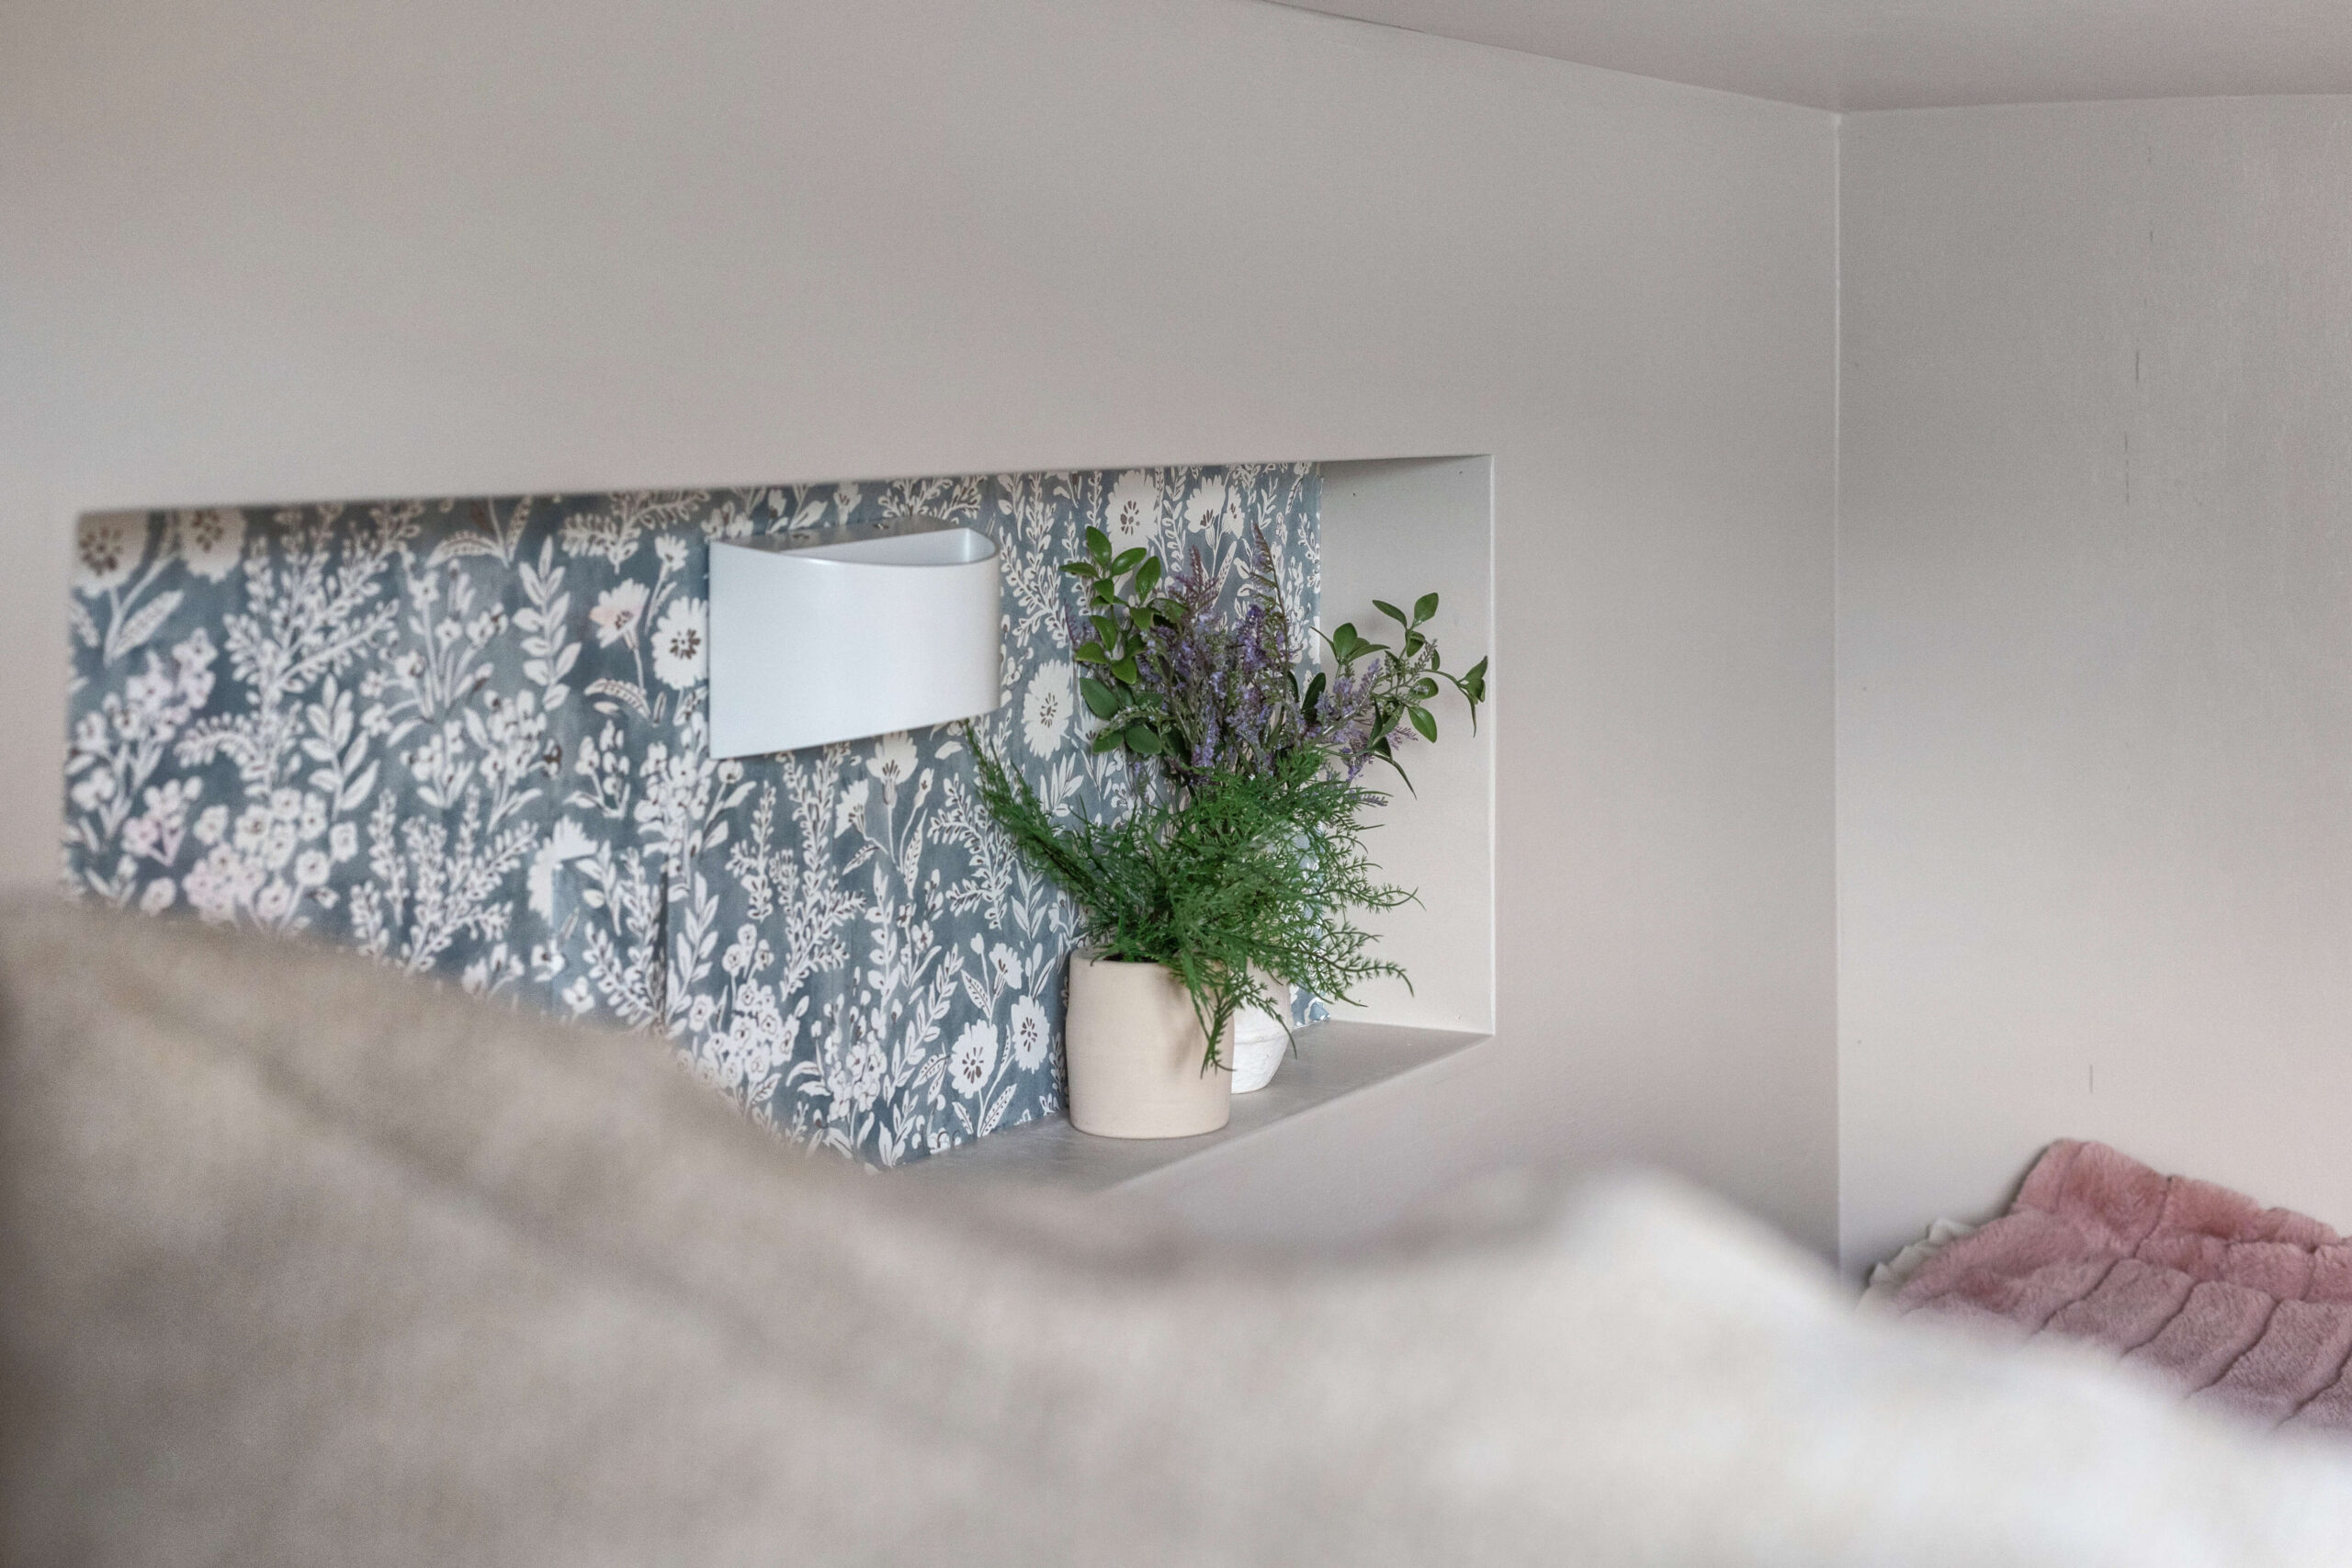
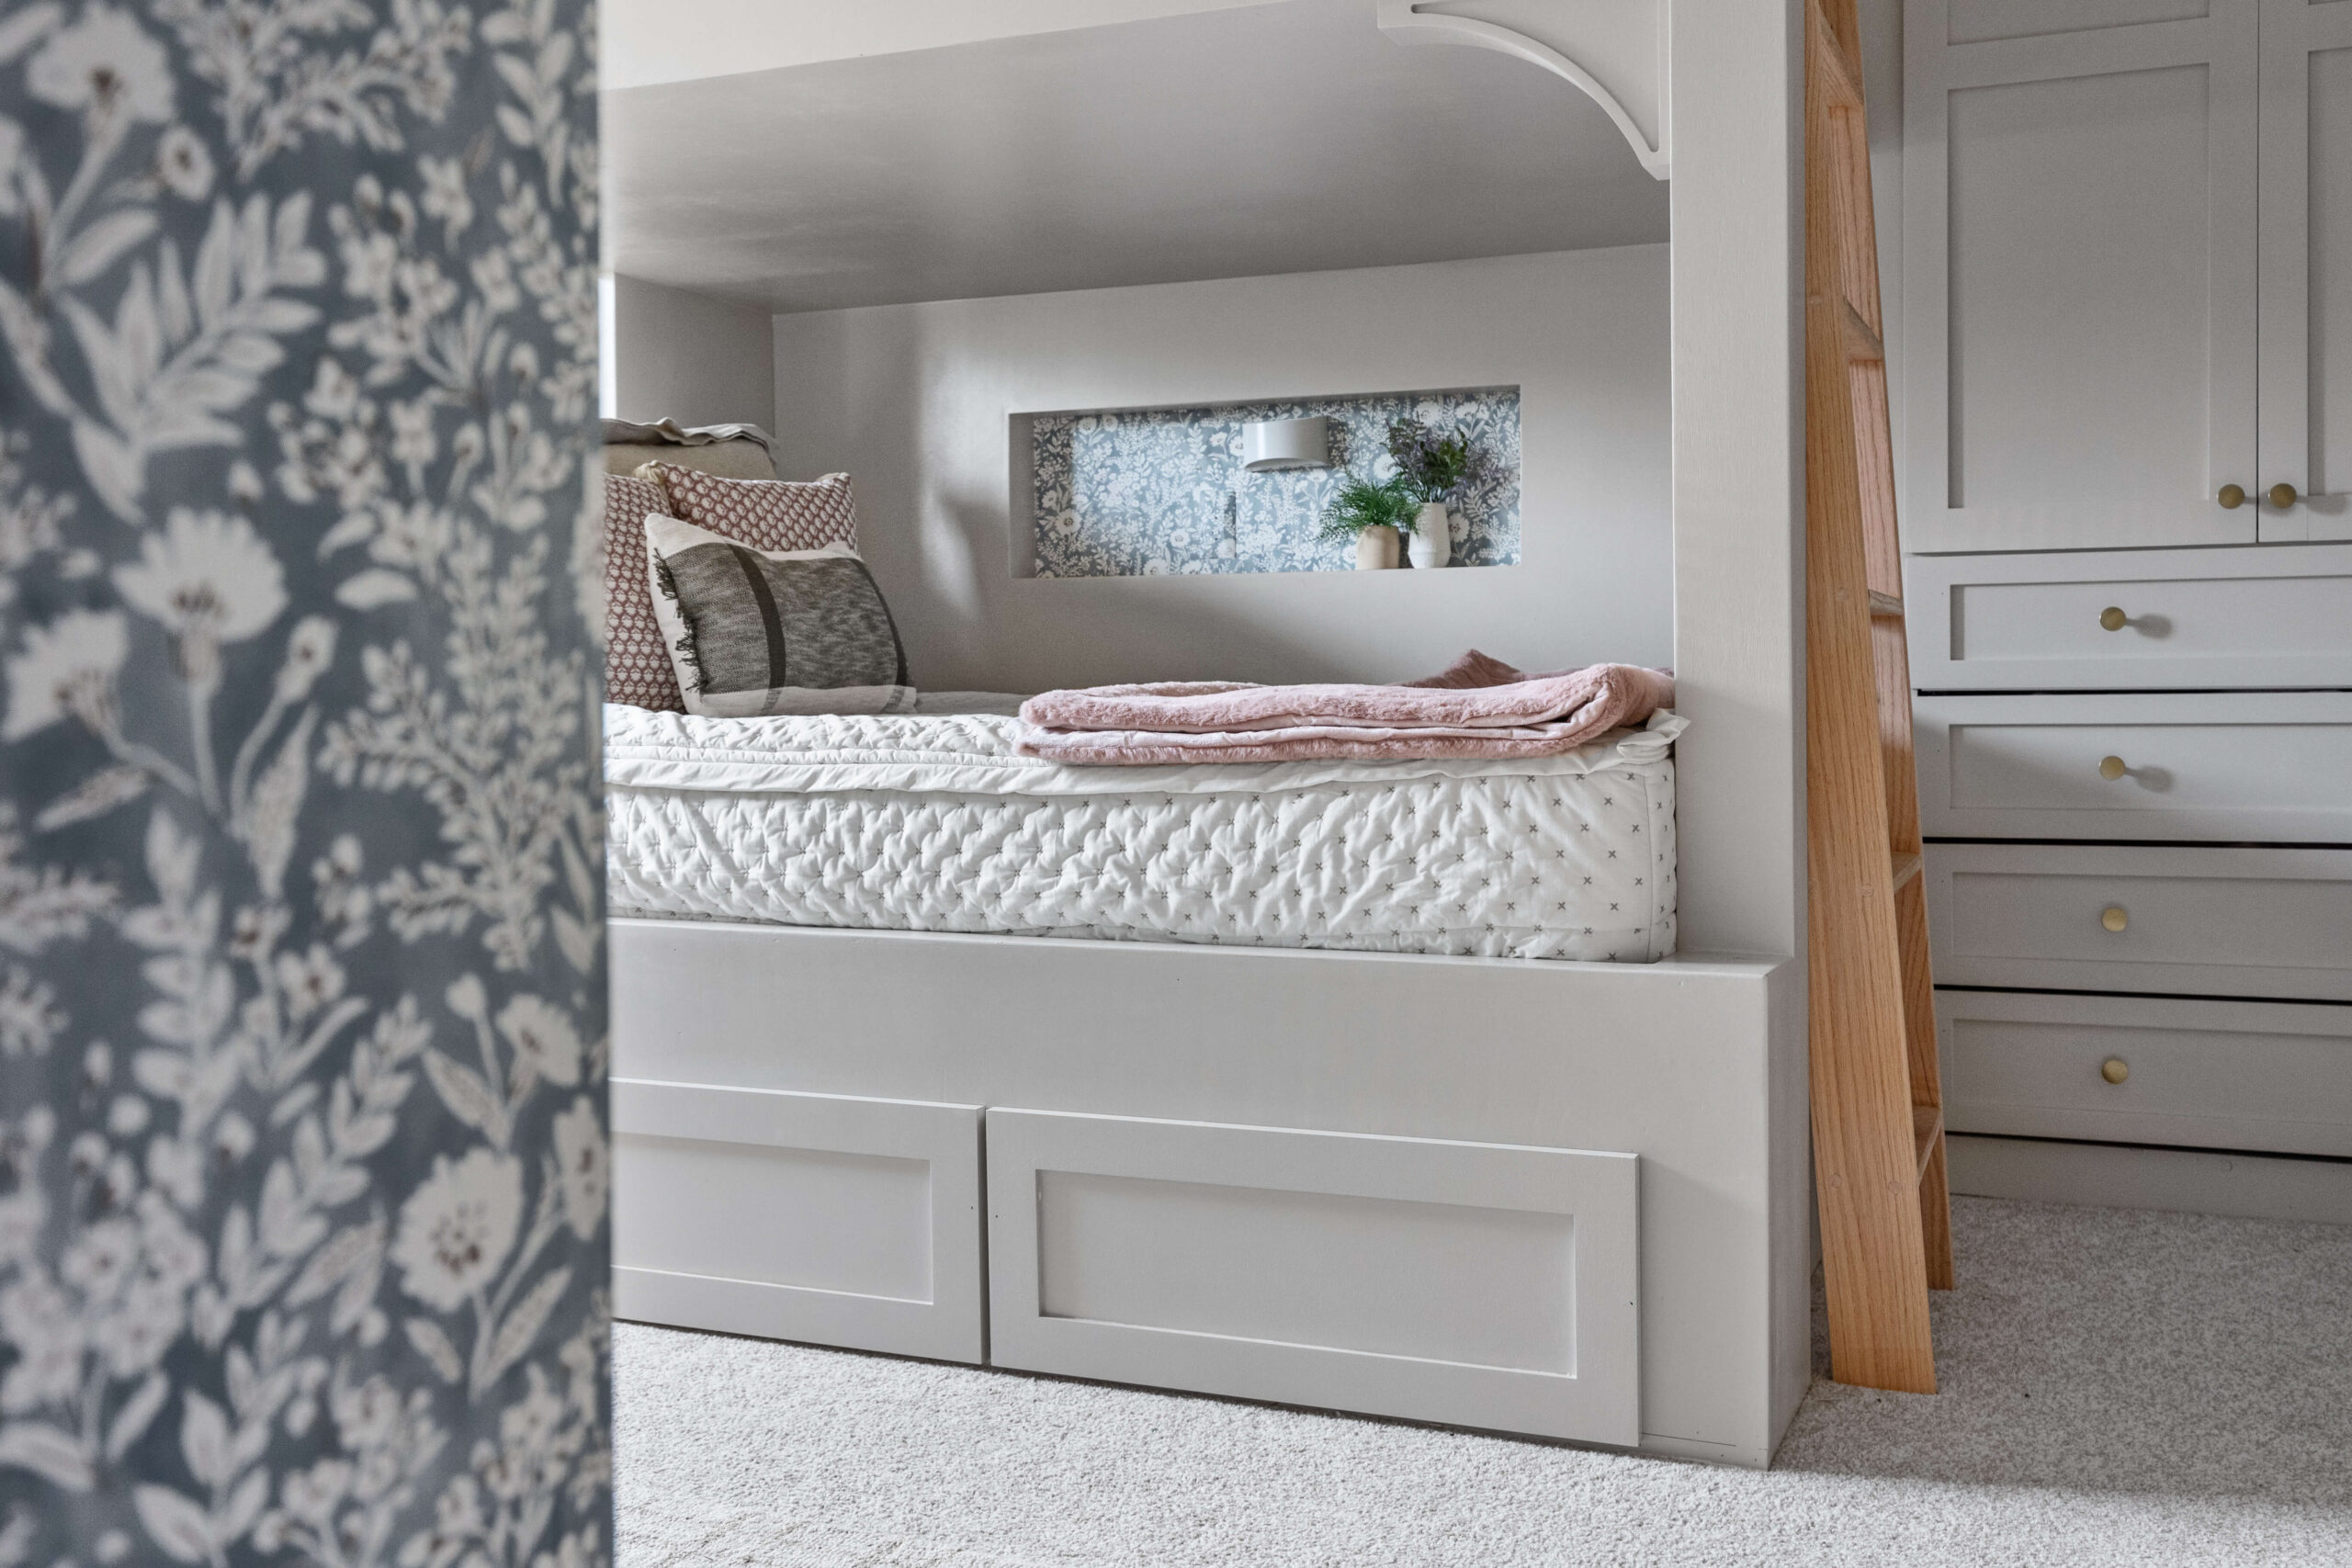
When I built the girls’ bunk beds, I added little nooks for the girls to store books, cups, and other items. Each nook also has a rechargeable light that’s dimmable and easy to charge—they love them.
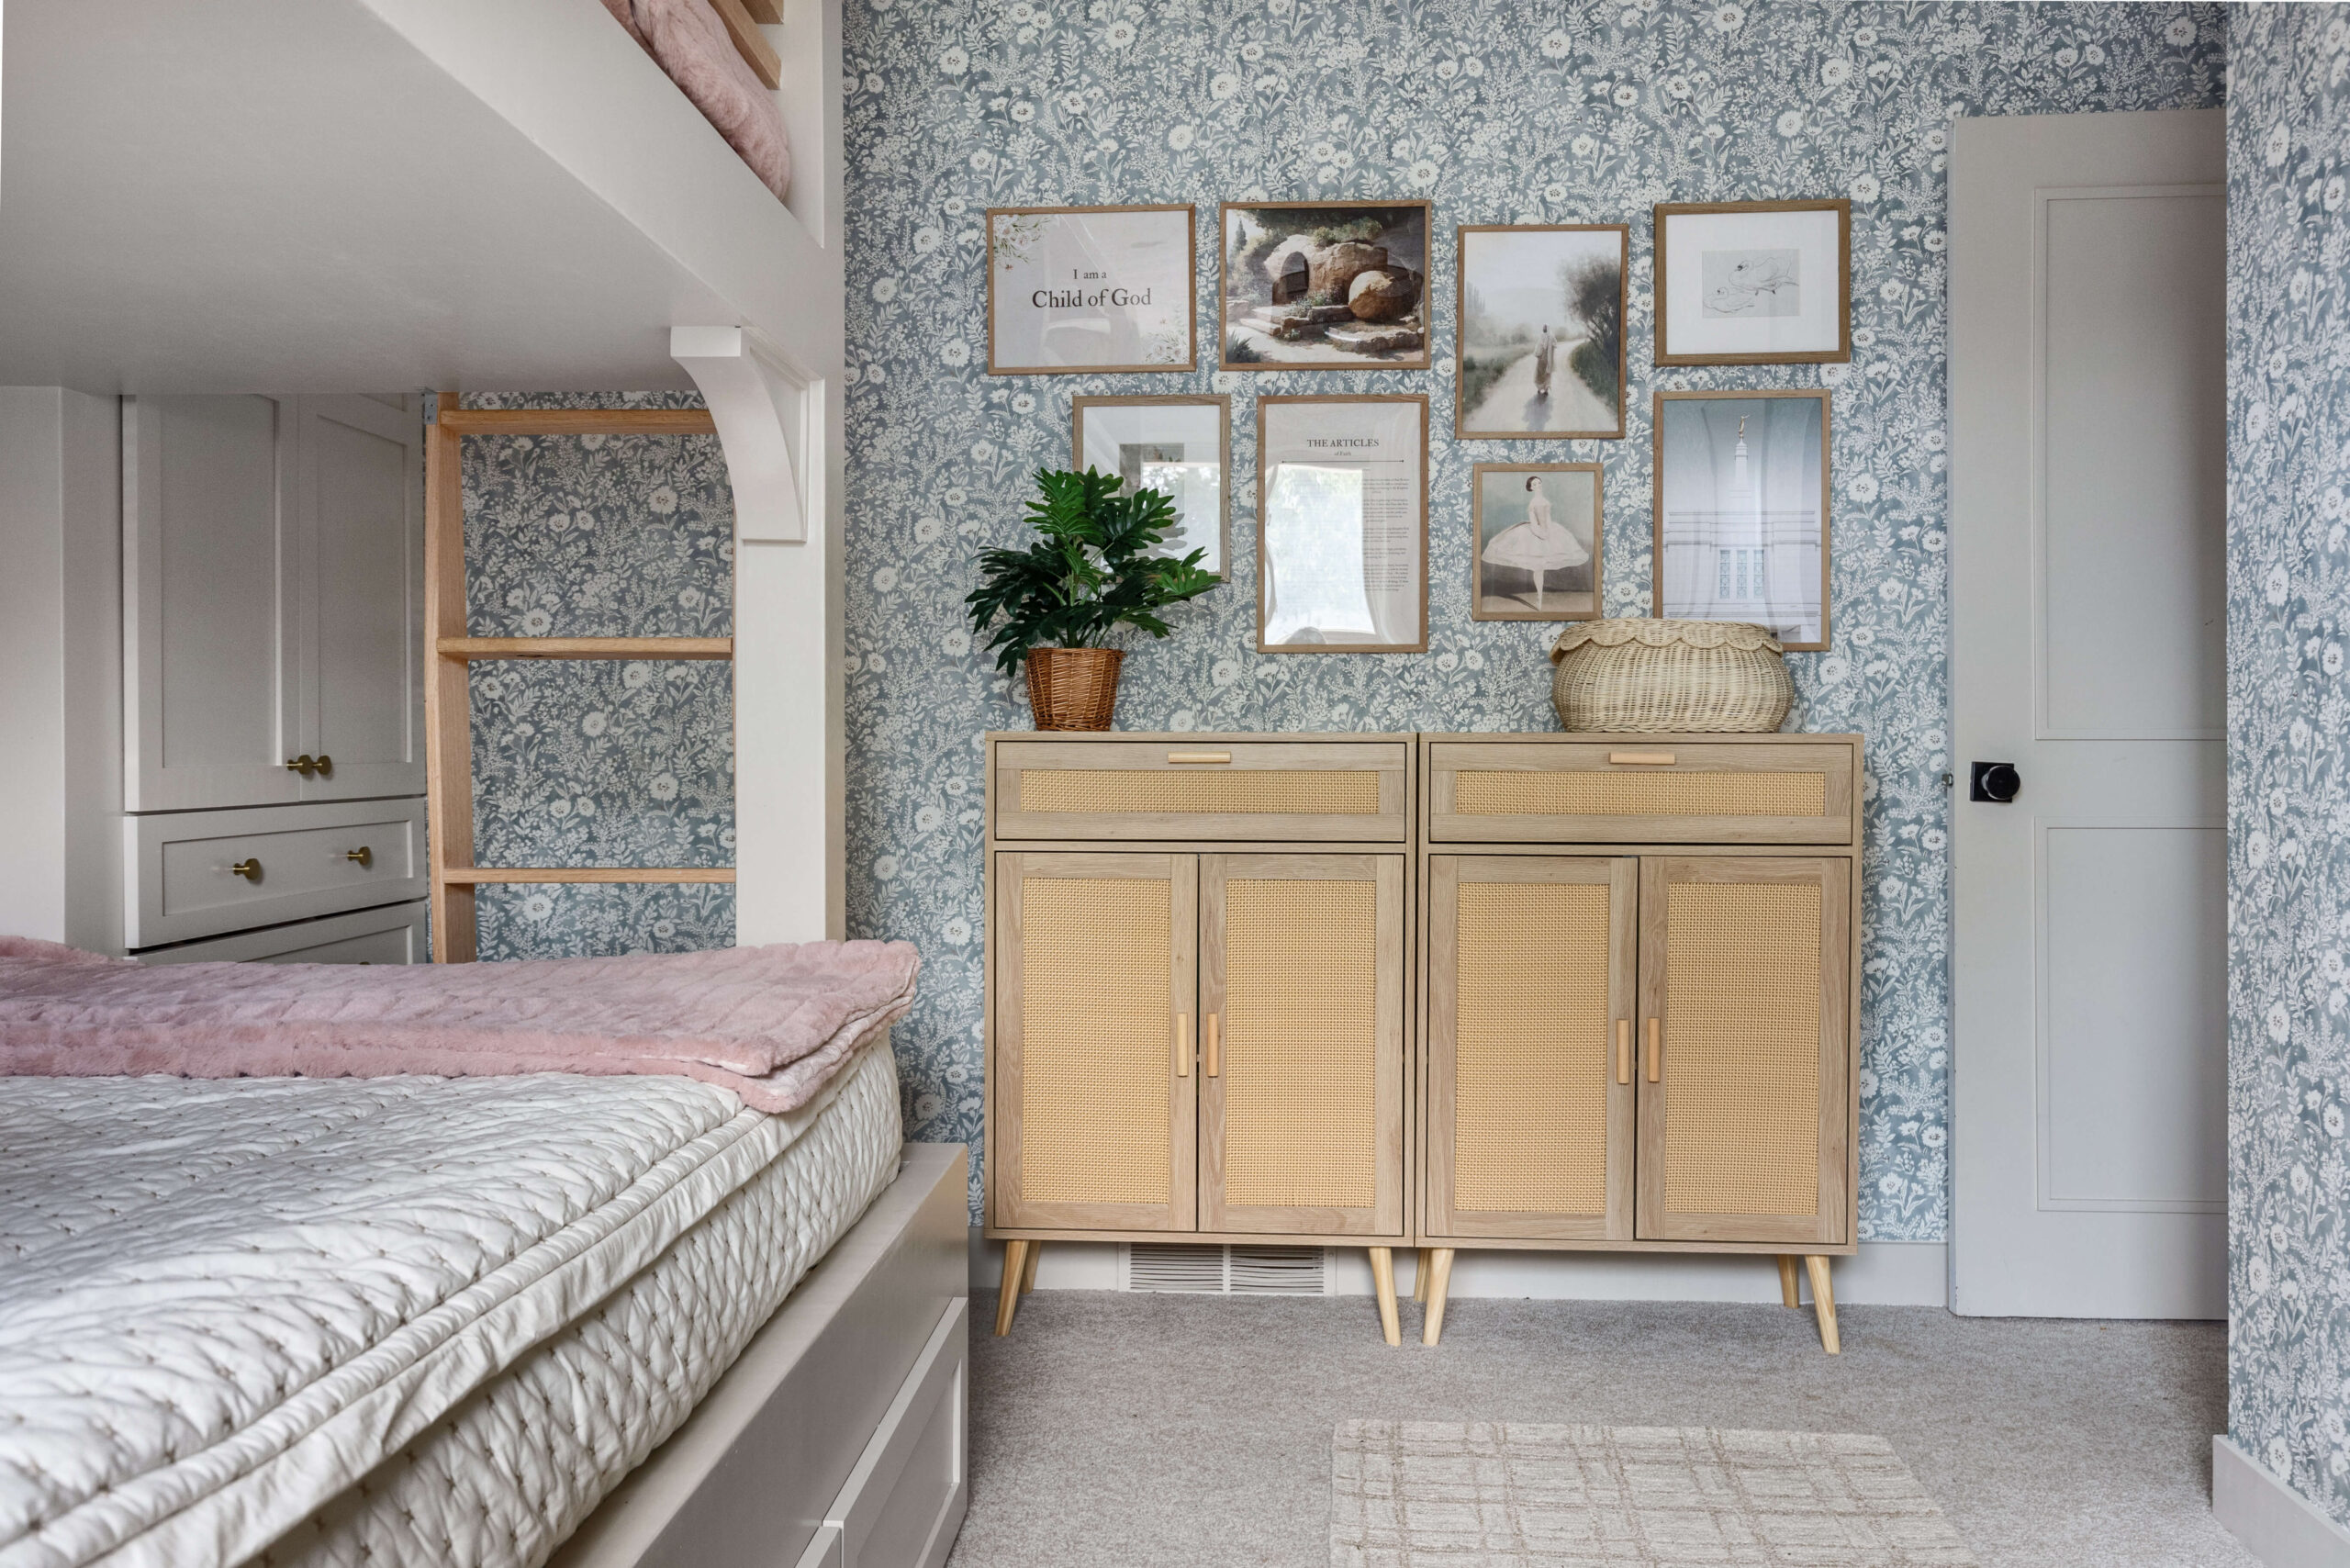
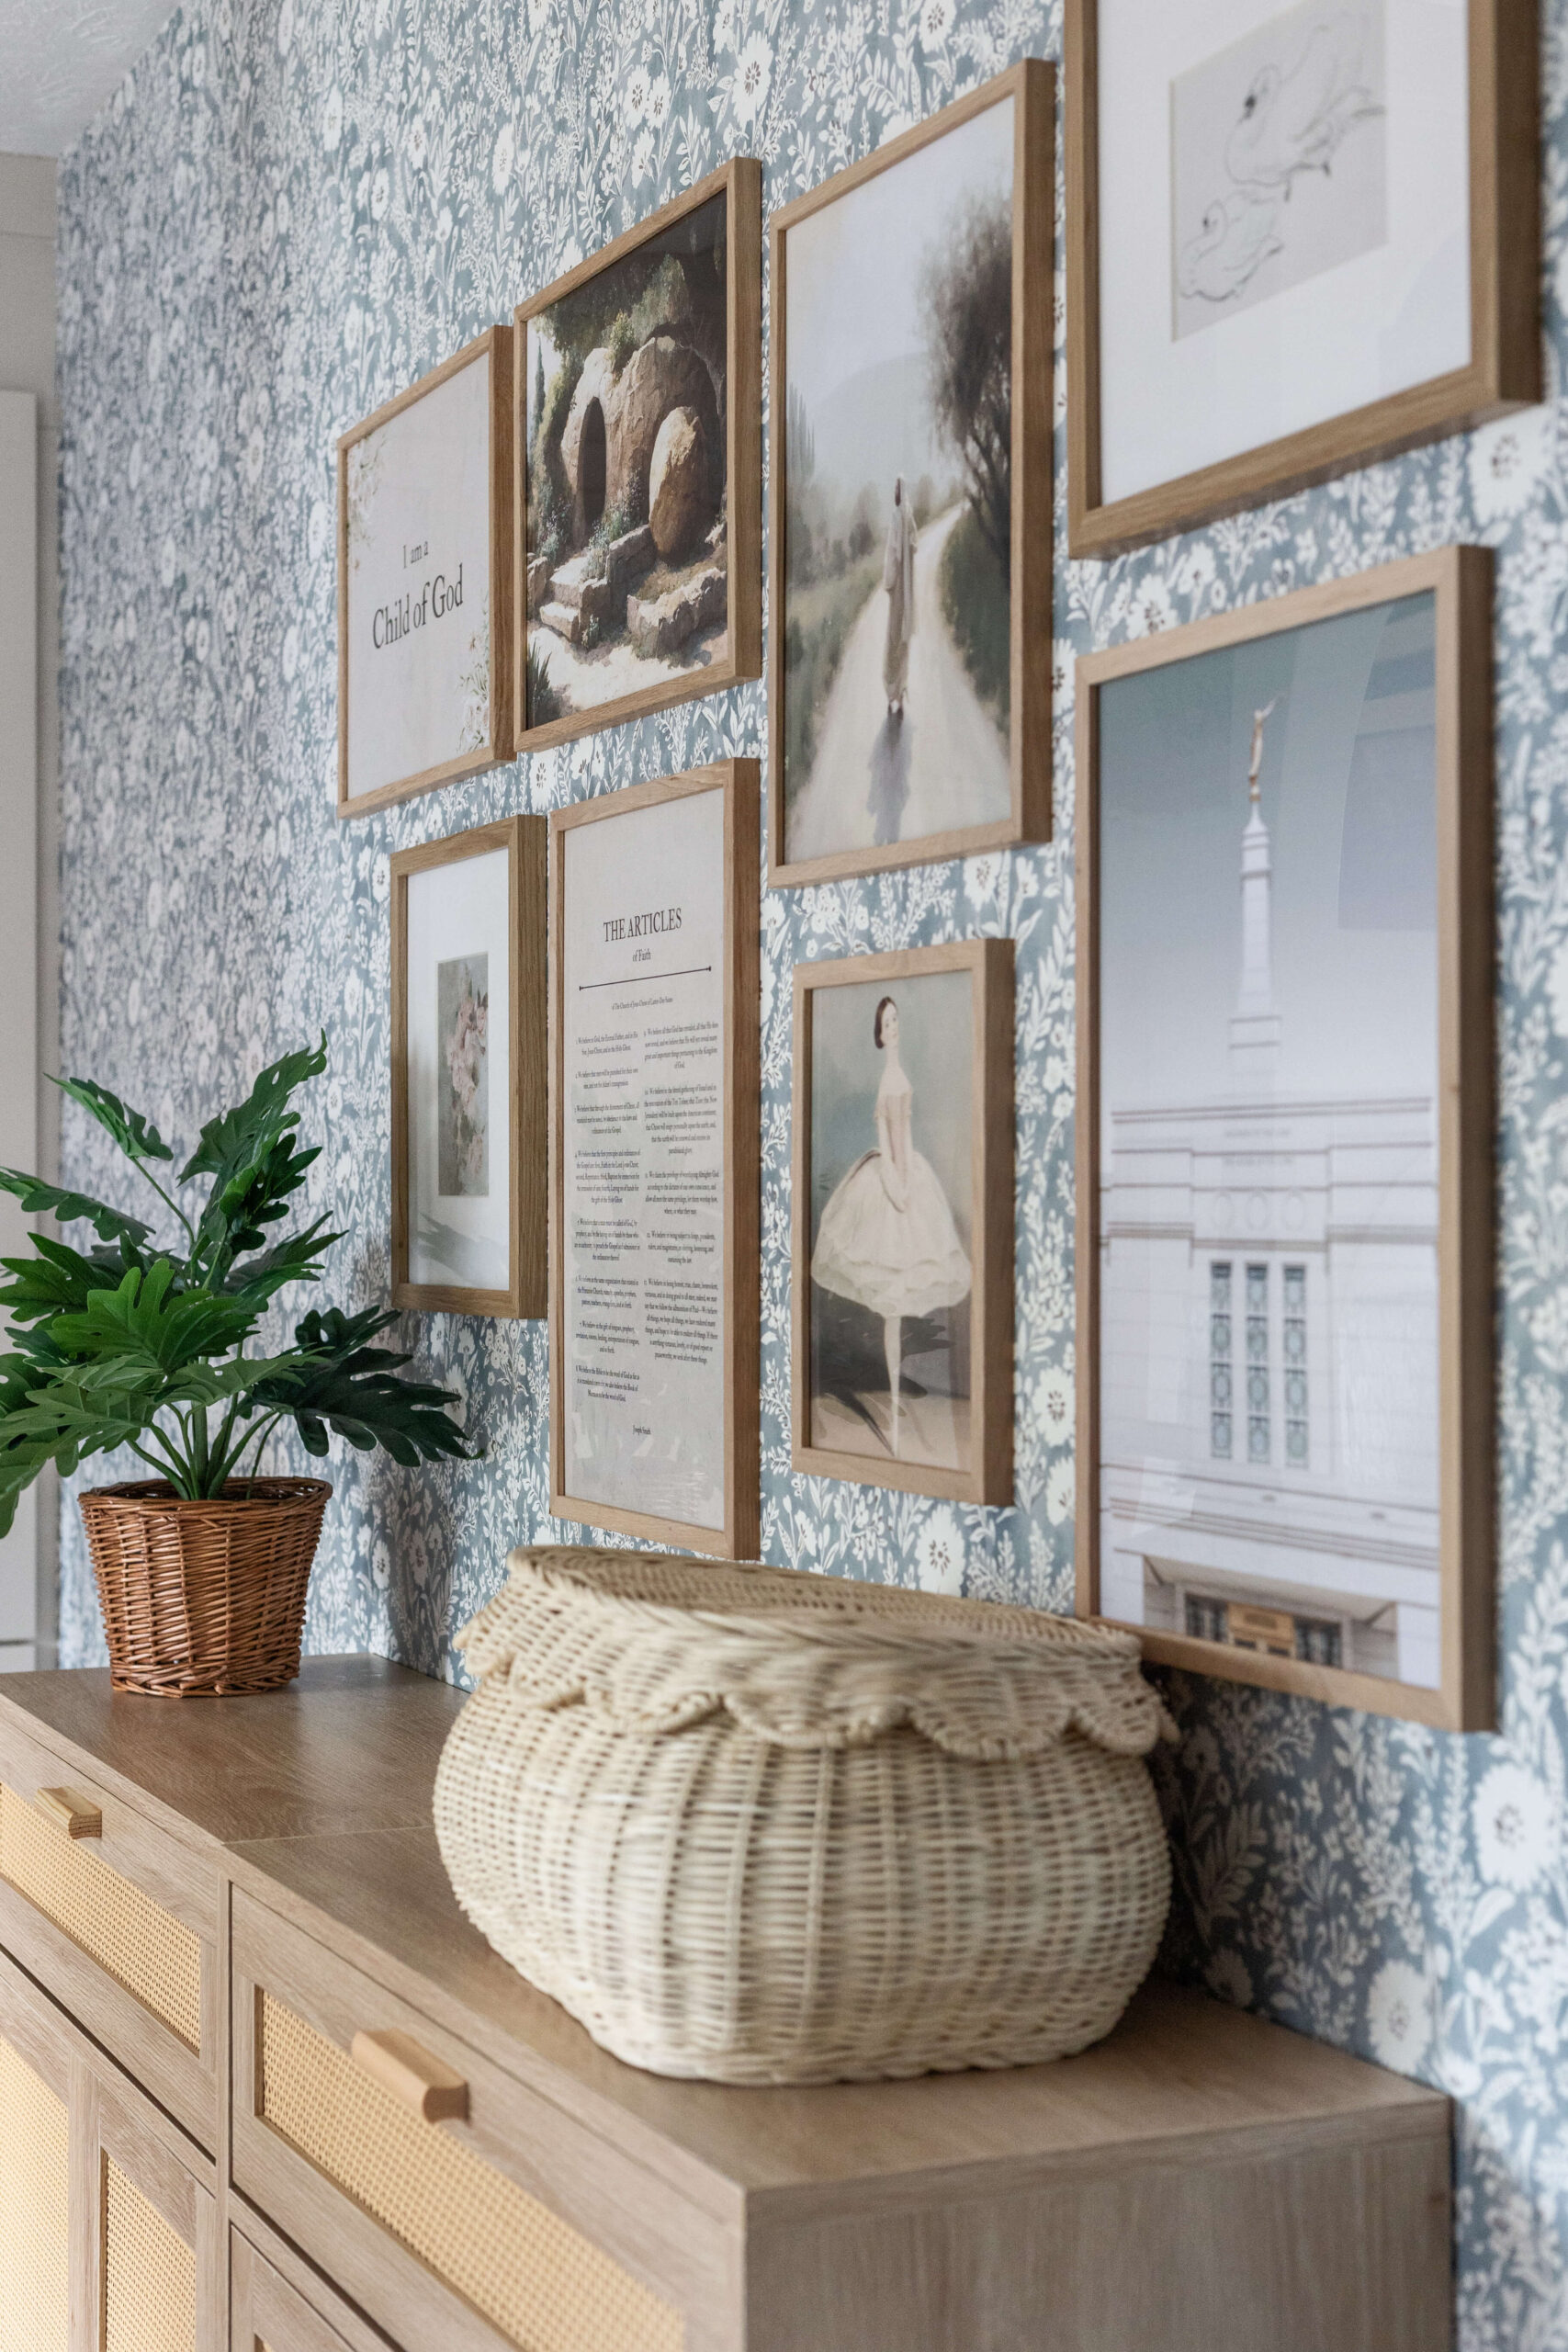
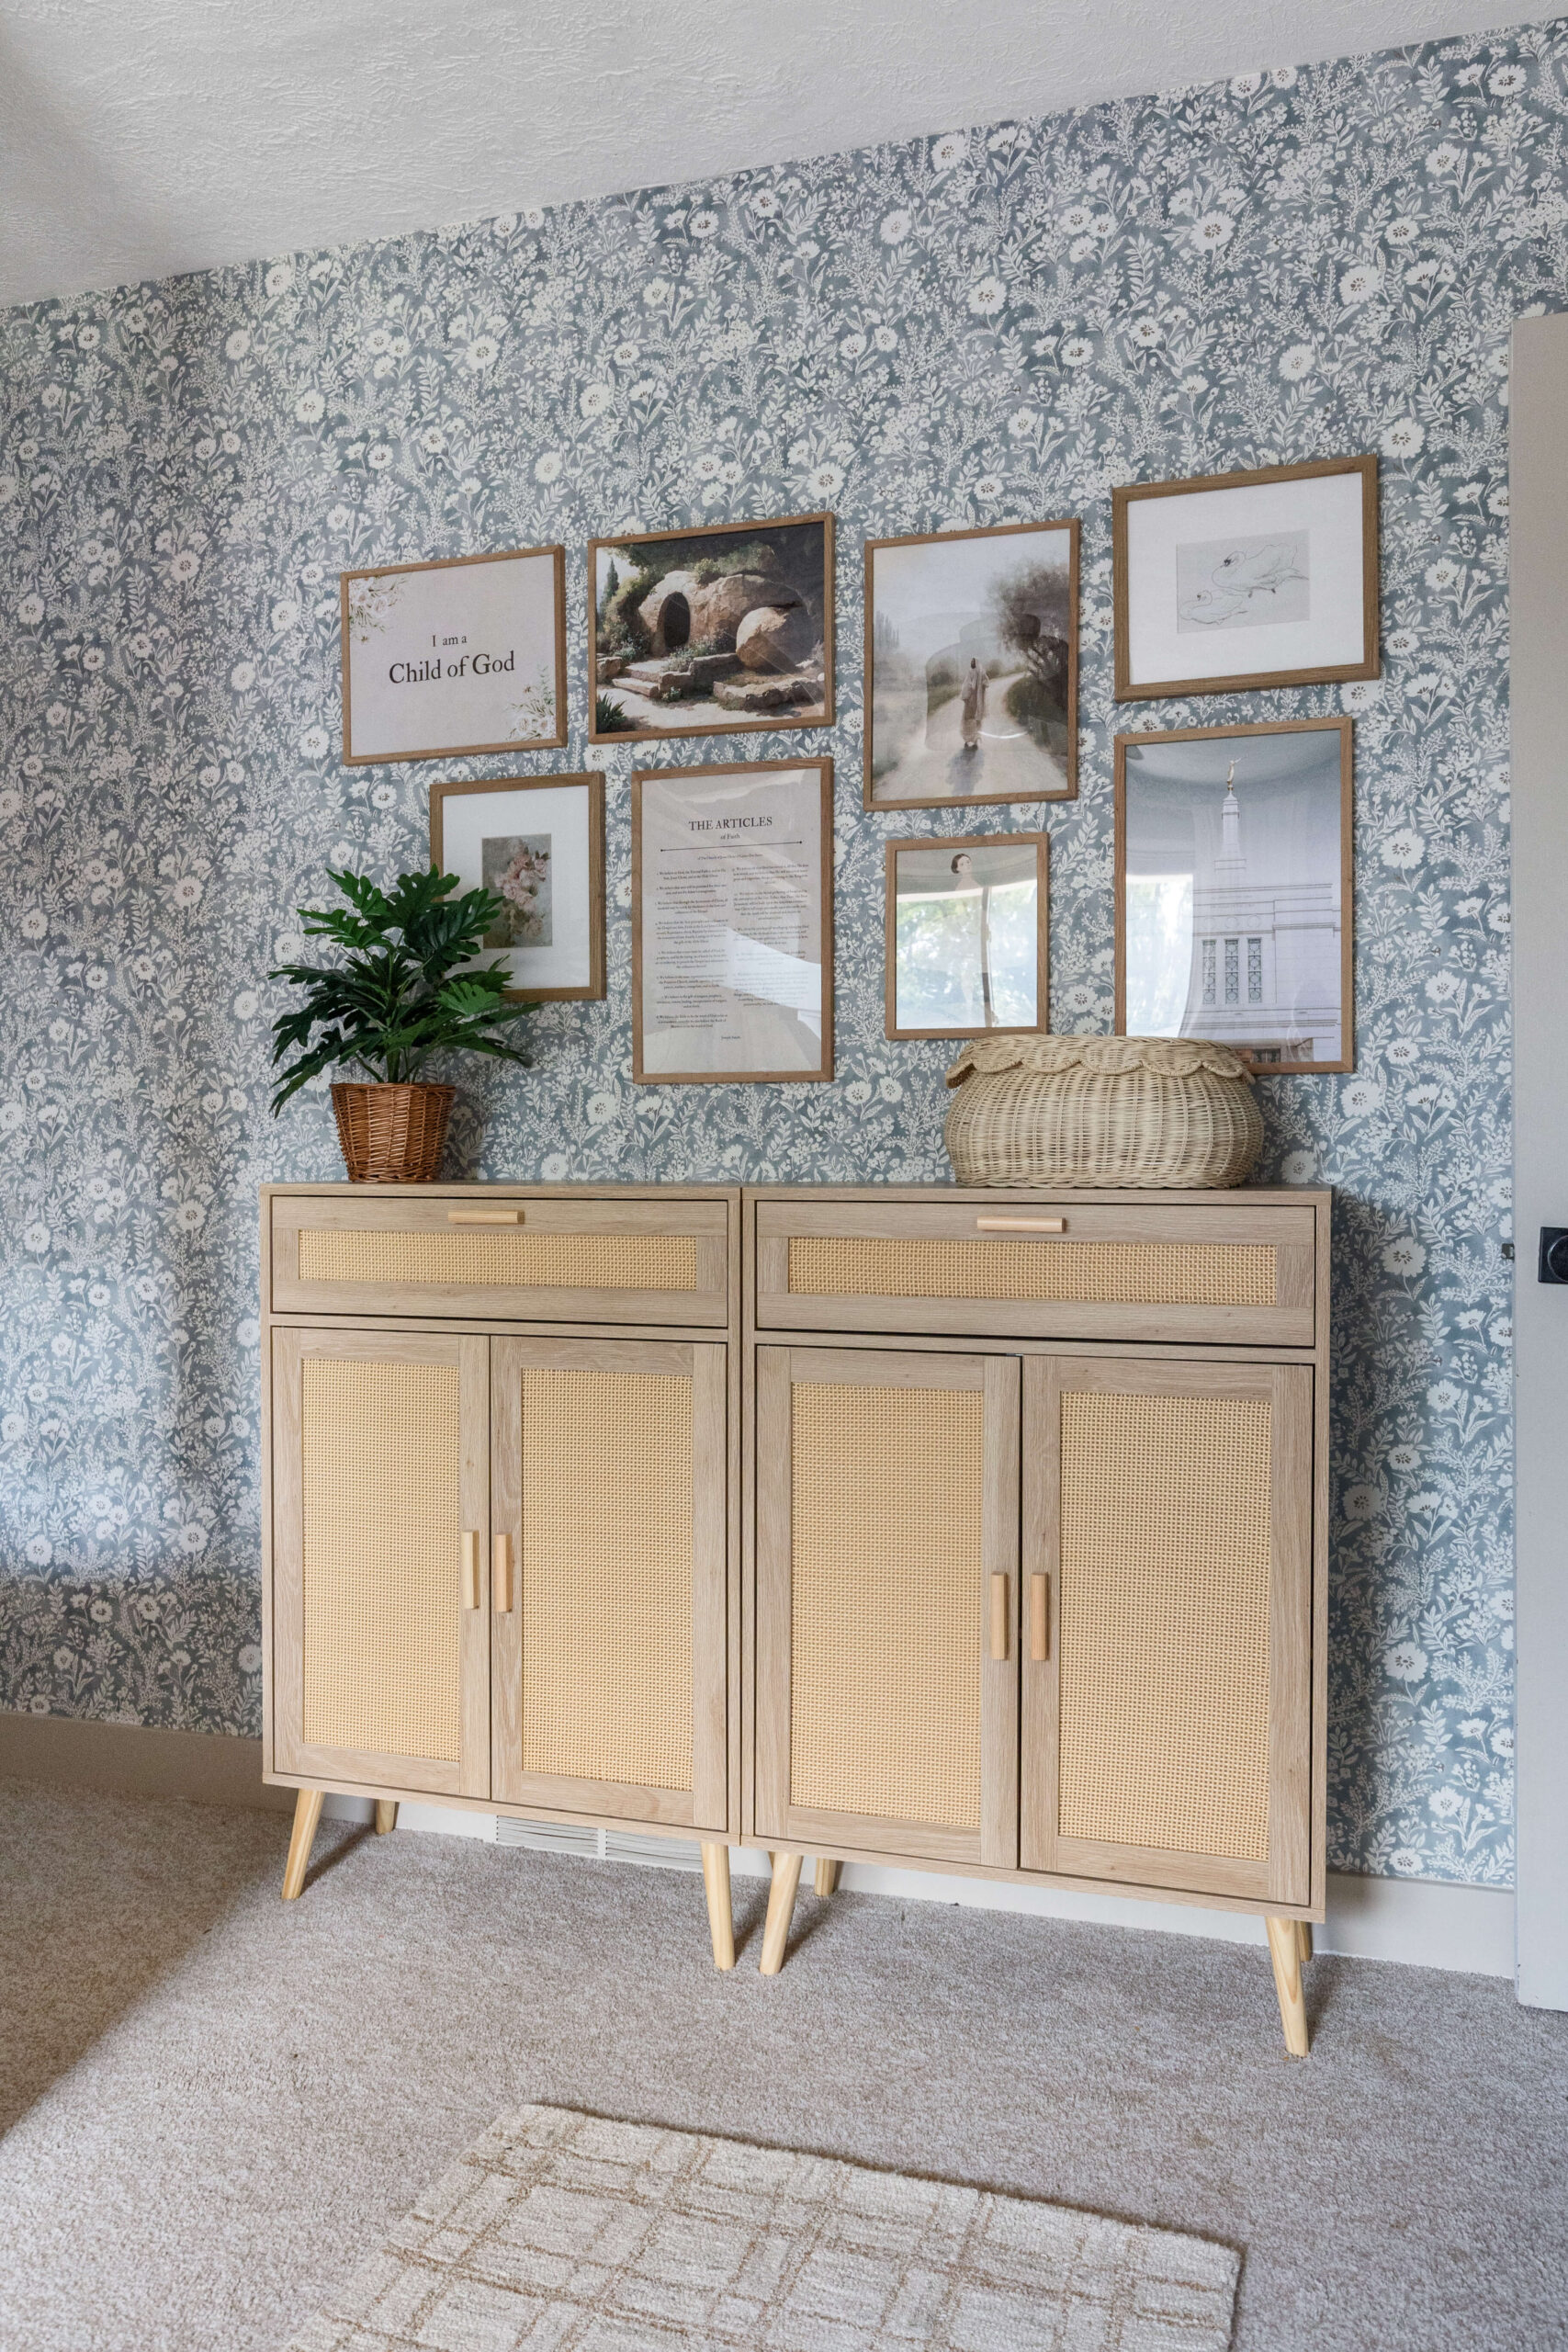
I love incorporating meaningful artwork into decor, so I added prints like “Jesus is the Christ,” “The Articles of Faith,” and “I Am a Child of God,” all framed in beautiful matching frames. These personal touches remind my girls who they are.
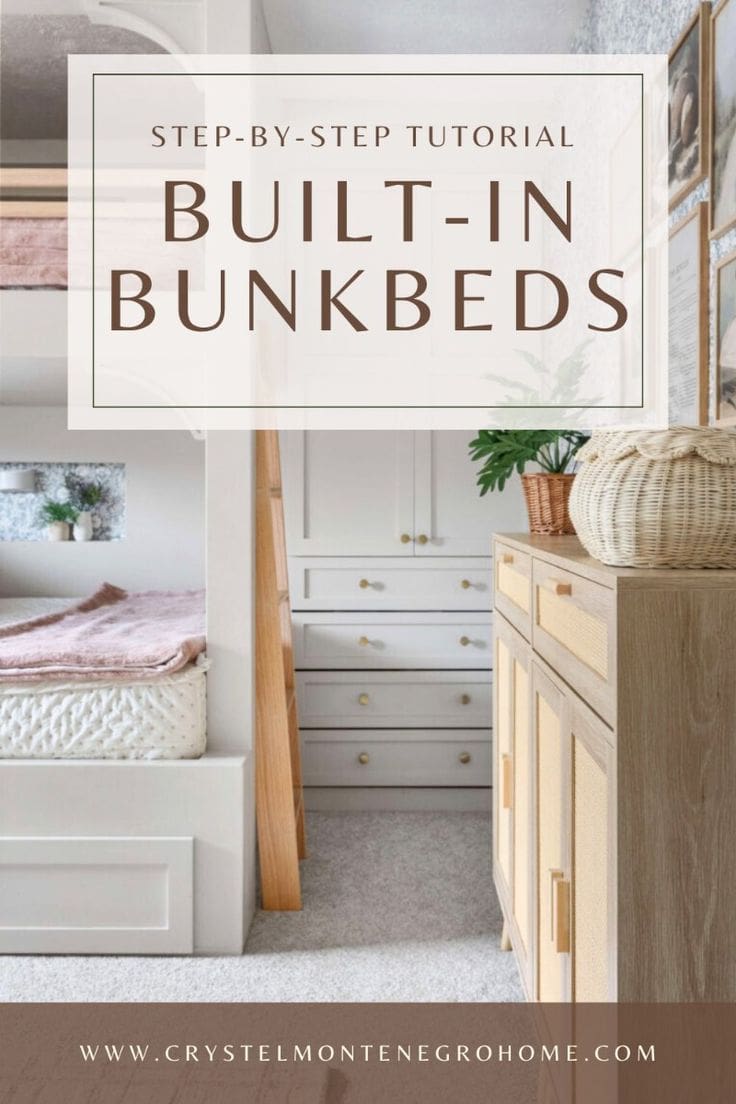
Underneath the pictures, I placed some gorgeous rattan cabinets. Since there’s limited space around the bunk beds, I needed something shallow, and these cabinets fit perfectly. They’re great for storing the girls’ books. The scalloped basket on top is both practical and pretty, perfect for holding things like hair ties.
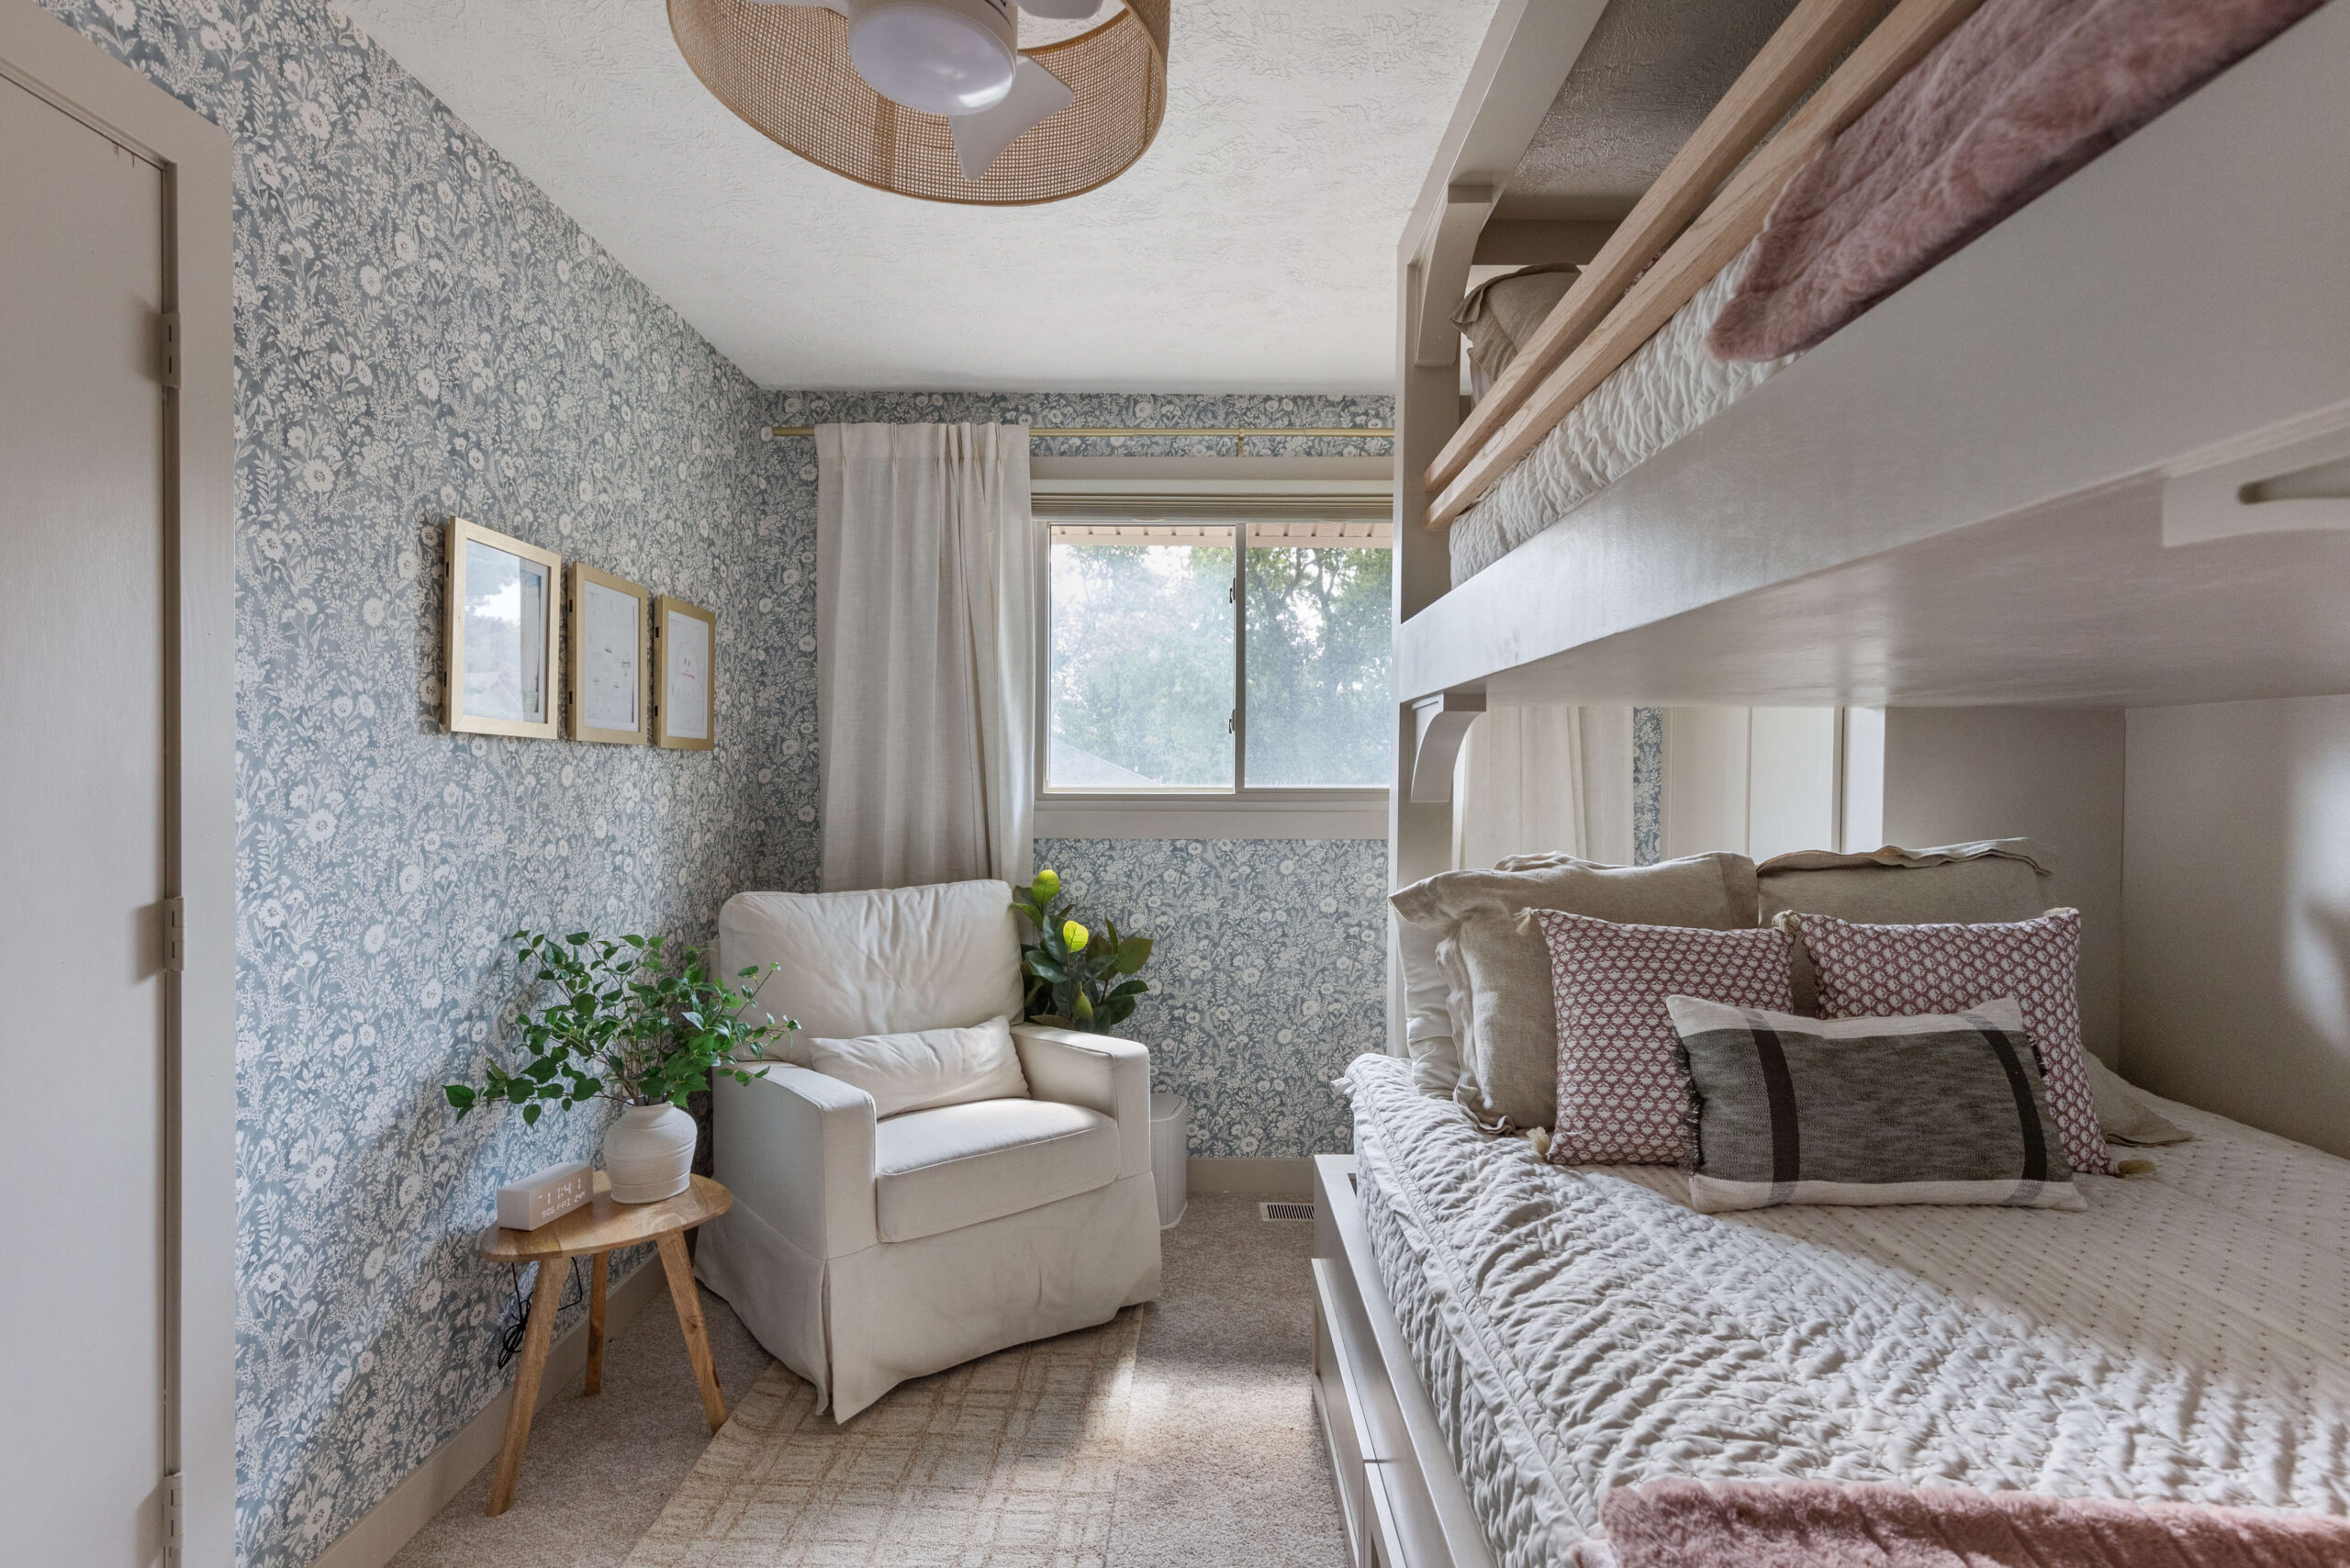
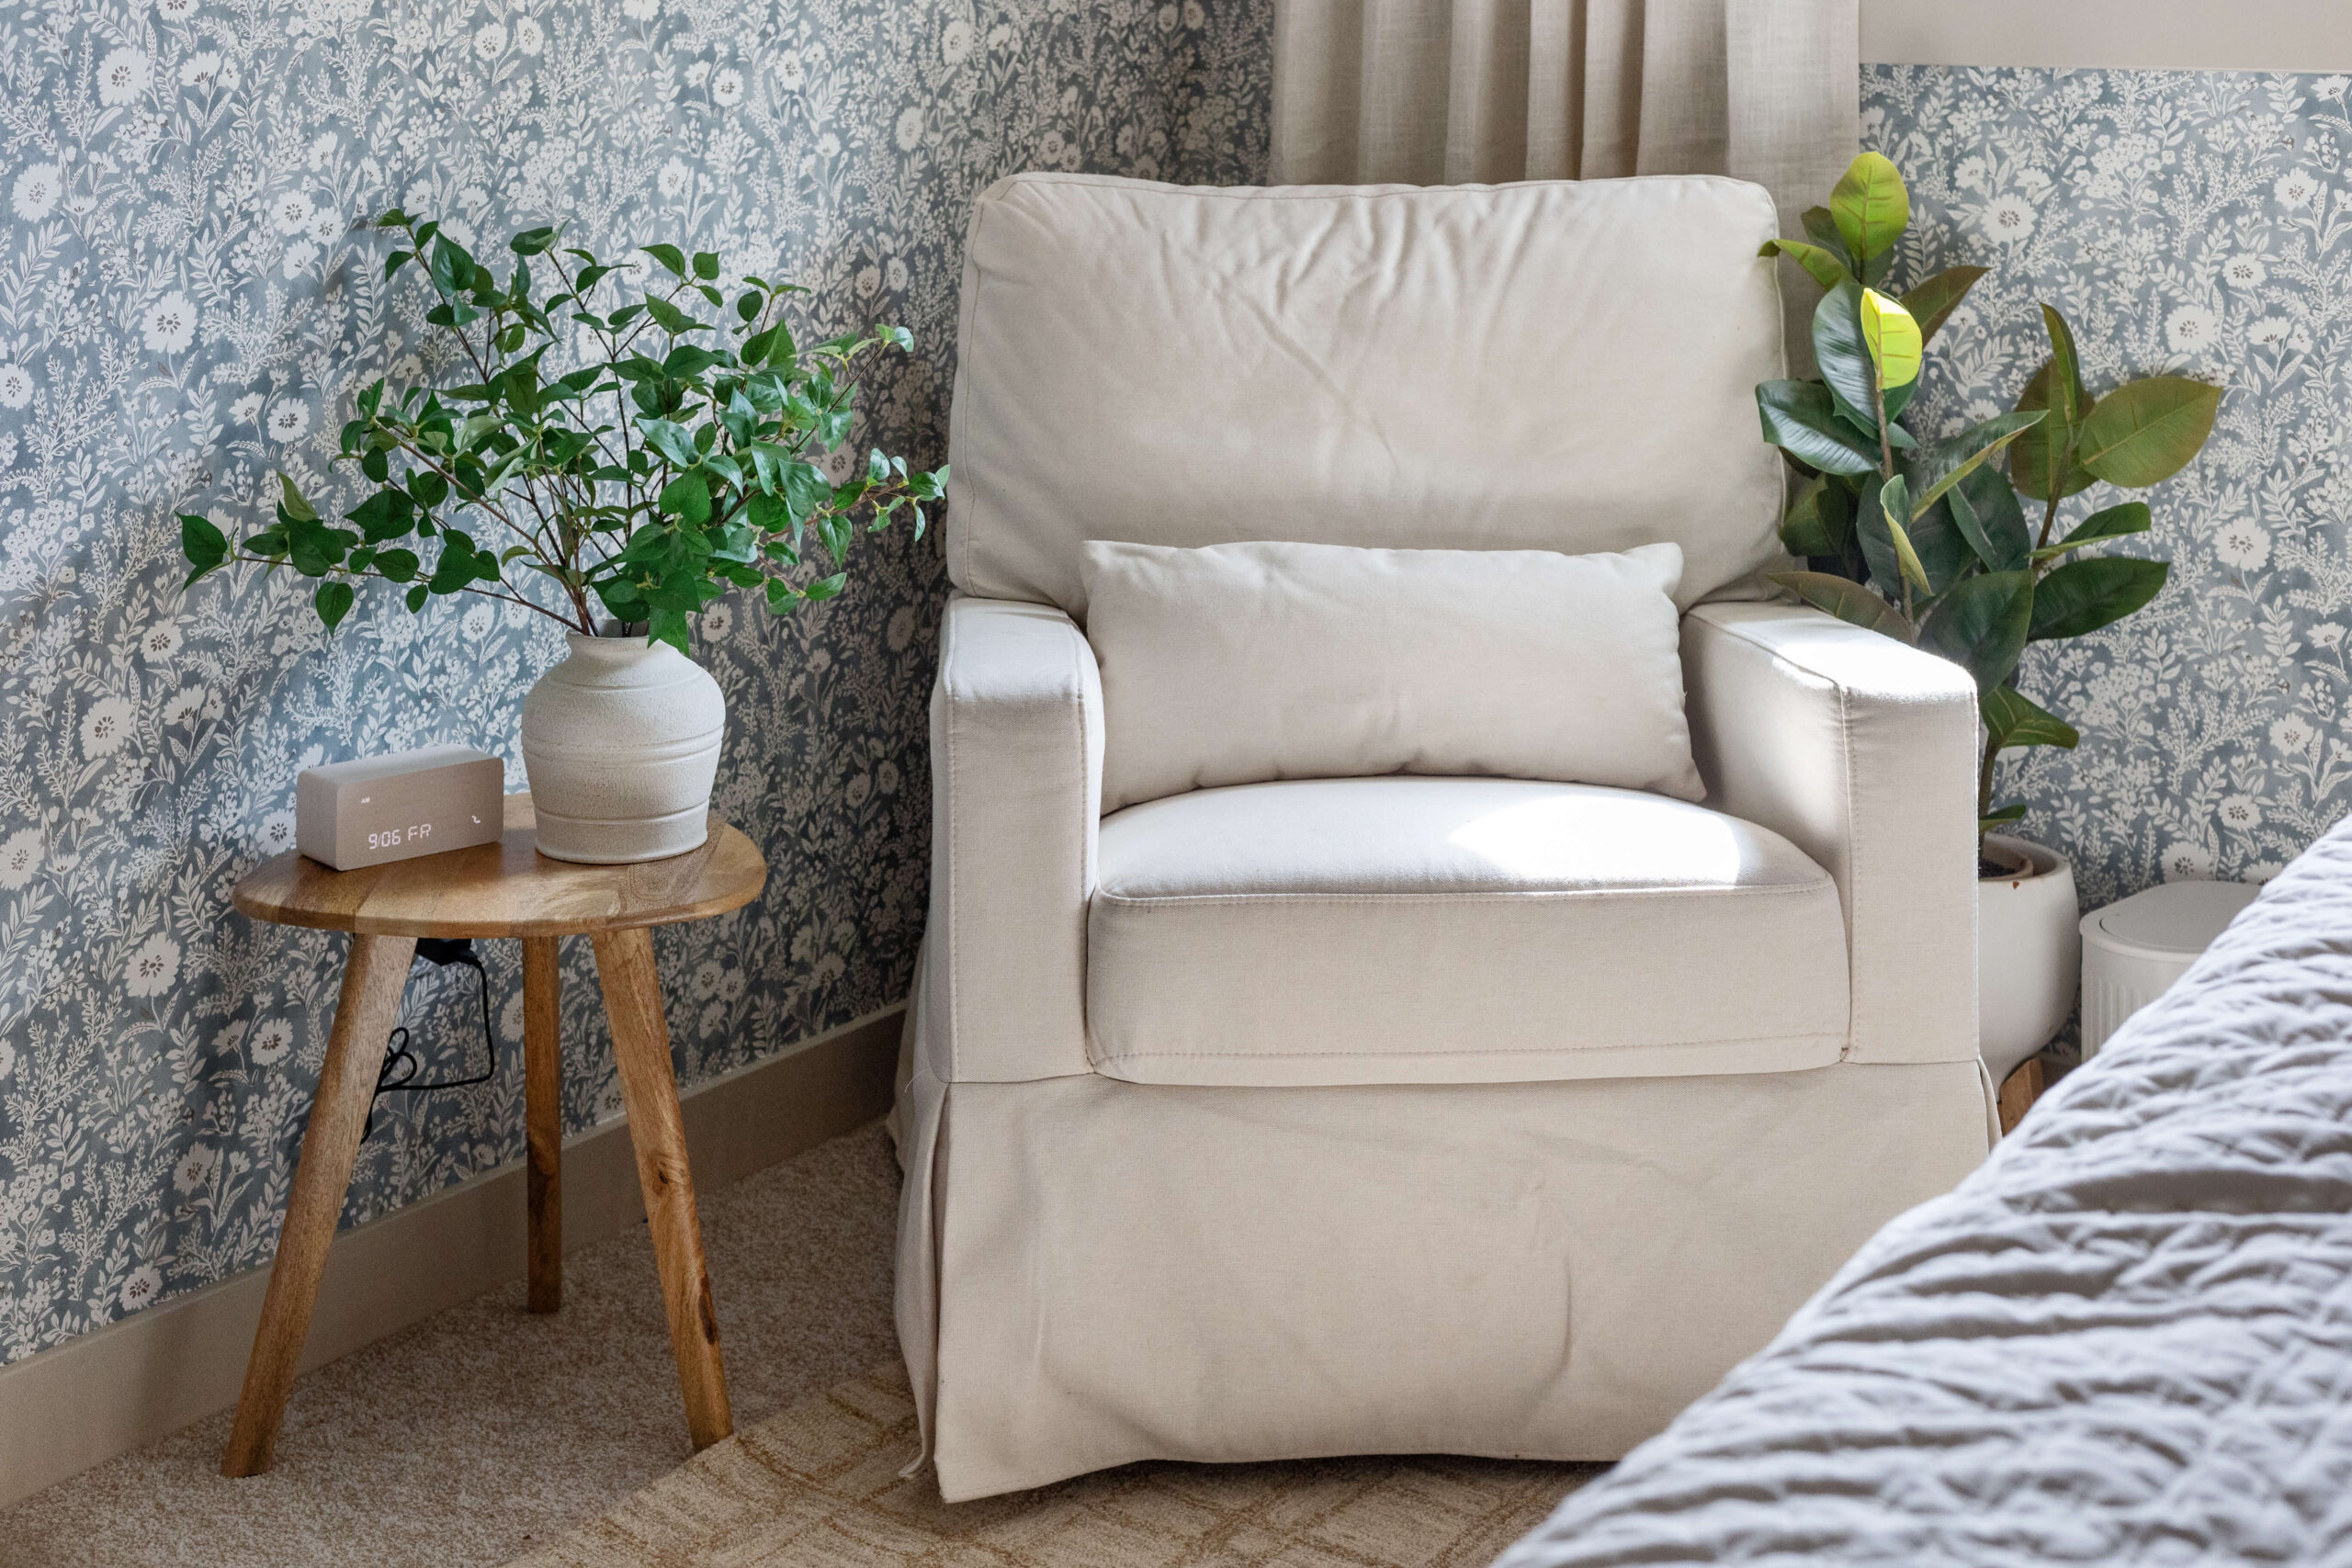
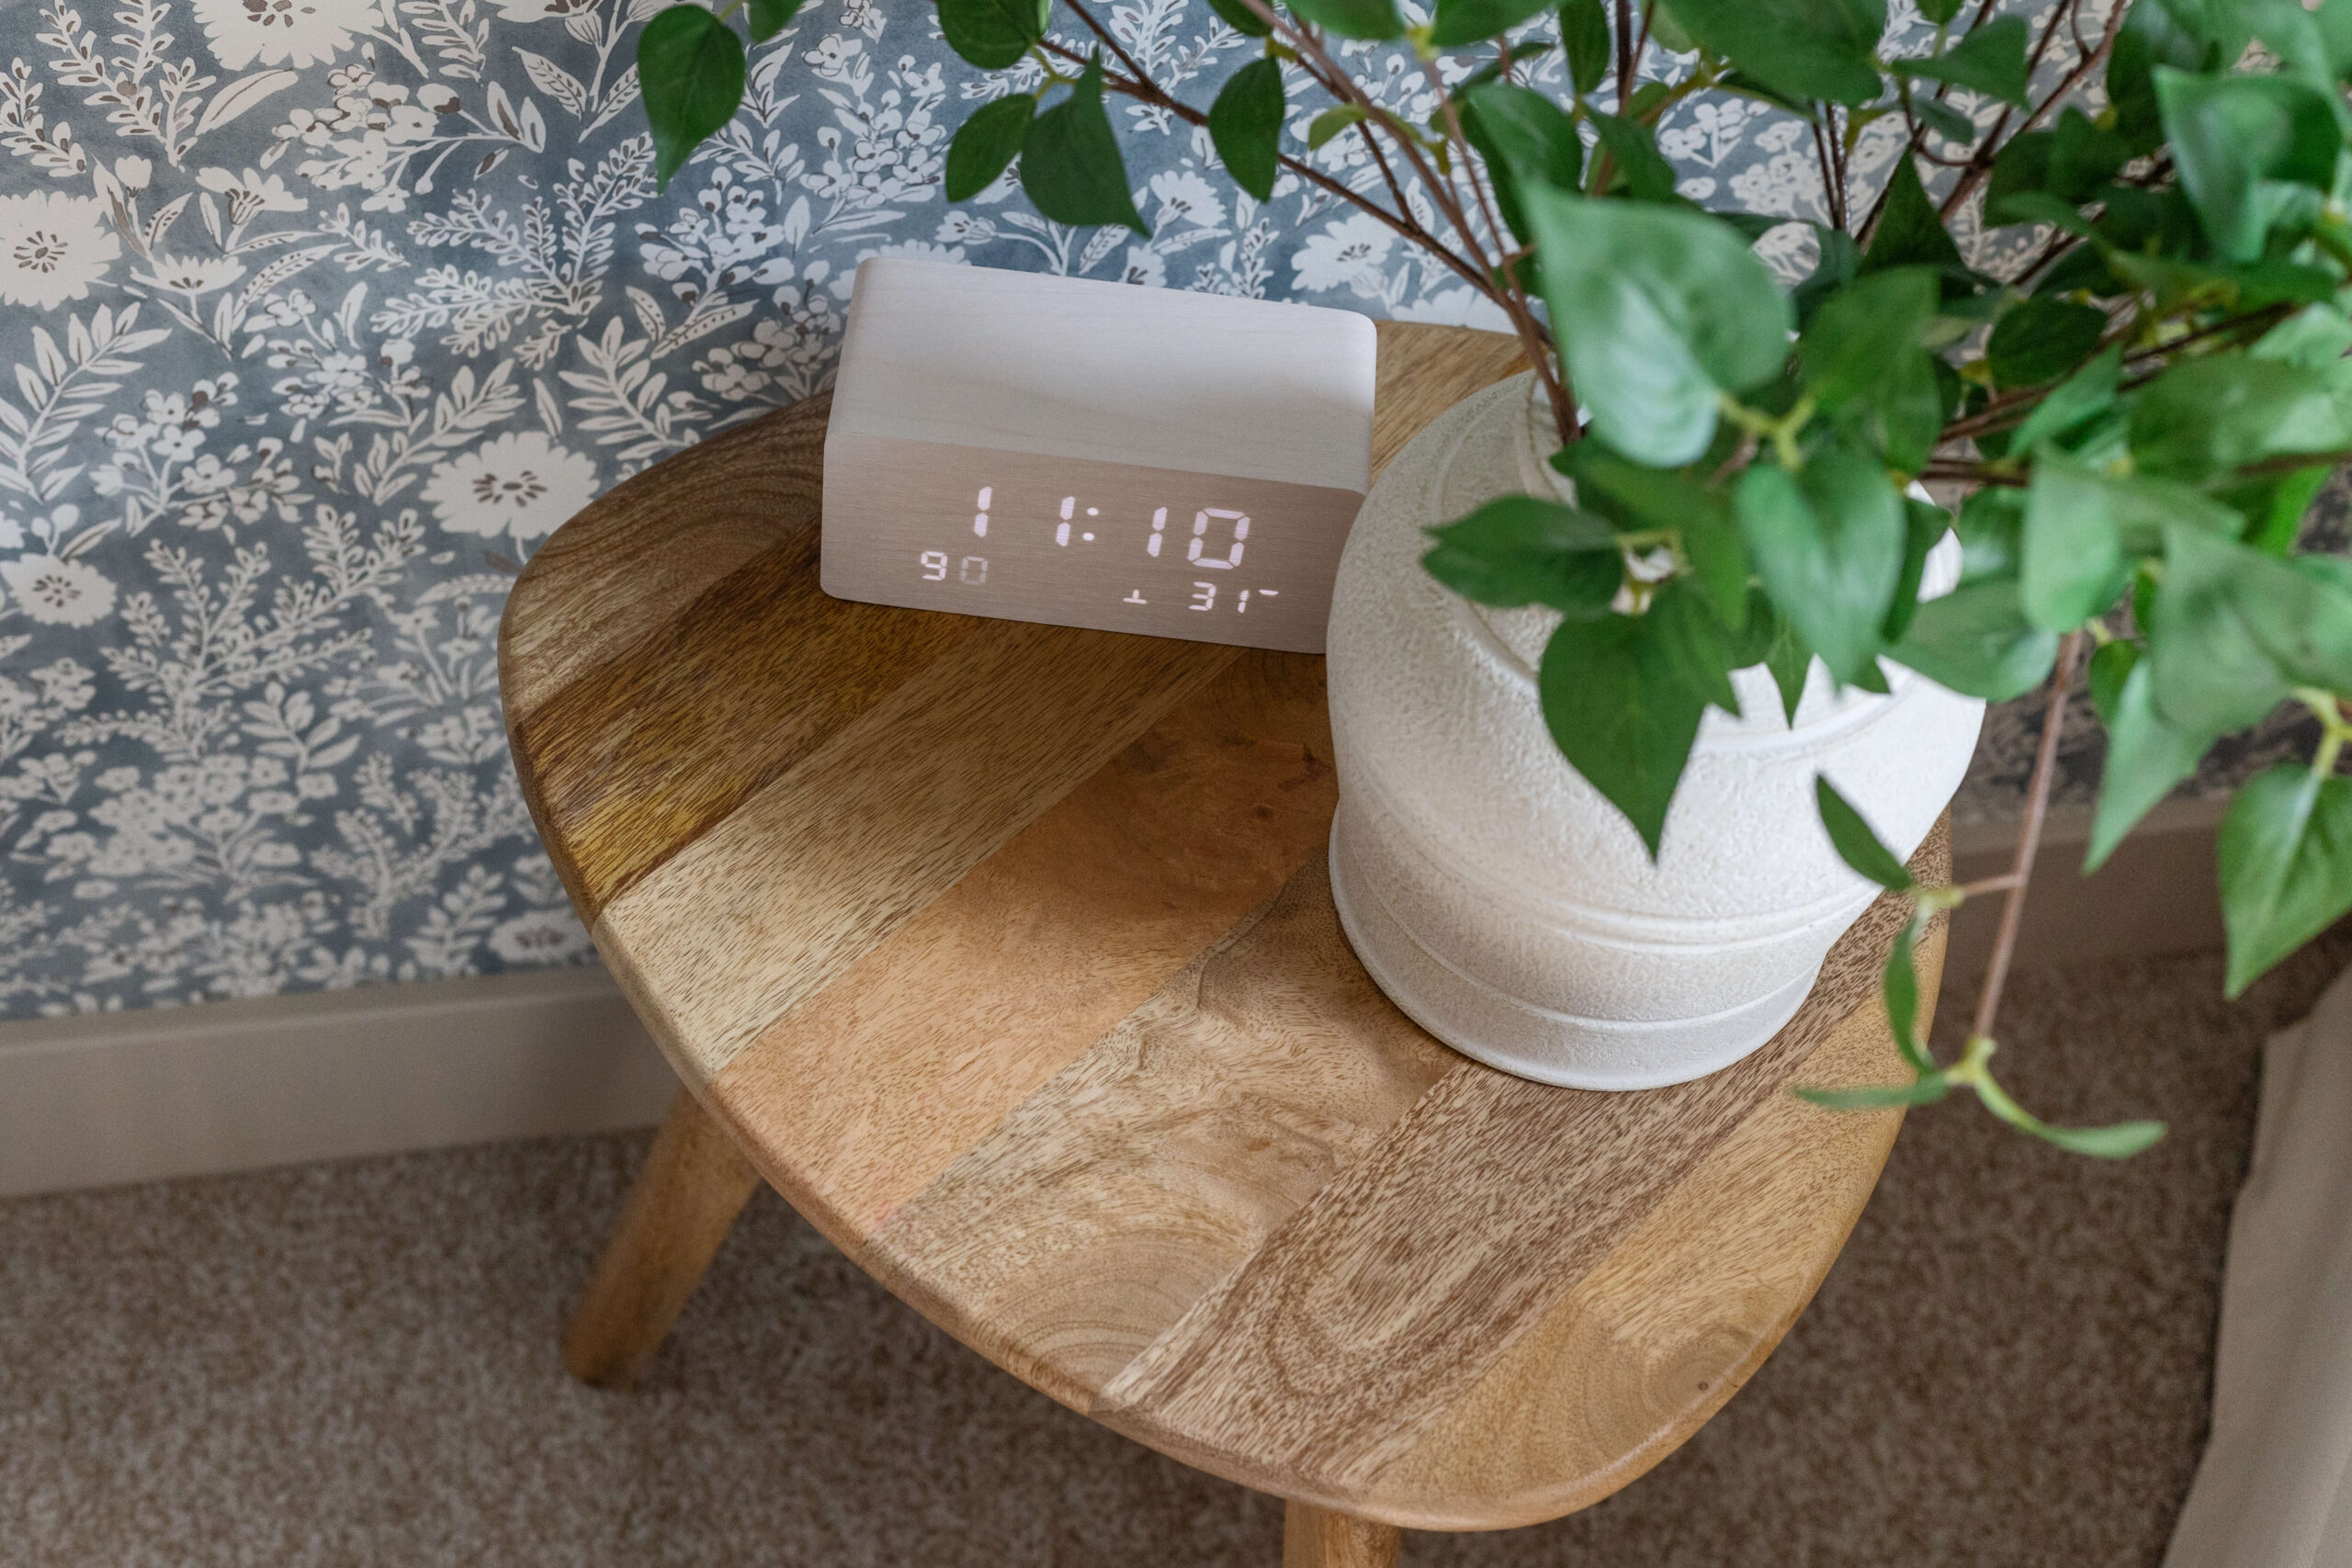
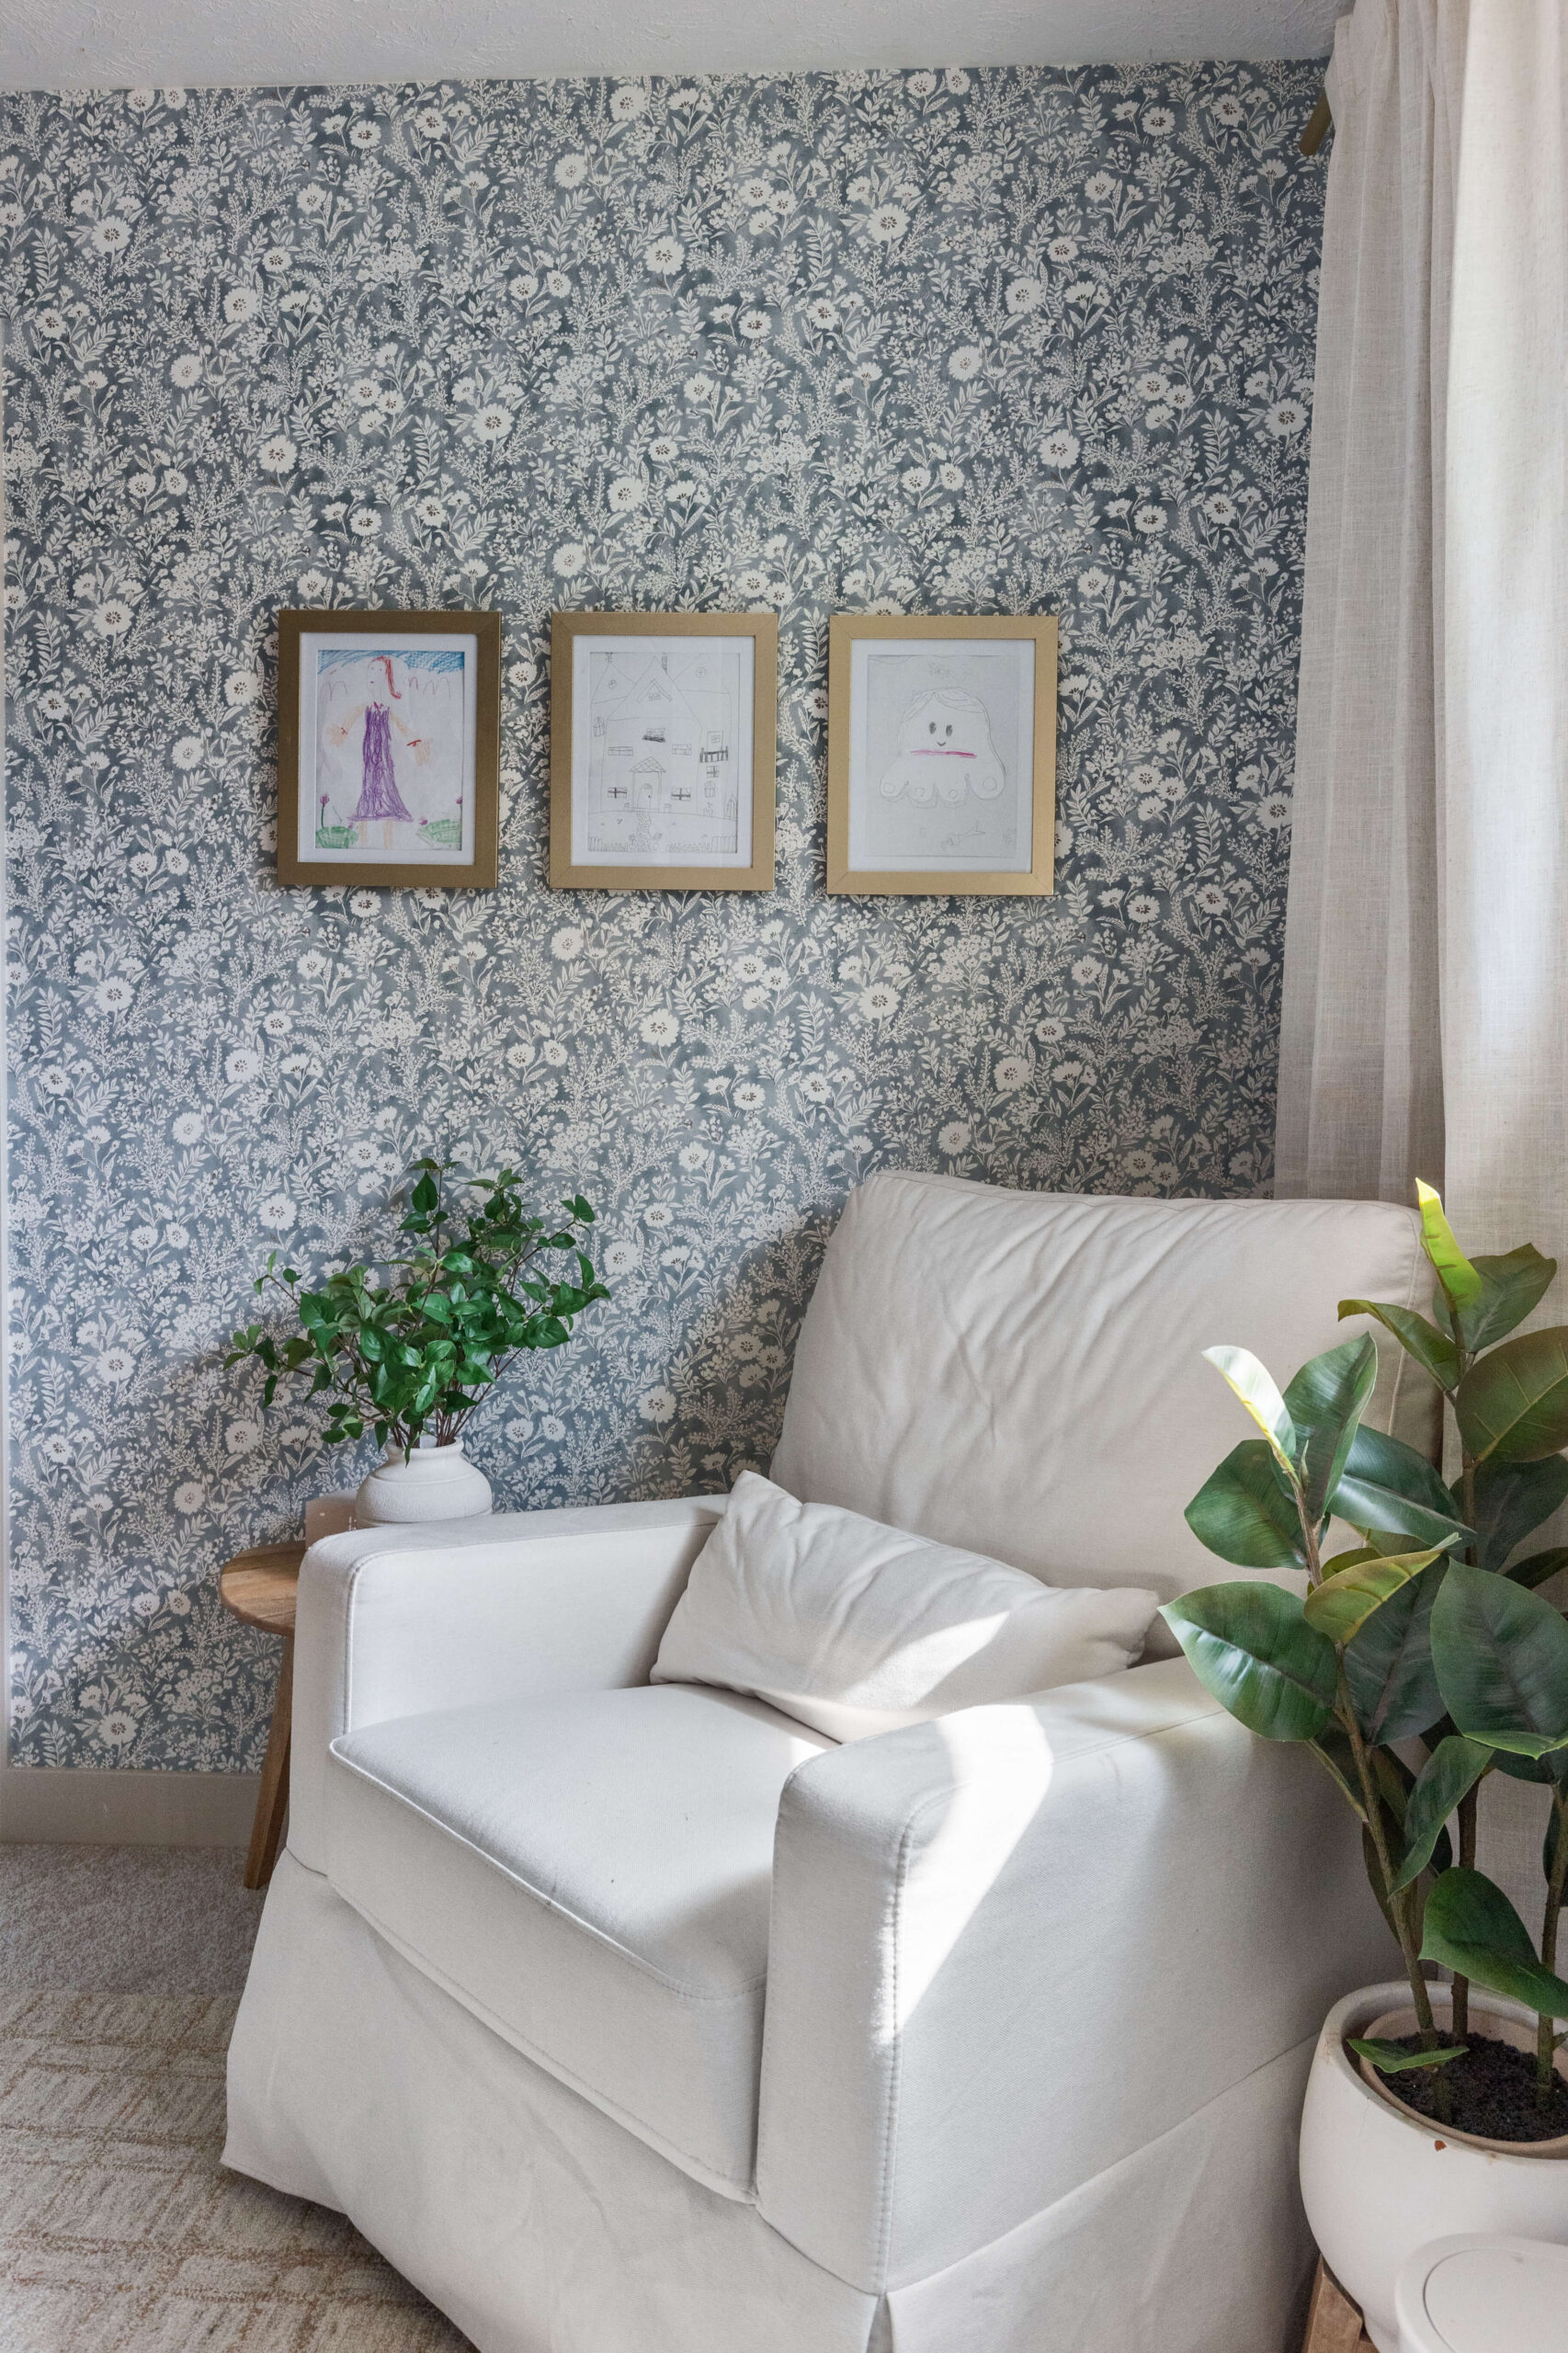
I also added a super comfy rocking chair in the corner opposite the girls’ bunk beds. Next to it, a small side table holds a sleek alarm clock, which the girls love now that they can tell time. Behind the chair, pleated curtains on a brass curtain rod frame the window beautifully.
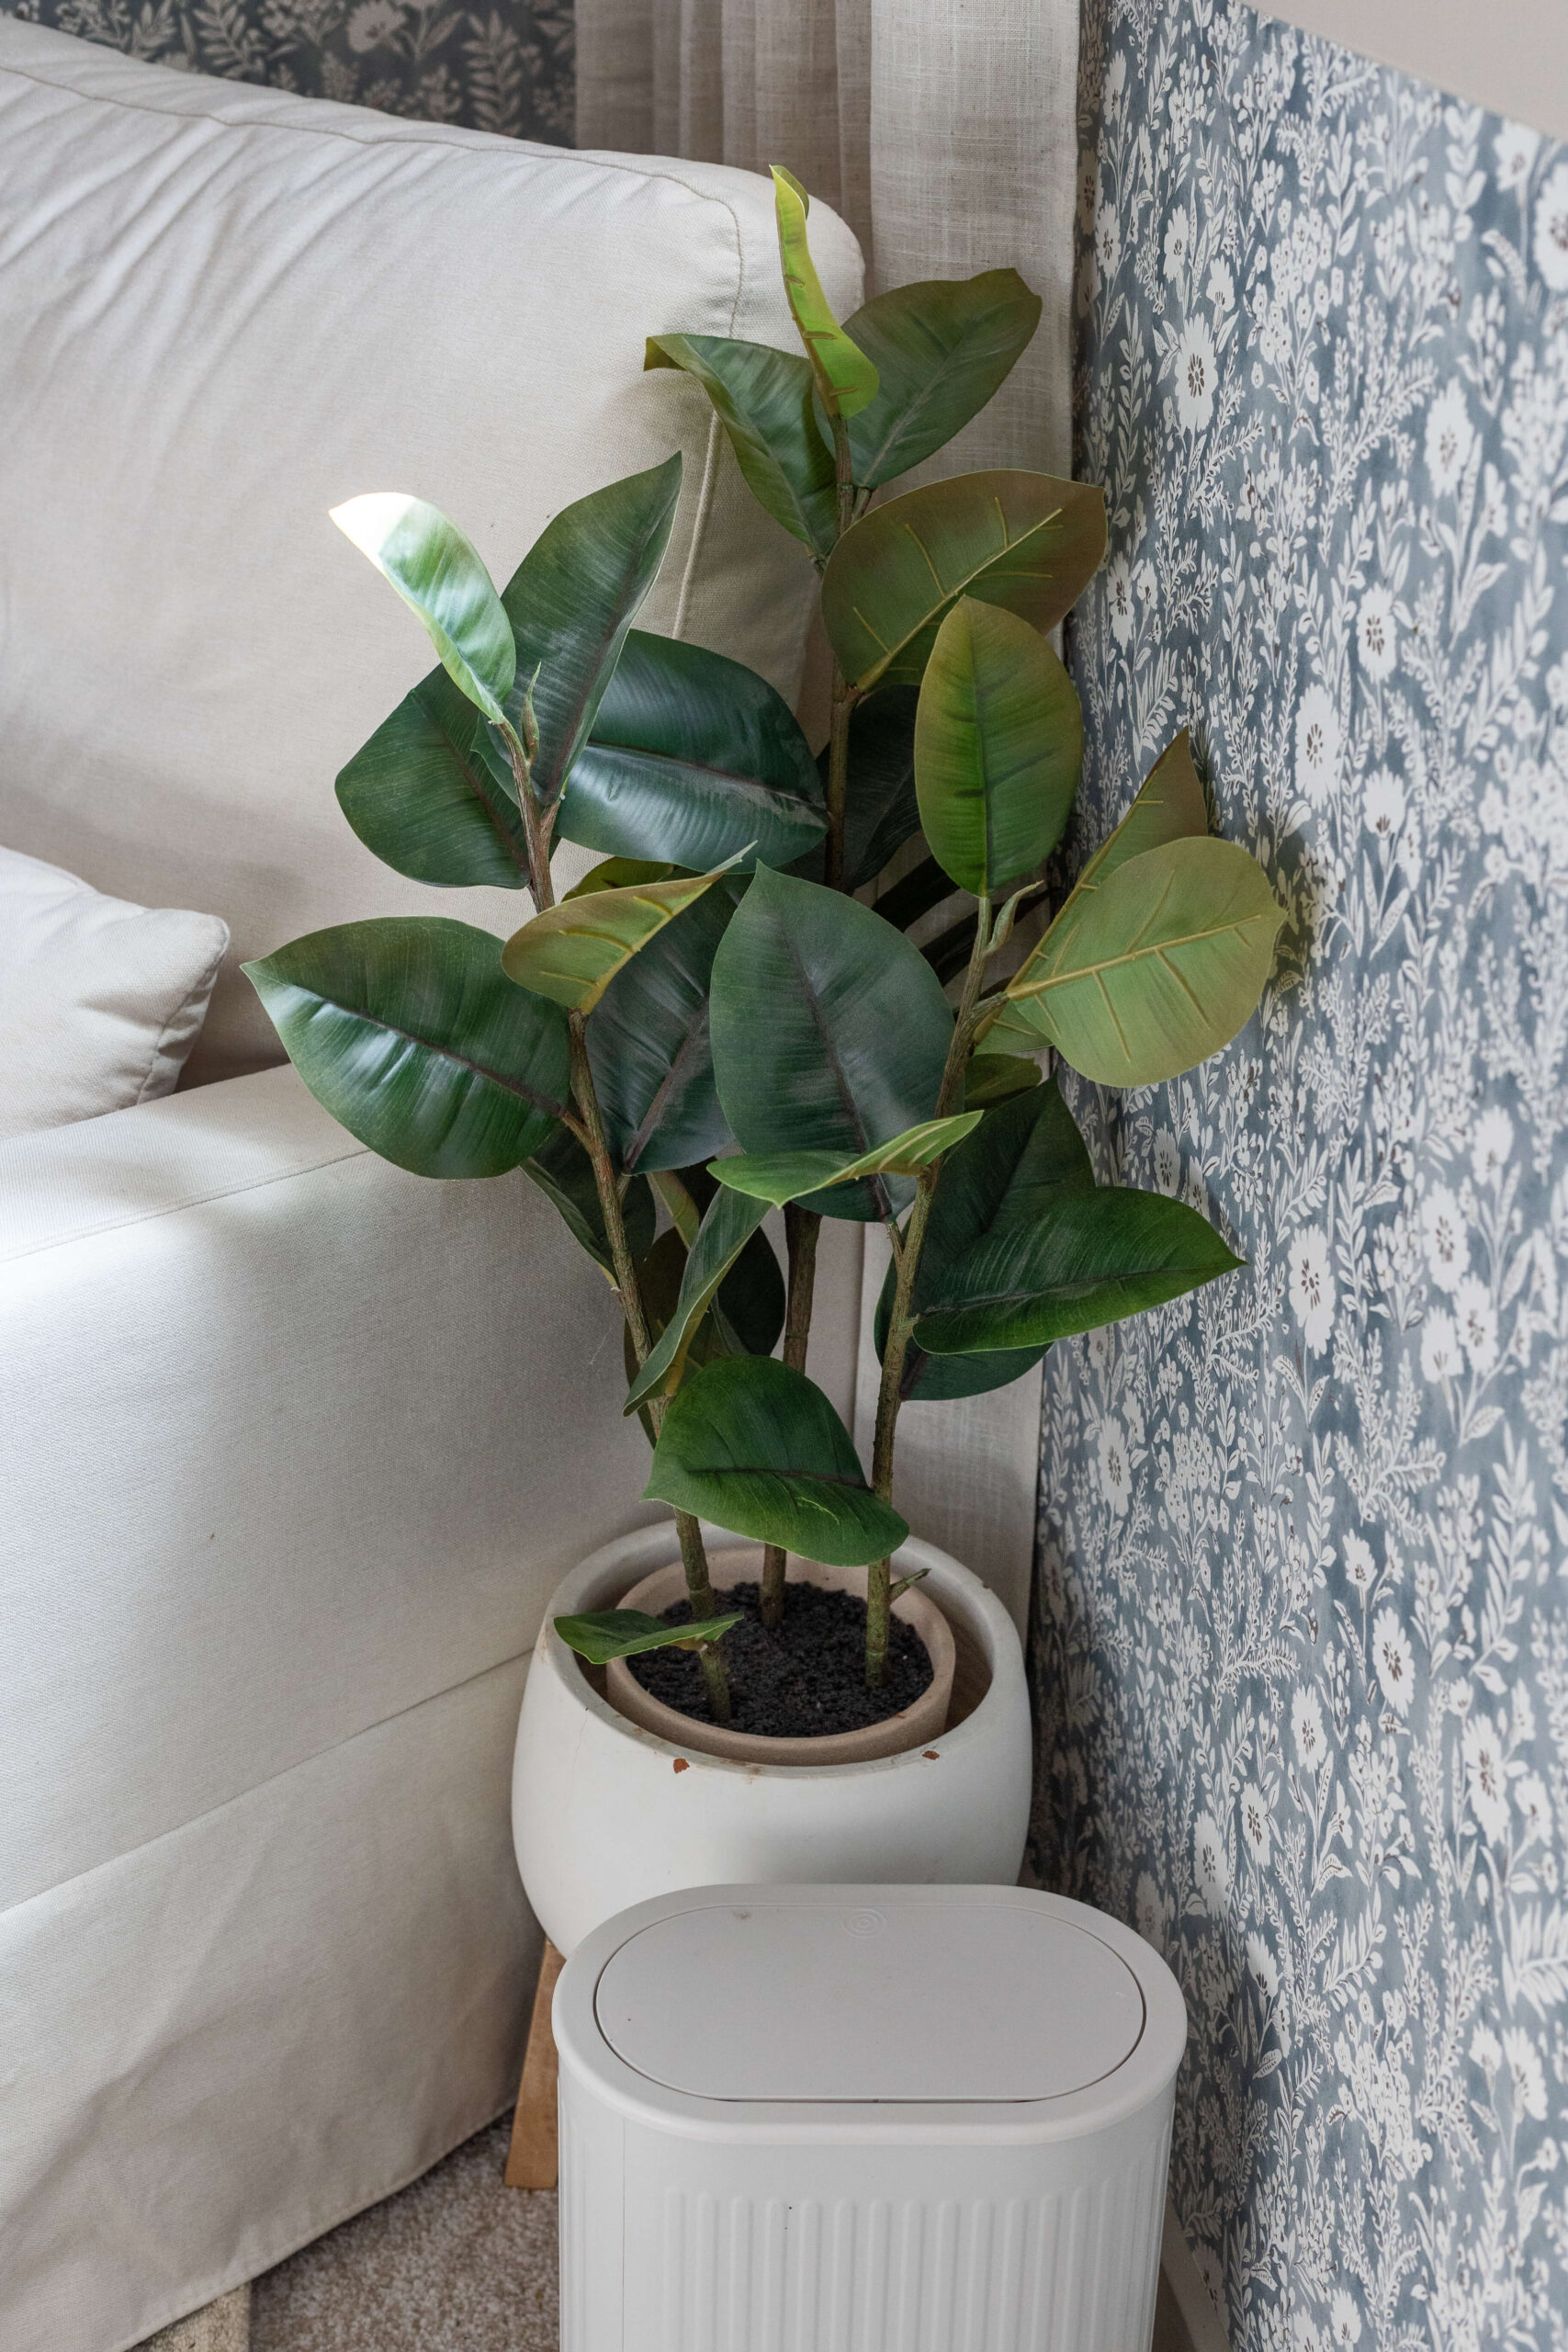
Below, you may have spotted that pretty little trash can. Yes, I said pretty when describing a trash can, because it really is.
The frames above the chair are for the girls to display their artwork. Each girl has their own frame that opens up to store their drawings inside—such a great solution for all the artwork they create.

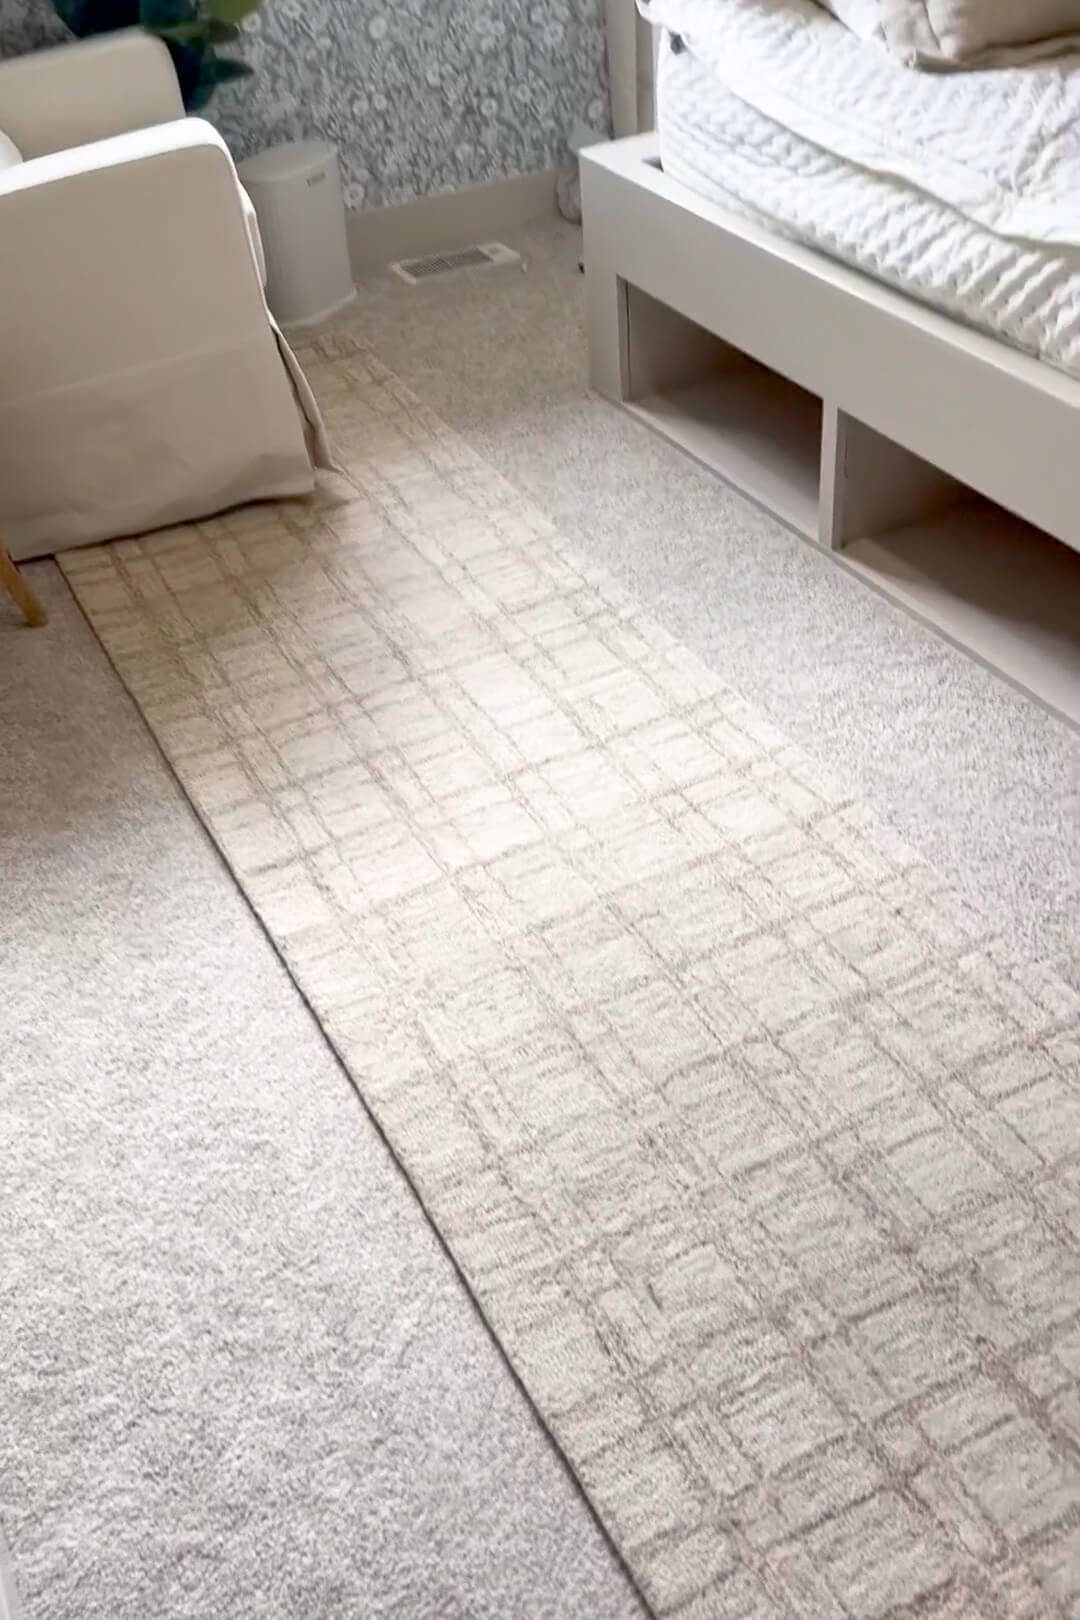
Even though there’s carpet in the room, I added a rug runner for a subtle pop of pattern in front of the girls’ bunk beds.
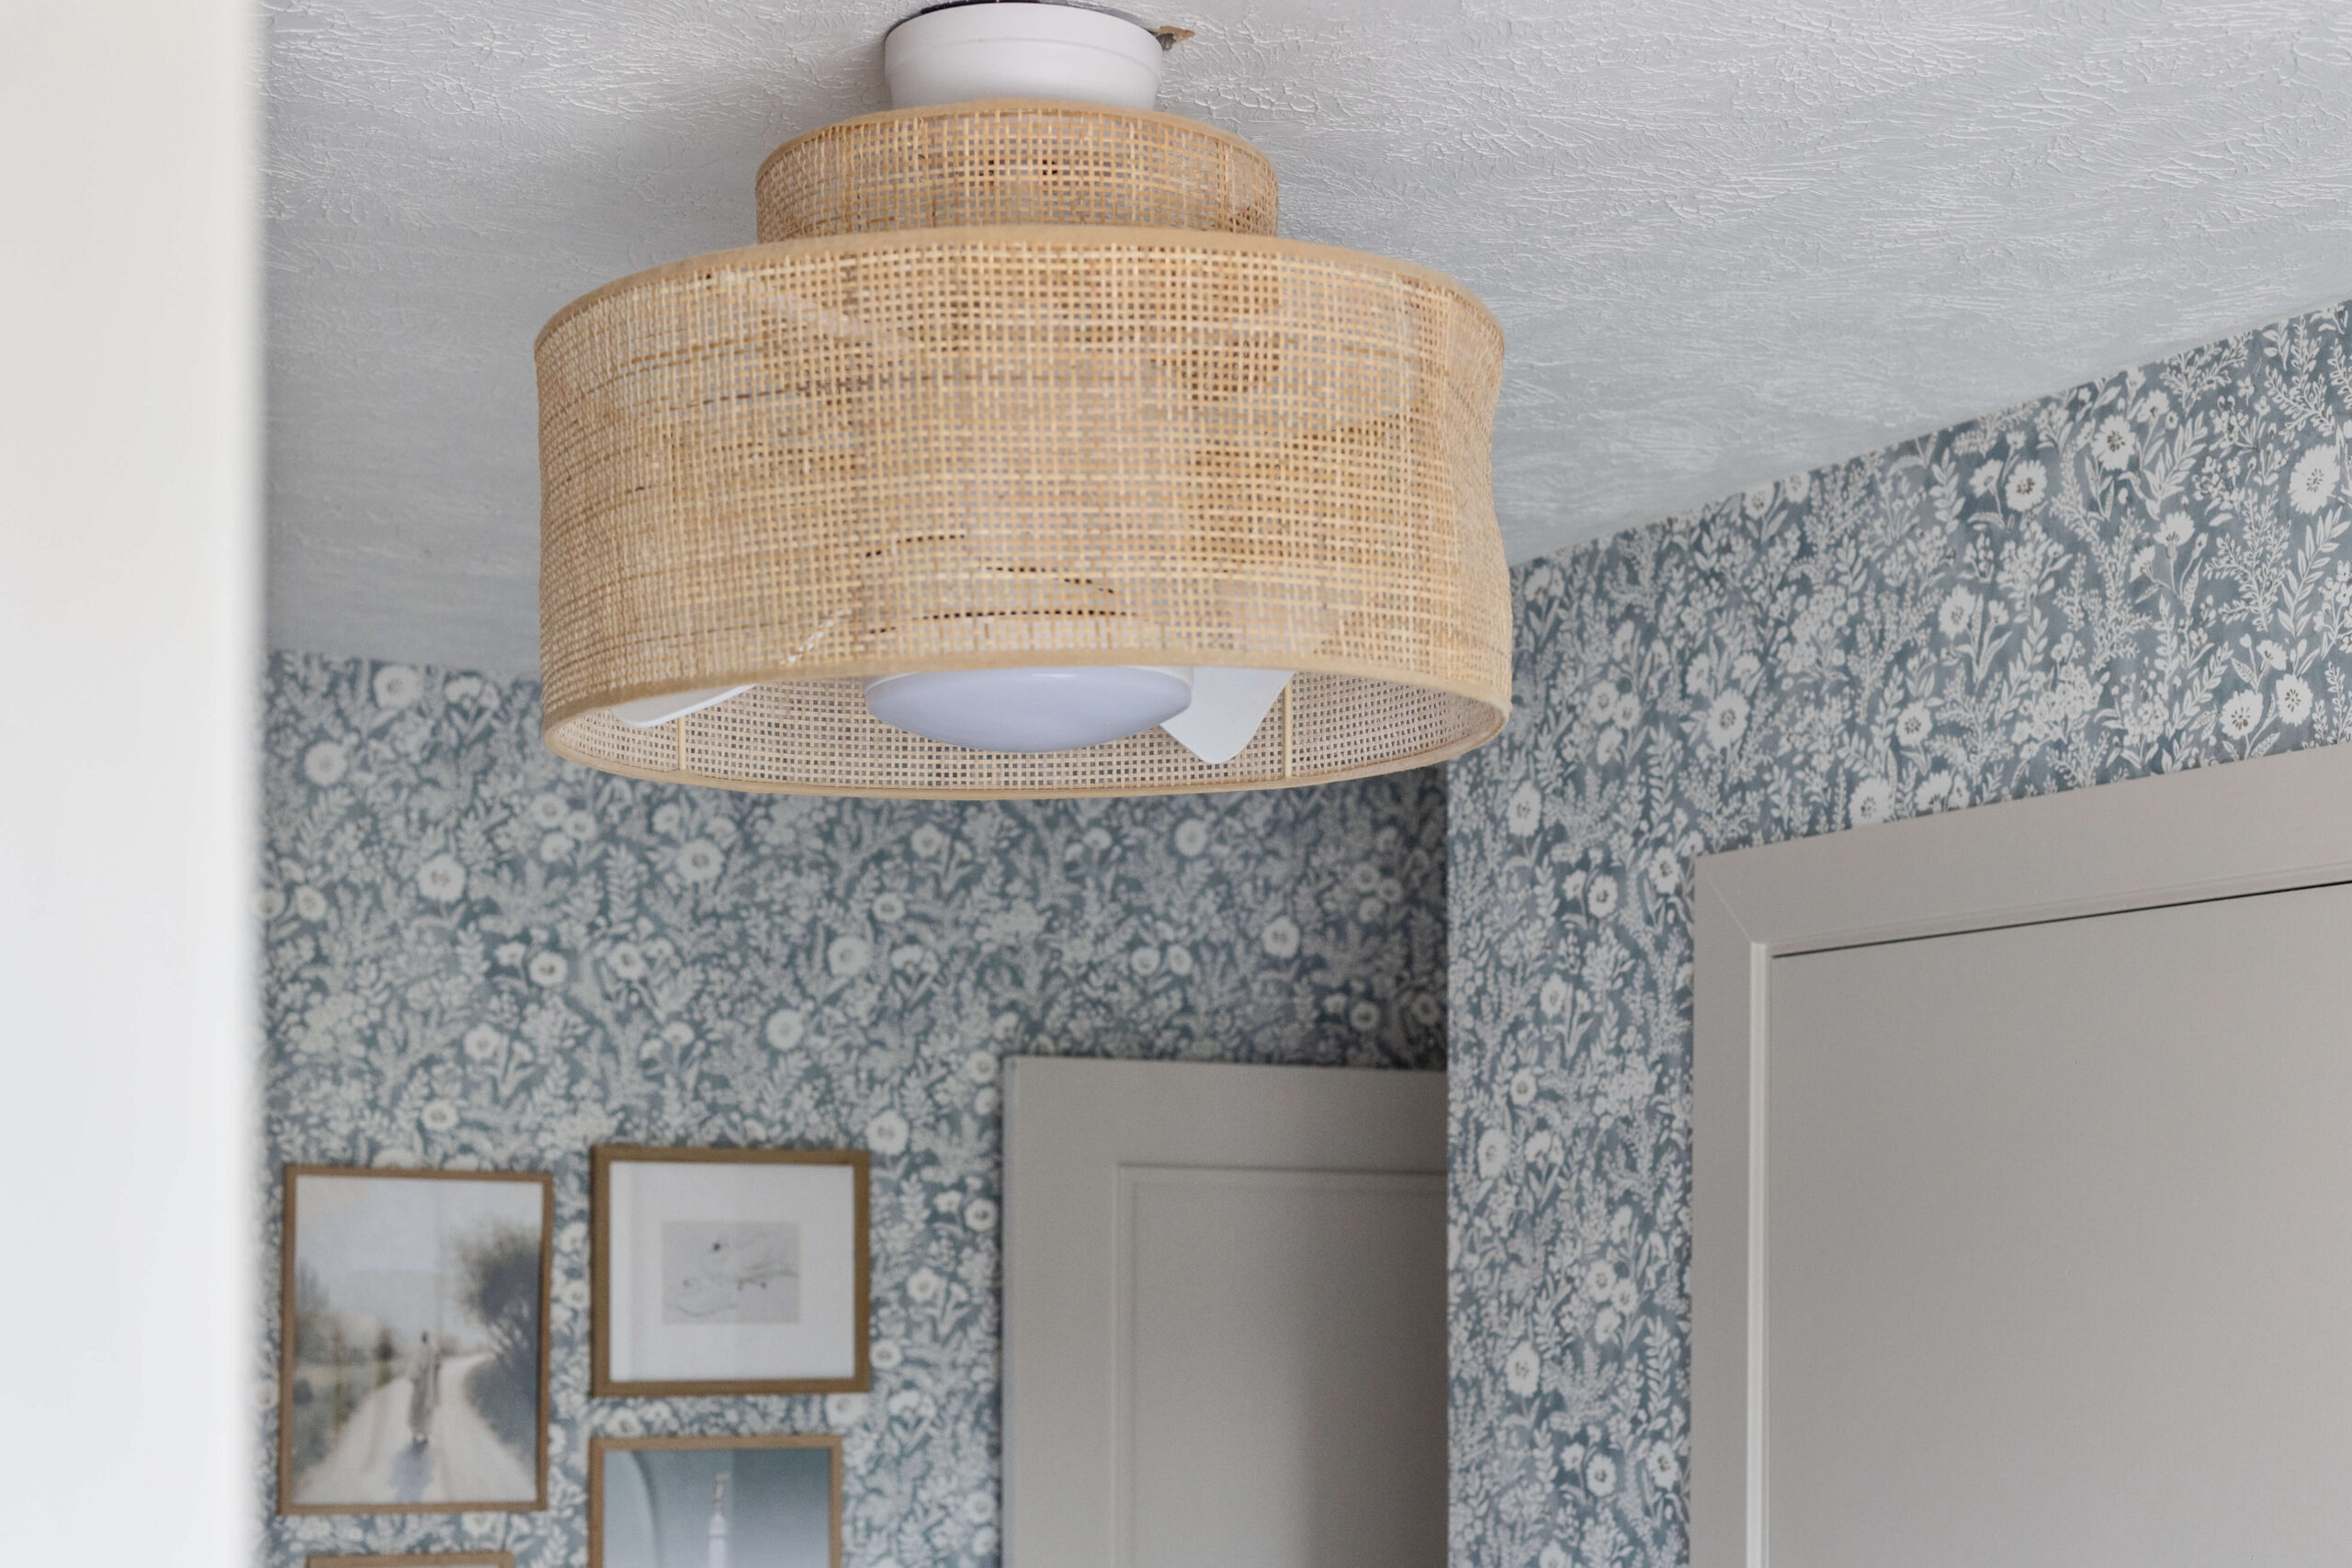
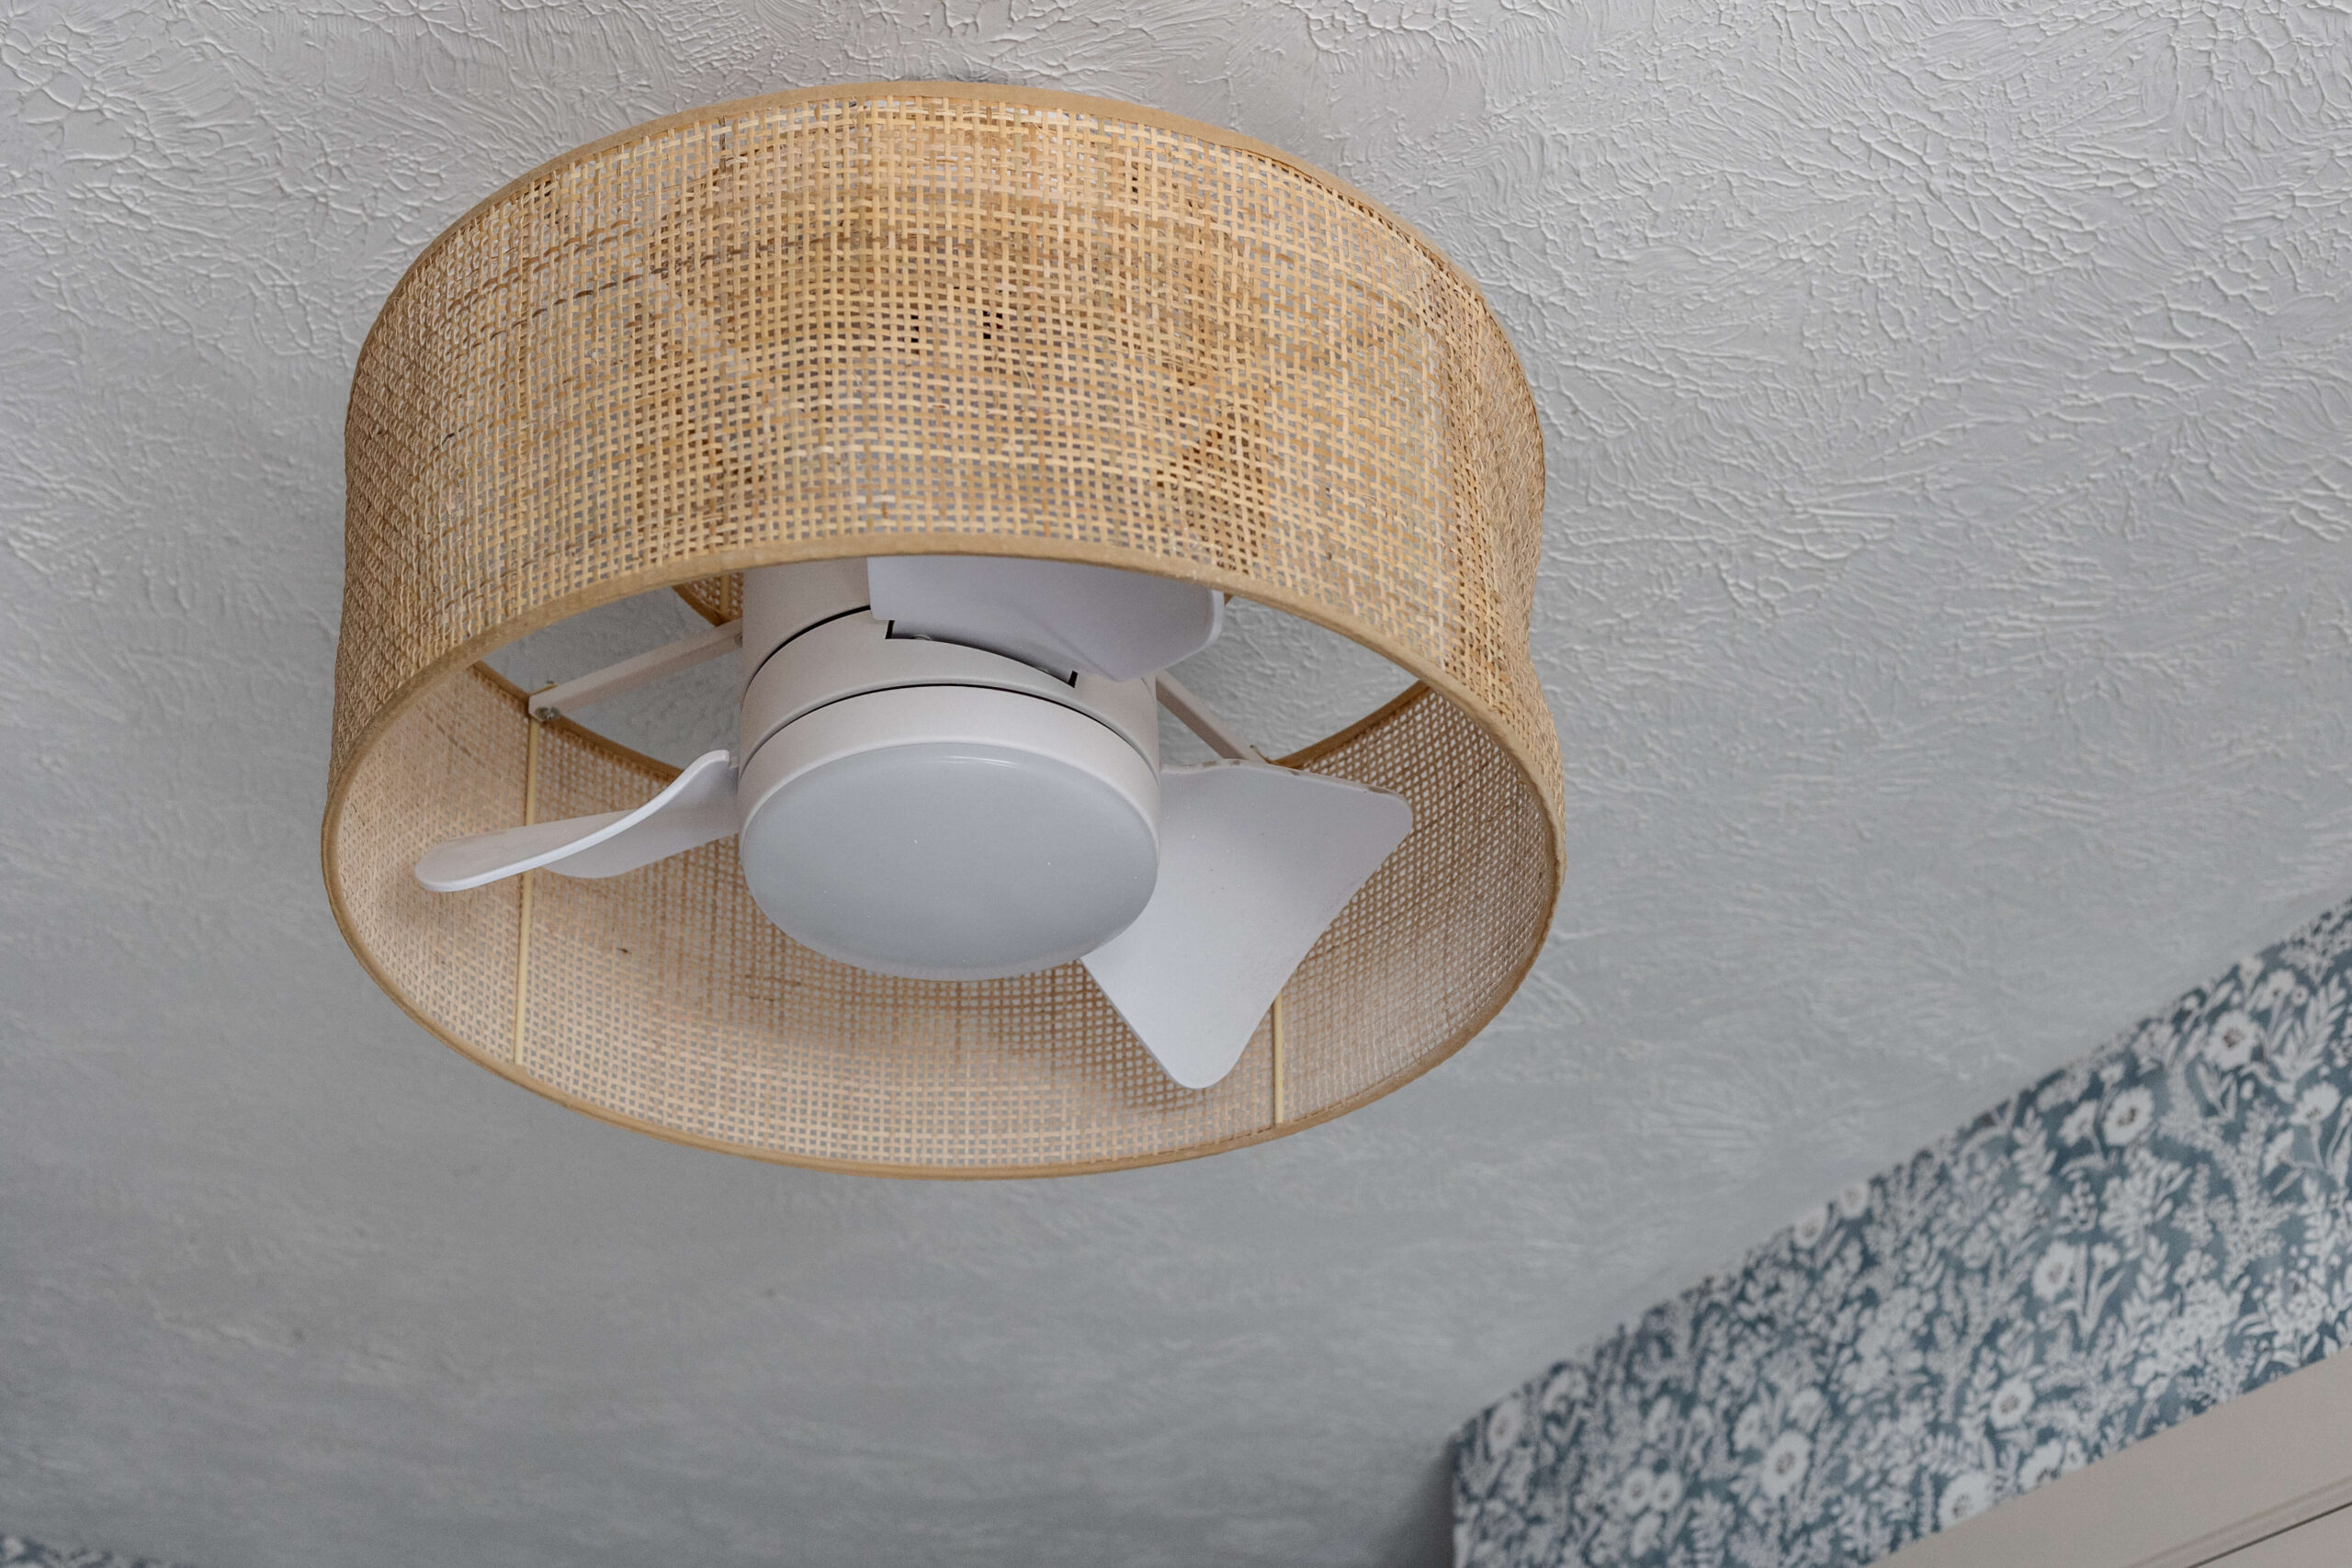
The fandalier I chose ties the room together, with its rattan shade matching the rattan cabinets and complementing the natural wood tones of the ladder and safety rails on the girls’ bunk beds. Unfortunately, the exact one I purchased is out of stock, but I’ve rounded up a few similar options for you.
And that’s it! This project was truly a labor of love for my girls!
I’m so happy with how the girls’ bunk beds turned out. For the next year or so that we live here, my girls can have this magical room, and I know that future residents will be blessed by it, too.
So many gorgeous pieces in this room. Here’s the link to all of the items I purchased from Amazon. If you’d like a link to something else, just let me know in the comments—I’d be happy to help!
Looking for tutorials on how I built this bed? You’ll want to start with Part One for the basic framing and installation of the Ikea Pax units. In Part Two I finished the beds and painted everything. And there is a separate post here showing how I built that gorgeous ladder.

Wow, this DIY bunk bed project looks amazing! I love the idea of a queen on the bottom and a full on top, plus all that storage. Can’t wait to check out the tutorials for my own girls’ room makeover.
Looks fantastic! You really nailed the design and those little nooks are genius. Bet the girls are loving their new space—great job!
Thanks so much!
These bunk beds for girls are such a perfect blend of imagination and smart design! They don’t just save space—they transform the bedroom into a little world of fun and creativity, like the dream spots we always wished for when we were kids.
These girls’ bunk beds are such a cool mix of playful design and practical functionality—it totally reminds me of the fun, creative spaces I used to dream up as a kid. I love how they turn a simple sleeping area into an adventure zone!