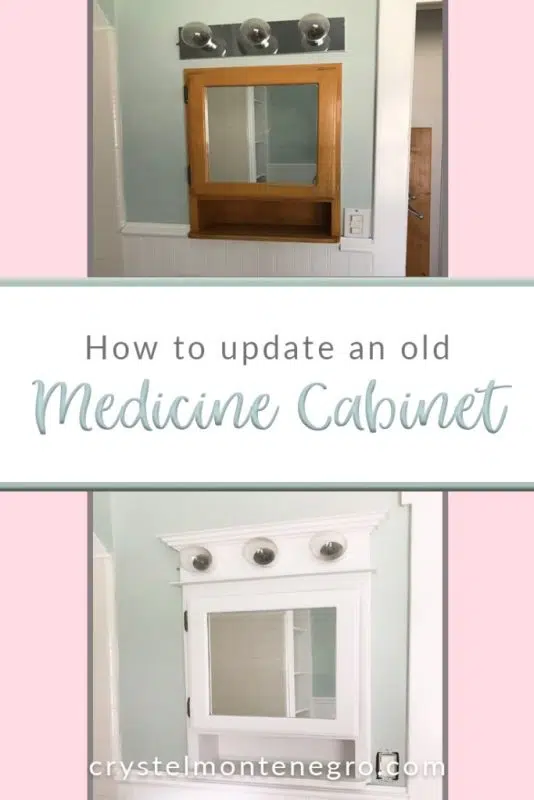
This bathroom project has been so fun! I’m getting to use my creativity in ways that I never have been able to before. I have yet to own a home of my own, so the extent of my renovation experience has been either rental-friendly cosmetic stuff or in other peoples homes where they have the ultimate say. When my sister bought this house and told me about wanting to turn it into a cottage-style vacation rental I got all sorts of excited and declared that I would take over the bathroom renovation. Lucky for me, she trusted my style and let me make all the decisions. So after I installed all the beadboard and built the shelves over the laundry area, I had to figure out what I was going to do with the the very dated medicine cabinet.
Medicine Cabinet BEFORE
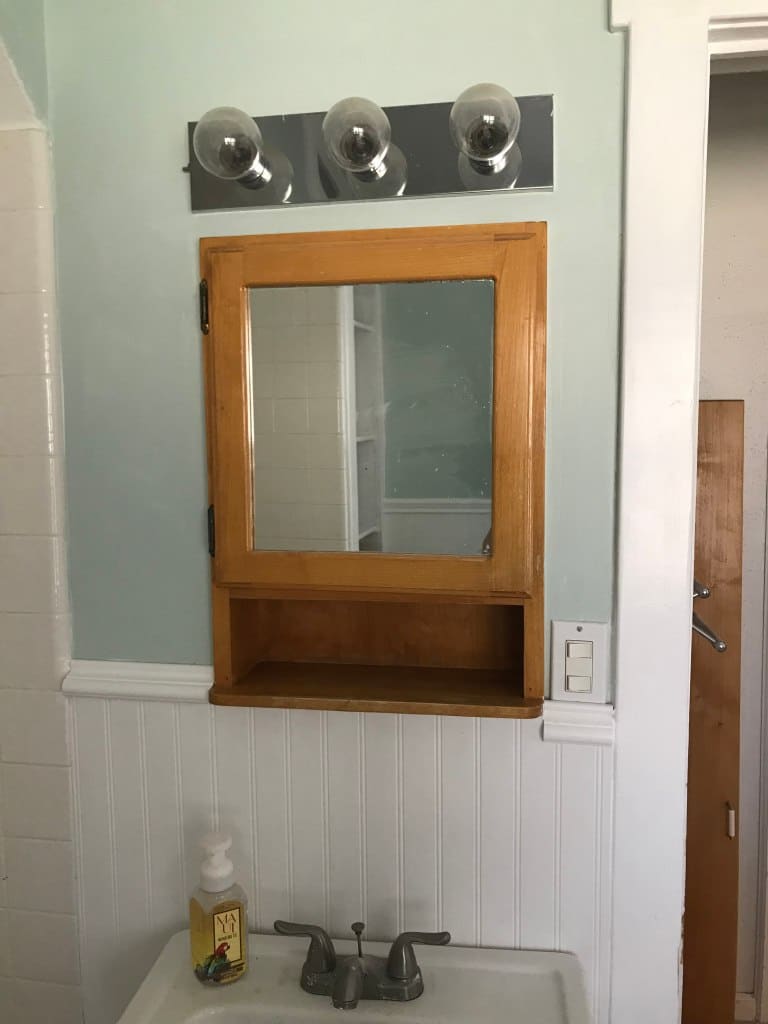
Paint was a no-brainer, and you know what? I almost left it at that. I will also put in a plug for chalk paint because (holla!) I used it to paint right over that metal plate cover to make it match! It worked beautifully.
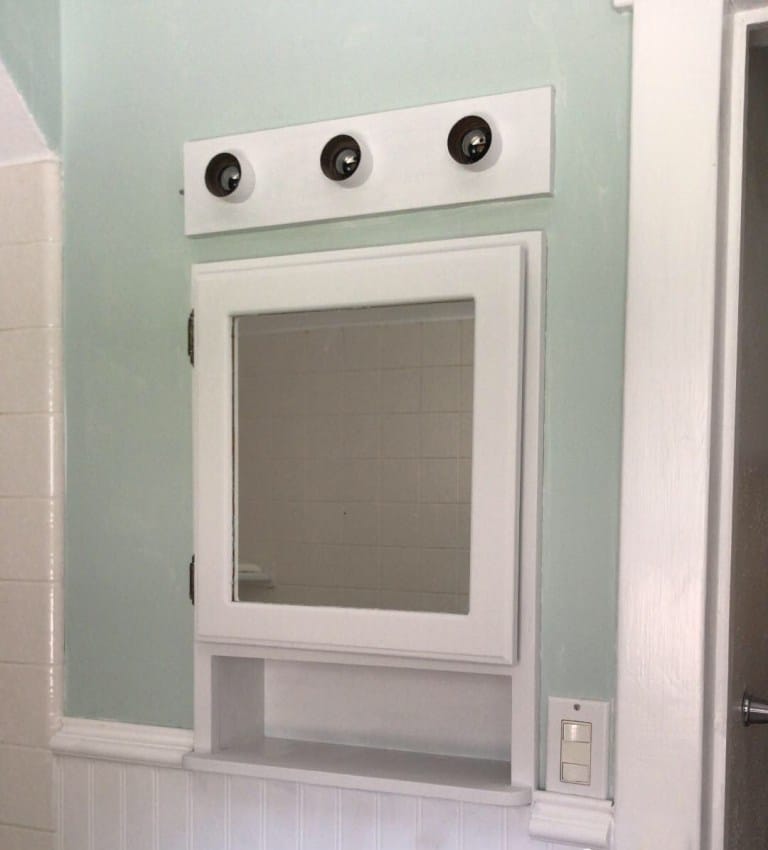
But then I got to thinkin… I bet I could probably make the mirror and the lighting into one unit and give it more of an updated look with just a little bit of trim. So I looked for some inspiration on Pinterest to see what I could find and then put my plan into action.
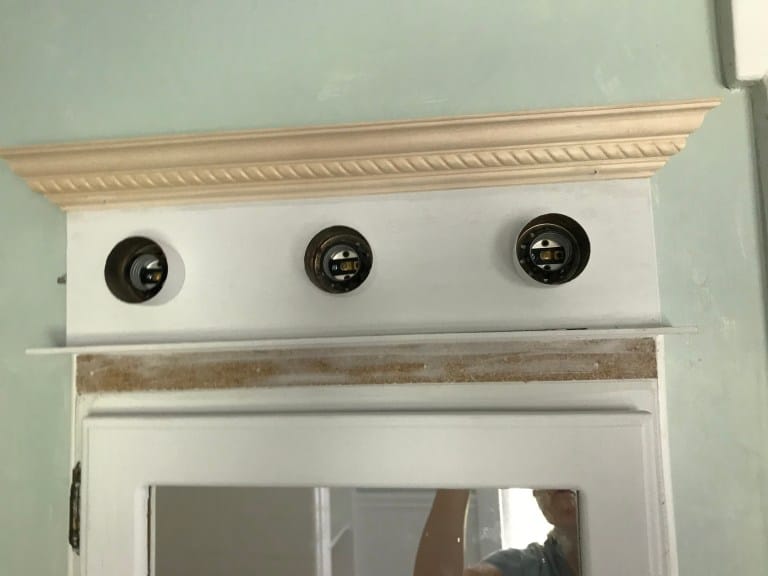
You guys… I’m wishing I would have taken some pics during the process, but I guess it is pretty self explanatory.
I added a piece of MDF and a horizontal piece of 1/4″ plywood to bridge the gap between the lighting unit and the medicine cabinet.
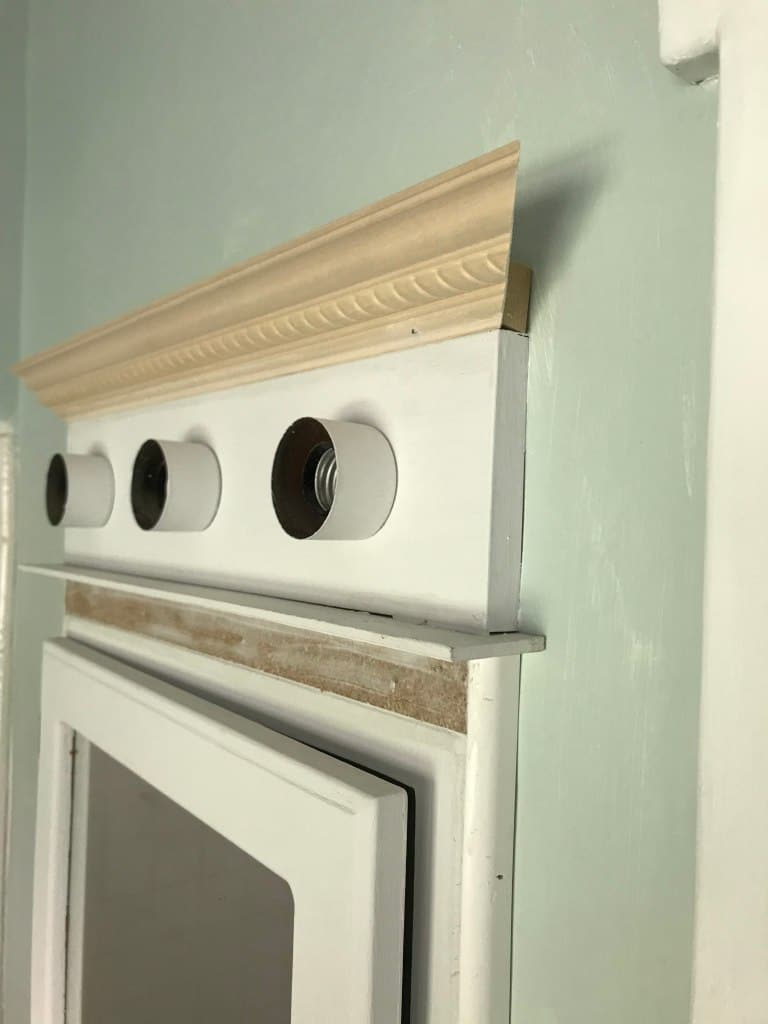
Since the lighting unit was metal, I couldn’t drive my brad nails directly into it to attach the crown, so I added another piece of MDF on top of that and secured the crown to that.
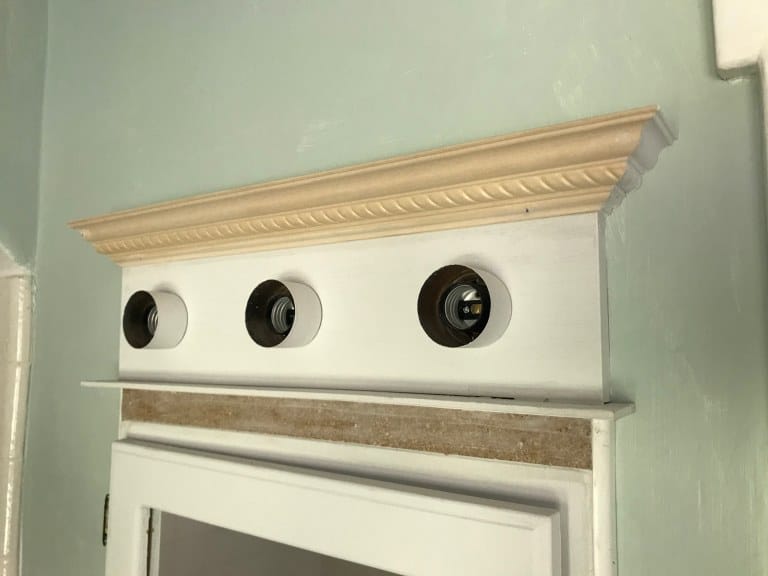
The lighting unit was just about 1/4″ wider on each side than the medicine cabinet itself, so I added a piece of shoe moulding to finish off the sides and to square it up.
Medicine Cabinet AFTER
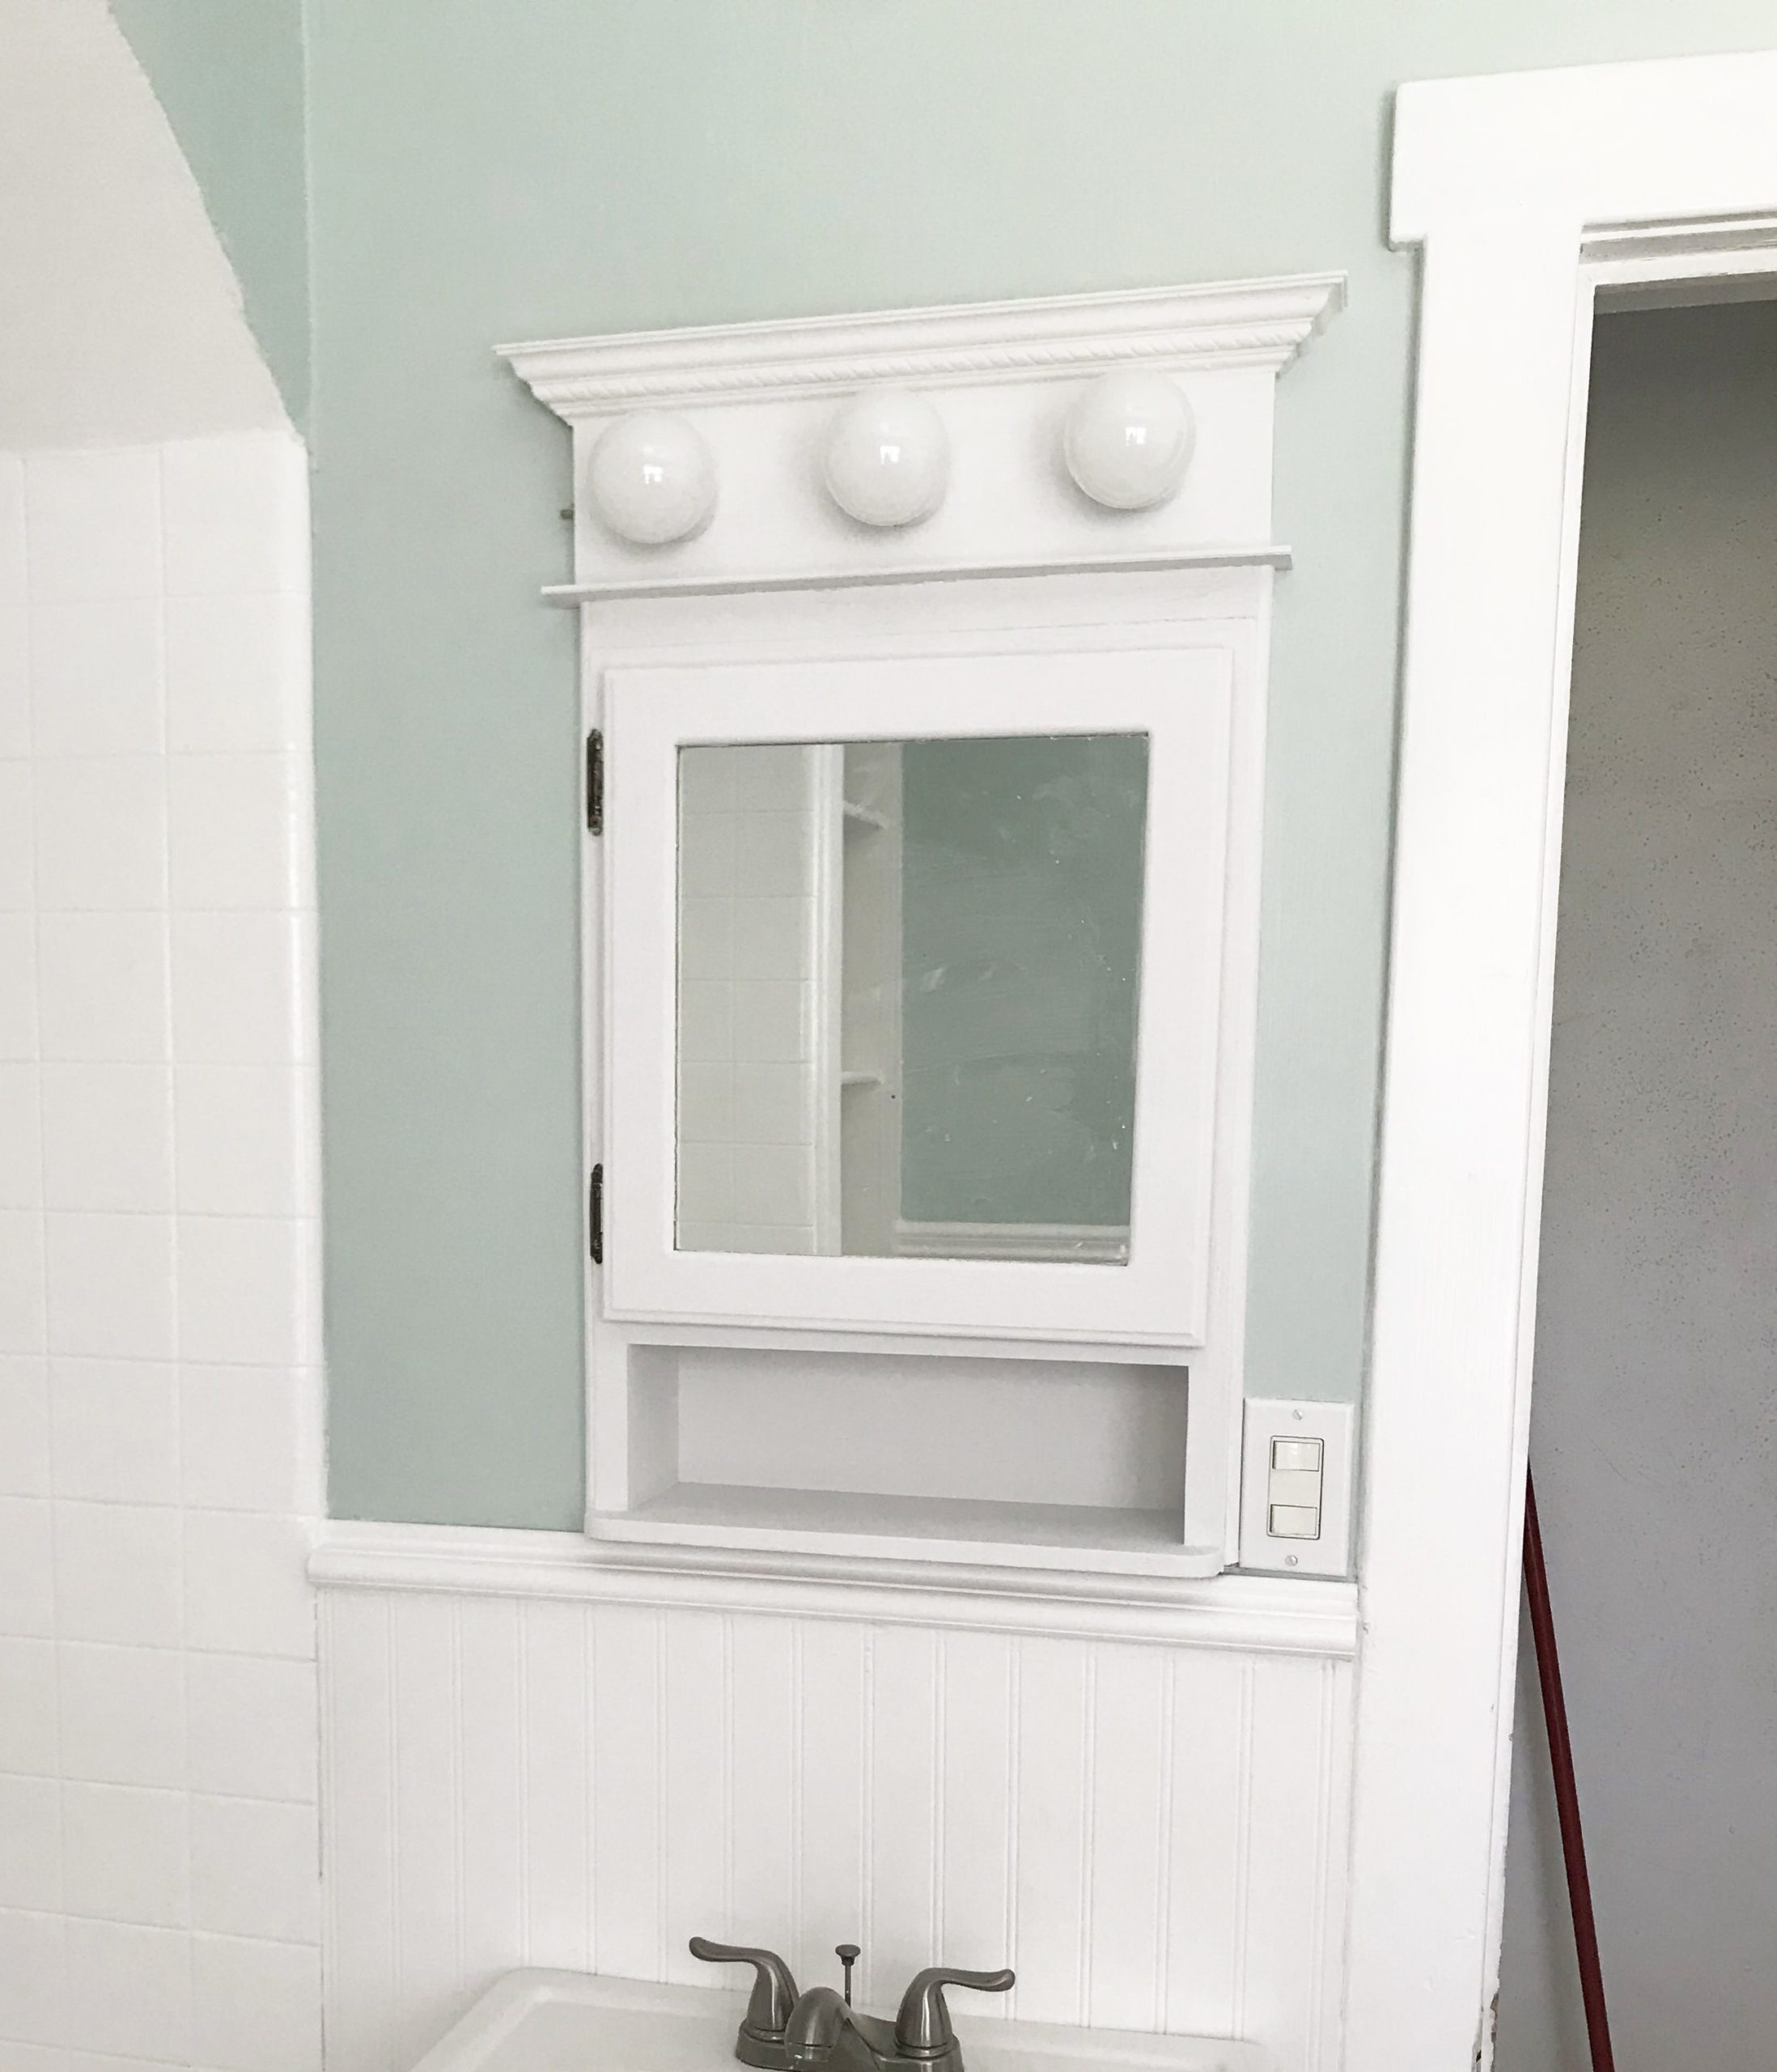
Caulk all the seams and paint!
Ta-Da!! In hindsight I’m wishing I would have done that horizontal piece of 1/4″ plywood just a little more shallow so it’s not sticking out so far but… now I know for next time.
Let me show you the before pic again…

Muuuuch better. It makes things look a little fresher, doesn’t it? And it really only took about an hour to do. I’d love to hear what you think, so feel free to leave a comment!

XOXO,
Crystel
