

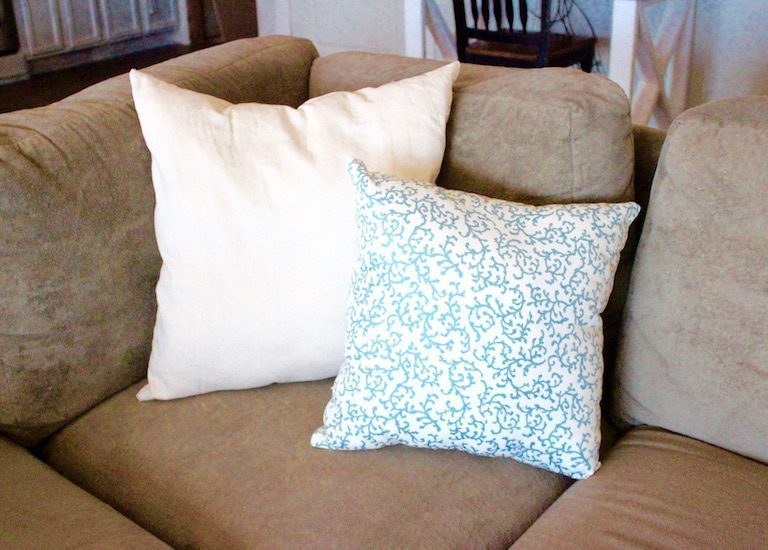
Okay so, I’m always in the mood for beautifying if I can do it at a portion of the price I could pay to have someone else do it for me. We’ve got a couch in my sisters basement that my other sister brought over for us to use since she didn’t really have a place for it at the moment while they build their house, and I decided that it definitely needed a little dressing up. It’s sort of an Olive green, which isn’t exactly the color I would choose but it’s an enormous and suuuuper comfy couch, so I love it anyway. I saw some cute throw pillows at walmart that were the big ones — I think 22 inches or so that were somewhere around $30 each. That’s so expensive! After 4 pillows you’re looking at more than $120! So, I whipped out my mothers ancient, but functioning sewing machine and my 7th grade sewing class know-how and got to work.
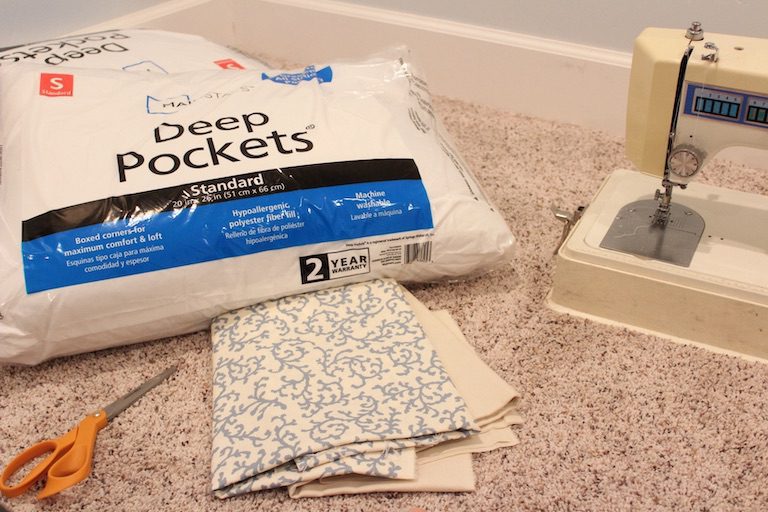
You wanna know a trick? You can buy a 20″ pillow form from Walmart for $13 …or you can just buy a Mainstays standard pillow for less than $3 and use the polyfil from that for whatever size throw pillow you want.
Hmm….
So here are the materials.
- Mainstays standard pillow — or really any old pillows you’ve got if you don’t use them
- Fabric of your choice — Mine I got at Walmart for $2.50 per yard. I didn’t even need a whole yard. For my 20″ pillow I used just more than one yard.
- Sewing machine
- Hand sewing needle & thread
- Scissors
- Measuring tape
Let me tell you something, if you don’t have access to a sewing machine you can still make this pillow for dang cheap. I’ve seen them done with just plain old hot glue, or if you wanted them to be a bit more sturdy you can use a heavy duty fabric glue. Or you can even go old school and just hand sew them with your own little fingers. Just make sure your stitches are small enough to keep the seam tight.
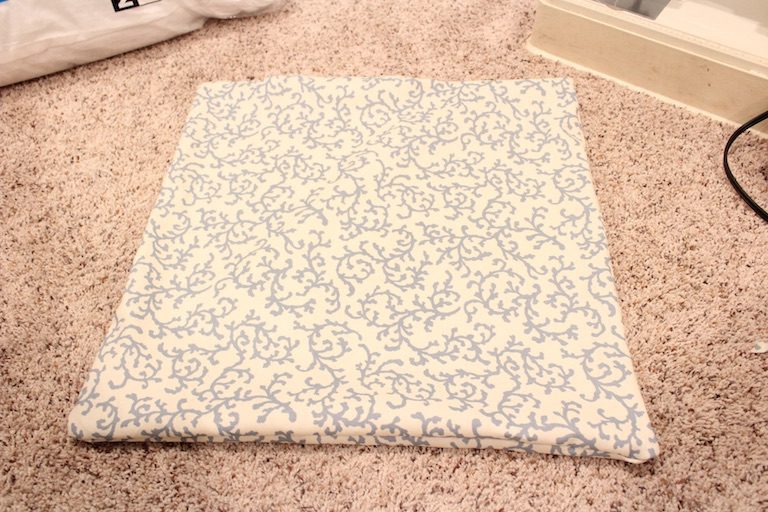
So here we go. The first step is to measure and cut your fabric to the desired size. This particular pillow is 18″ wide with another 1/2″ on each side to allow for my seam. I cut it 19″ wide and about 35″ long (18+18+1=35).
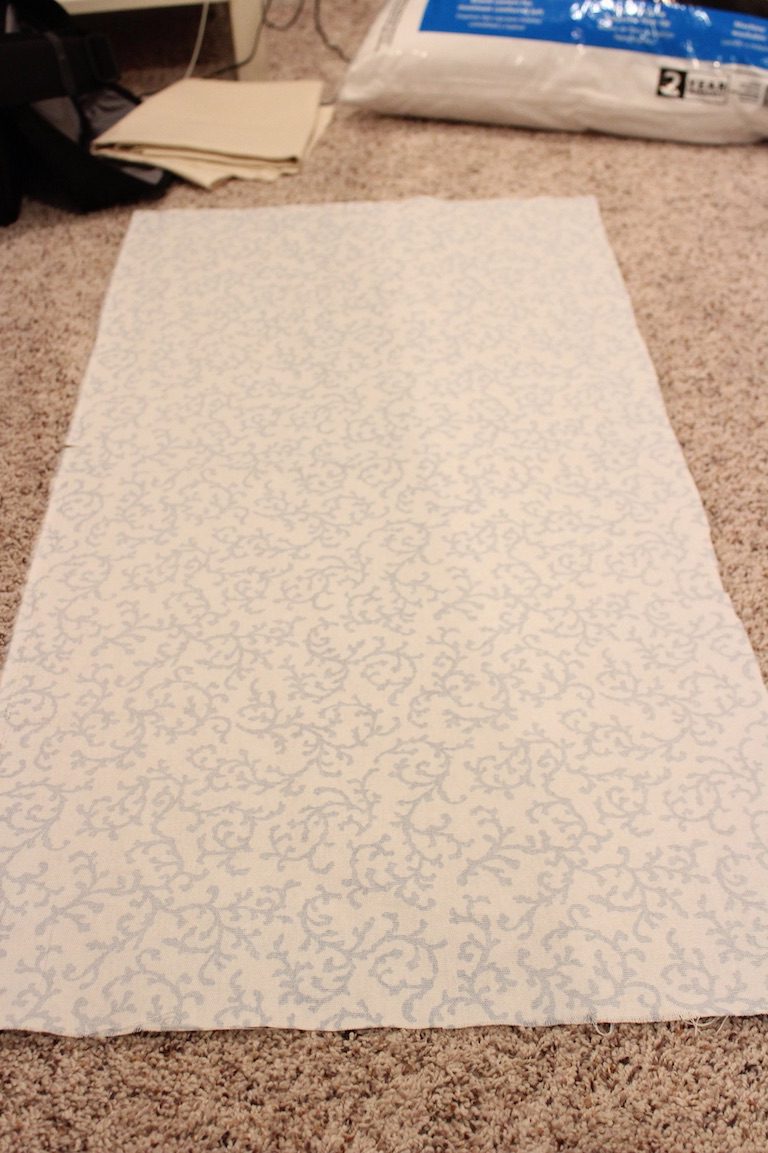
Flip the fabric so the pretty side is facing up.
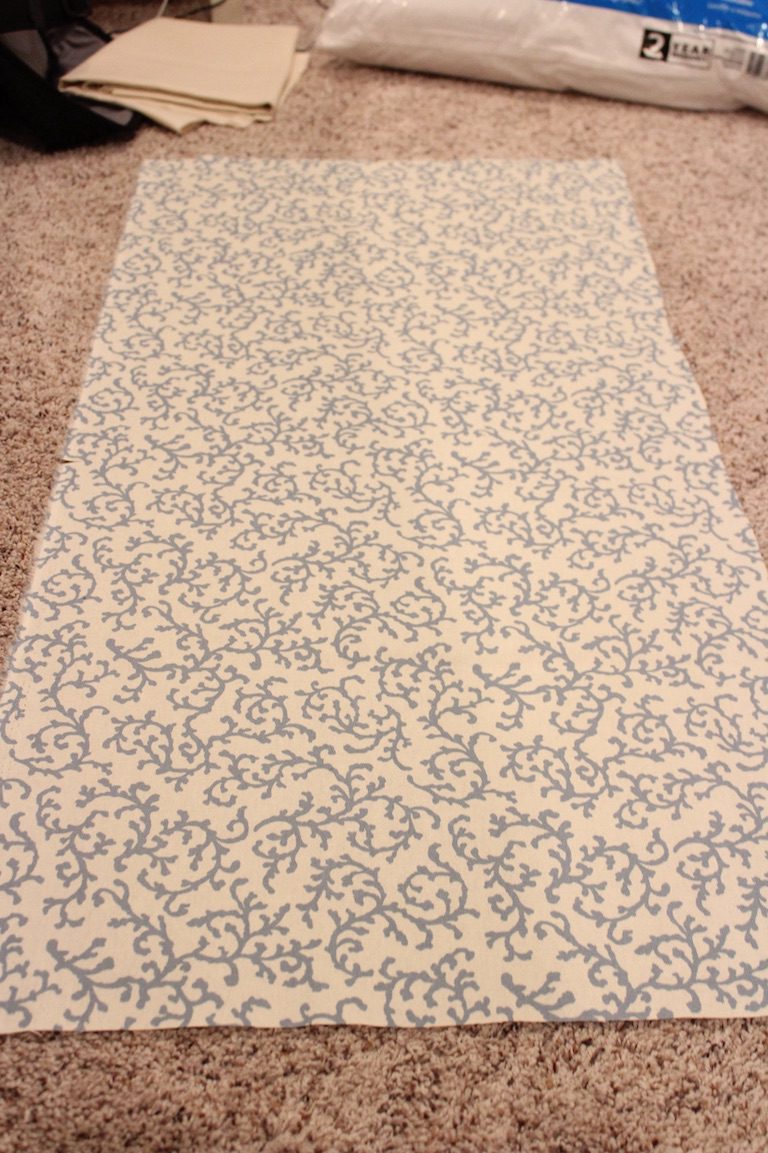
Fold in half hamburger style.
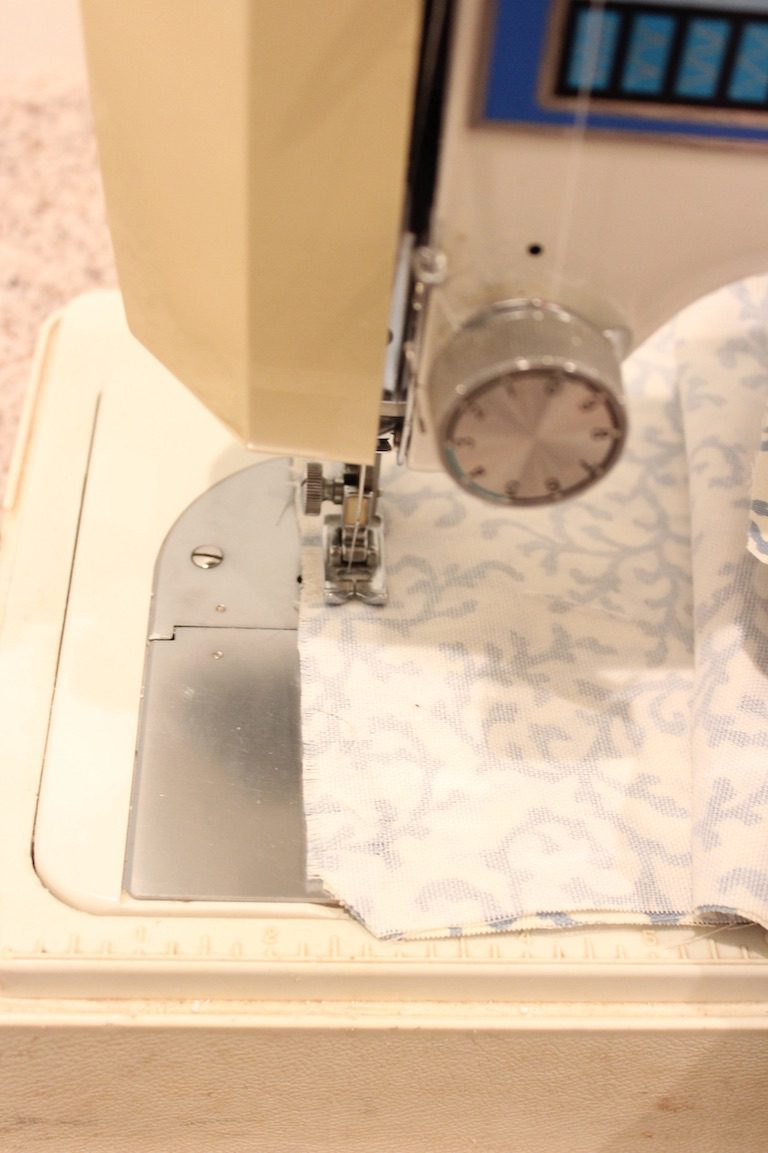
I found the edge that was opposite the fold and began to sew about 2/3 the way down the edge so that I could sew around the whole perimeter and have a small opening at one end. When you begin to sew, I always sew a few stitches, reverse stitch, then sew a few more so my thread is nice and secure from the beginning.
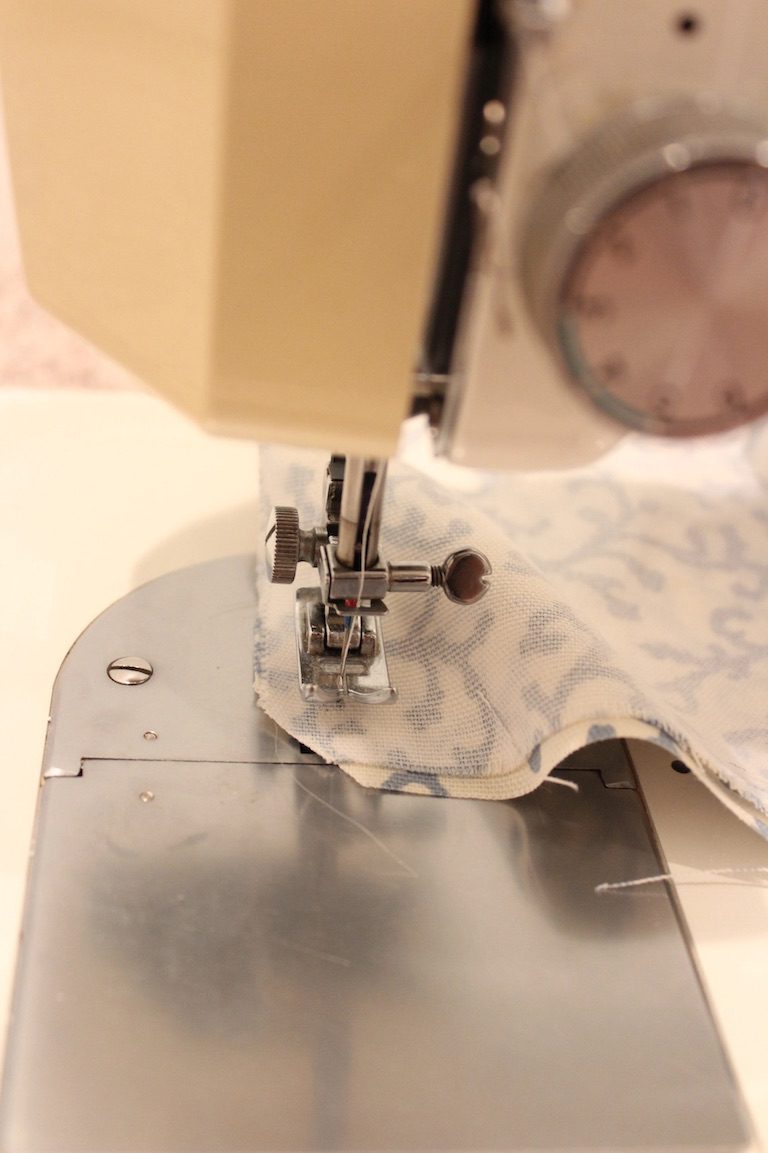
When you get to a corner, leave the needle buried in the fabric, lift the foot, turn the fabric, close the foot and continue sewing to get a nice, sharp corner on your pillow.
Finish sewing about 1/3 of the way down on the last edge you started at to leave a gap big enough to stick your fist through. Be sure to reverse stitch again before you cut the thread.
I always like to trim away the excess fabric just on the corners to get rid of any bulk.
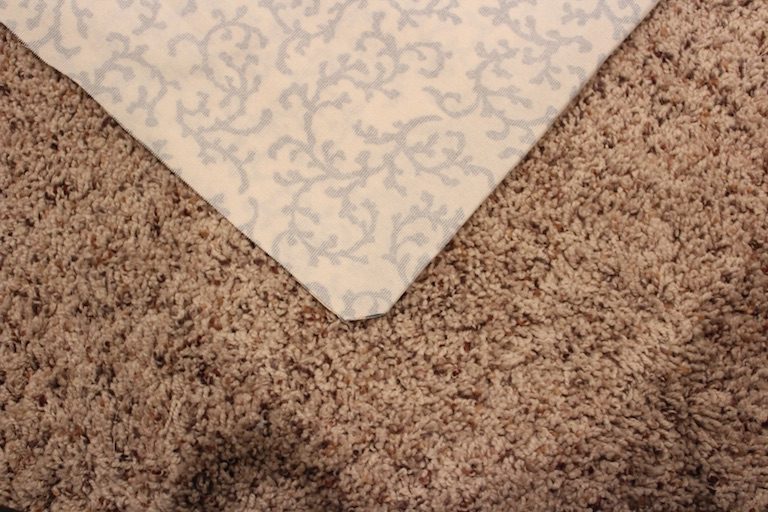
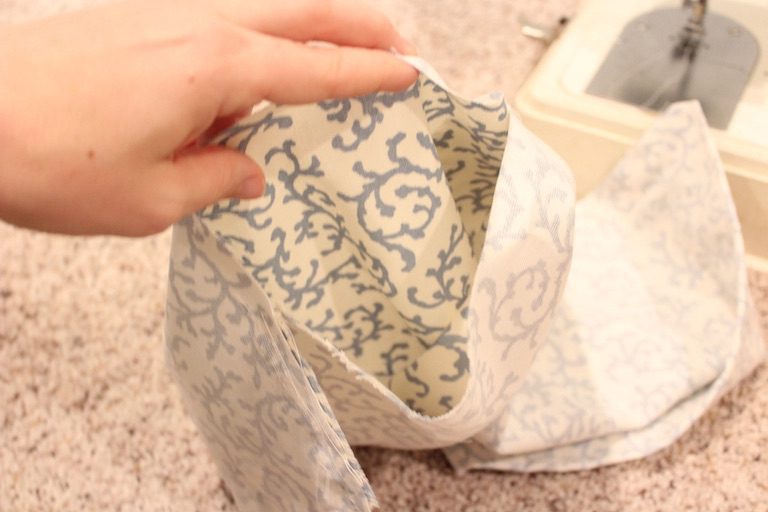
Next, flip your pillow cover inside out and poke out the corners. It might be a good idea to iron your fabric at this point if you didn’t do it before you started sewing. It would also be a good idea to fold in the edges of your opening and iron it flat so you can get a nice straight stitch when you close it up.
Now, time to stuff! Cut your standard pillow open and pull out the polyfil.
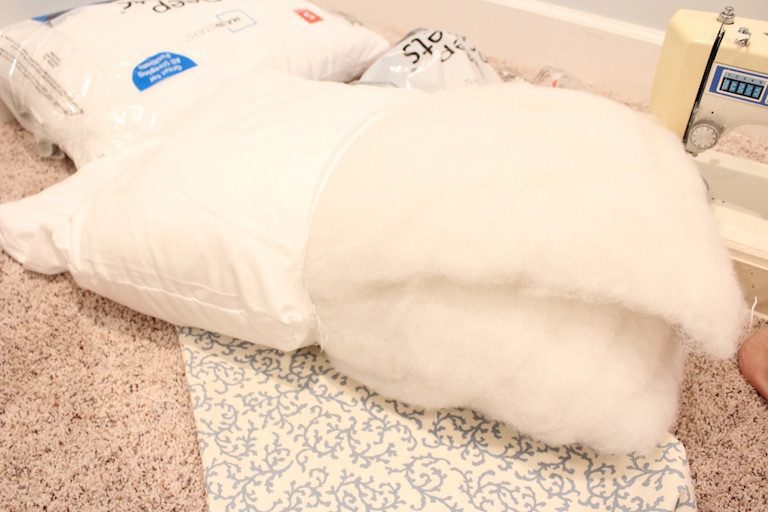
Start pulling off bits of the polyfil and stuff it in your pillow. To avoid having a lumpy pillow, be sure to grab smaller sections of the polyfil for stuffing, and then you can maneuver it around in the corners a little easier. I fit an entire standard pillow into my 18″ throw pillow for extra firmness, but you can decide how much you want to put in yours.

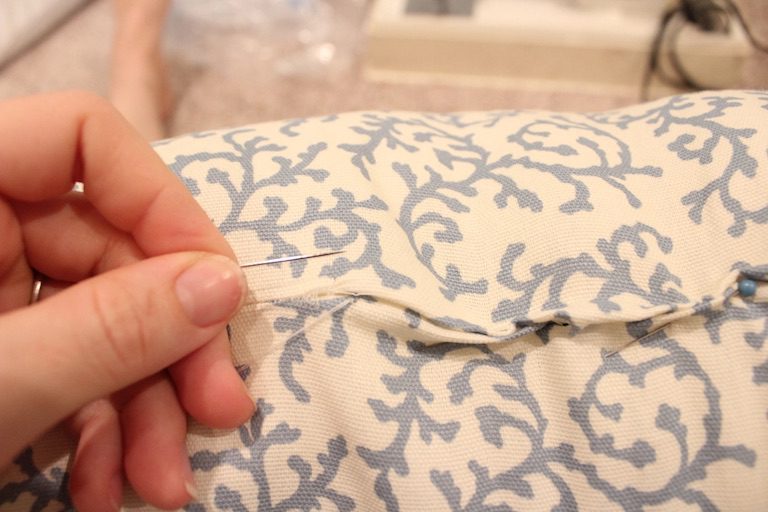
Now, for the hand stitching. Because my pillow was extra firm I pinned it closed to hold it where I wanted it, but this may not be necessary for a larger pillow.
I’ll show you how to do an invisible stitch on the other pillow I made, since I forgot to take pictures of each step on this one.
When I threaded my needle, I pulled the thread out to twice the length I wanted, then stuck it through my needle again to double up the strength of my thread, then knotted the ends.
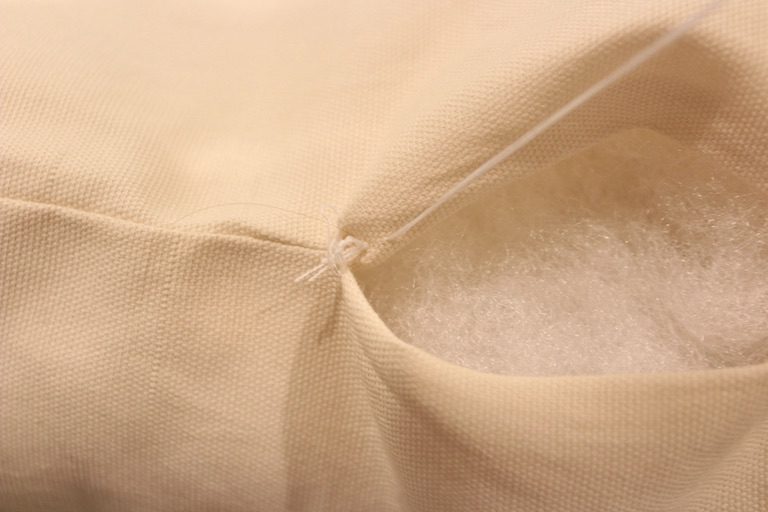
First, insert your threaded needle into the inside flap of your opening.
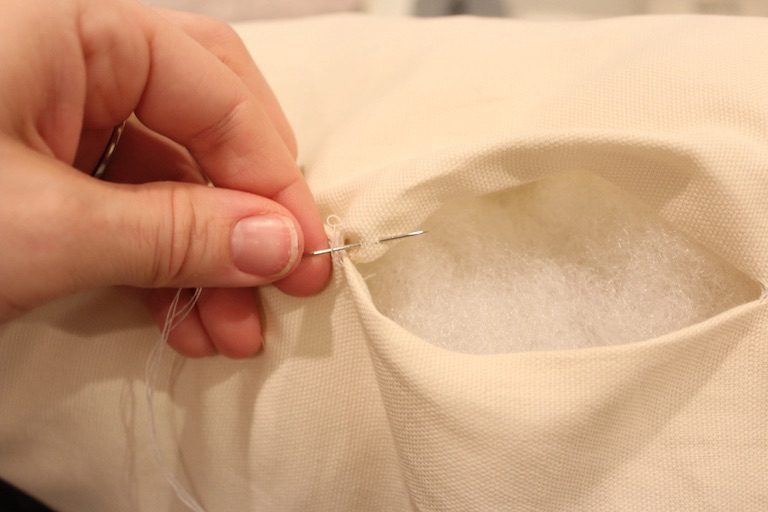
Pull the thread through and tuck in the knot so it is hidden on the inside.
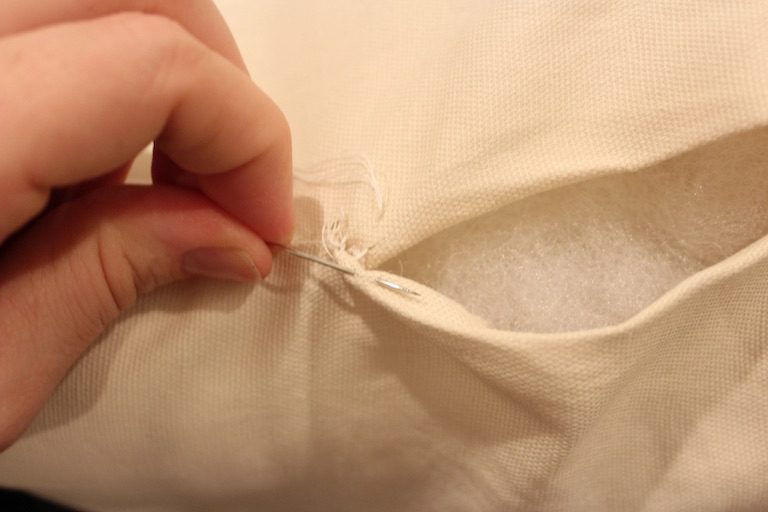
Insert the needle directly across from your first stitch into the inside of the flap on the other side. It’s important that you’re inserting it directly across so that you don’t get bunching of the fabric at the seam.
Stitch a few more directly across from the last stitch until you start to see what looks like a ladder rung.
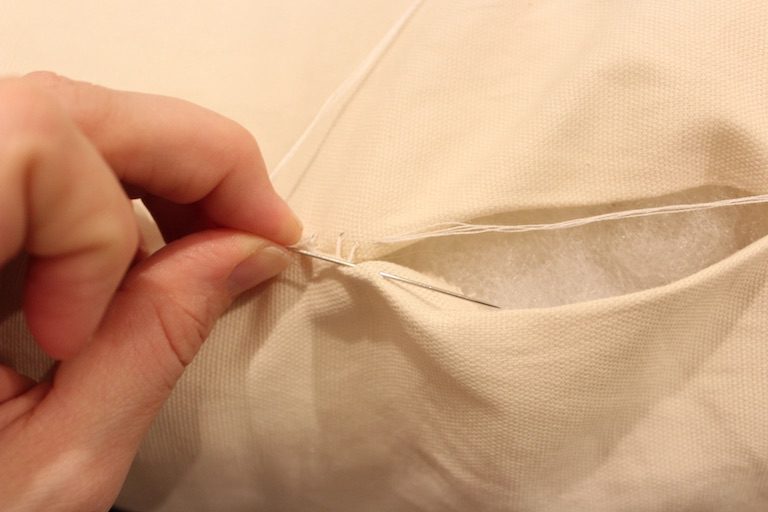
Pull the thread tight every few stitches. You might notice that I didn’t hide my knot well enough. Oops!
Continue stitching until you’ve sewn up your entire opening.
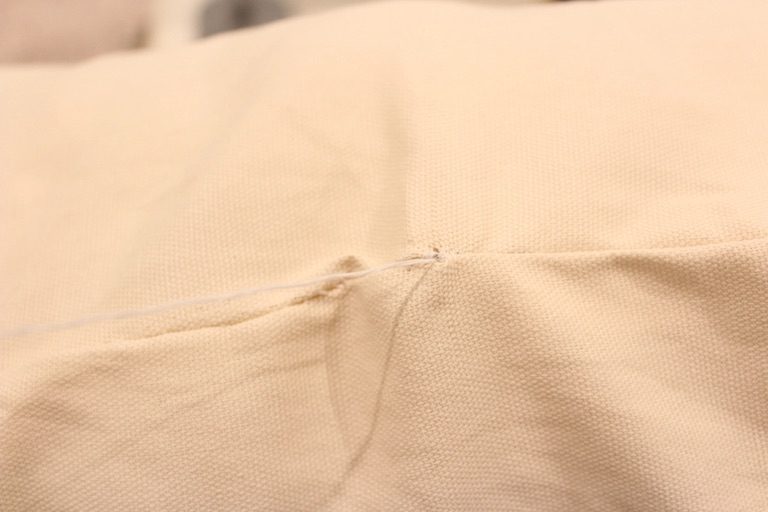
To tie it, bring your needle through the last stitch you made as shown below.
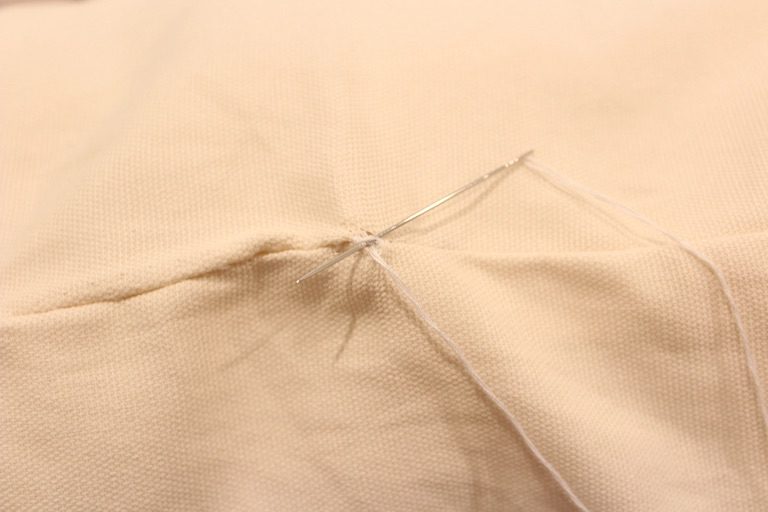
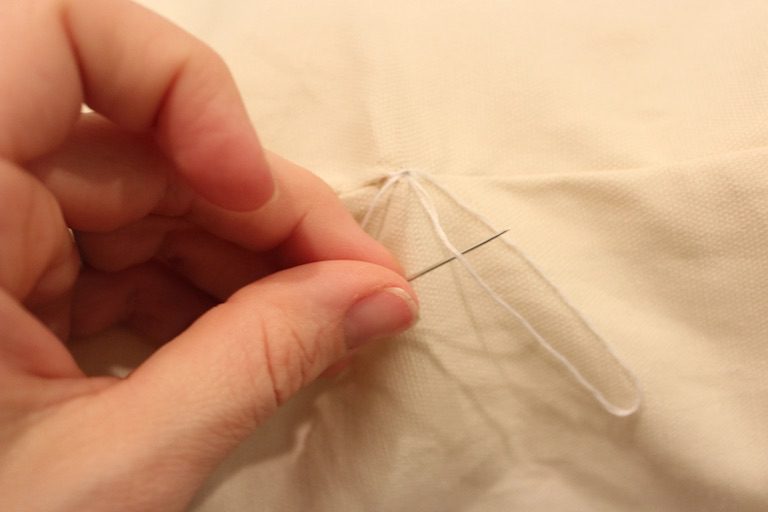
Before pulling it all the way through, put the needle through the loop that you created, and pull tight at the base. I did this a couple of times just in case.
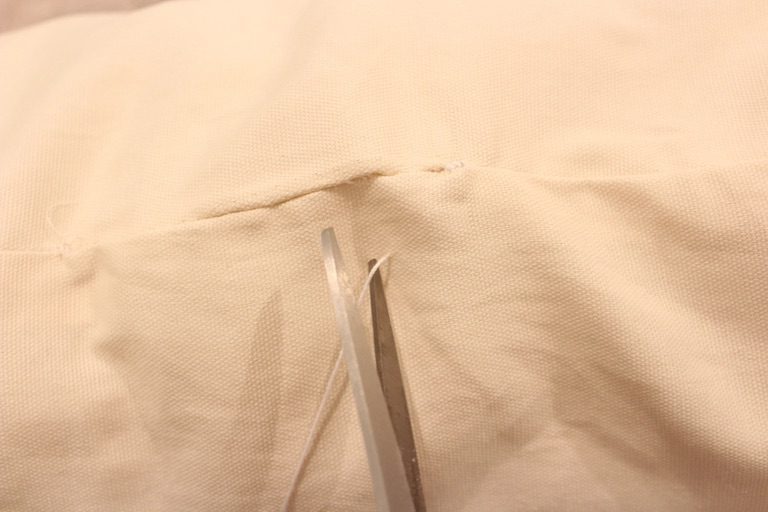
And lastly, stick the needle through the last knot and out the pillow way below your seam. Pull the thread tight and cut it so the end of your thread retracts back into the pillow and the end is hidden.
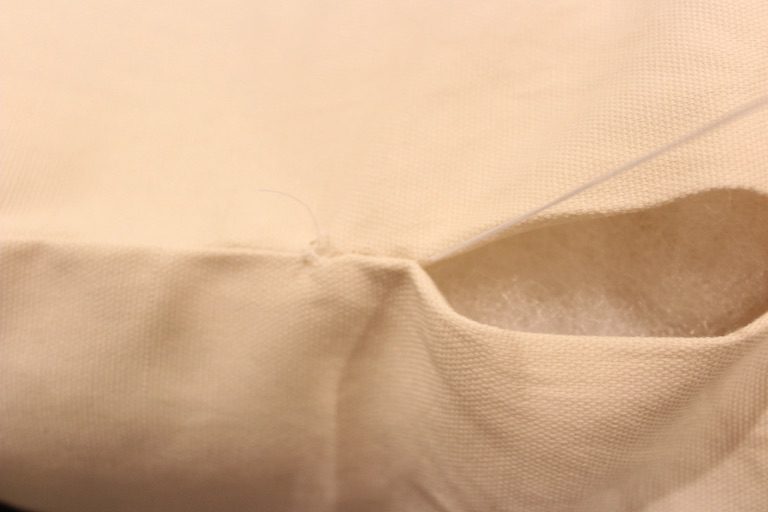
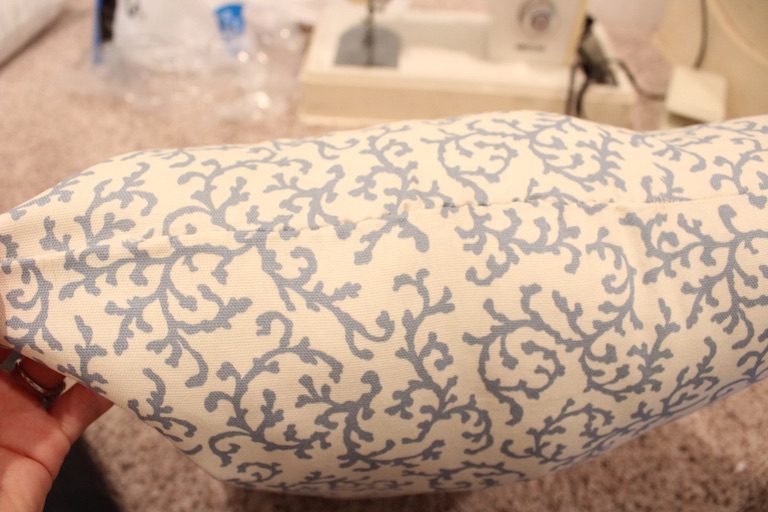
And look at that! A nice, beautiful seam.
So there you have it! Nice, pretty throw pillows for your couch, or bed, or whatever.
I actually made this pink one for my bed out of one of the small $4 pillow forms I found at Walmart but I don’t like it as much because it’s not fluffy at all. And it also cost more for a smaller pillow!

So, um, you like that sunburst mirror? I made that for 6 bucks! You can find the tutorial here. Or how about those nightstands? That tutorial can be found here.
Thanks for tuning in! Until next time!
XOXO
~Crystel

Leave a Reply
