

After furniture, you want to know what makes the biggest difference in home-ifying a bare room? Yep, you guessed it. Curtains! If done right, these can make the room feel so homey, and it’s also a great way to add a pop of color.
My living room, while coming along nicely, was still feeling a bit drab. So I decided to whip out my mother’s ancient sewing machine and sew me some curtains!
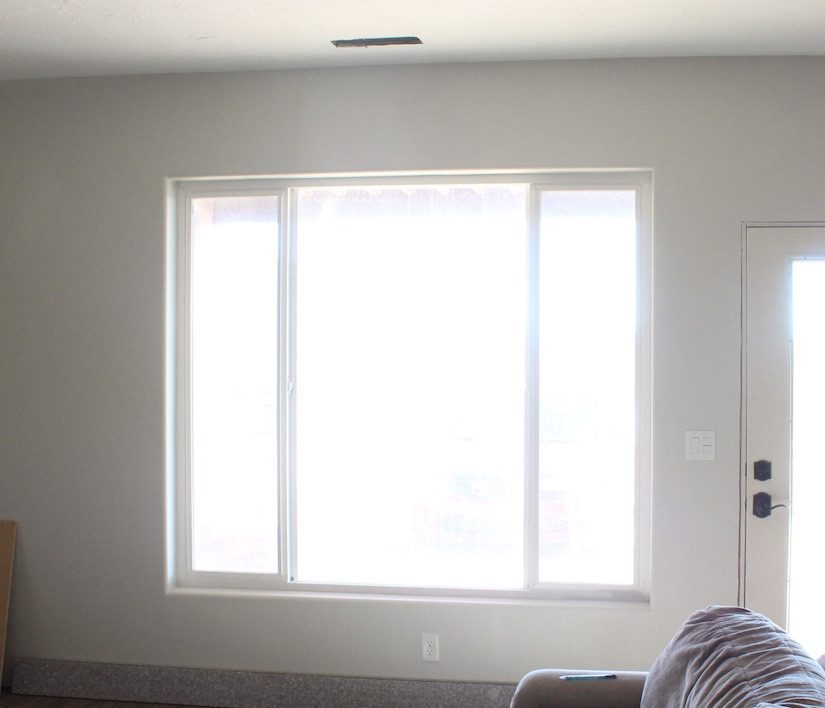
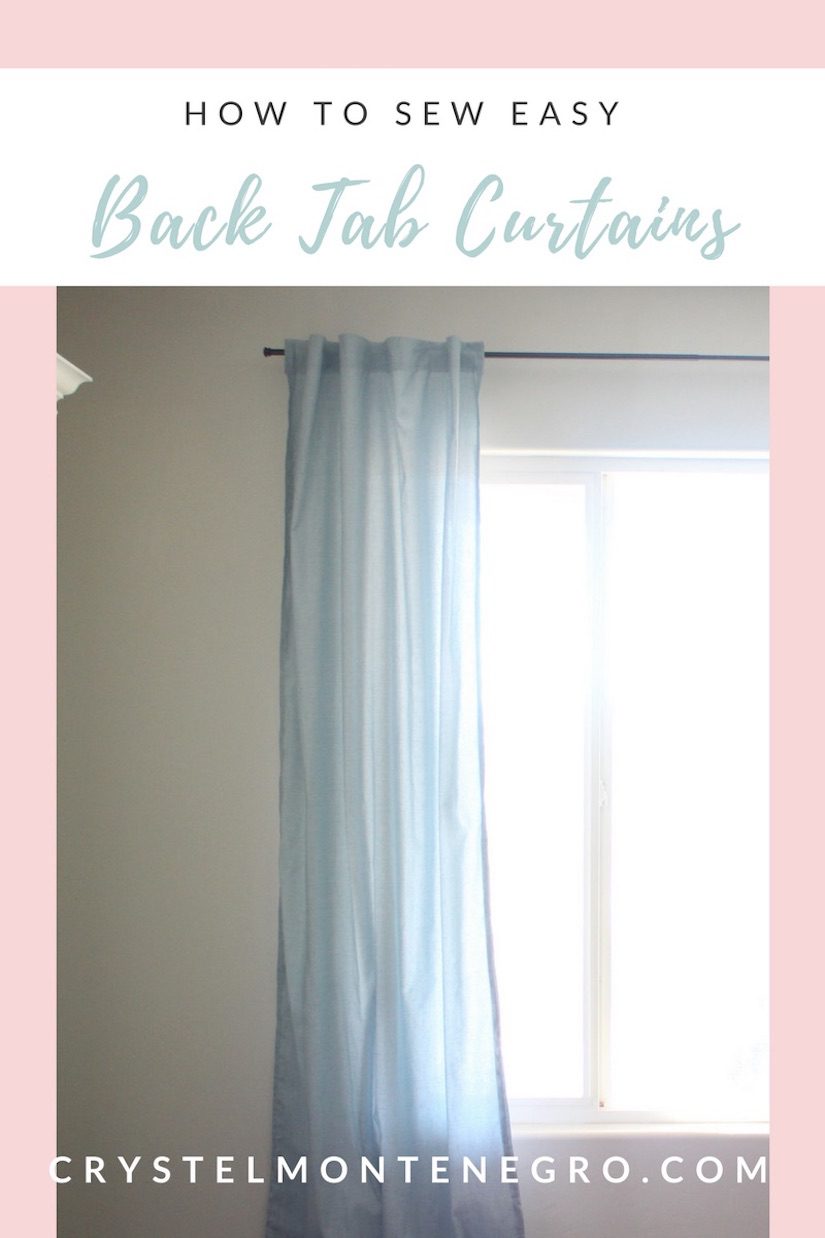
Tip: When hanging curtains, you’ll want to hang them high, just a few inches off the ceiling if possible to give the illusion that your window is bigger. Also, leave room on the curtain rod to push them clear out to the edge of the window so that when they’re open they’re hanging over the wall rather than the window, which will also appear to enlarge the window and take care of some of that empty wall space. Be sure to measure accordingly!
So here’s what you’ll need:
- Fabric — I only had enough for two panels but for my size of window I will need to buy enough for two more.
- Sewing machine
- Iron
- Ironing board
- Scissors
- Pins
- Curtain liner (I didn’t line my curtains, but if you want to add a curtain liner you can)
All in all I think these cost me about
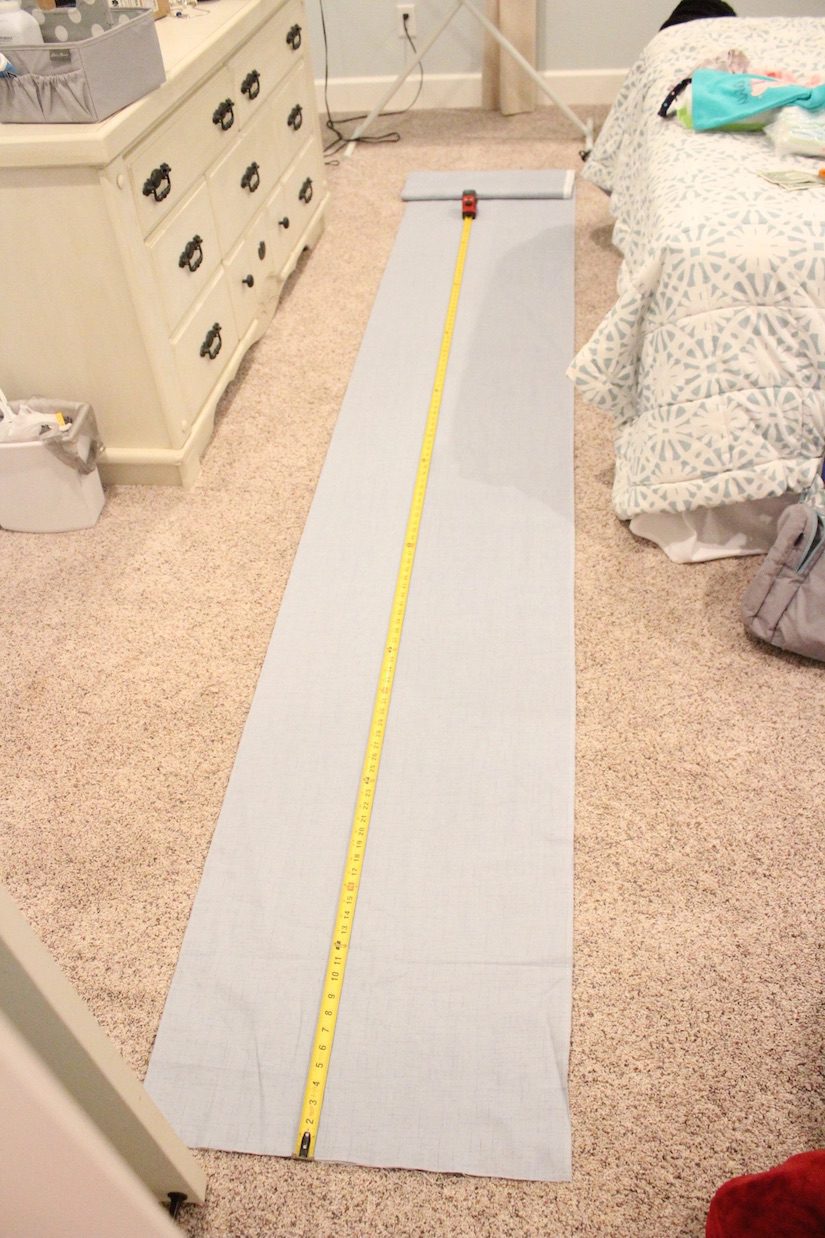
These curtains really are so easy to make. First, measure and cut your fabric. You’ll want to add about two extra inches along each side of the panel, and an extra 5 inches onto both the top and bottom. So, in addition to the length of your curtains you’ll want +10 vertical inches and + 4 inches for the width. You’ll also want enough fabric to make several strips to use for the tabs. Mine were 2 inches wide and 7 inches long although 7 inches was a little too long. You’ll want about 6 strips.
My measurements, for 9 foot ceilings were 116″ of fabric which cost me not quite $10 for each panel. Pretty good, eh??
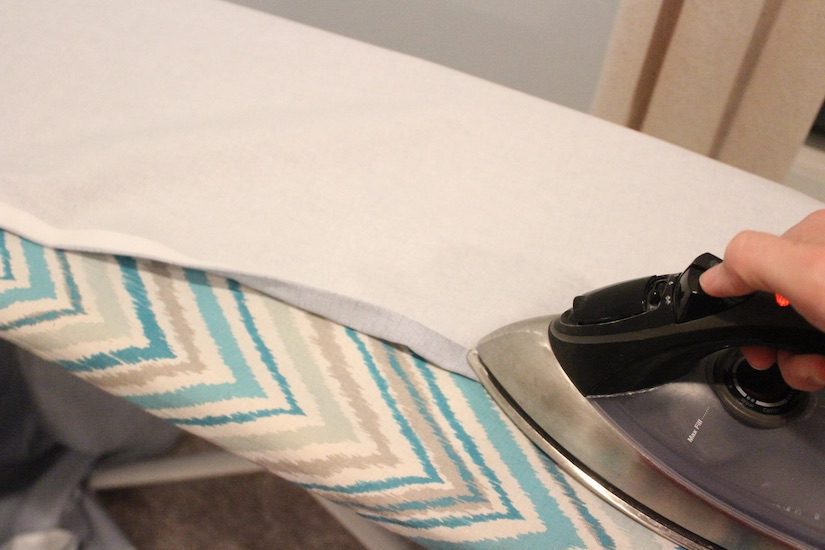
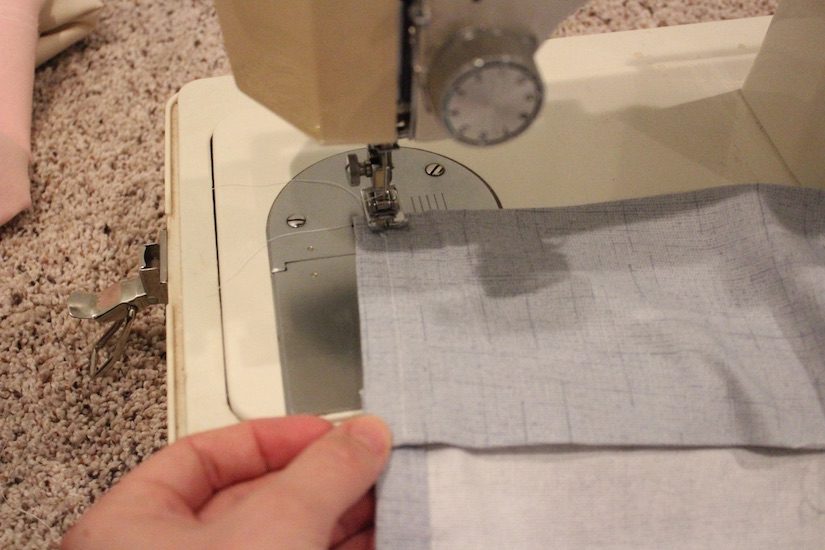
SIDE HEMS
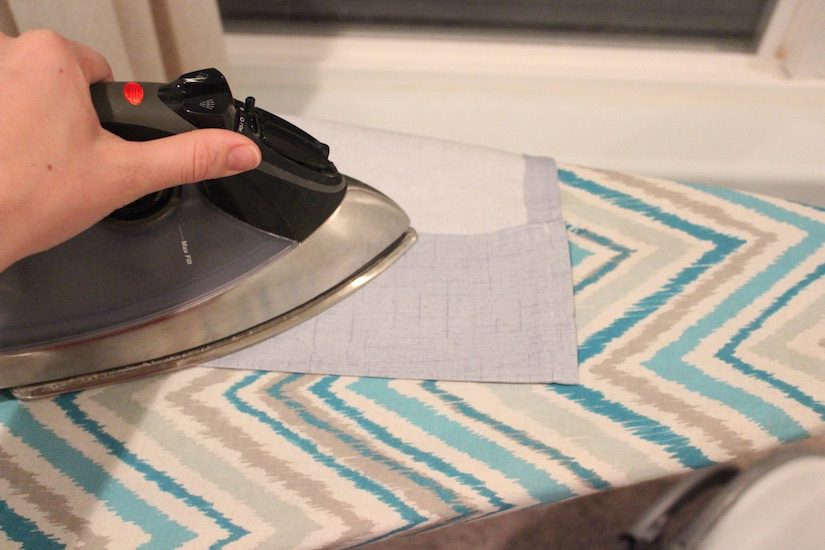
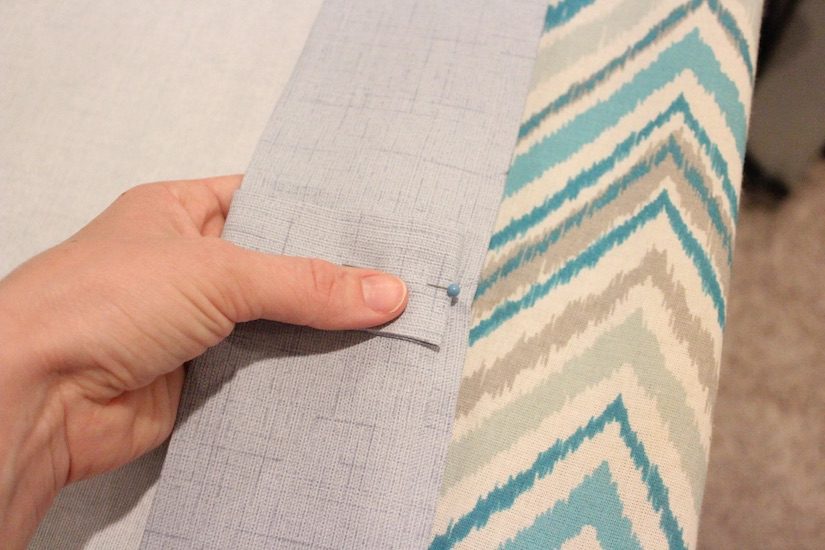
Once you’ve got your fabric cut, lay your fabric pretty side down, then fold one of the long side edges of your curtain 1 inch in. Iron flat all the way down.
To hide the frayed edge, fold over one more time and iron flat again.
Repeat the folds and ironing on the other side.
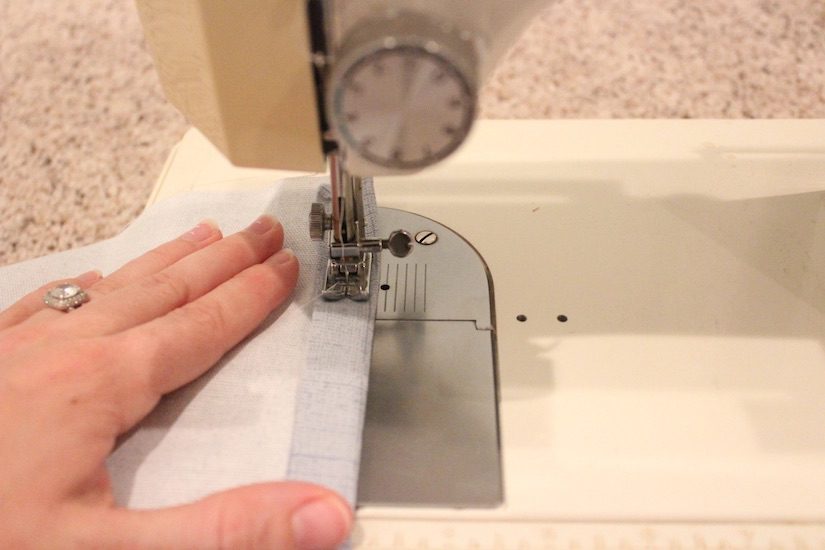
Sew along each of the edges with about 1/4″ seam allowance. Be sure to reverse stitch at the beginning and end of each side to make sure it won’t unravel.
BOTTOM HEM
For the bottom, fold in 1 inch and iron.
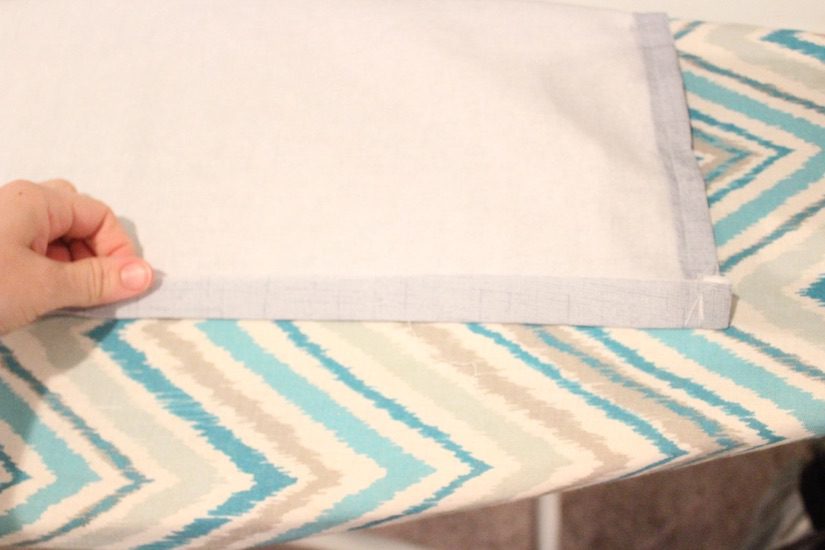
Now fold again 4 inches more and iron again along the seam.
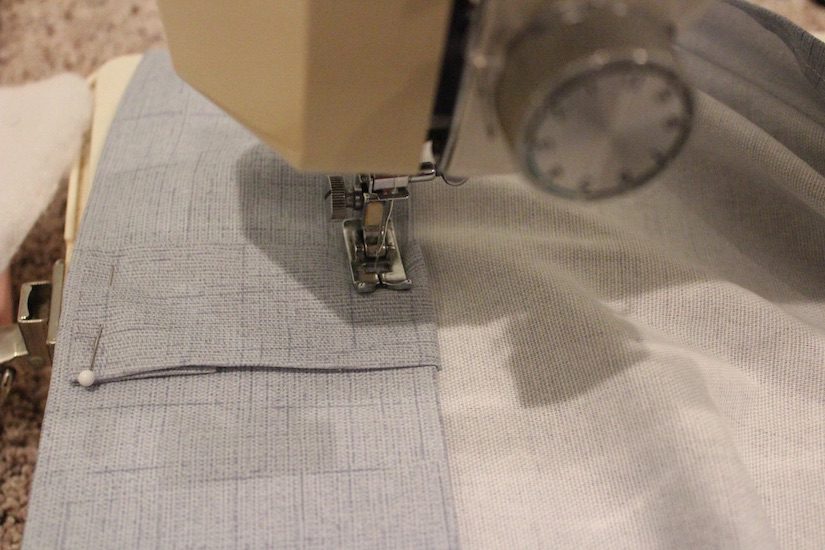
Begin sewing along the bottom side, and backstitch where you begin.
When you get to the corner, leave your needle buried in the fabric, lift the foot and then sew along the top of the fold with a 1/4″ seam allowance. Do the same with the next corner.
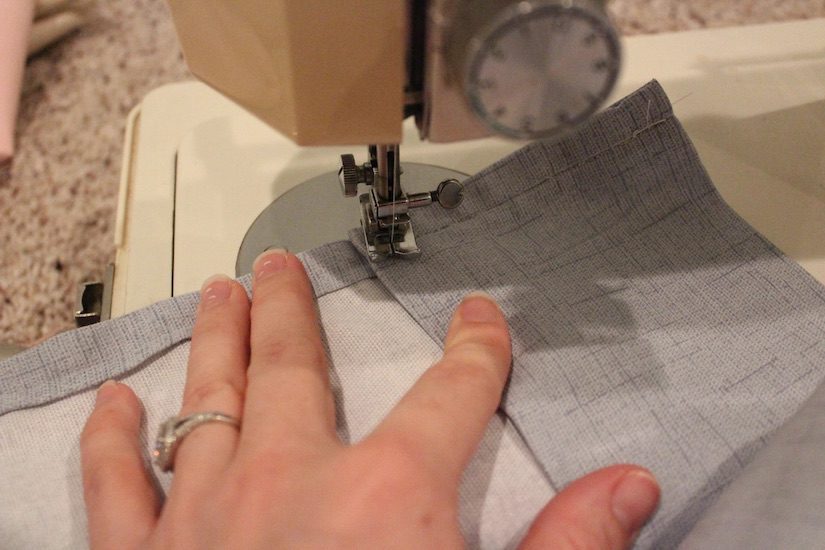
Finish sewing down the outer edge and reverse stitch to lock it in.
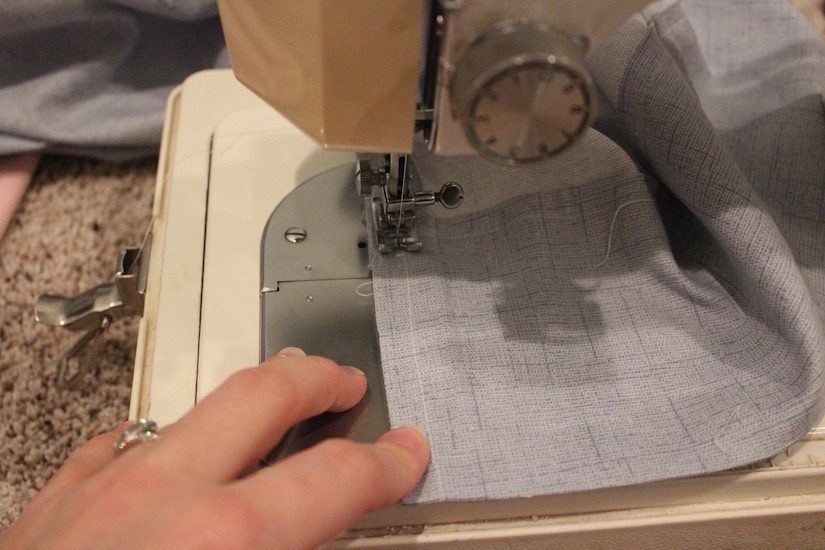
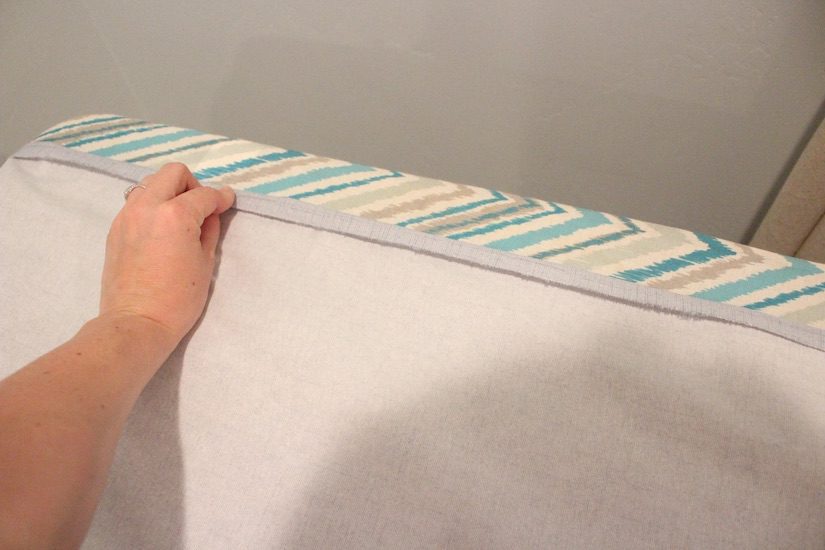
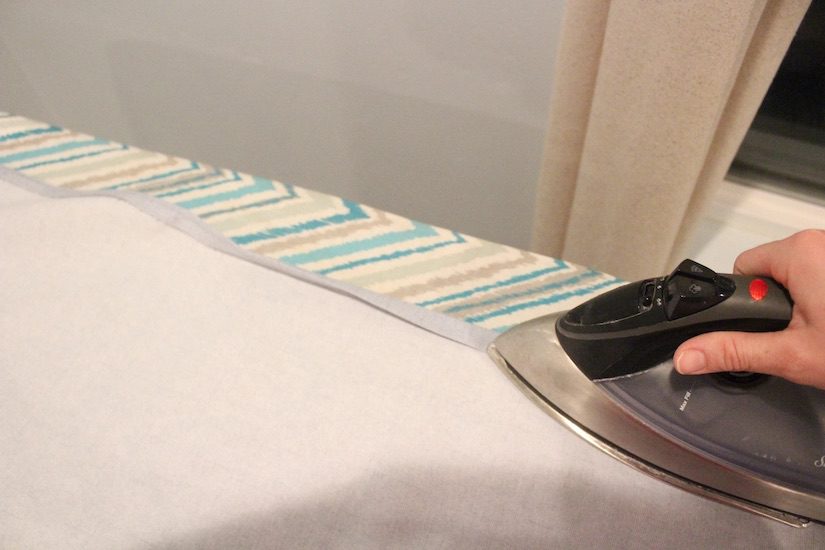
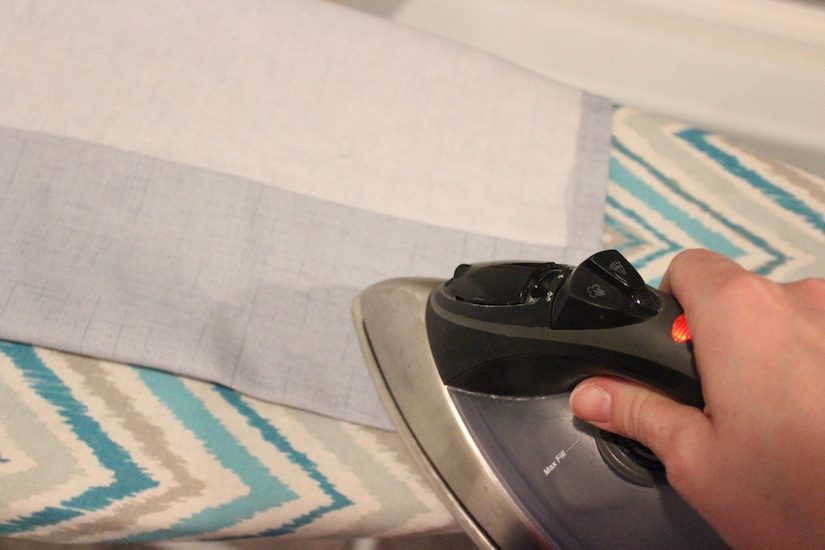
TOP HEM
For the top, repeat the steps for the bottom hem, except stop before you sew. Fold up an inch, iron, fold up another 4 inches, and iron again.
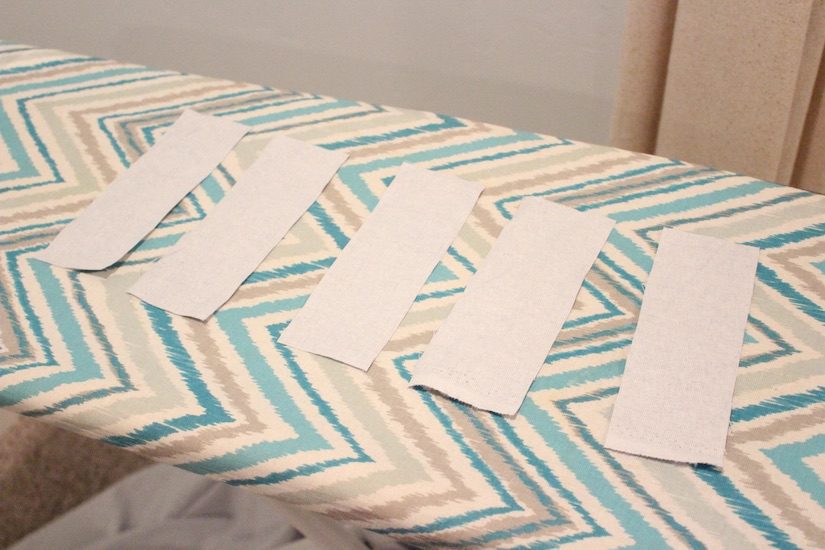
Next you’ll want to cut your tabs. I used some of the extra fabric but they’ll mostly be hidden so you can use whatever you’ve got. I cut these about 2 inches wide and 7 inches long, but I wasn’t precise about the measurement because they won’t be seen. I only cut 5 strips but it probably would have been a little better if I made 6.
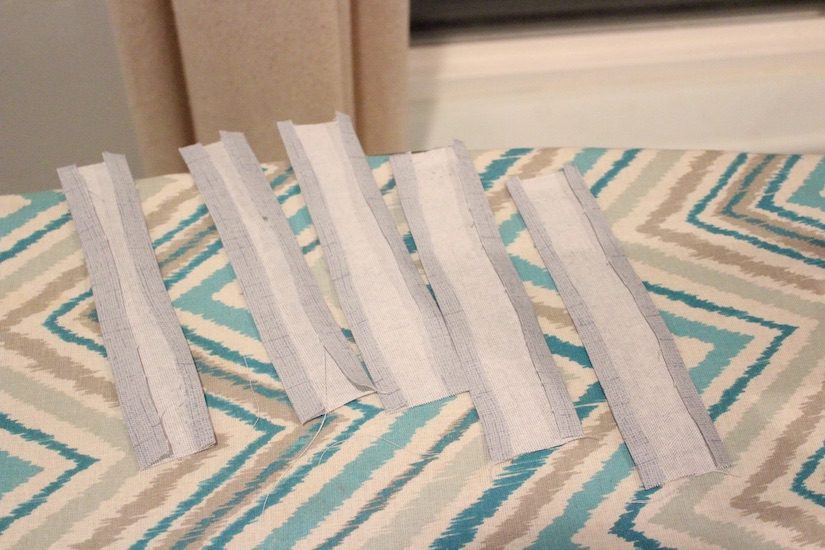
Fold in the long edge of each strip about 1/4″ and iron flat.
On the top hem of the curtain, tuck each strip an inch or more under and space tabs evenly across the panel.
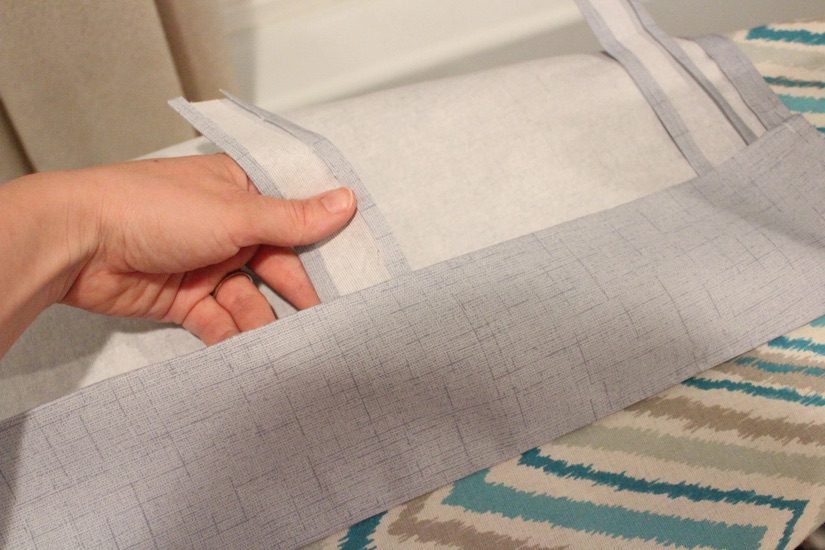
Fold over the edge of the tab and fold again over the hem just under the top of the curtain.
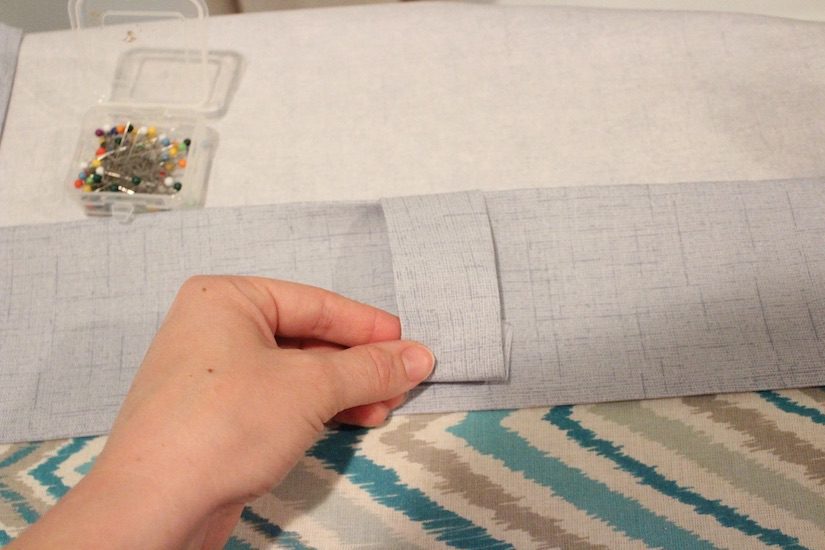
Pin in place. It was easier to place the pins parallel with the tab so I could sew right over it.
Now you’ll sew the same way you sewed the bottom hem, except you’ll sew right over the tabs to lock them in place. You’ll also sew all 4 edges instead of just 3.
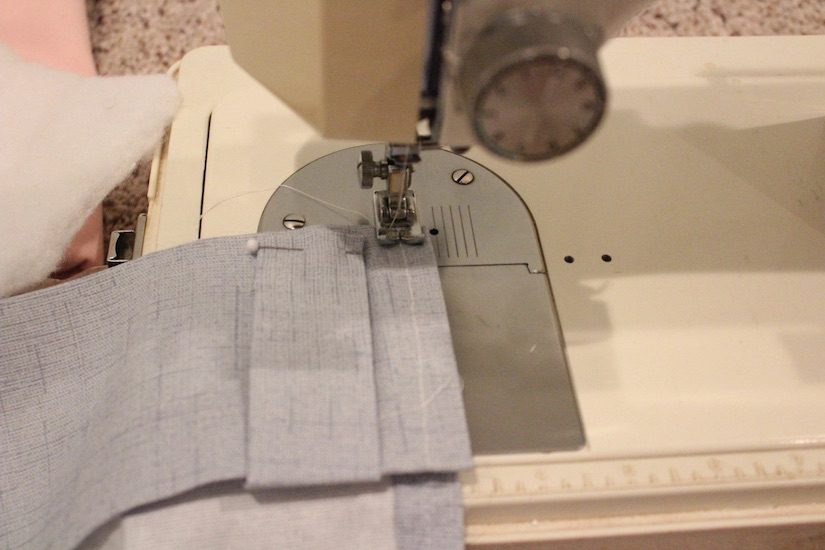
Once you get to the edge with the pins, just sew right over them and pull them out after.

Once you get to the end, as always, reverse stitch, then cut the thread.
And that’s it! Hang your curtains (I should really do a post on how to hang a curtain rod so it’s straight, because that one was definitely a learning experience for me) by putting the rod through the tabs
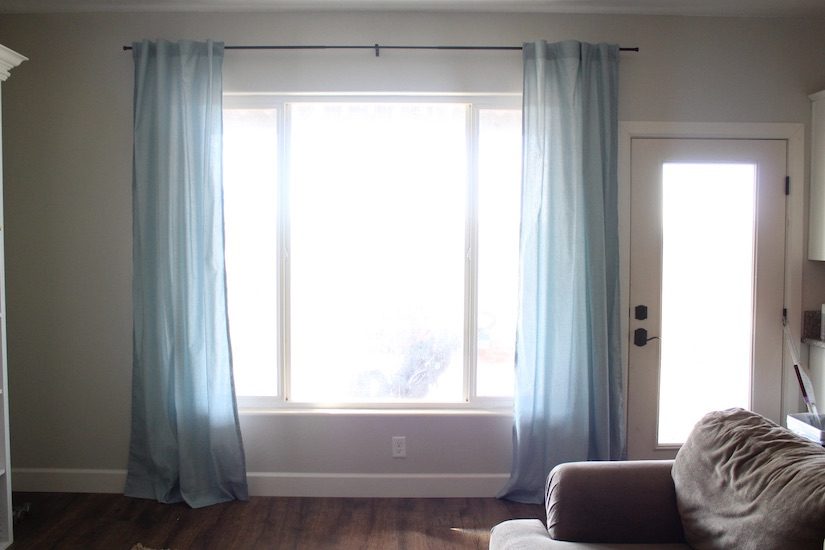
What do you think? My panels were just about as wide as the fabric would let them be, any they’re just an inch or two short of covering the whole window. I also bought the last of that fabric but they always get more in so I’ll have to wait until it comes in again (or check another Walmart) so I can make another panel or two.
I’d love to hear from you! Leave a comment below if you’ve made curtains like these and how it went, or if you’ve got any other tips for how these might be better!
While you’re at it, check out a couple of these other posts you might just love!
How to Frame a Bathroom Mirror
XOXO
~Crystel
Leave a Reply
