

When I began this bathroom update, painting the floor was the project I was excited to do most. Luckily it was the kind of project you do last, and that’s precisely what kept me motivated to finish all of the other projects in the bathroom I needed to do first. Well, I finally did it. And I LOVE it! Ohhhh, just you wait. I made my own stencil for this project, but I’ll give you some other resources later on for where to purchase them.
If you’ve been keeping up on the progress of this bathroom, you’ll remember how I installed new beadboard wainscoting, built new bathroom shelves, refreshed the old mirror, and painted the shower. I did the whole thing all by my lonesome over the course of about 3 weeks and boy, was it WORK. But I’m telling you right now, the end result was totally worth it.
So let’s get this bathroom stencil done! Let me show you what I did.
Materials:
- Abrasive sponge
- Floor cleaner
- Foam rollers (I used these)
- Chalk paint – Rustoleum Linen White
- Chalk paint – Rustoleum Aged Gray
- Small paint brushes for touching up
- High traffic water-based Polyurethane (I used one similar to this)
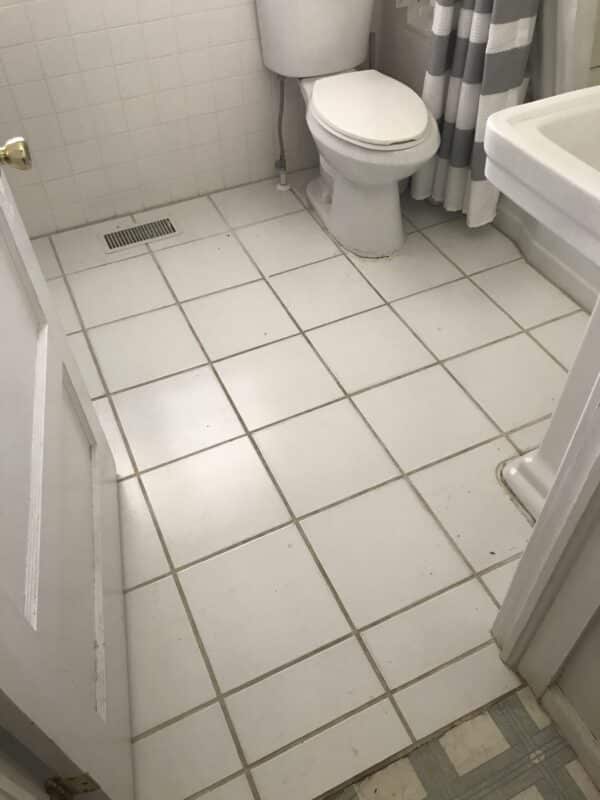
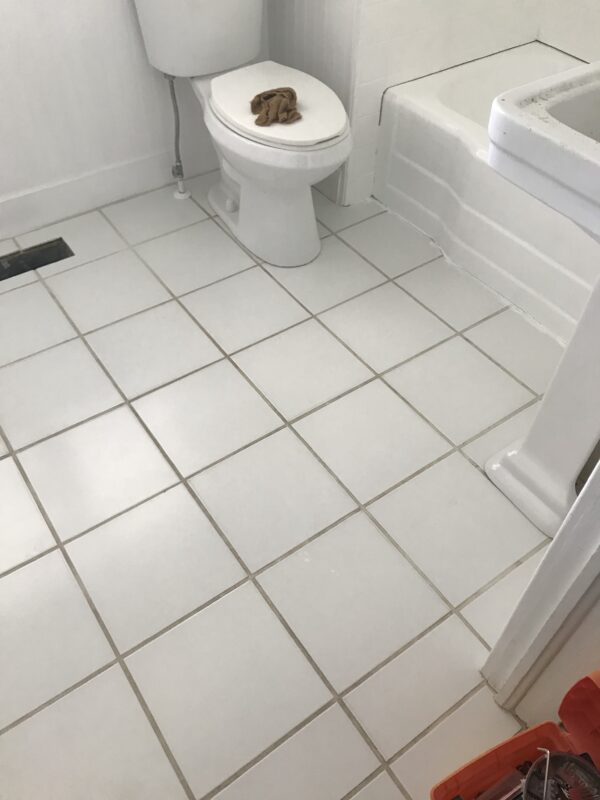
I began by cleaning the floor REEEEALLY well. For a little better adhesion you might consider taking some sandpaper to the tile to make some little microscopic scratches for the paint to grab onto. Me? I just scrubbed it down with an abrasive sponge and called it good. I also removed the caulk from around the toilet and tub, and then unhooked the sink and moved it out. I’m wishing I would have done the same with the toilet, which I’ll explain why a little later.
Next up, start to paint. I used Rust-oleum’s Chalked paint in Linen White.
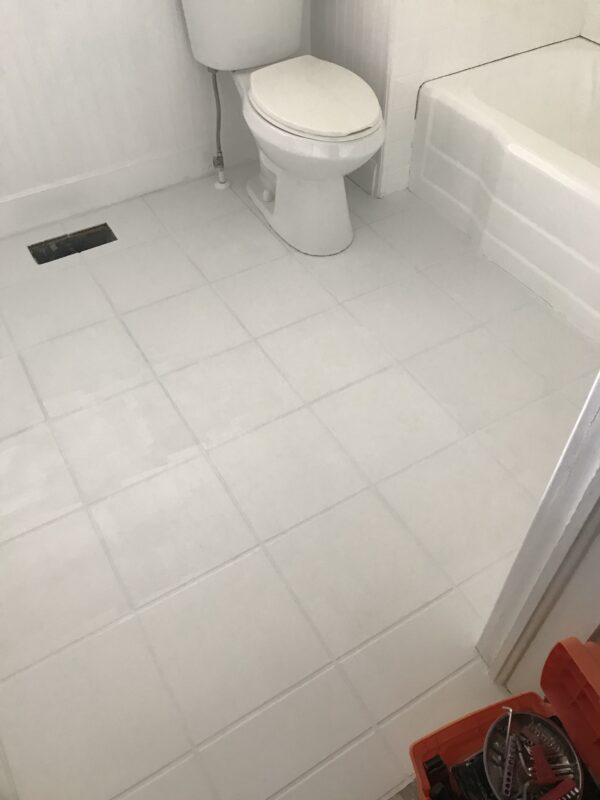
Aaaand add a second coat.
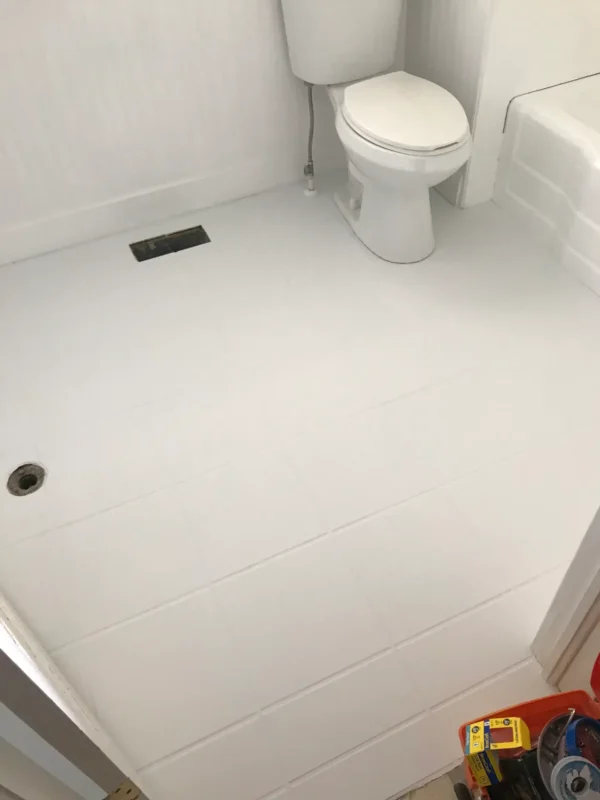
Looking much better already! Now onto the fun part. I made my stencil on my own using my cricket, (which unfortunately I couldn’t make large enough for 12 x 12 tiles so the spacing is a little bigger than I would’ve liked) but I’ve seen some beautiful stencils you can buy from Royal Design Studios.
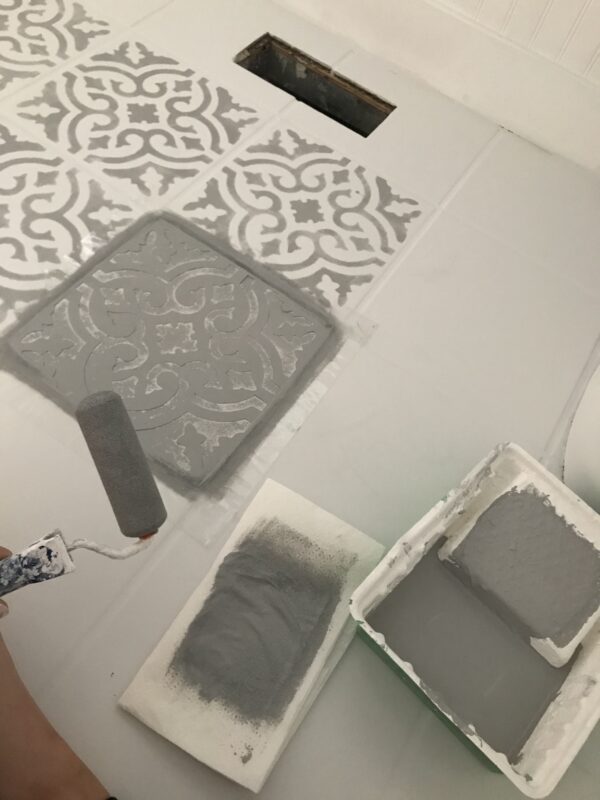
Once the base coat of the floor had plenty of time to dry, I began using my stencil with the Rustoleum Chalked Aged Gray chalk paint. Here’s a tip, wear socks to keep the floor from getting dirty. 🙂
I had done some experimentation to see just how saturated I wanted my stencil to be. At first I kept rolling until I couldn’t see any spots, but decided I wanted to go for more of a vintage-y look, which actually worked out much better because then I didn’t have to be so perfect about it. I made sure not to put too much paint on my roller brush or it would seep under the stencil, so I rolled any excess onto a paper towel before applying to the floor. It’s much better to to multiple coats of a thin layer than to do too much paint right at first. Then you’re just asking for trouble.
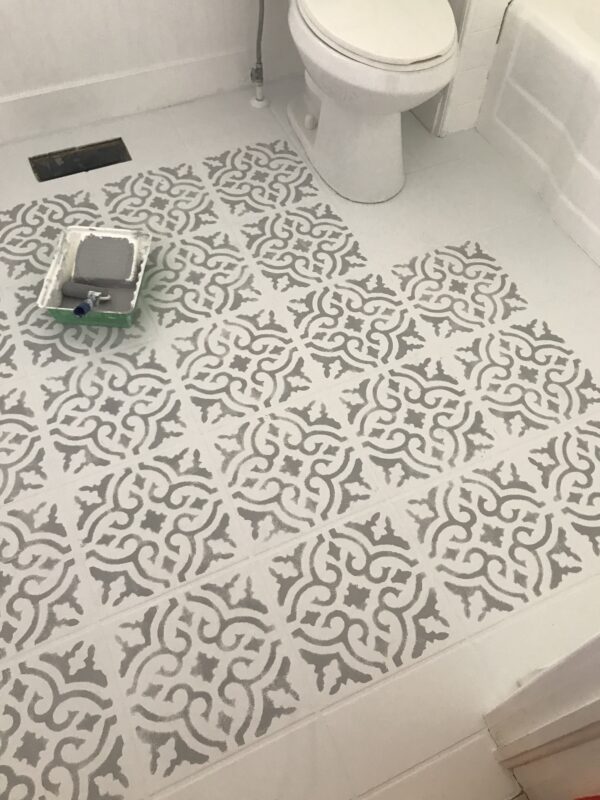
I rolled all of the whole tiles first, which made it easier to know how I would need to cut my stencil to do the perimeter.
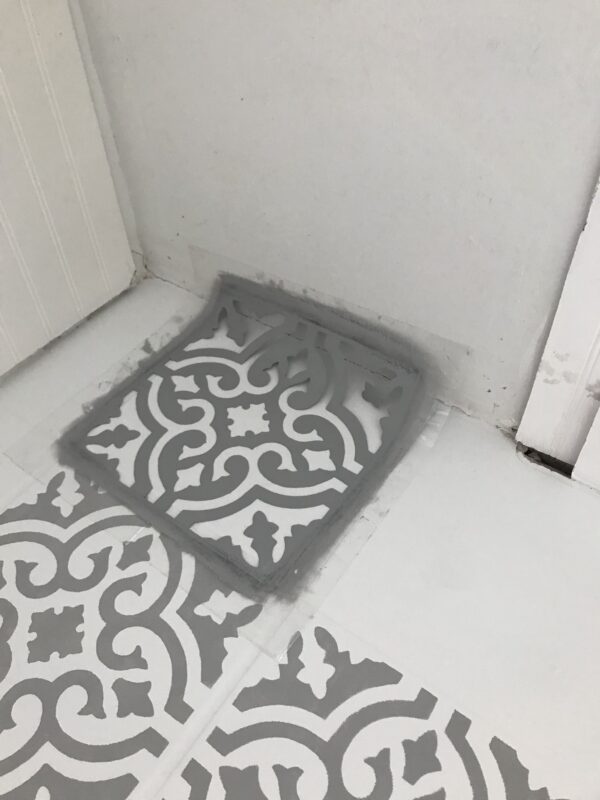
Once that dried sufficiently, I began the perimeter. For the Larger sections of tile I simply bent my stencil and wasn’t too picky about getting the paint all the way to the wall.
Pro tip: Remove everything you can, even the toilet. It was an absolute BEAR to work my stencil around the toilet angles and I wished I would have just removed it entirely. I didn’t get a pic, but I should have so you could see. Luckily it was in a corner and the imperfections weren’t too obvious.
Once I had done all the larger perimeter tiles, I began to cut my stencil down to fit the others. Once all of that was dry, I went back through with a small paint brush and touched up any drips or smears in the paint.
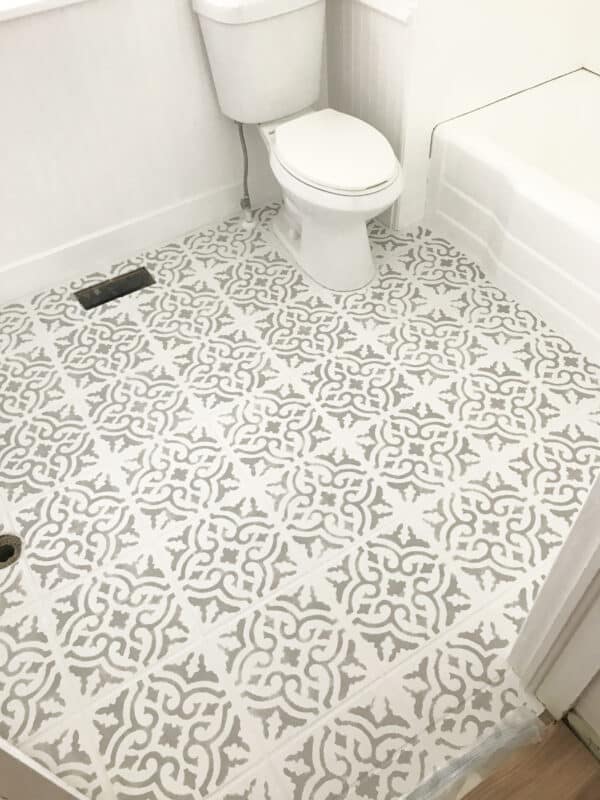
Once that finished drying, I gave it a good couple of coats of a water-based high traffic polyurethane. I love this stuff. It won’t yellow your paint, and its super sturdy. It dries to the touch within the hour, but it takes a day or more to cure, so make sure you’re not doing any dragging of items across the floor too soon or you’ll scratch off all of your beautiful hard work.
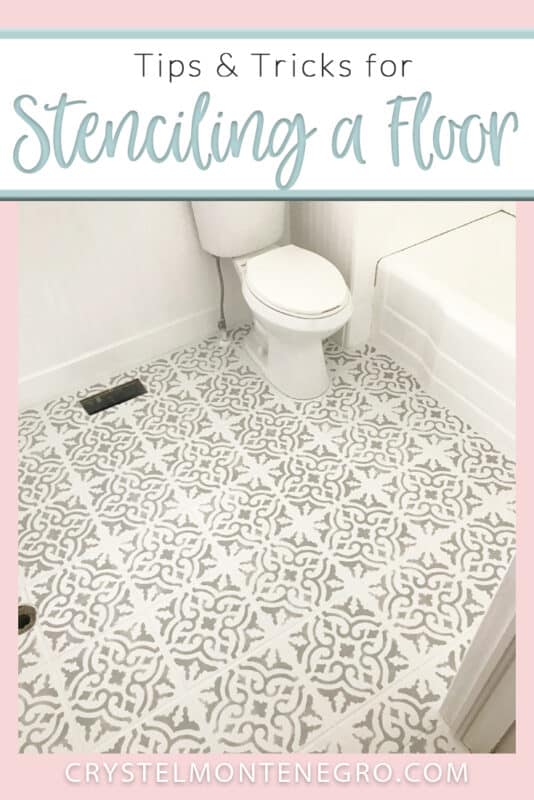
Stay tuned for the big reveal of the bathroom! I’m so excited and I can’t wait to show you!
Oh, and if you’d like to come back and read this post later, be sure to pin it with the image below!
Leave a Reply
