

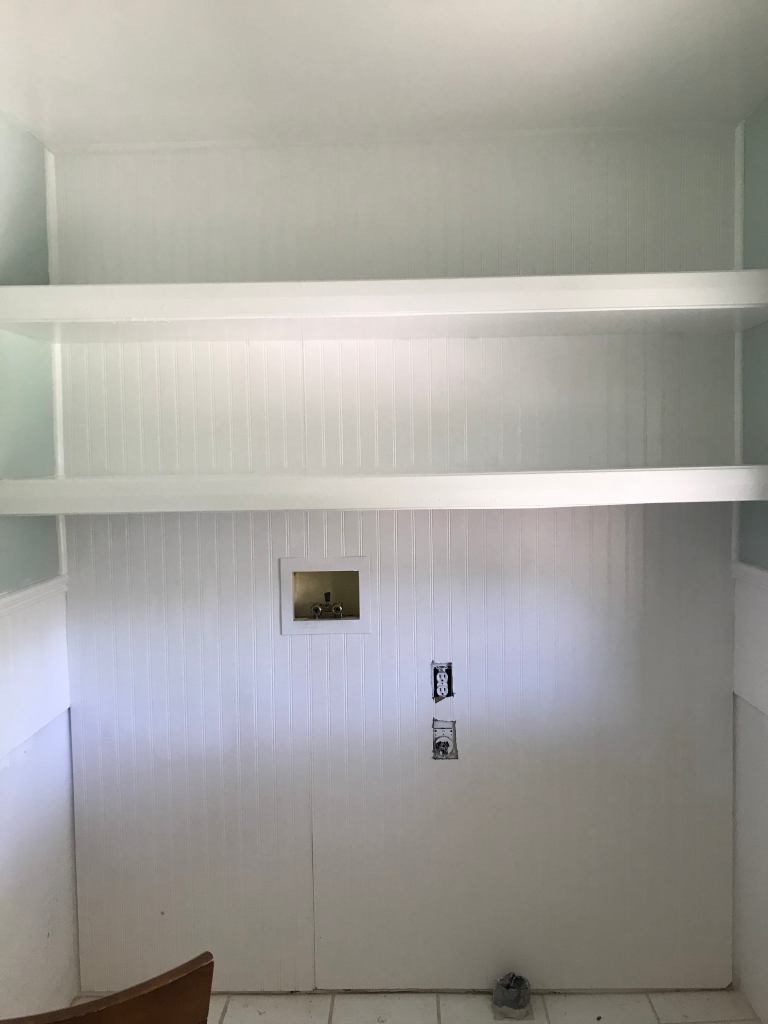
I’ll tell you what, there’s nothing quite like a room refresh to give you a feeling of accomplishment and satisfaction. In my bathroom makeover journey I’ve been here working on fixing up the shelving over the laundry area.

I couldn’t tell you how long ago these shelves were put in. It’s hard to say since this laundry area is combined with a full bathroom, and the warping of the MDF could be due to either time, weight, or moisture from steam from the shower. Or a combination of the three.
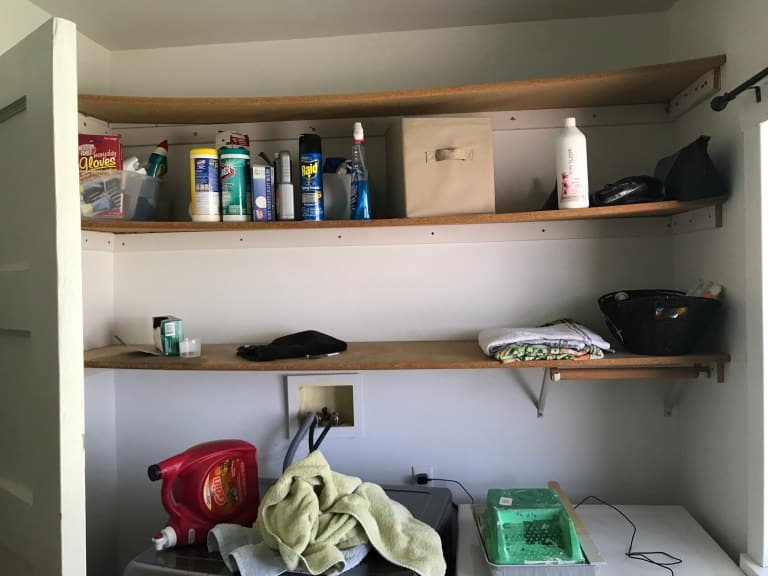
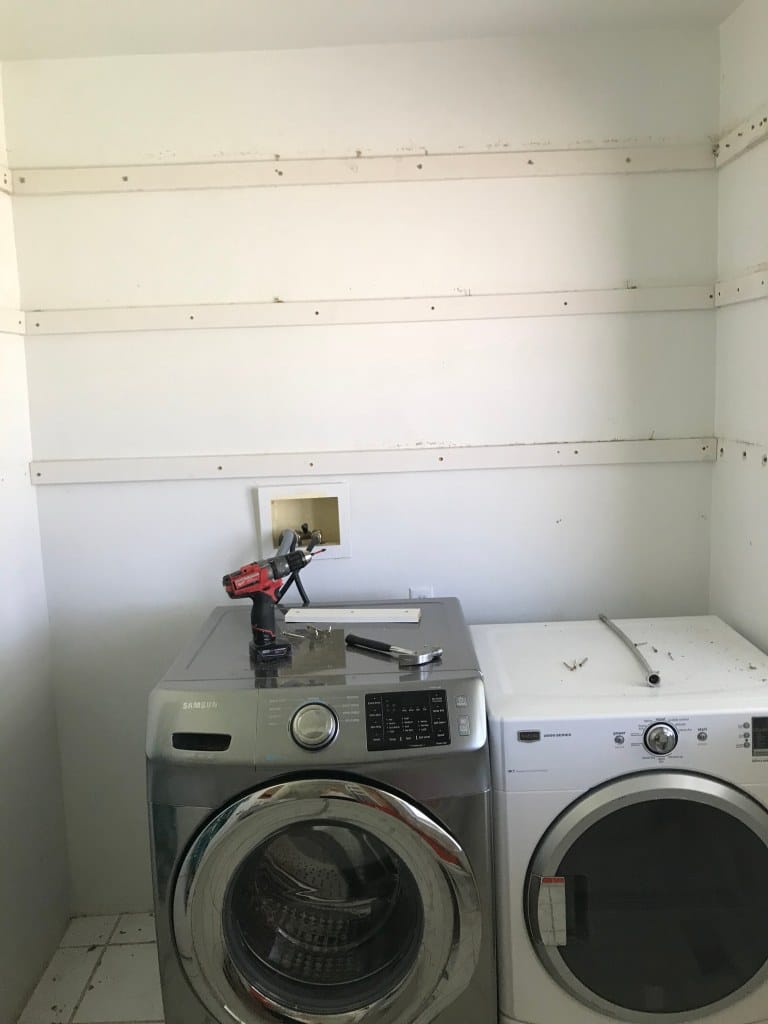
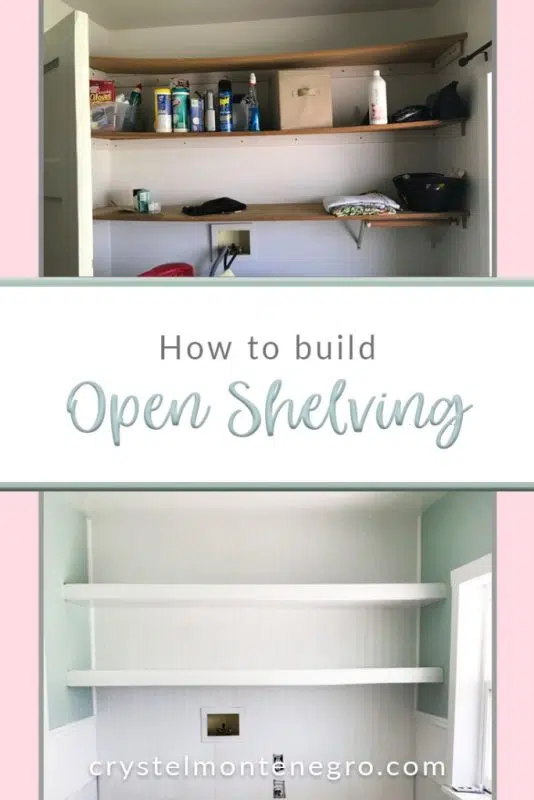
My first step was to tear it all out. I even took off the cleats that were holding the shelving up, but they were in pretty good shape so I ended up reusing them for the new shelves I put in.
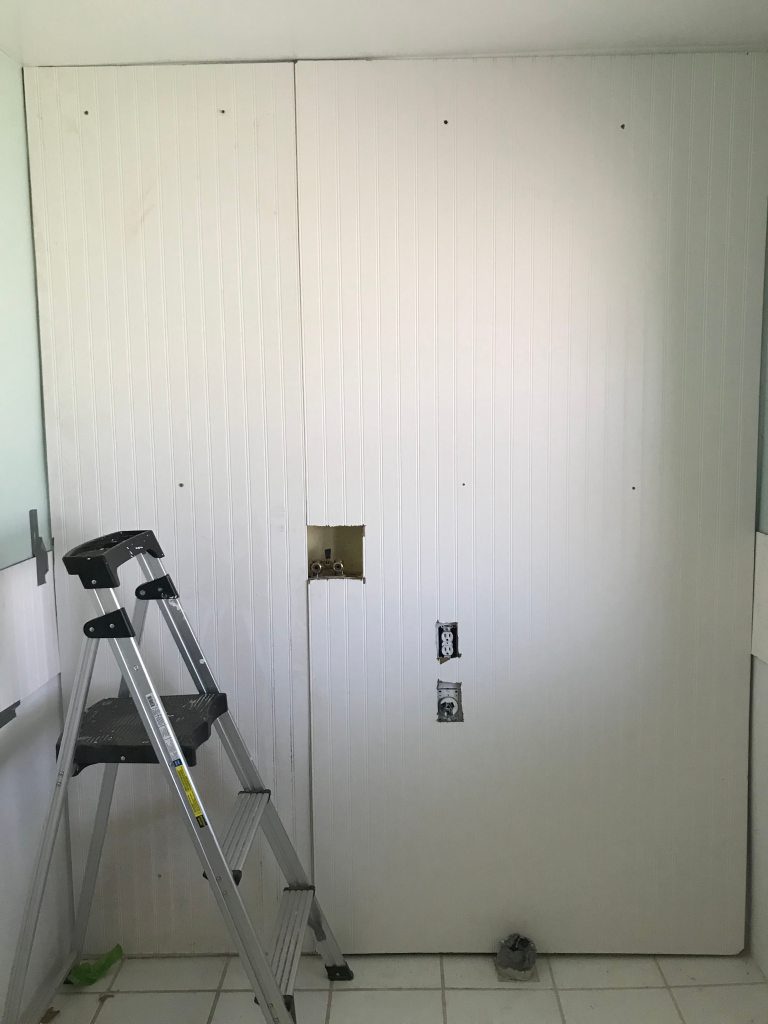
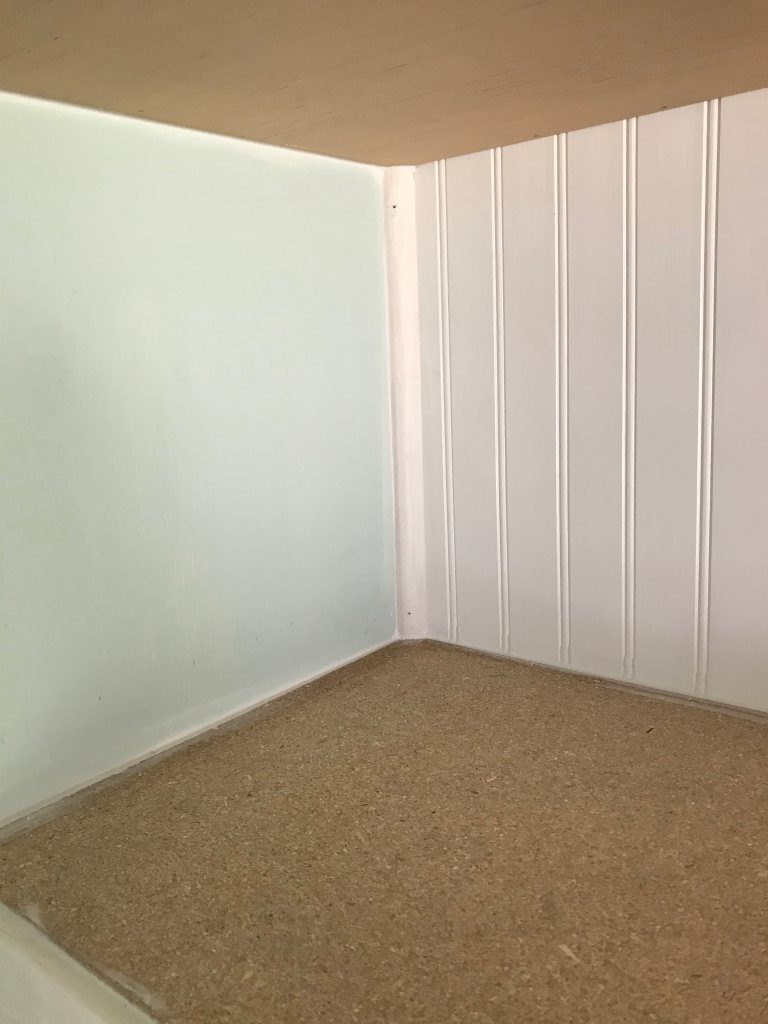
Once I took out the shelving, I covered the back wall with beadboard, (which you can read about here) then caulked and painted the walls and beadboard.
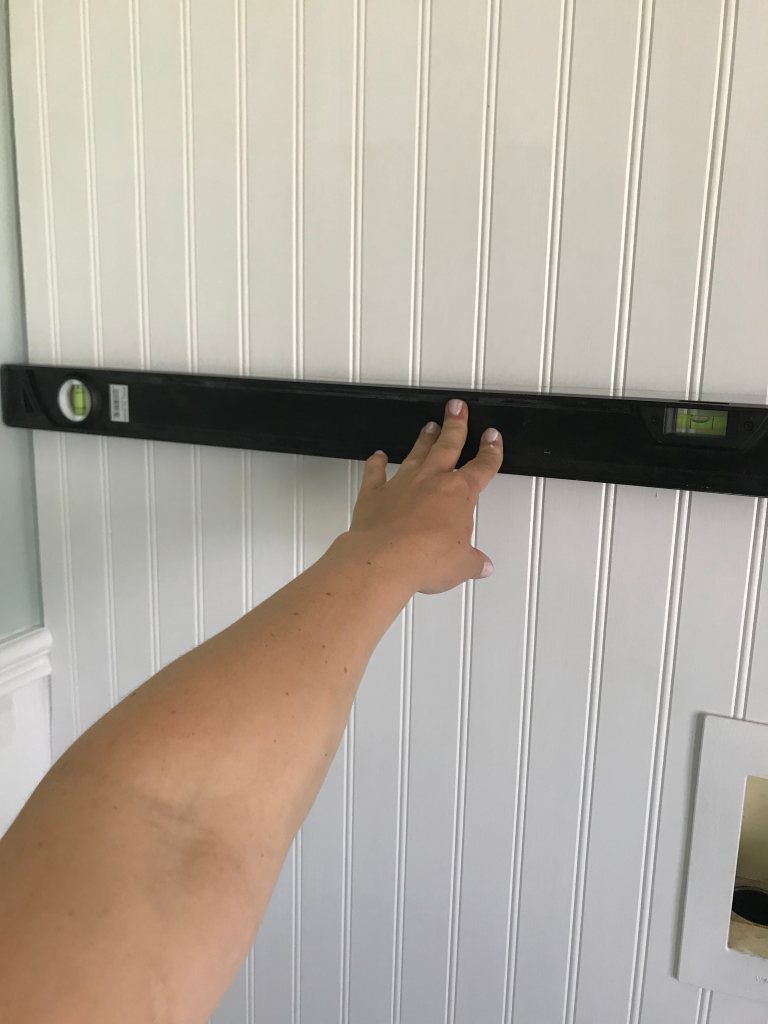
When I was ready to install the shelving, I measured where I wanted them to go and used a level to draw a line as my guide. I was sure to take into account the extra 3/4 inch my shelving would add once I placed it on top of my cleats.
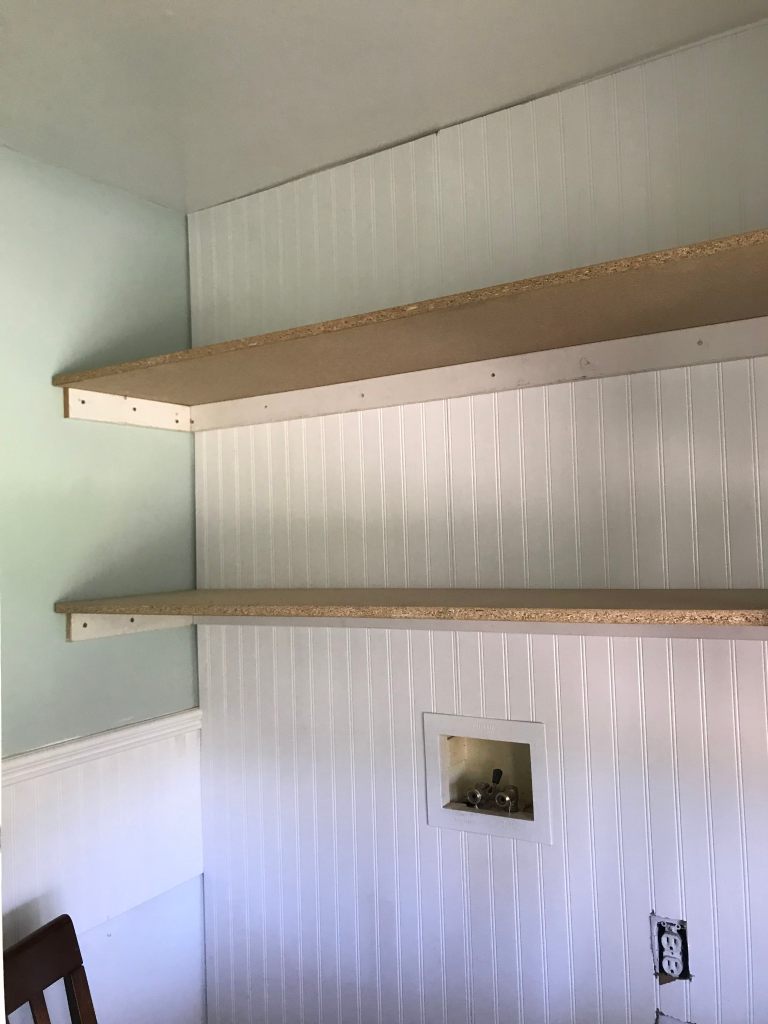
I then used that line to re-install my cleats, cut out my MDF, and then placed it on top of the cleats. (By the way, if you want some info on selecting the right boards for you shelving, I found this helpful.)
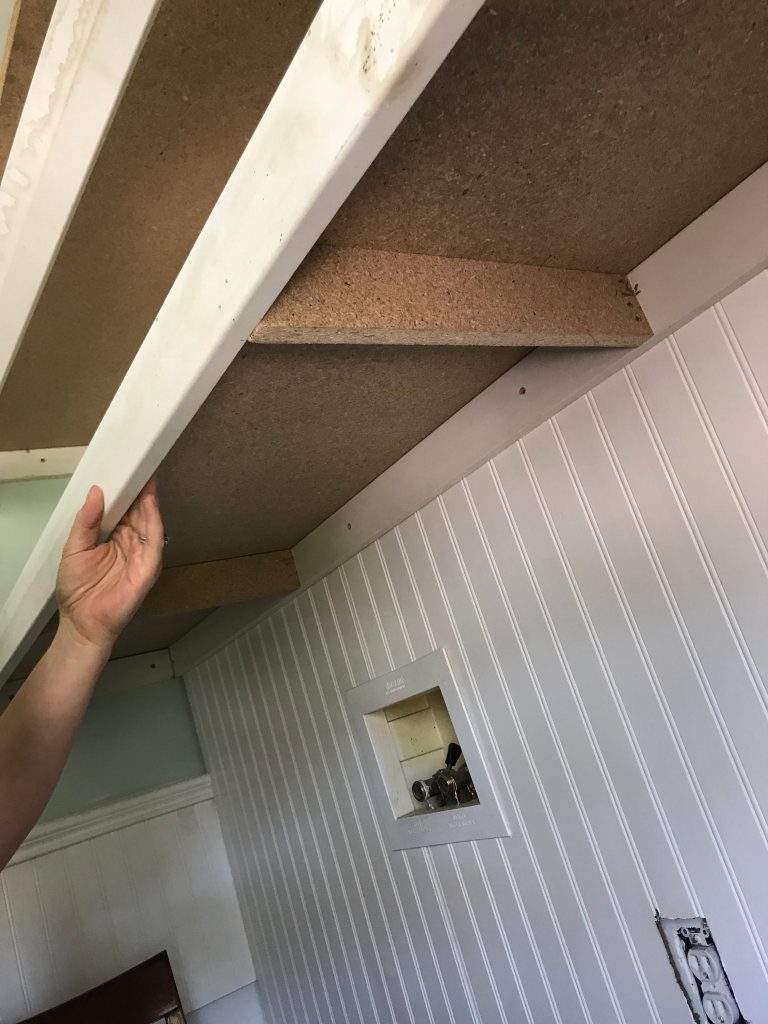
Pro Tip: If you want to prevent your MDF from bowing over time for a shelf that is longer than 36 inches, you’ll want to be sure to install more cleats underneath for added support as shown below.
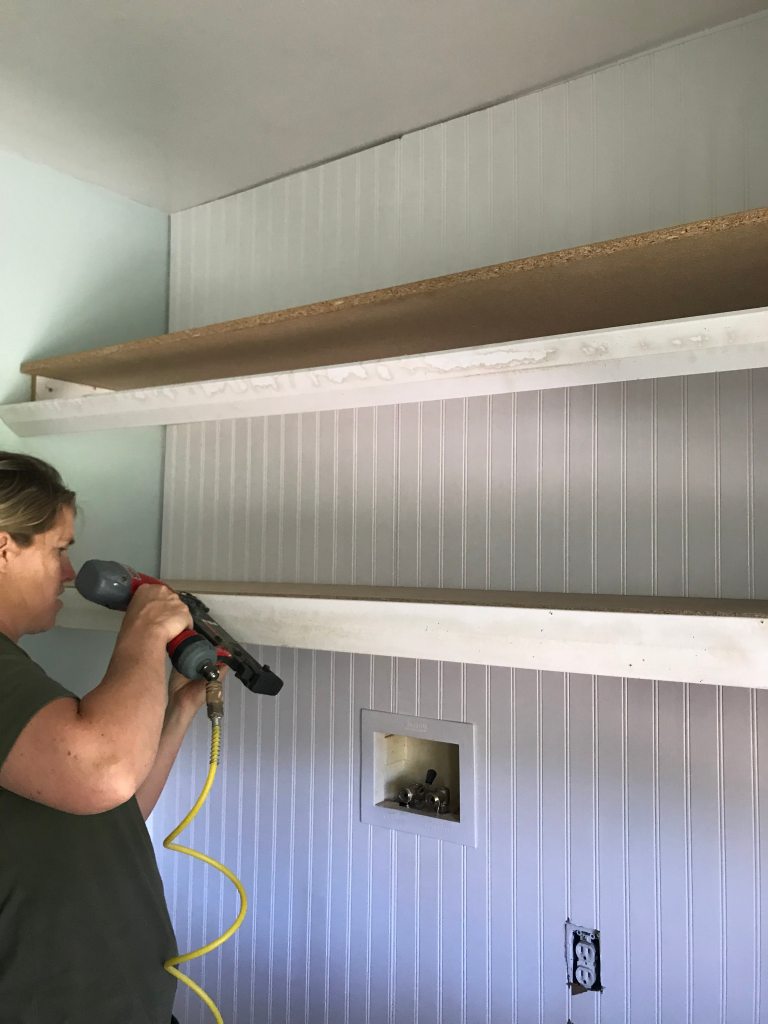
Once we had the cleats installed, we added a piece of trim to the front. Here’s another tip, be sure to cut your cleats skinny enough that you’ll have room to hide the bottom layer of the shelf behind the trim.
As you can see below, I didn’t quite leave enough space, so there is a gap underneath that can be seen. I had to take this off and re-do it. DON’T BE LIKE ME! Just do it right from the get-go and it’ll save you a whole lot of hassle. 🙂
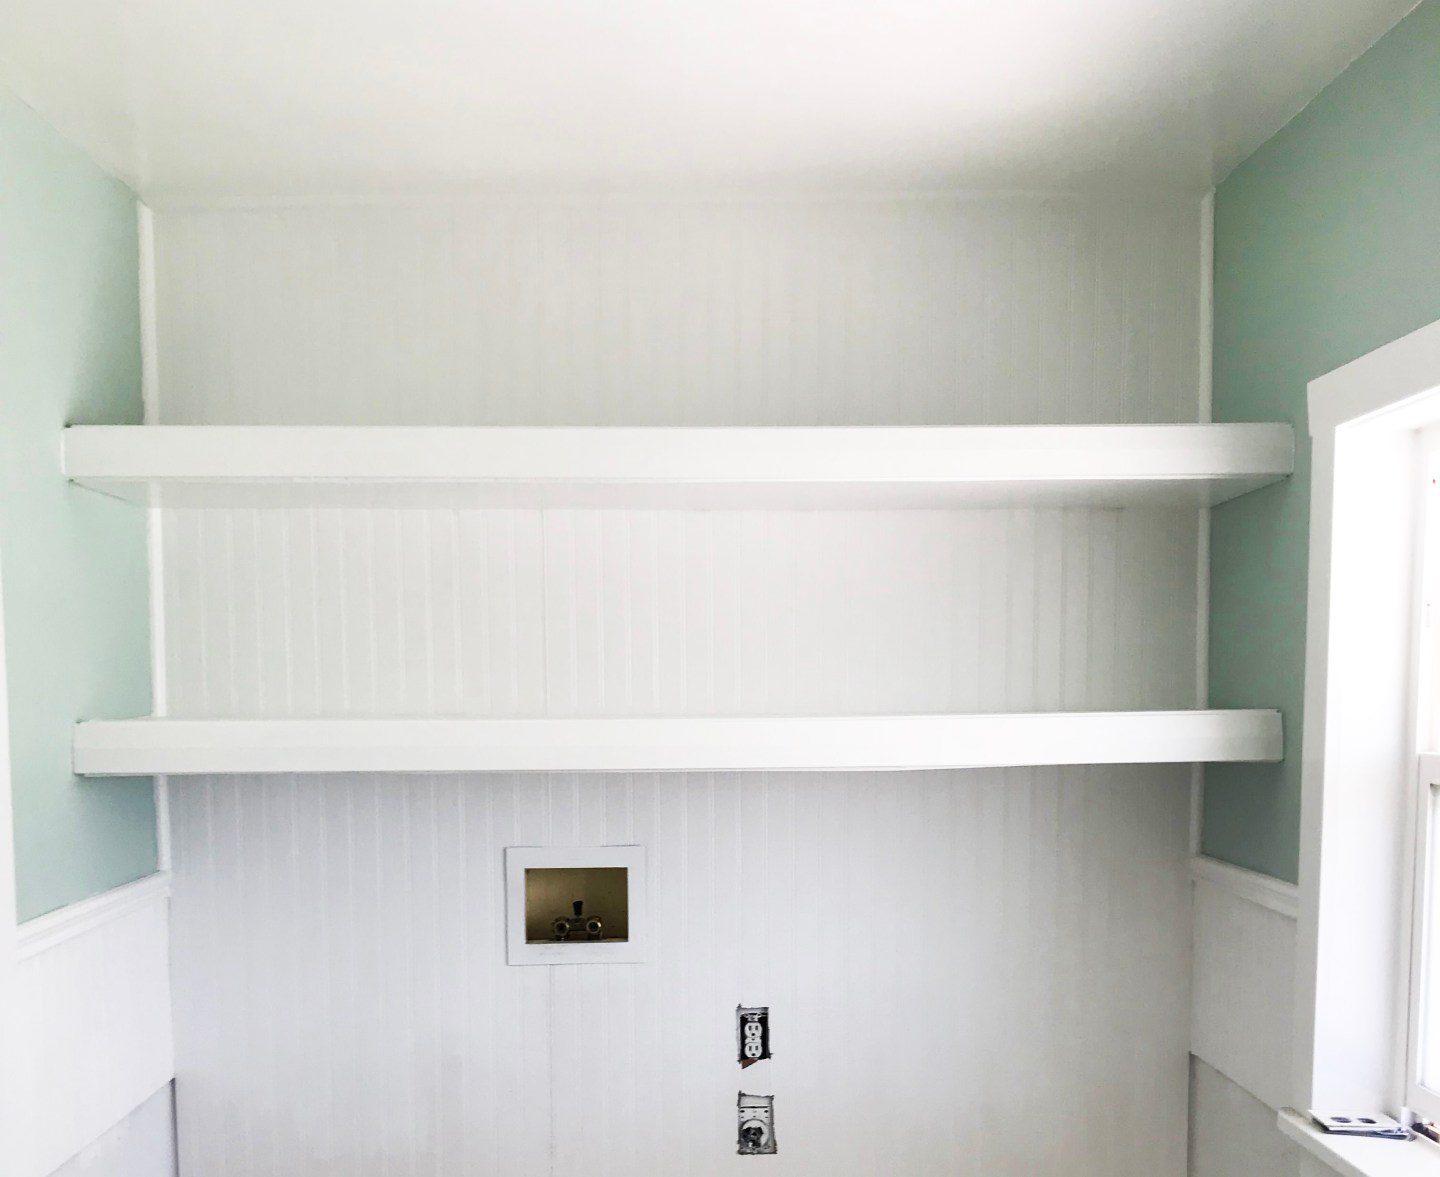
Once the shelving was all built, I added some quarter round to my corners to finish off my bead board and give it a nice, clean edge.
Before painting, I went through and caulked EVERYTHING. Caulk is the miracle substance that makes all your work look professional! I don’t use it sparingly. Got a gap? Just caulk it. Got a hole? Just caulk it. Trust me, you won’t be mad you did.
And last but not least, PAINT! Doesn’t that make all the difference?
I love how crisp and clean it all looks! And boy oh boy, just you wait until I stage it! I’ve got a million ideas floating around in this little head of mine, and I can’t wait until I can play them all out!
Thanks for tuning in, I’d love to know what you think! Please feel free to leave a comment below!
XOXO,
Crystel
Leave a Reply
